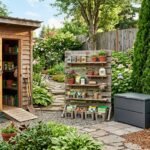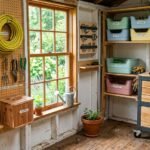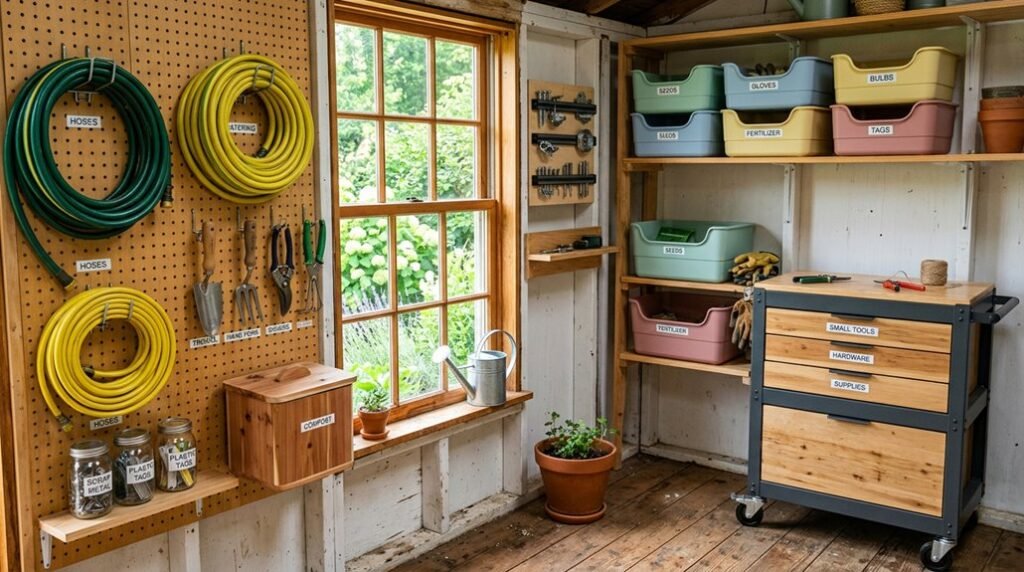
Only days after redesigning my cramped kitchen pantry, I found myself staring at my garden shed with the same overwhelmed dread, realizing that clutter, whether indoors or out, follows the same architectural principles of spatial dysfunction.
I’ll walk you through five solutions that changed my 8-by-10-foot structure from chaos to efficiency. Each one has been tested through seasons of mud, mulch, and machinery.
Reclaim Floor Space: The First Step to Shed Organization
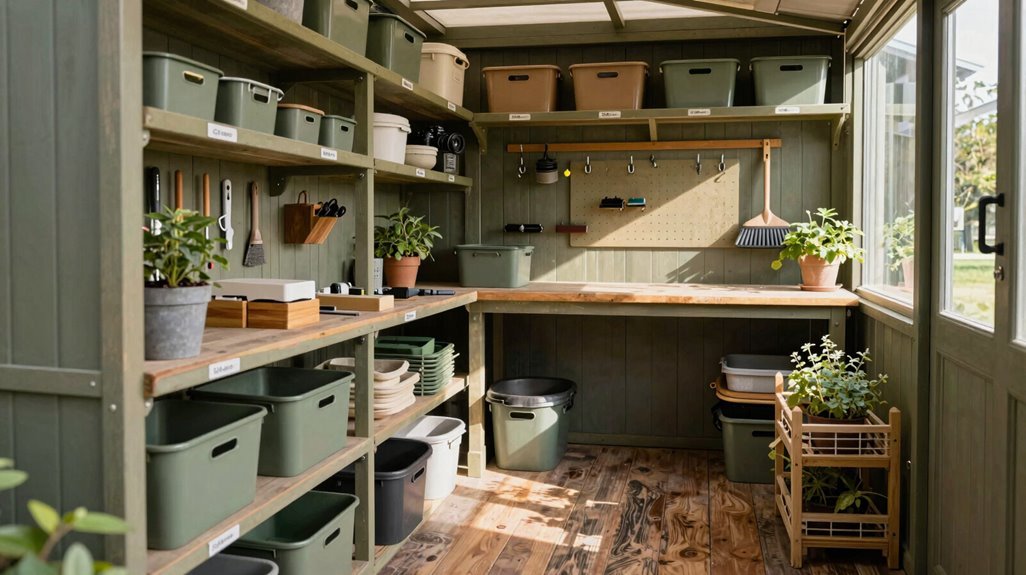
Where do you even begin when your shed floor has vanished beneath a decade of accumulated half-empty bags, rusted tools, and that wheelbarrow you keep tripping over? I’ve been there, staring at what feels like an archaeological dig site where my garden shed used to be.
1. Start with Ruthless Decluttering
Pull everything out, sorting into keep, donate, and discard piles. That broken terracotta pot from 2019? Let it go. Decluttering creates the negative space essential for functional storage architecture.
2. Install Vertical Infrastructure
Mount wall hooks for hand tools, securing them 48 inches above grade, keeping frequently used items accessible without floor contact. Wall-mounted pegboards accommodate adjustable configurations.
3. Reserve Floor for Rolling Stock
Heavy equipment, lawnmowers, wheelbarrows, stays grounded. Everything else ascends.
4. Maximize Overhead Capacity
Ceiling-mounted racks exploit cubic footage typically wasted, storing seasonal items in weatherproof bins.
The result: clear circulation paths, reduced liability exposure, and a workspace that actually welcomes you inside.
Hang Daily Garden Tools at Eye Level for Instant Access
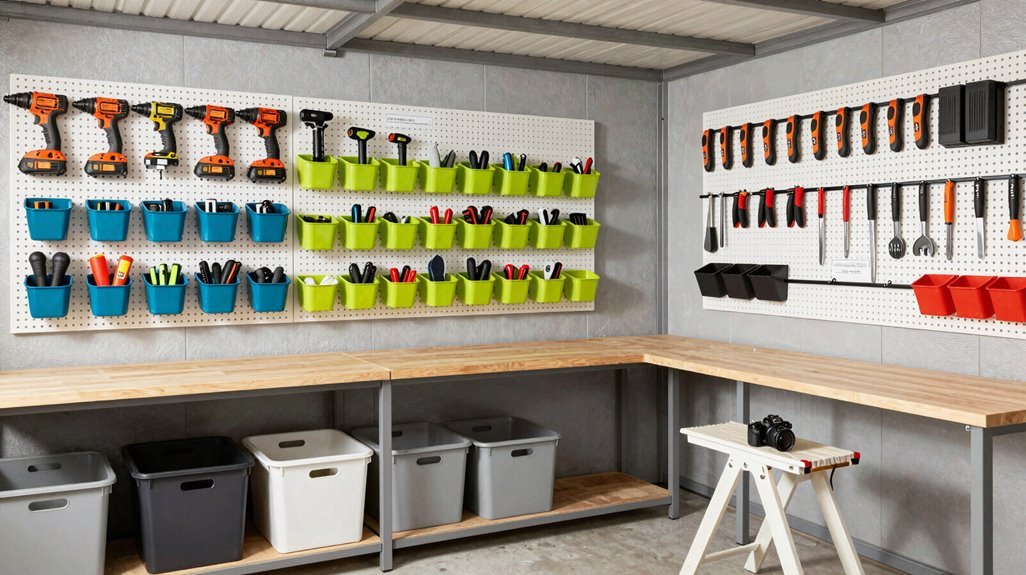
Identify stud locations using a finder, marking vertical lines at 16-inch centers. This ensures your installation supports dynamic loads (wet soil on trowels, leverage on cultivators) without pullout. I hang my daily tools at eye level because I’ve learned storage organization means nothing if I can’t see what I own.
Position trowels and pruners at shoulder height. This eliminates bending and reaches my most frequent yard tasks first; my California neighbor uses this ergonomic placement.
Install wall-mounted hooks in graduated sizes. Curved hooks cradle cultivator handles while straight shafts hang rakes; Australians pair these with corrosion-resistant coatings for coastal humidity.
Layer pegboard labeling above each row. Chalkboard paint lets me redraw boundaries when seasonal priorities shift; missing tools become obvious instantly.
Anchor everything through studs, not drywall. My Vermont cousin learned this after a loaded rack collapsed mid-spring.
Install Pegboard Panels for Tools That Change Each Season
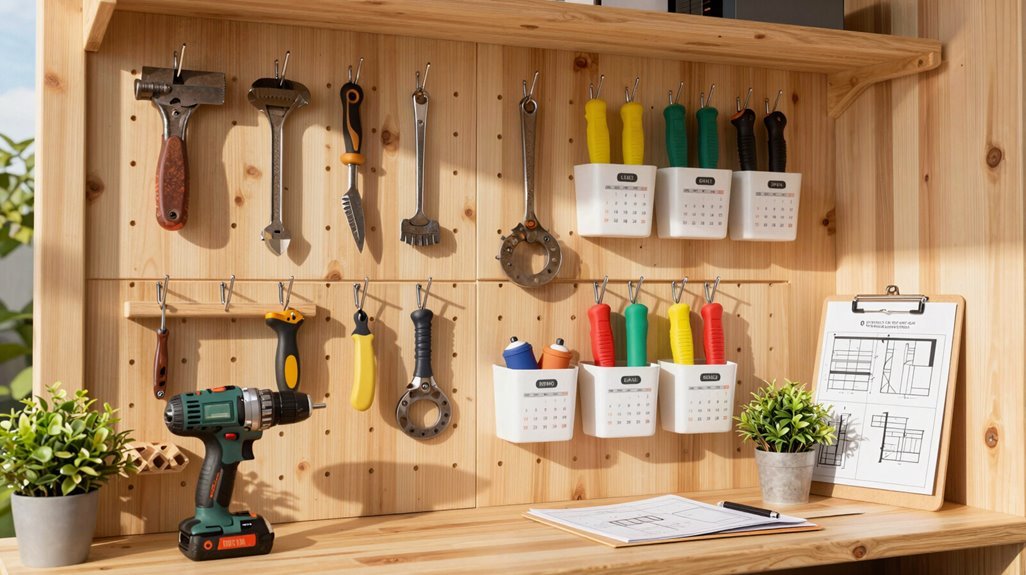
I mount three 24-inch pegboard panels directly to studs, creating the backbone of seasonal tool organization that evolves with your garden’s rhythm.
1. Anchor Deep
Securing panels to structural studs prevents sagging when tool weights shift, keeping stability through every seasonal rotation.
2. Color with Purpose
Painting pegboard in Hale Navy by Benjamin Moore, edging with window molding, lifts utilitarian storage into something intentional and polished.
3. Maximize Vertical Real Estate
Above the grid, I stash sanding blocks and un-hangables, respecting the tool display while reclaiming every inch.
4. Rotate with Intention
Reconfiguring hooks seasonally keeps pruners, then bulb planters, then snow shovels at eye level, responding to what your hands actually need.
This pegboard system invites you into a community of gardeners who treat tool organization as living practice, not static solution.
Build Heavy-Duty Shelving for Bulky Items That Won’t Hang
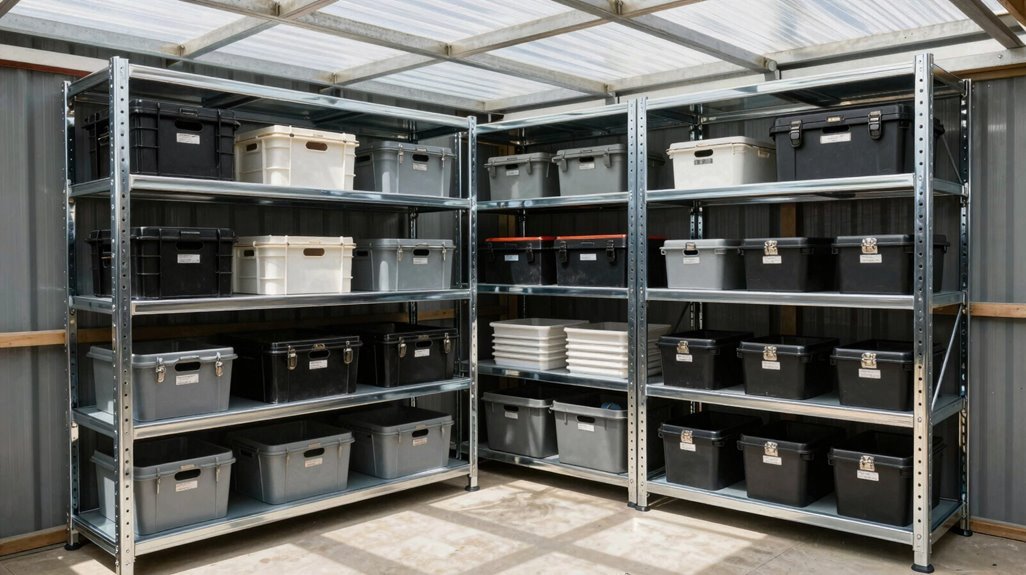
Why let your wheelbarrow languish in a corner when you could build a system that actually respects its heft? I’ve constructed heavy-duty shelves using 2x4s, plywood, and a level, materials that transform any shed into a sanctuary for bulky items that defy wall storage.
- Frame with doubled verticals, sistering 2x4s creates load-bearing posts capable of supporting 200+ pounds per shelf, so your storage won’t buckle under pressure.
- Deck with ¾-inch plywood, this thickness prevents sagging across 32-inch spans, maintaining rigid spacing for generators and compressors.
- Anchor to wall studs, securing shelves through the rear frame distributes weight structurally, keeping bulky items elevated and accessible.
- Vary shelf heights intentionally, taller lower bays accommodate wheelbarrows; shallower upper tiers organize smaller equipment, completing a cohesive system adaptable to beach houses or suburban sheds.
Pick a Floor That Survives Mud, Rain, and Chemical Spills
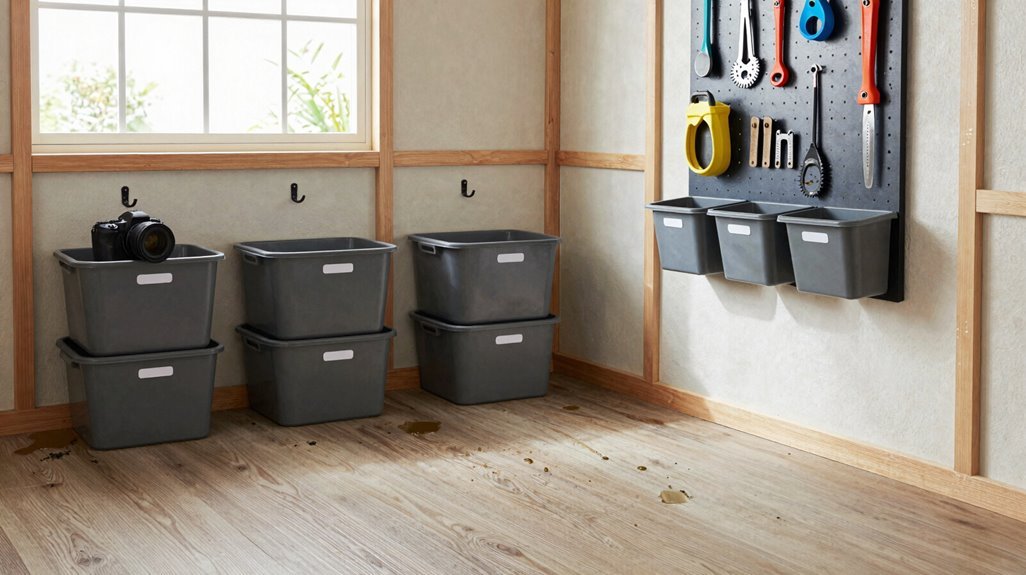
A shed floor takes more abuse than any surface in your home: tracked-in grit, spilled fuel, standing water after storms. Yet most builders treat it as an afterthought, slapping down plywood and hoping for the best. I’ve learned the hard way that moisture-sensitive subflooring warps, stains, and eventually fails.
When I renovated my own shed, I prioritized a durable floor that could handle whatever I dragged in. Here’s what actually works:
1. Roll-Out Vinyl Garage Flooring
This creates an impermeable barrier; liquids pool on top instead of seeping through. It’s easy to clean with a simple mop, and installation requires no specialized tools. In coastal North Carolina, where humidity attacks everything, my neighbor’s vinyl floor still looks new after five years.
2. Epoxy-Coated Concrete
For existing concrete slabs, epoxy provides a hard, stain-resistant finish that resists chemical odors. The glossy surface reflects light, making your storage bins more visible.