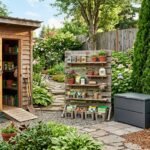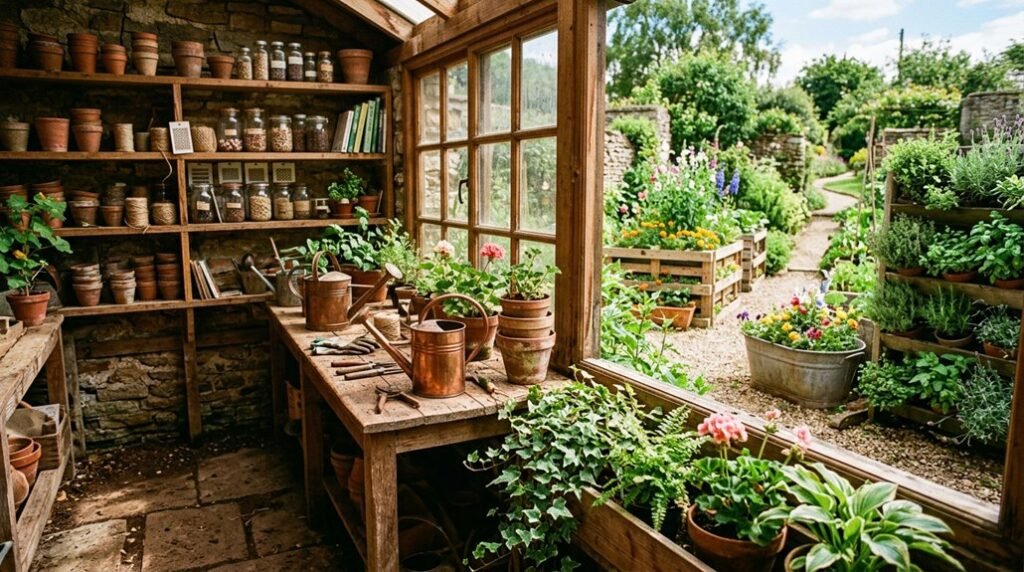
When Margaret Chen converted her 8-by-10-foot cedar shed in Portland, Oregon into a propagation studio, she gained four extra months of growing season, and I’m convinced her approach could reshape how you think about garden infrastructure.
The seven strategies ahead balance thermal performance with ergonomic efficiency.
Design Your Potting Shed as a Year-Round Garden Retreat
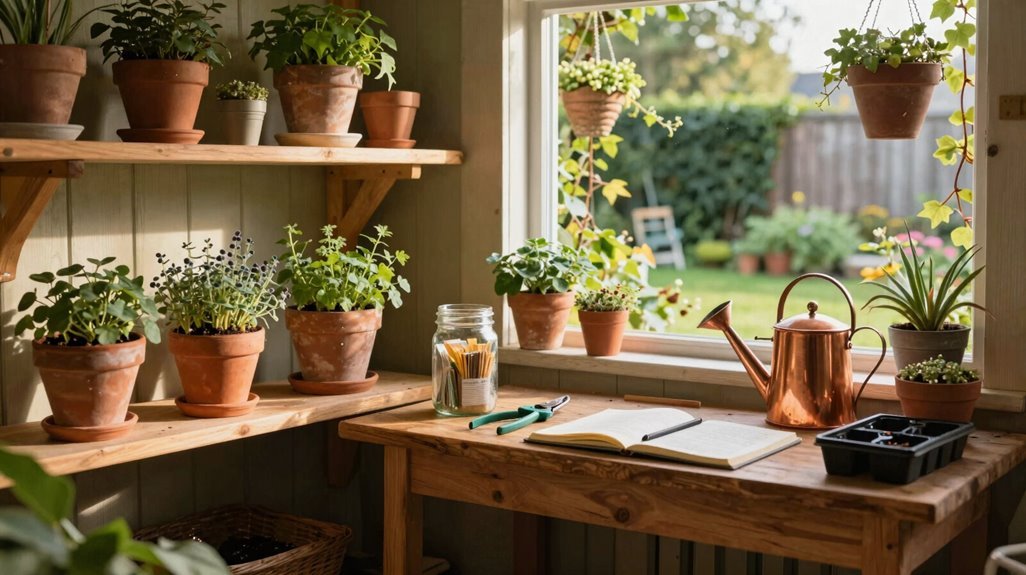
Why limit your gardening passion to fair-weather months? I’m designing my potting shed as a true year-round retreat, and here’s how you can join me.
1. Climate Control for Continuous Growth
I’m installing full-spectrum grow lights and a small heater alongside south-facing windows, maximizing passive solar gain while insulation upgrades stabilize interior temperatures. This creates a microclimate where January feels like April.
2. Workflow Zones That Function
Beyond the bench, I’m carving out dedicated areas: sheltered nooks for sowing and transplanting, plus a lath house for hardening off seedlings. Each zone connects logically; no backtracking, no chaos.
3. Storage That Serves
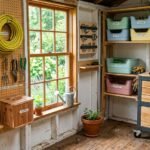
Wall hooks, peg rails, deep shelving, and labeled bins keep pots, amendments, and seed packets visible and accessible. I’m finding that organization isn’t just practical; it’s deeply satisfying.
4. Details Worth Dwelling On
Crown molding, a reclaimed window as focal point, vintage tools as art; I’m building belonging into every inch.
Set Your Bench Height to Save Your Back
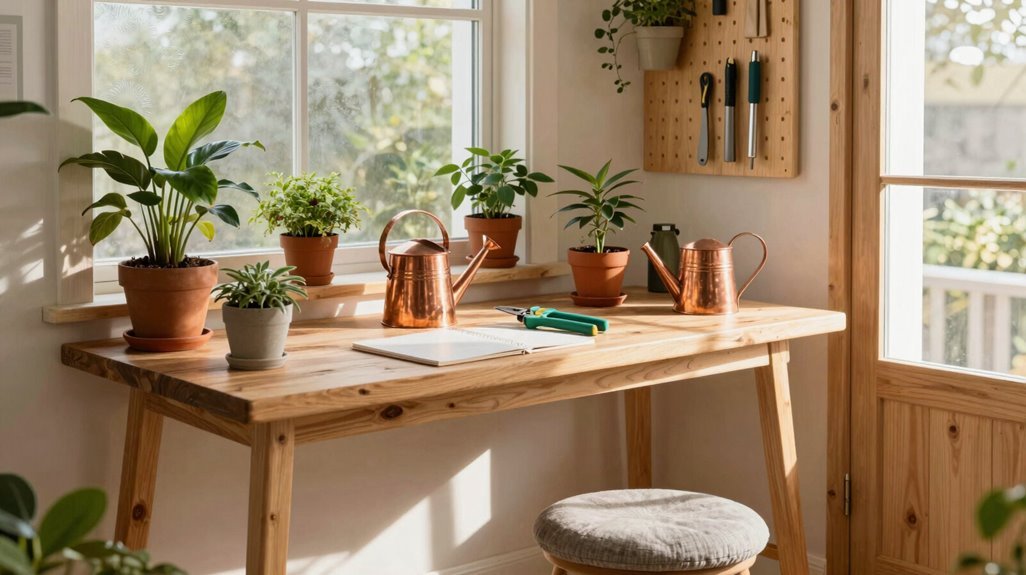
How often have I finished a day of potting to find my lower back protesting every movement? I’ve learned that my potting shed bench height is critical.
1. Find Your Standing Sweet Spot
I set my work surface at 36 inches; taller gardeners need 38 to 40 inches for proper spinal alignment. No more hunching over seedlings.
2. Create Knee Space, Gain Stability
Using a recessed undermount workspace, I free leg room while keeping pots steady during soil transfers. The design anchors my workflow.
3. Build in Adaptability
My height-adjustable stool and modular shelving shift quickly between sowing, cutting, and cleanup tasks. One bench, multiple functions.
4. Keep Tools Within Arm’s Reach
I position hand tools close to my tall, sturdy bench, minimizing reach strain and maintaining efficient movement patterns throughout my potting shed sessions.
Add Lighting for Dark Mornings and Winter Work
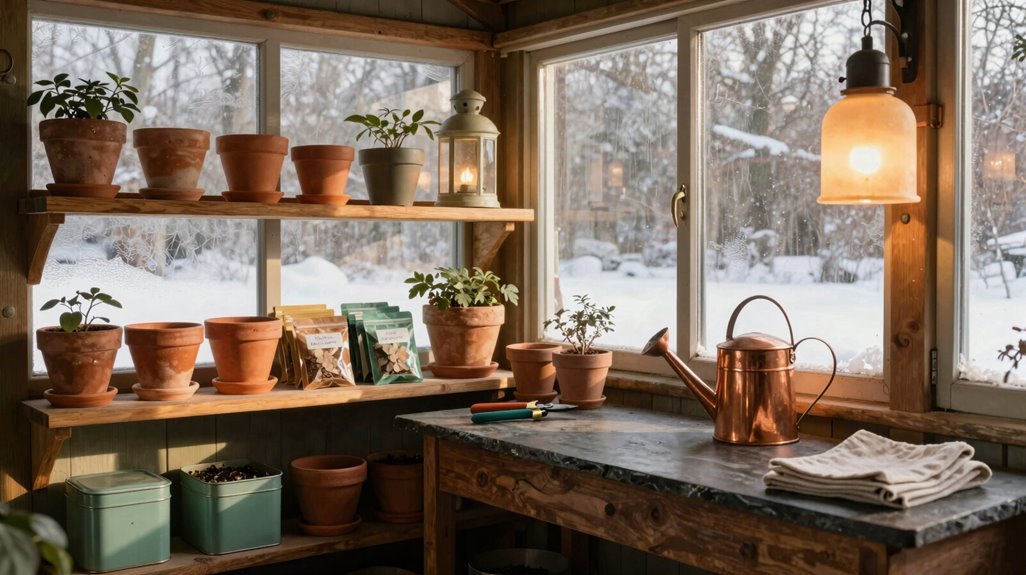
When winter’s early dusk settles over my garden at four in the afternoon, I’m grateful I planned for illumination, because potting in dim conditions strains both eyes and patience. Here’s how I’ve transformed my workspace:
1. Install full-spectrum LED shop lights. I mount these energy-efficient fixtures directly above my potting bench, positioning them at eye level to eliminate shadows while I’m pruning or transplanting seedlings.
2. Add weatherproof protection. Using sealed conduits and moisture-resistant fixtures, I’ve safeguarded electrical components against humidity from watering and damp soil.
3. Include backup options. A portable work light, and a small heater with integrated lighting, keeps me functional during power fluctuations.
4. Automate with smart systems. My timer maintains consistent light cycles, supporting healthy seed starting even on the gloomiest mornings.
Proper potting shed lighting extends my growing season and welcomes me into the garden community year-round.
Keep Tools Where You Can Actually Reach Them
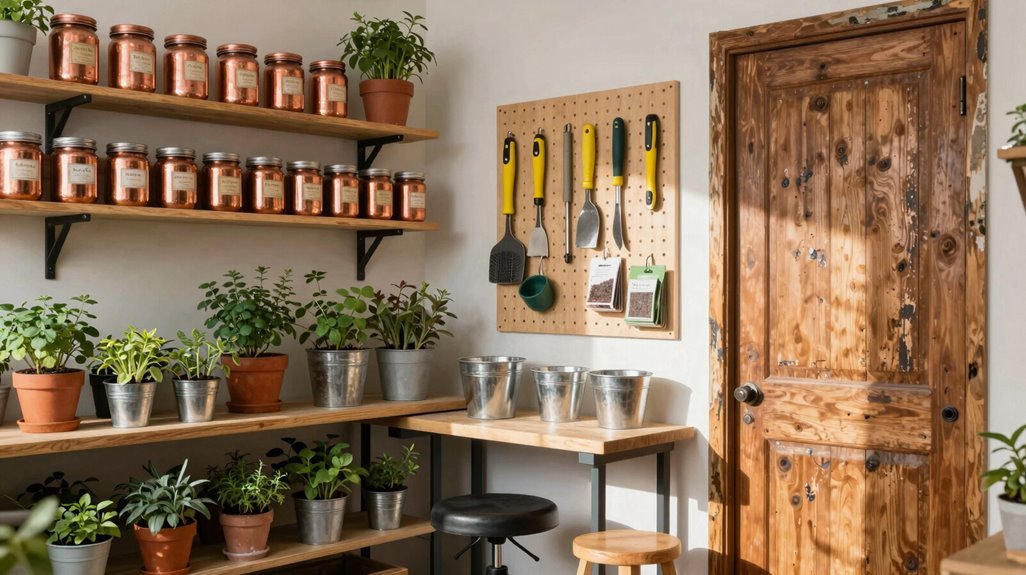
Where’s the trowel when I’m elbow-deep in compost, my seedlings waiting? I’ve learned that sheds become sanctuaries only when every tool has its place, within arm’s reach, never buried.
I installed a potting bench at comfortable standing height, flanking it with open shelving and forged hooks where my pruners hang ready. Wall-mounted peg rails and magnetic strips now grip my trowel, scissors, and knife; no more rummaging through drawers mid-task.
| Zone | Storage Solution | Tools Housed |
|---|---|---|
| Primary | Magnetic strips above bench | Pruners, trowel, scissors |
| Secondary | Peg rails at shoulder height | Hand fork, dibber, labels |
| Tertiary | Labeled bins beneath bench | Soil, amendments, mixes |
| Peripheral | Wall brackets on rear wall | Spade, fork, long-handled tools |
A portable tote carries essentials for mobile work: pruning in the borders, transplanting between beds. Large tools rest on brackets, freeing my bench for creation.
Plan Your Seed-Starting Workflow From Potting to Transplant
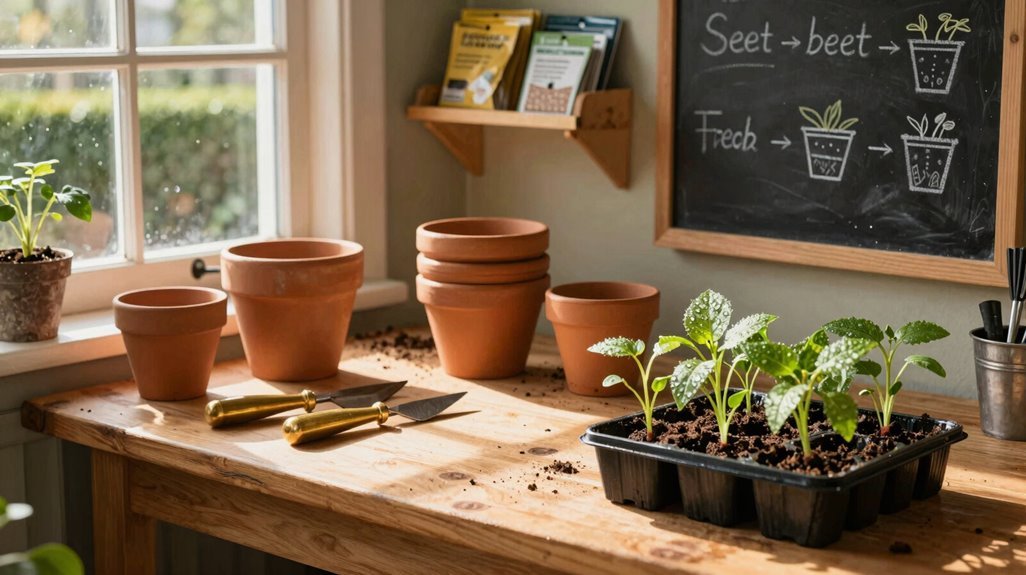
Why does chaos always find the seedling tray? I’ve learned that without a system, my potting shed becomes a graveyard of forgotten seedlings, root-bound, leggy, beyond saving. Here’s how I changed my workflow into something that actually works.
1. Map the Movement
I designate zones: sowing bench, germination station, transplant table. Each stage occupies distinct real estate; no more shuffling trays like puzzle pieces. My potting shed now breathes with intentional flow.
2. Stage with Precision
Sterile medium in labeled trays. Pre-moistened soil waiting. Narrow-spout can for delicate roots. I handle less, damage less.
3. Track Visually
Shelving tracks batches from sowing dates through hardening-off. I see exactly where each variety stands; no mysteries, no casualties.
This rhythm belongs to gardeners who’ve outgrown the scramble.
Nurse Sick Plants in a Dedicated Recovery Zone
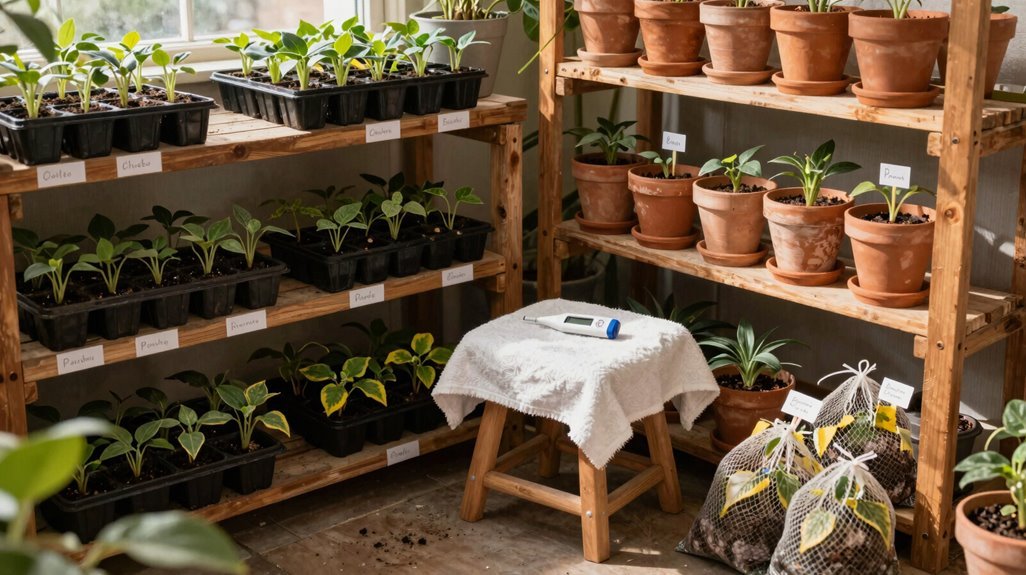
I’ve found that carving out an isolation quarantine space within my potting shed, complete with a dedicated quarantine bench and sterile supplies, lets me contain problems before they spread through the garden.
Isolation Quarantine Space
Establishing a dedicated quarantine zone within your potting shed transforms plant triage from chaotic scramble to systematic protocol; containment becomes architecture, and recovery becomes design.
1. The Isolation Bench
Position a separate, slatted work surface at the shed’s periphery: eastern light, away from main traffic, where infected specimens undergo observation. I scrub this station weekly with diluted bleach, knowing sterility guards the collective health of my garden community.
2. Tool Discipline
I keep stainless steel implements in a labeled caddy here; pruners, trowels, dibbers; dunking blades between plants. Cross-contamination threatens everything we’ve cultivated together.
3. Remedy Library
Adjacent shelves hold glass jars of sulfur dust, neem concentrate, compost teas; each labeled with application dates. Organization accelerates intervention.
4. Containment Rituals
A lidded bin receives spent soil and diseased clippings. I log weekly observations in my journal, tracking recovery timelines. This disciplined isolation protects our shared growing space; every plant returned to health rejoins the garden’s living tapestry.
Controlled Environment Setup
Isolation contains the threat; controlled conditions guide the healing. In my potting shed, I’ve carved out a dedicated recovery zone where temperature, humidity, and light bend to my command, nurturing stressed specimens back to vigor without compromising my sound collection.
| Element | Purpose |
|---|---|
| Bench-height surface | Ergonomic access for root treatments |
| Sterilized tools | Prevent cross-contamination between patients |
| Portable heat mats | Maintain stable soil temperatures |
| Adjustable fans | Circulate air without drafts |
I arrange labeled sections for each plant’s protocol, positioning drainage trays to eliminate waterlogging. My quarantine rack, blister-free, with reference guides within arm’s reach, serves as my diagnostic station.
Here, healing soils and sterile media await, while targeted grow lights extend photoperiods for weakened leaves. This controlled architecture turns my potting shed into something greater: a sanctuary where every plant finds its place in recovery.
Recovery Monitoring Station
Shed” which suggests this is the article title.
I designate a Recovery Monitoring Station within my potting shed, a quarantine wing where ailing specimens receive intensive care. Here’s how I structure this critical zone:
1. The Recovery Bench
I install a waist-height work surface, 36 inches, positioned near eastern windows for gentle morning light. This elevation prevents back strain during prolonged tending sessions.
2. Isolation Protocols
I maintain labeled plant wards, clear plastic tags indicating admission dates and diagnosed ailments, ensuring zero contact between compromised and healthy stock. Cross-contamination risks drop dramatically.
3. Medicated Soil Storage
I stock premoistened potting mix and sterile medium in sealed bins, enabling immediate repotting when root inspections reveal rot or pest damage.
4. Microclimate Tracking
I deploy portable thermometers and humidity readers, monitoring conditions that accelerate recovery.
5. Sanitized Tool Caddies
I position disinfectant wipes, pruning shears, and plant labels within arm’s reach, minimizing handling stress during delicate procedures.
Garden Through Winter With Heat and Protection
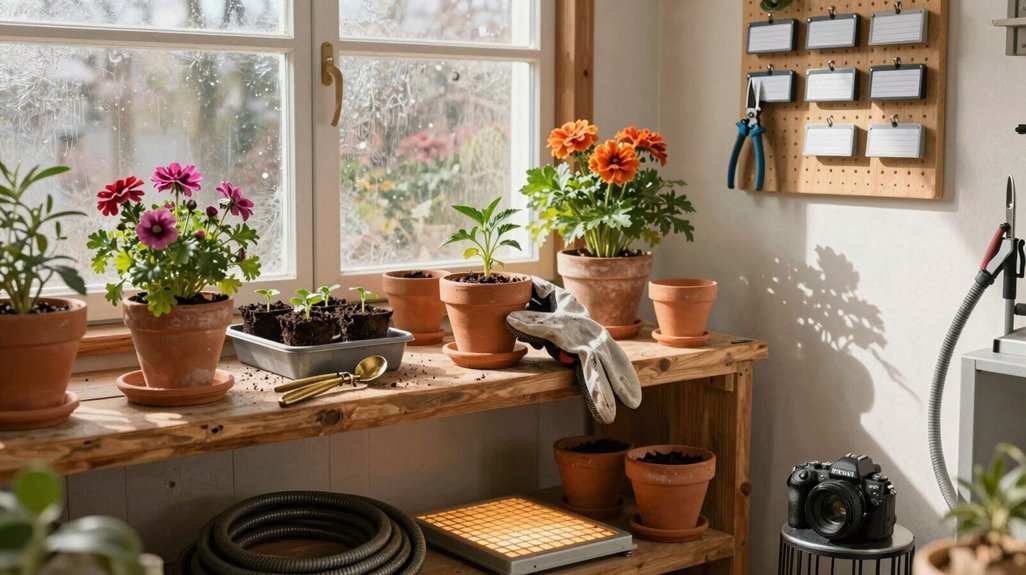
When winter descends and frost claims the outdoor beds, I don’t surrender my gardening ambitions; I retreat to a heated potting shed that extends my growing season by months. I rely on full-spectrum grow lights and a small heater to keep tender plants healthy while snow blankets the ground outside. South-facing windows flood my workspace with precious winter sunlight, and the natural insulation of my wood shed stabilizes temperatures for propagation.
I’ve added insulation upgrades that reduce heat loss dramatically. Inside, I’ve carved out a dedicated propagation area with a portable greenhouse for starting seeds and hardening off young plants before spring arrives.
| Feature | Benefit |
|---|---|
| Full-spectrum grow lights | Enables photosynthesis in darkness |
| South-facing windows | Maximizes passive solar gain |
| Wood construction | Provides natural thermal mass |
| Insulation upgrades | Minimizes energy costs |
| Portable greenhouse | Creates microclimate for seedlings |