
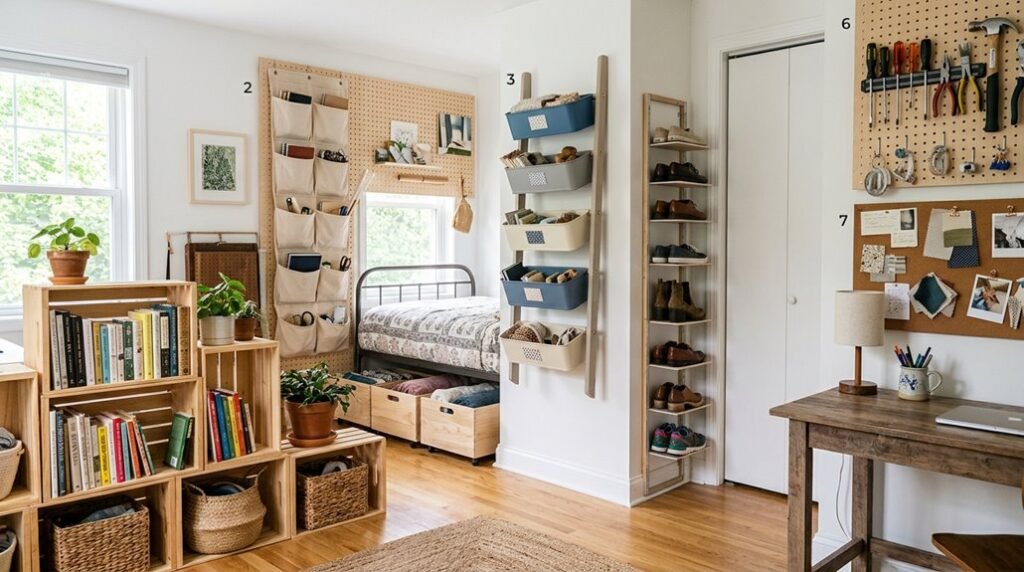
When my neighbor converted her 10×15 unit into a walk-in archive, complete with cedar-lined bays and rolling ladder access, I realized storage architecture isn’t just for warehouses. I’ve spent years refining compact systems that balance load-bearing efficiency with visual clarity, and these seven approaches change cramped quarters into functional inventories. You’ll want to see how modular thinking changes everything.
Choose Uniform Boxes for Your Storage Unit
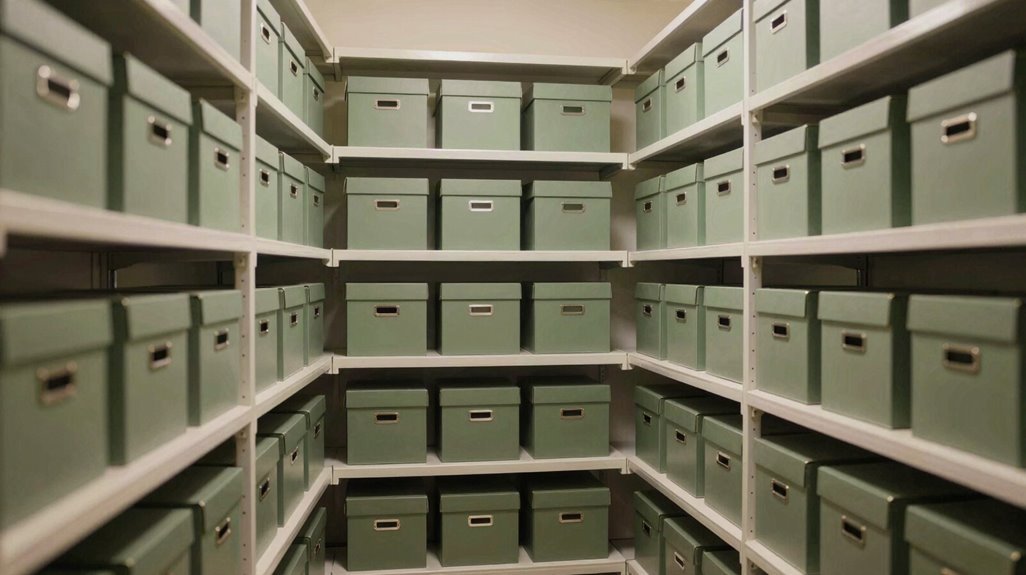
Few organizational choices transform a storage unit as dramatically as committing to uniform boxes. When I’ve helped friends organize their spaces, I’ve seen how mismatched containers create chaotic dead zones, awkward gaps that destabilize stacks and waste precious cubic footage.
Using uniform boxes eliminates these inefficiencies entirely. Same-dimension containers interlock with modular precision, maximizing stacking density from floor to ceiling. I’ve watched unstable towers of random sizes collapse, while identical boxes form load-bearing walls that distribute weight evenly across pallets and shelving.
This predictability transforms storage organization into something almost architectural. You’ll plan aisles with confidence, knowing exactly how each unit occupies space. At Century Storage, you’ll find various sizes available, but I’m telling you, select one dimension and commit. Your future self, retrieving items months later, will thank you for this structural consistency.
Map Your Layout Before Loading Anything
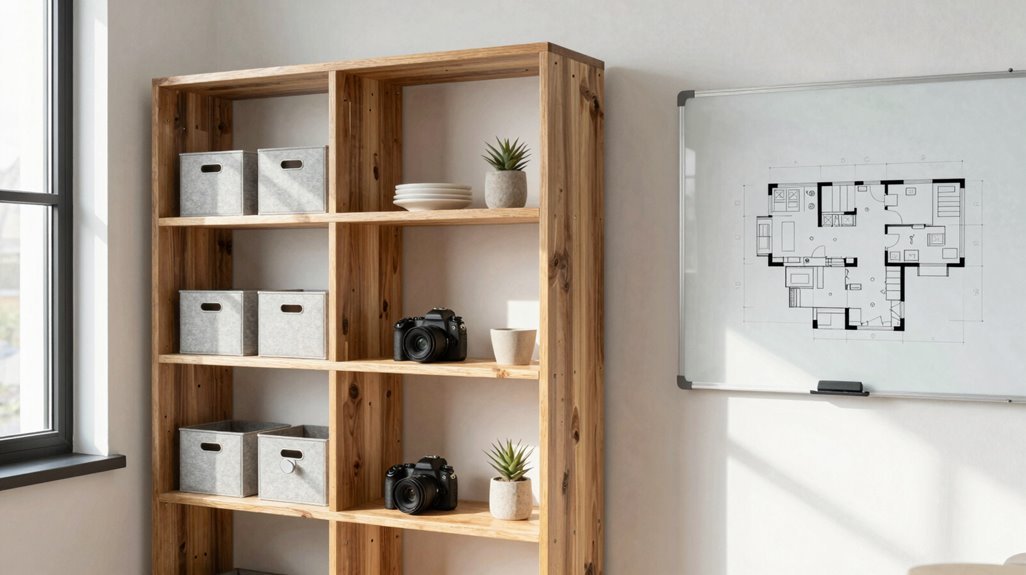
Before I haul a single box through that roll-up door, I sketch the unit’s footprint, marking where the ventilation shaft juts out, which corner catches the afternoon light, how many linear feet I’ve actually got to work with.
I’m tracing pathways next, carving out a 30-inch thoroughfare down the center so I’m not climbing over my own possessions come December when I need those holiday decorations. With my zones color-coded, heavy appliances anchoring the rear, seasonal bins stacked north, daily-access items hugging the entry, I’ve turned chaos into architecture.
Sketch Floor Plan
Why start hauling boxes blindly when a simple sketch can save hours of frustration? I always begin by drafting a to-scale floor plan, marking walls, doors, and fixed features that’ll anchor my entire layout. This blueprint becomes my roadmap to belonging, transforming chaos into intentional design.
Here’s my systematic approach:
- Map the Perimeter: I sketch walls and fixed obstacles first, establishing spatial boundaries that constrain every subsequent decision.
- Establish Vertical Storage Zones: I plan freestanding units and shelving height, stacking upward to liberate floor area and improve structural stability.
- Designate Zoning Compartments: I allocate dedicated sectors: heavy, infrequent items anchor rear corners; lighter, accessible essentials populate forward positions.
- Annotate with Precision: I label each zone, creating a legend tracking contents, room origins, and retrieval priorities, ensuring every box finds its rightful place.
Plan Traffic Flow
How often have I wedged myself between teetering stacks, cursing the layout I’d failed to envision? I’ve learned that organization demands foresight, especially when every square foot counts.
- Map Your Main Artery. I draft a 2D plan showing my central aisle, ensuring 2–3 feet of clearance for unencumbered traffic flow between zones. This corridor becomes my lifeline.
- Anchor the Perimeter. Lining walls with bulky furniture first, I build inward, preserving that open channel for retrieval without displacement.
- Prioritize Accessibility. Frequently needed items sit front-facing, adjacent to the aisle, minimizing excavation.
- Zone with Intention. I mark seasonal, tools, and clothing sectors, reducing cross-traffic when I’m hunting.
This storage strategy turns chaos into navigable architecture, where every pathway serves purpose.
Group Similar Items
Where do I start when facing a jumble of mismatched belongings? I begin with grouping, transforming chaos into intentional organization that actually works.
- Sort by Category: I gather seasonal clothing, tools, and cords into distinct clusters, cutting search time by half when I need something later.
- Sketch Your Zones: I map the unit’s layout, designating specific areas for each group while preserving a central aisle for movement and structural balance.
- Stack Strategically: I choose uniform box sizes per category, maximizing vertical stability and eliminating wasted gaps between irregular containers.
- Label Everything: I mark each zone with contents and precise location, “Winter Clothes, Front Left,” so anyone helping me knows exactly where things belong, creating shared understanding through clear labeling.
Build Your Base Layer With Heavy Items
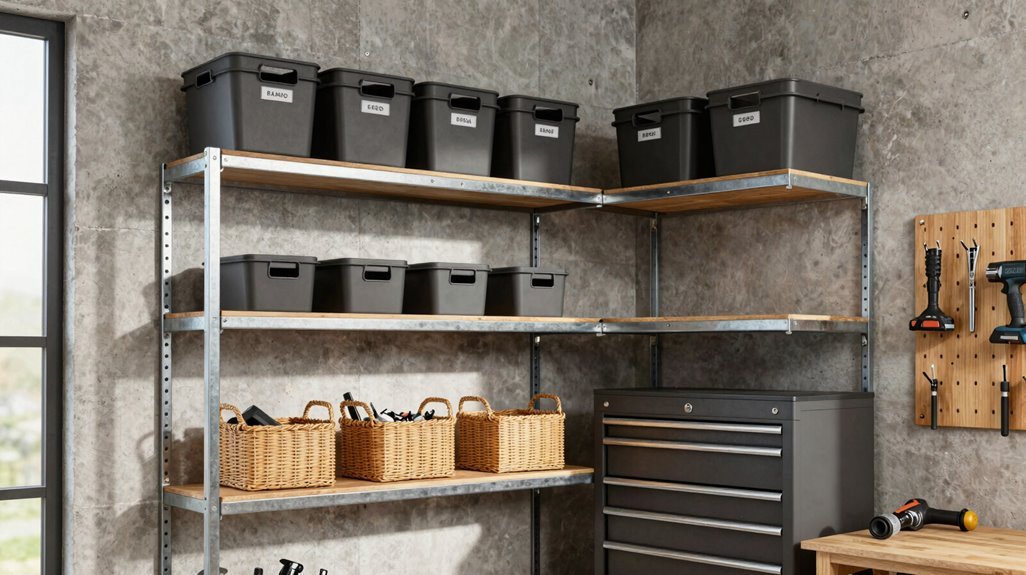
I always start my storage projects by establishing a solid foundation, it’s the structural principle that determines everything above. Building your base layer with heavy items creates the stability we all need for safe, efficient storage.
- Anchor with Weight: Place your heaviest items, solid wood dressers, metal filing cabinets, dense tool chests, directly on the floor. These form a load-bearing substrate that prevents structural failure above.
- Even Distribution: Spread weight across the entire footprint, avoiding concentrated masses that invite tilting. Think of it as engineering a level plane, critical for vertical expansion.
- Elevate When Possible: Resting your base layer on pallets (common in Pacific Northwest humidity zones) protects against moisture wicking upward.
- Reserve the Summit: Lightweight, fragile belongings belong overhead, where gravity works with us, not against.
Store Bulky Furniture Vertically to Maximize Space
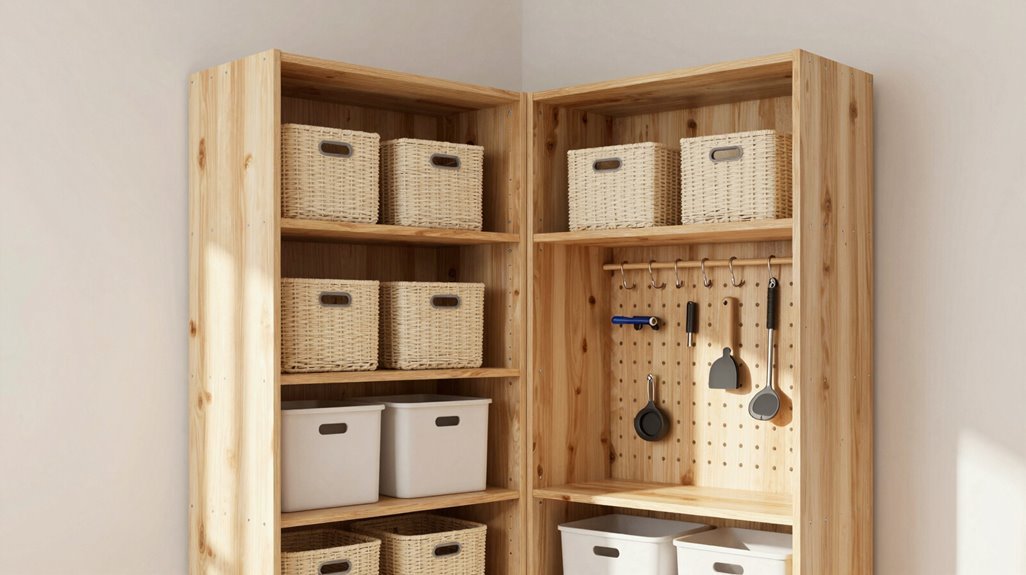
I’ve found that standing bulky furniture on its edge, rather than letting it sprawl across precious floor area, transforms cramped storage into architecturally efficient vertical volumes. When I disassemble pieces (removing table legs, separating sectional components), I create slimmer profiles that slot between wall studs or alongside freestanding shelving systems, maximizing cubic footage while maintaining structural stability.
This upright orientation doesn’t just save space; it keeps drawers accessible and prevents the compression damage that comes from stacking heavy items flat.
Vertical Storage Benefits
Why let your floor space disappear beneath sprawling dressers and wardrobes when a simple reorientation opens up hidden capacity? I’ve found that standing bulky items on end turns cramped units into organized, accessible spaces where everything has its place.
Here’s what vertical storage delivers:
- Liberated floor space: By reorienting dressers and cabinets upright, I reclaim square footage for aisles and additional shelving, creating breathing room in tight quarters.
- Enhanced accessibility: Drawers and compartments face outward when vertical, letting me retrieve contents without shifting heavy pieces.
- Structural stability: Heavier pieces anchor my stacks, forming load-bearing foundations that prevent dangerous toppling.
- Expanded vertical space: Tall orientations free upper reaches for additional storage, maximizing every cubic inch while maintaining clean sight lines for efficient retrieval.
Furniture Placement Tips
Standing furniture upright transforms awkward, space-hogging pieces into streamlined vertical elements, freeing floor area for circulation while preserving function. Here’s how I approach smart furniture placement to maximize space:
1. Disassemble Strategically
Breaking down tables and dressers lets me store components as a cohesive vertical unit, keeping tops light while bases anchor the stack. This creates stable vertical storage that won’t topple.
2. Build Aisles Between Units
Positioning items with narrow corridors alongside them means I retrieve belongings without shifting everything, maintaining accessibility throughout my storage zone.
3. Anchor Heavy Foundations
Placing weighty, sturdy pieces at the bottom prevents tipping. I secure tall shelving to walls, grouping similarly oriented items for cohesive vertical storage that feels intentional and safe.
These techniques turn cluttered rooms into organized, breathable spaces where every piece earns its footprint.
Disassemble Furniture and Keep Hardware Attached
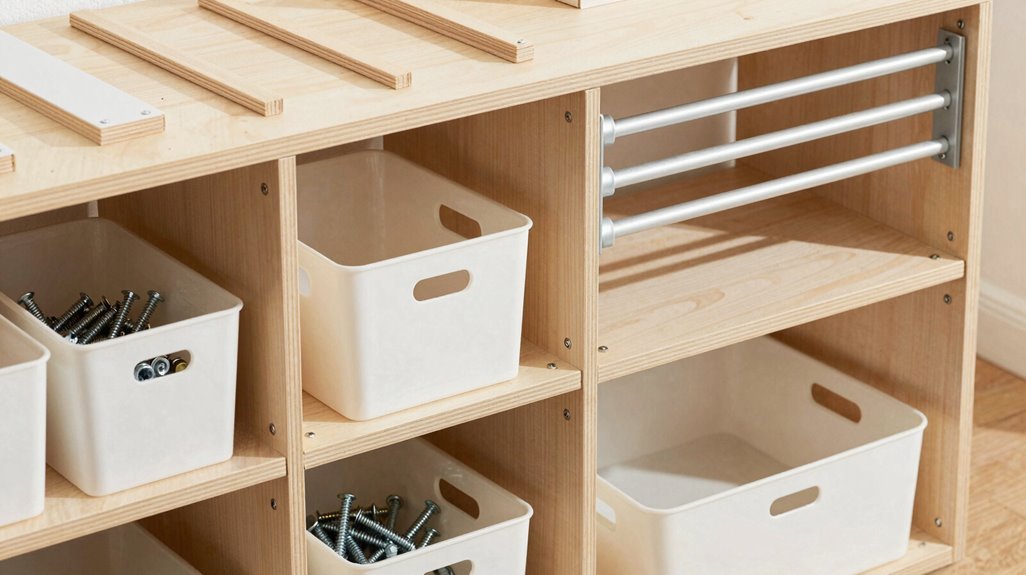
How do you fit a six-foot dining table into a five-foot storage unit? You don’t, you disassemble it. I’ve learned that strategic disassembly turns bulky furniture into manageable components, maximizing every cubic foot of your rental space.
Here’s my method for keeping pieces organized:
- Bag the hardware: I tape labeled bags directly to frames; screws, bolts, and brackets stay with their furniture for seamless reassembly later.
- Bundle table legs: I wrap legs together, securing them beside tabletops to prevent warping and loss.
- Utilize drawer cavities: I fill empty dresser drawers with linens or books; dead space becomes functional storage.
- Document everything: I photograph each step, capturing angles and fastener placements so reassembly feels intuitive, not puzzling.
Reserve this approach for items you won’t need immediately; complexity demands patience.
Raise Items Off the Floor to Prevent Damage
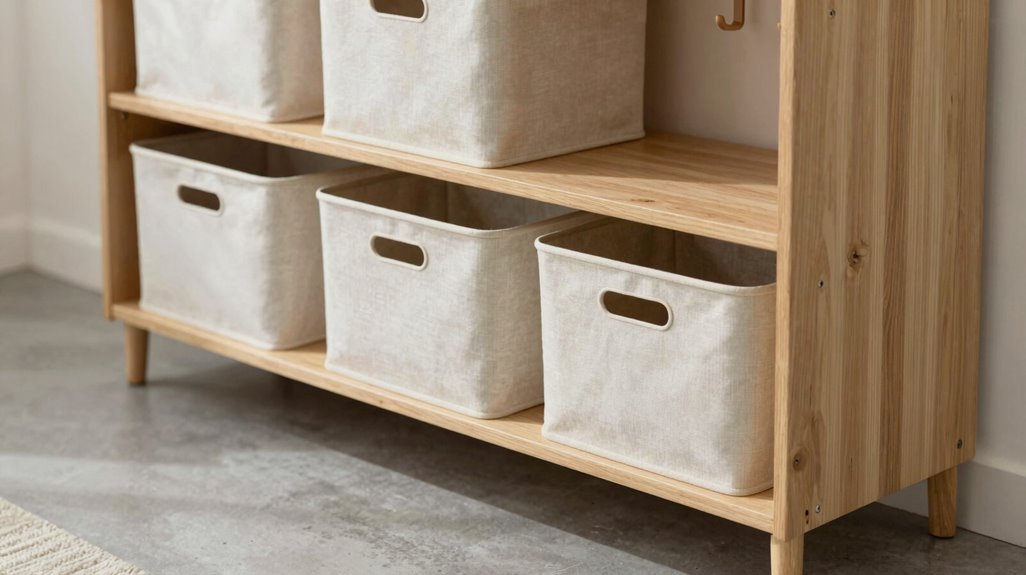
Once I’ve broken furniture into its component parts, I face another reality: concrete floors, cold, unforgiving, and prone to condensation, threaten everything I’ve carefully stored. I elevate my belongings using pallets, creating essential airflow beneath boxes and furniture legs.
1. Pallet Foundations
Sliding wooden pallets beneath heavy items gives me a stable base, simplifying relocation with pallet jacks while blocking ground moisture from seeping upward.
2. Raised Platforms
Building low platforms from 2x4s and plywood, I gain 4-6 inches of clearance; this gap enables humidity control, preventing mold growth on textiles and protecting electronics from corrosion.
3. Strategic Spacing
Maintaining aisles between elevated stacks, I achieve visual inventory clarity, scanning contents without unstacking, keeping my storage architecture functional and my belongings preserved.
Add Freestanding Shelves to Free Up Floor Space
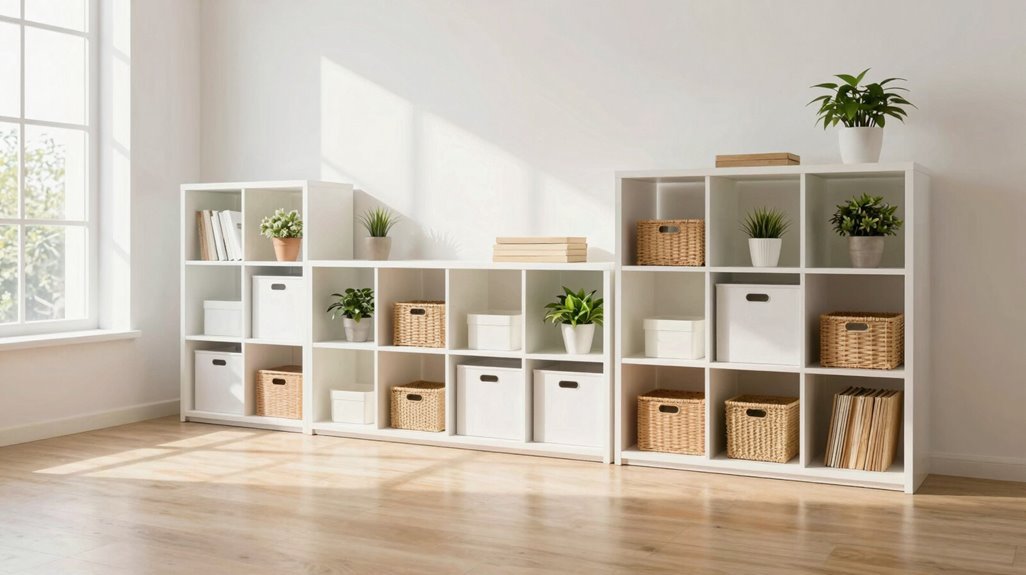
Vertical real estate transforms my storage unit’s efficiency. I’m reclaiming floor area by building upward rather than outward, deploying freestanding shelving units that anchor my organizational architecture without drilling into walls I don’t own.
Here’s how I maximize floor space through strategic vertical storage:
- Select robust materials. I choose heavy-duty metal or industrial-grade plastic freestanding shelves rated for substantial loads, securing them against tipping with wall straps or weighted bases during loading.
- Anchor against perimeter walls. I position tall shelving along boundaries, carving clear circulation aisles through the center. This improves accessibility while preserving navigable pathways.
- Embrace open frameworks. I specify wire or slatted designs permitting visual inventory assessment, eliminating the excavation of overpacked boxes from obscured depths.
- Design for modularity. I combine compatible units into reconfigurable systems, adapting my spatial plan as seasonal needs shift across months.





