
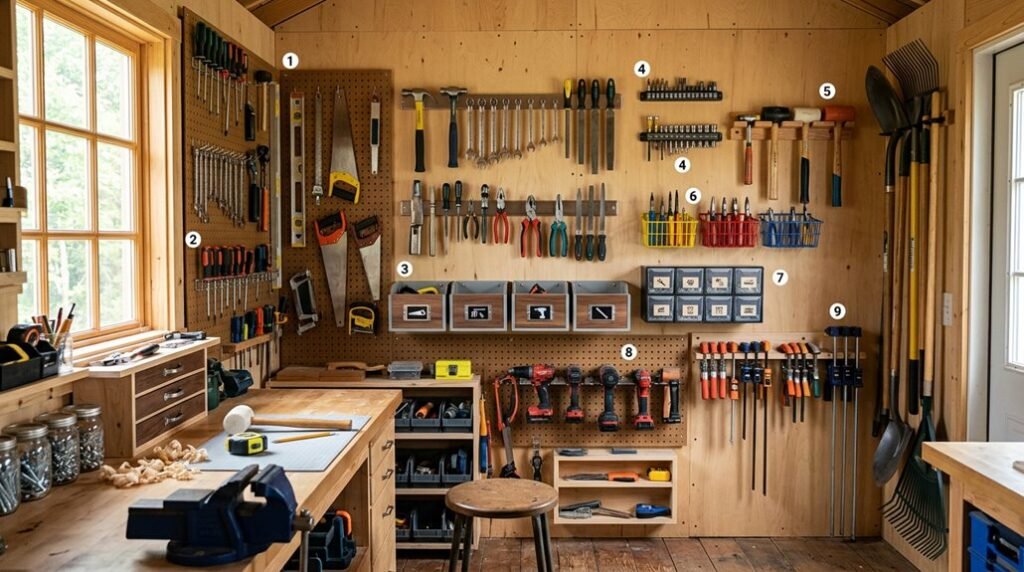
Let’s call my shed’s current state “creatively unstructured,” a polite way of saying I can’t find my hammer without excavating three rakes and a half-empty paint can. After months of tripping over garden hoses and misplacing socket wrenches, I’ve mapped out ten architectural storage solutions that transform vertical planes into functional galleries.
Each method, whether cleat systems or magnetic arrays, promises measurable returns: reclaimed floor area, reduced search time, and that particular satisfaction of spatial order. I’ll walk you through the first five now, beginning with the foundational step most skip entirely.
Map Your Shed Layout Before You Hang Anything
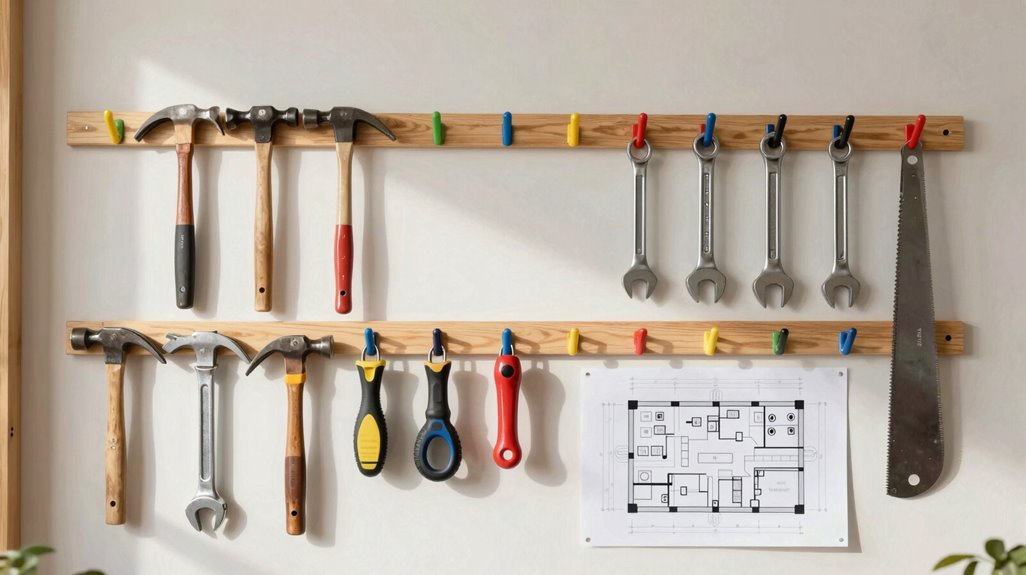
Where do you start when your shed feels more like a storage tomb than a functional workspace? I’ve learned that layout planning saves hours of frustration. Before driving a single screw, I map my shed on paper, sketching zones for gardening tools, power equipment, and seasonal storage with clear pathways between them.
Before driving a single screw, map your shed on paper—sketch zones with clear pathways between them.
- Tape Your Floor Plan. Using masking tape, I mark where each station lives, ensuring 36-inch aisles for movement and positioning heavy equipment near the entrance.
- Locate Your Studs. I identify structural framing for weight-bearing mounts, knowing tall implements require secure anchoring to prevent collapse.
- Prioritize Wall Space. Reserving vertical real estate for infrequently used items, ladders, holiday décor, I keep floors clear for active workstations.
- Build in Flexibility. Modular pegboard systems let me reconfigure as my collection evolves, adapting without demolition.
Start With Simple Stud-Mounted Hooks for Everyday Tools

I always begin my tool organization projects with stud-mounted hooks because they anchor directly into the shed’s structural framework, providing the load-bearing capacity needed for heavy implements like shovels and sledgehammers. When spacing these hooks, I measure at least 8 inches between centers to prevent handle overlap, making sure each tool hangs freely without tangling its neighbor.
I select lag bolts or heavy-duty screw hooks rated for 50+ pounds, matching the fastener to my wall sheathing, whether OSB, plywood, or dimensional lumber, to create a system that won’t fail when I’m grabbing tools in a hurry.
Hook Spacing Essentials
Why struggle with cluttered workbenches when your shed walls offer untapped vertical real estate? I’ve discovered that mastering hook spacing changes ordinary wall-mounted storage into an efficient workshop ecosystem.
1. Measure Before You Drill
I always map my stud locations first; 16 inches on center in most residential construction. Then I mark hook positions with painter’s tape. Proper hook spacing prevents handle collisions, keeping rakes parallel and shovels accessible without the frustrating clatter of overlapping metal.
2. Size Hooks to Your Tools
Selecting appropriate hardware matters: curved hooks for hoses, angled brackets for long-handled implements. This tailored approach maximizes your wall-mounted storage capacity.
3. Prioritize Accessibility
I place everyday tools between shoulder and waist height, minimizing strain and streamlining workflow. Reserve upper zones for seasonal items, lower reaches for bulky equipment.
Mounting Hardware Strength
Every mounting decision I’ve made in my shed starts with a single truth: hardware strength determines whether your wall storage becomes a reliable system or a liability waiting to fail. I’ve learned that stud mounting transforms simple hooks into anchors capable of supporting serious loads; your everyday shovels, rakes, and hammers deserve nothing less.
Proper weight distribution across multiple studs prevents catastrophic failure. I space my mounting points strategically, ensuring no single stud bears excessive burden. This architectural principle, load dispersal, protects both your tools and your wall integrity.
Here’s my approach to reliable hardware selection:
- Locate studs precisely. I use a stud finder, marking centers at 16-inch intervals for maximum holding capacity.
- Select appropriate hooks. Choosing hardware rated for double your tool’s actual weight creates essential safety margins.
- Pre-drill pilot holes. Preventing wood splitting, this step guarantees clean, secure fastening into structural framing.
- Verify vertical alignment. Checking plumb lines guarantees even weight distribution across your mounting surface.
Install a Pegboard Wall for Flexible, Visible Storage
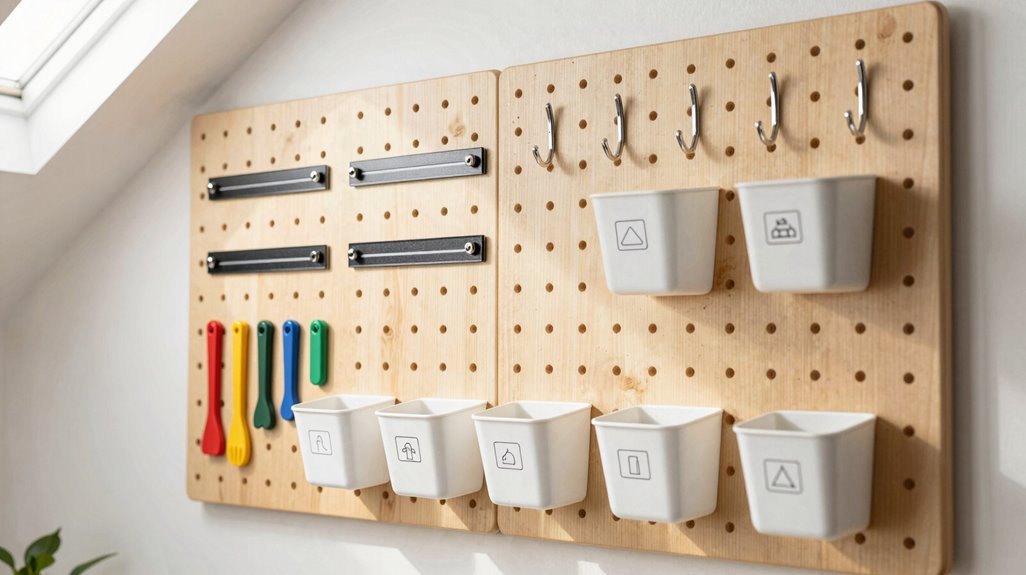
I love how a pegboard wall transforms blank vertical surfaces into dynamic, customizable storage, letting me arrange hooks and bins in endless configurations that keep every tool visible and within arm’s reach.
When my collection grows or changes, I’m simply repositioning hardware rather than drilling new holes, which preserves both my walls and my patience. With sturdy mounting into studs or anchors supporting the load, this system eliminates floor clutter while creating that satisfying, workshop-gallery aesthetic every shed deserves.
Versatile Hook Configurations
Where should you turn when your shed overflows with scattered hand tools and nowhere to hang them? I turn to Pegboard systems, architectural grids transforming blank walls into dynamic storage landscapes. By mounting with wood spacers for clearance, I create depth accommodating various hook profiles.
My four essential configurations:
- Single-prong hooks, supporting lightweight drivers and wrenches; observe how 1-inch spacing prevents clustering, ideal for compact Eastern sheds.
- Double-loop hooks, cradling hammers and mallets; noting their stability under vibration, common in coastal California workshops.
- Extended-reach hooks, projecting 4 inches for drills; ensuring handles clear the board, favored in spacious Midwest barns.
- Specialty J-hooks, gripping saws by their teeth; maintaining blade integrity through vertical suspension, prevalent in New England colonial outbuildings.
Reconfiguring hooks, I adapt without drilling fresh holes; my evolving collection finding perpetual order.
Visible Tool Access
Why settle for rummaging through drawers when your most-used tools could command the wall itself? I transformed my shed’s blank wall into a command center using peg boards, connecting my daily rhythm to an organized, efficient workspace.
Here’s how I built visible tool access:
1. Select Your Surface. I chose a 4×8-foot perforated hardboard, mounting it waist-high for ergonomic reach, ensuring every tool greets me at eye level.
2. Prepare for Hardware. Using 1×2 wood spacers behind the panel, I created crucial offset depth for hook insertion, preventing wall abrasion while strengthening the assembly.
3. Anchor Securely. I drove lag bolts into studs every 16 inches, supporting 45+ pounds of grouped implements without sagging.
4. Curate Your Display. I arranged tool racks by function: measuring instruments adjacent, cutting tools clustered, fastening devices unified. This taxonomy eliminates hunting.
My workflow accelerates when everything’s visible, accountable, beautiful.
Easy Reconfiguration Options
Because my tool collection evolves with every project, I’ve learned that rigid storage systems become obsolete faster than a dull blade. That’s why I swear by Pegboards; they’re the backbone of my workshop’s adaptive architecture.
- Modular Hook Systems — I mix J-hooks, loop hooks, and angled brackets across 1/4-inch perforated hardboard, swapping configurations as my arsenal expands; no two project phases demand identical layouts.
- Spacer-Mounted Panels — Using 1×2 wood furring strips behind panels, I create essential clearance for hook insertion. This dimensional offset prevents wall abrasion while enabling full reconfiguration freedom.
- Load-Bearing Anchors — I drive lag screws into studs every 16 inches on center, ensuring my heaviest mallets and levels rest securely without sagging across the span.
- Floor-to-Field Transition — Elevating hand tools vertically, I reclaim valuable square footage below. My shed breathes easier, and so do I.
Build a French Cleat System for Heavy-Duty Gear
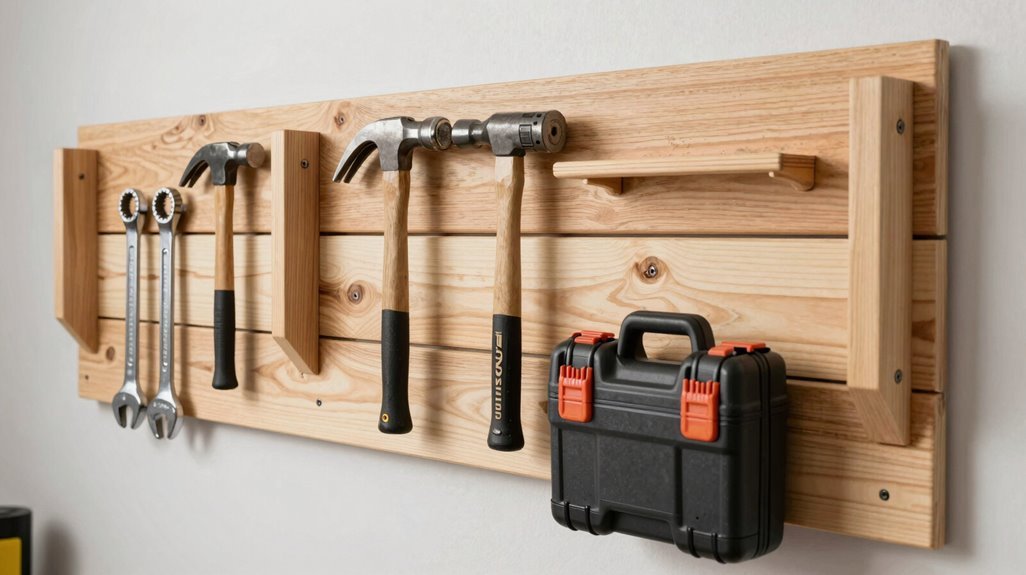
One of the most versatile upgrades I’ve made to my shed is a French cleat system, an interlocking wall-mounted framework that transforms blank vertical surfaces into dynamic, load-bearing storage. This storage solution uses beveled wooden slats, typically cut at 45 degrees, creating a self-locking mechanism that distributes weight across wall studs.
For heavy-duty gear, I build cleats from ¾-inch plywood or 2×4s, anchoring directly into studs with lag bolts. The horizontal wall-mounted cleat receives matching beveled brackets on tool holders, bins, and hooks, allowing staggered, adjustable placement without drilling fresh holes.
I level each cleat precisely, ensuring tight engagement. Ladders, power tools, and garden equipment snap securely into place, reconfiguring as needs evolve. It’s modular architecture for the working shed, professional-grade capacity with homeowner accessibility.
Store Small Metal Tools on Magnetic Strips
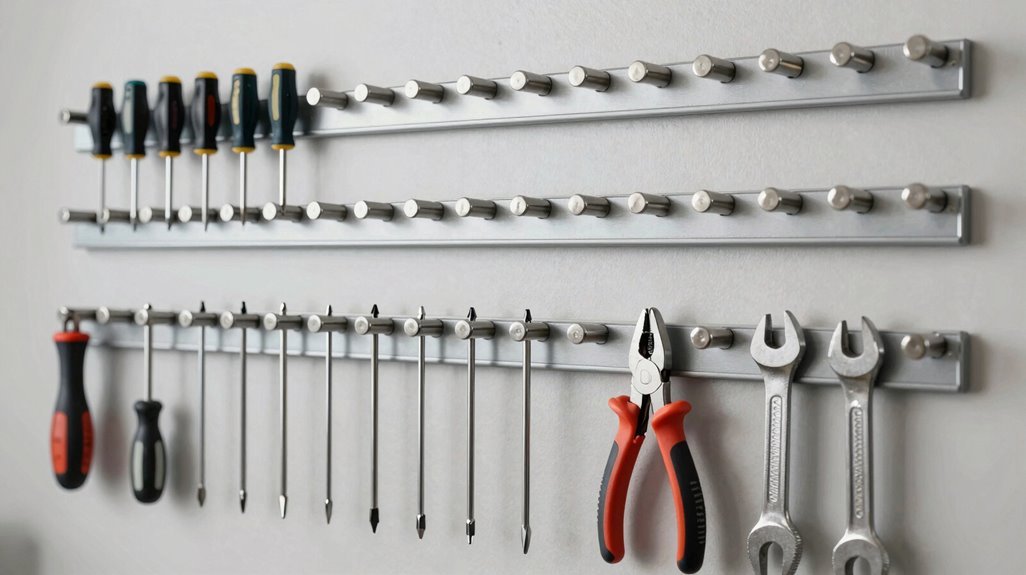
I love how magnetic strips transform dead wall space into functional display, keeping screwdrivers, wrenches, and drill bits visible, accessible, and perfectly organized.
Magnetic Strip Benefits
Where do your most-used small tools disappear to when you need them most? I’ve solved this frustration with magnetic strips, transforming my shed’s drillable walls into an accessible, architectural-grade storage system.
Here’s how magnetic strips improve your tool organization:
- Instant Accessibility — Mounting at eye level, I grab screwdrivers and wrenches without rummaging through drawers; this proximity cuts retrieval time significantly.
- Secure Retention — The clean, metal-friendly backing grips lightweight items—drill bits, hex keys—preventing the cascade of misplaced hardware I’ve experienced before.
- Spatial Harmony — Pairing strips with labeled bins, I maintain visual order; tools return to designated zones, eliminating overlap and confusion.
- Enduring Performance — Positioned away from moisture and heat sources, my magnetic strips retain strength, preserving this organizational investment for years.
Tool Organization Tips
Three magnetic strips, each 18 inches long, now line the north-facing wall of my shed, transforming what was once cluttered drawer space into a curated, at-a-glance workstation. I’ve learned that pairing magnetic strips with a pegboard creates a hybrid system where metal tools snap securely into place while larger items hang adjacent, building a cohesive organizational language across the wall plane.
Before mounting, I clean the substrate thoroughly and verify drillability, ensuring the ferrite backing achieves maximum adhesion. I position strips between 36 and 48 inches above the finished floor, eliminating stooping during repetitive tasks. Tracing tool silhouettes with permanent marker creates immediate visual accountability; when a wrench outline appears empty, I know exactly what’s missing. This spatial discipline invites others into my workspace with intuitive clarity.
Hang Long-Handled Garden Tools on Slatwall or Rails
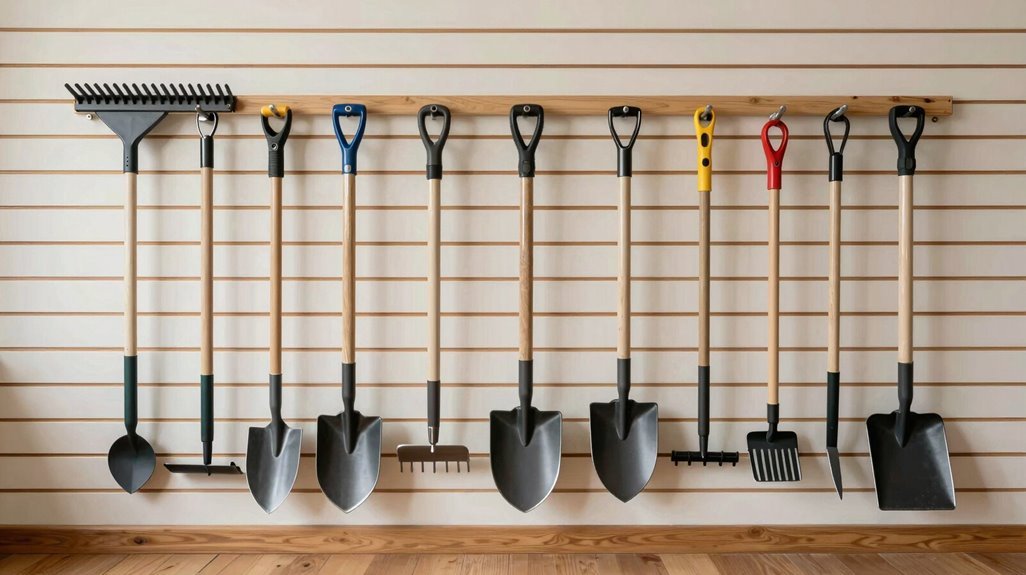
When I’m staring down a cluttered shed floor—shovels tangled like pick-up sticks, rakes leaning precariously against every wall—I know it’s time to reclaim my vertical real estate. I’ve found that installing slatwall or rails changes dead wall space into an efficient storage matrix for long-handled implements.
- Select Your Slatwall System, Choose PVC or aluminum slatwall rated for exterior moisture exposure; I mount mine at 48 inches high for ergonomic reach throughout the Midwest growing season.
- Position Heavy-Duty Hooks, Space hooks 6 inches apart, selecting J-hooks or loop brackets accommodating handles from 1 to 1.5 inches diameter without wobble.
- Group by Function, Cluster rakes, hoes, and shovels separately; this taxonomy eliminates cross-contamination and reduces retrieval time during critical planting windows.
- Anchor to Structural Members, Drive lag bolts into studs at 16-inch centers, confirming 75-pound shear capacity per linear foot.
Mount a Corner Rack to Reclaim Dead Space
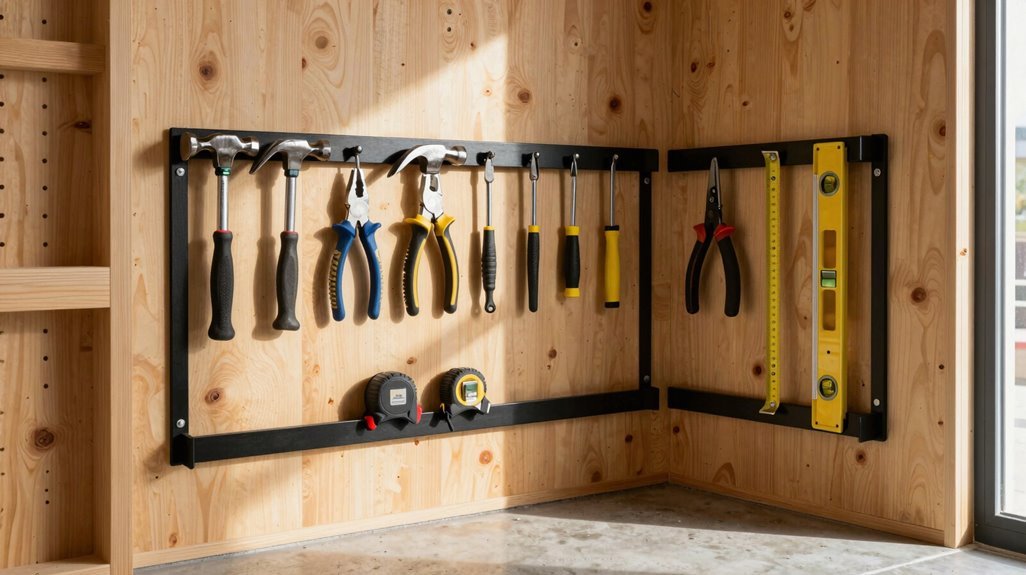
Every neglected corner in my shed represents a cubic foot of squandered potential, dead space that, with the right intervention, becomes a high-density storage node. I’ve found that installing a corner rack changes these architectural voids into vertical storage space without sacrificing floor area.
My resin corner rack holds twenty-five tools in one compact footprint; rakes, shovels, and garden equipment standing upright, organized, accessible. Five minutes, that’s all the installation demands. In my small shed, where horizontal square footage comes at a premium, this vertical solution eliminates floor clutter, creating navigable pathways between work zones.
The durability matters; weather-resistant resin withstands seasonal humidity cycles, maintaining structural integrity where wood warps. Tools rest in dedicated slots, no longer leaning, falling, disappearing behind potting benches. I’ve reclaimed dead space, converting it into functional infrastructure that respects both my equipment and my limited envelope.
Add Workbench Shelving With Under-Mount Hooks
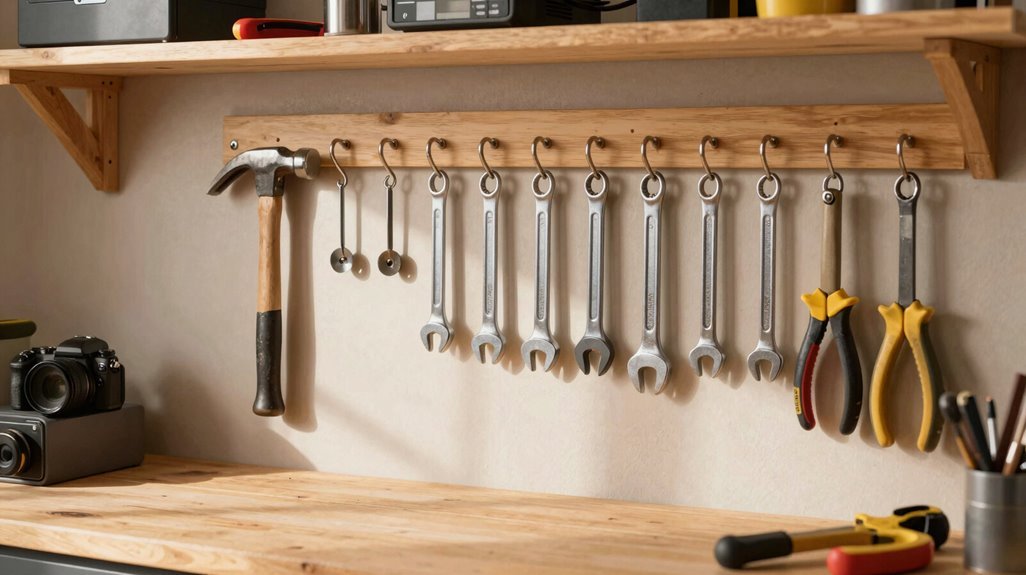
Corners secured, I turned my attention to the workbench, my shed’s operational heart, where surface clutter had long sabotaged my efficiency. Installing under-mount hooks beneath the benchtop transformed this zone, embedding hardware flush against the underside to preserve vertical clearance while keeping hand tools within arm’s reach.
- Select Sturdy Hardware : Choose under-mount hooks rated for your heaviest screwdriver or pliers, making sure the workbench structure accommodates the load without flexing.
- Anchor to Studs : Drive fasteners into reinforced backing or wall studs, creating a foundation that withstands daily extraction and replacement.
- Prioritize Frequency : Position tape measures and daily drivers closest to your standing position, reducing motion waste during projects.
- Code Your System : Apply colored labels to hooks, establishing visual rhythm that accelerates workflow and returns tools to their designated homes.
Hoist Seasonal and Bulky Items to the Ceiling
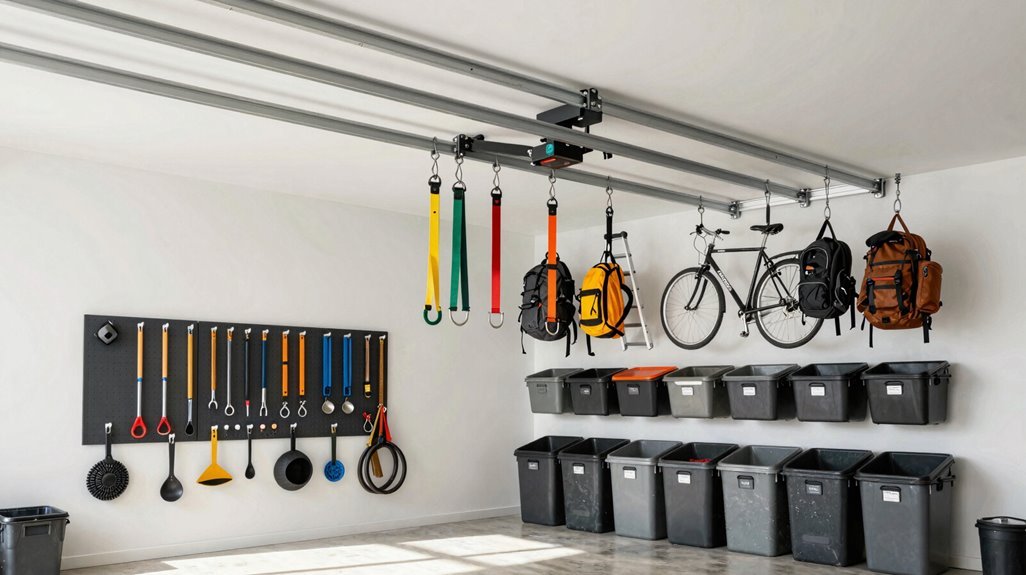
Where does a kayak go when it isn’t summer? I’ve found the answer hanging above my head.
Overhead storage transforms dead ceiling space into prime real estate for bulky, seasonal items: kayaks, holiday décor, camping gear. This frees your floor plan for daily circulation. I install racks or pulley systems rated for weight, securing them to joists with lag bolts, not drywall anchors.
| Item Type | Mounting Method | Safety Check |
|---|---|---|
| Bikes | Ceiling hooks | Verify stud placement |
| Totes | Platform racks | Confirm load capacity |
| Ladders | Pulley hoist | Test rope integrity |
| Seasonal decor | Adjustable shelving | Label contents clearly |
I reserve this vertical zone for infrequent access, keeping knee-level clear for tools I grab daily. In earthquake-prone regions, I add secondary straps. Your shed’s spatial hierarchy deserves this architectural thinking: ground for movement, eye for tools, overhead for storage that rotates with the seasons.
Label Every Tool’s Home for Easy Returns
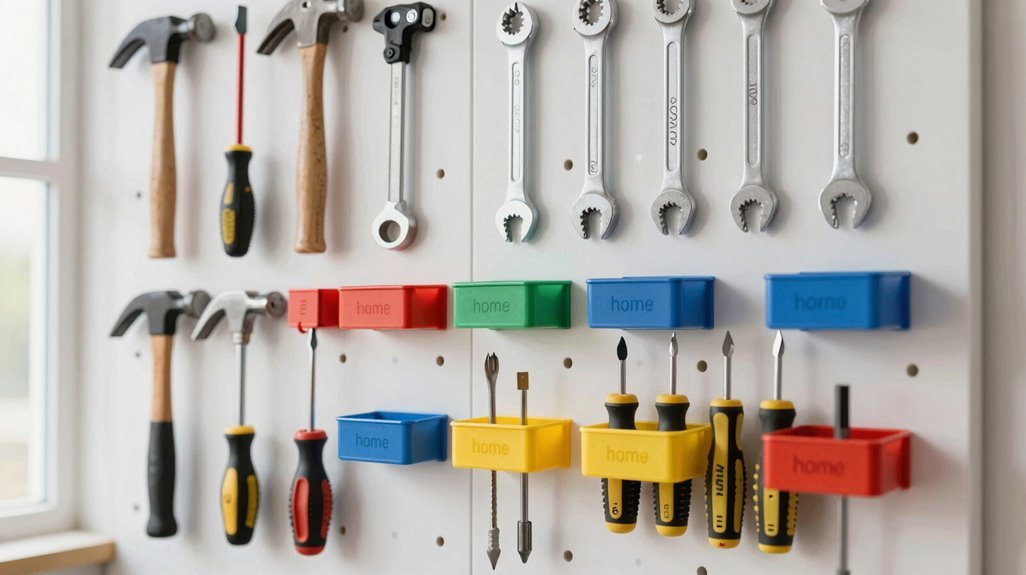
Once I’ve carved out zones, overhead for seasonal gear, eye-level for daily drivers, I face a quieter challenge: making sure every tool finds its way back. Labeling transforms my shed from functional to intuitive, creating a shared language anyone can read.
- Paint a Chalkboard Backdrop — I roll chalkboard paint onto plywood panels behind my pegboard, sketching tool silhouettes that I redraw when my collection evolves; the matte black surface, spanning 24 by 36 inches, accepts endless revisions without residue.
- Trace with Chalkboard Markers — Using white liquid chalk, I outline each hanging implement, hammers, levels, clamps, so empty spaces shout their absence, cutting retrieval time by half during urgent repairs.
- Match Color to Category — I wrap electrical tape around handles and corresponding hooks: red for cutting tools, blue for measuring, building instant visual fluency.
- Inventory the Vertical Plane — My wall-mounted chalkboard grid lists every item by zone, transforming the shed into a navigable system where nothing hides.





