
Installing a pool yourself has never been less impossible, if you have the right kit, that is. I have spent months comparing wall gauges, liner mil thickness, and steel-to-polymer framing ratios across every major supplier shipping in 2027. What I found might surprise you.
Why Pool Warehouse DIY Kits Work in 2027
Why do so many homeowners choose Pool Warehouse DIY kits in 2027? I’ve found it’s because these vinyl liner pool kits turn ambitious dreamers into confident pool owners, people like us who crave that satisfaction of building something lasting.
The appeal starts with flexibility. Whether I’m drawn to classic rectangles, organic lagoons, or kidney shapes, I select steel or polymer wall panels matching my aesthetic and soil conditions.
The real difference? Comprehensive planning resources guiding my site planning with precision dig sheets ensuring proper liner tension: no guesswork, no costly re-digs.
My installation timeline stretches one to three weeks, weather permitting, with expert support available when questions arise. Financing tools help me budget realistically, while the DIY Savings Estimator shows exactly where I’m cutting costs without cutting corners. I’m not just buying a pool; I’m joining a community.
What Ships in Your Pool Warehouse Kit (and What You’ll Need to Buy)
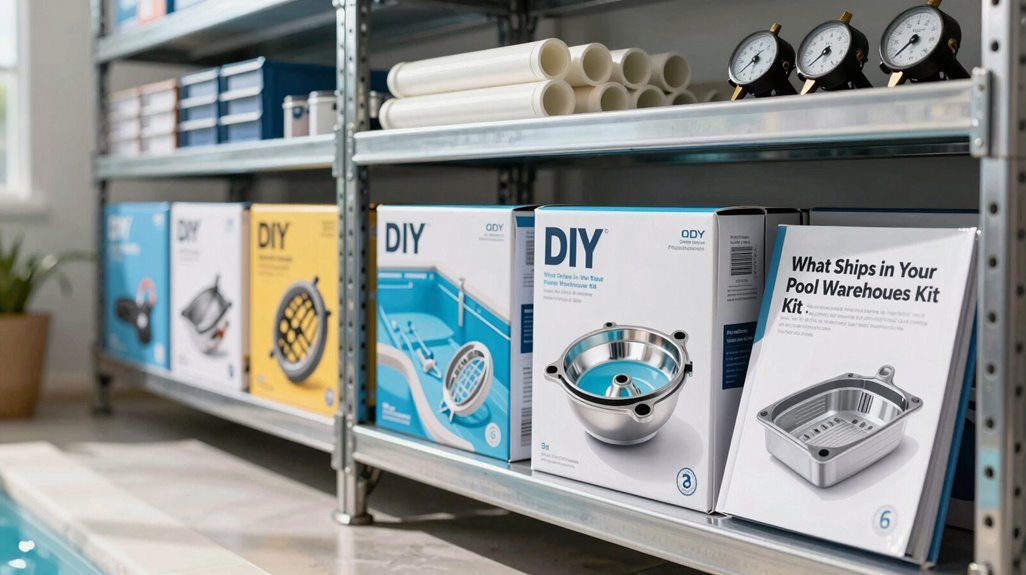
I’ll walk you through exactly what arrives on your driveway: wall panels, braces, hardware, a custom-fit vinyl liner, poly steps, coping, and skimmer, plus the pump and filtration system that keep your water crystalline. From there, you’re choosing your own adventure: tanning ledges, LED lighting, saltwater systems, and cascading water features that turn a simple basin into a resort-style retreat.
What you won’t find in that shipping crate, backfill, excavation, electrical runs, and certain plumbing components, means you’ll need to source locally, so I’m flagging those gaps now before your timeline slips.
Standard Kit Contents
When you unbox a Pool Warehouse DIY kit, you’re receiving the skeletal framework of your future backyard retreat: engineered components that transform raw earth into a functional aquatic environment. Your kit contents include galvanized steel wall panels, structural braces, and a custom-fit vinyl liner engineered to your pool’s exact dimensions. You’ll find a poly step for entry, coping for that finished edge, a skimmer for surface debris, and a pump/filtration system sized to your volume. Dig sheets and equipment pad layouts guide your installation.
What you’ll need to source separately: backfill not included, plus grout, hand tools, and water.
- Structural Shell: Wall panels and braces form your perimeter. Precision-manufactured in the Midwest, these interlocking components create the vessel that contains your aquatic space.
- Water Interface: The vinyl liner, coping, and skimmer manage where water meets structure. Your liner stretches across the floor-to-wall transition while the skimmer maintains surface clarity.
- Circulation Core: Your pump/filtration system, paired with the poly step, completes the functional loop: drawing water through intake, filtering particulates, returning clean flow.
Optional Upgrades Available
Beyond the foundational components anchoring your pool’s structure, you’ll find opportunities to sculpt the aquatic experience itself: upgrades that shift your installation from functional basin to curated retreat.
- Tanning Ledges — Shallow shelf extensions, typically 8-12 inches deep, inviting loungers into the water’s edge without full immersion; availability scales with kit size, from compact 14×28 footprints to expansive 20×40 configurations.
- LED Lighting — Programmable color systems changing evening swims into ambient spectacles; verify transformer compatibility with your vinyl liner specifications before specifying.
- Saltwater Systems — Automated chlorination reducing chemical handling; note restricted compatibility with certain metal wall constructions.
- Water Features — Cascading spillways, deck jets, and bubbler arrays creating auditory and visual focal points.
When selecting upgrades, I recommend mapping equipment pads early. This means making sure you have adequate concrete foundations for pumps, heaters, and automation housings relative to your chosen configuration.
Additional Items Needed
What arrives at your doorstep isn’t the complete picture: it’s the architectural skeleton, the engineered core that transforms earth into swimming vessel. You’re joining a community of builders who understand that craftsmanship extends beyond the box.
Before breaking ground, I always recommend starting with their design tool for precise layout planning. Staking your perimeter, painting excavation boundaries, and ensuring your vinyl liner will tension perfectly across every contour.
You’ll need to source separately:
- Earthmoving essentials — excavation equipment for cutting your basin, plus backfill material for structural support around the shell
- Plumbing infrastructure — pipe/fittings, glue for solvent-welding joints, creating circulation pathways the kit assumes you’ll fabricate
- Finishing implements — trowels for smoothing vermiculite bottoms, shop vac for debris removal, achieving that professional-grade substrate your liner demands
DIY Pool Timeline: 1–3 Weeks to Swim-Ready
I’ll map out how most of us move from delivery day to that first cannonball in roughly one to three weeks, starting with pre-kit planning essentials, navigating weather and scheduling factors, then making the final push to completion.
Before your shipment arrives, I’m already marking utility lines, confirming equipment pad placement per the dig sheet’s specifications, and locking in excavation crews. Once that steel or polymer wall kit hits my driveway, every day of prep translates directly to plumb walls and proper liner tension.
Weather windows dictate everything from trench stability to vinyl flexibility during installation, so I’m watching forecasts like a hawk while coordinating weekend help and licensed electricians to keep my DIY timeline on track.
Pre-Kit Planning Essentials
Before my kit ever arrives at the curb, I’m already three moves ahead, mapping the backyard’s topography, flagging utility lines, and penciling excavation dates into my calendar. Pre-kit planning separates dreamers from doers in the DIY pool kits community, and I’m here to make sure you’re building alongside me, not catching up.
- Secure Your Building Permit — I submit site plans early, knowing most municipalities require permits for modular wall kits; skipping this voids my warranty and stalls excavation.
- Plan Your Equipment Pad — I level ground near electrical access, positioning pumps and heaters before backfill complicates access.
- Choose Your Hybrid Approach — I handle vinyl liner placement myself but subcontract trenching, blending sweat equity with licensed expertise for code-compliant results.
Weather and Scheduling Factors
With my permits stamped and equipment pad leveled, I’m now staring down the calendar, mapping installation days against weather patterns and subcontractor availability.
| Factor | Impact on Timeline |
|---|---|
| Weather | Rain delays excavation and concrete curing |
| Scheduling | Weekend crews accelerate DIY kit assembly |
| Excavation | Tight access in small backyards extends dig time |
| Site planning | Precise measurements ensure proper liner tensioning |
| Installation timeline | 1–3 weeks with cooperative conditions |
I’m coordinating my excavation crew two weeks ahead, knowing that spring mud or summer storms can stall progress. My backyard’s limited access means scheduling a mini-excavator, not standard equipment. Thorough site planning, marking utilities, verifying grades, keeps my installation timeline intact. When weather cooperates, I’m swimming within the month.
Final Push to Completion
Three weeks stands between my excavated hole and my first cannonball, assuming every phase clicks into place. With DIY kits engineered for homeowners like us, that installation timeline compresses dramatically once excavation wraps and wall kits lock into position.
Prep the Dig Sheet Precision — Following the detailed diagram keeps my vinyl liner pools plumb and hopper depth exact, ensuring liner fit without costly rework.
Coordinate Electrical Hookups Early — I schedule licensed electricians alongside my build, preventing delays when water’s ready; proximity to my equipment pad matters.
Marshal Weekend Warriors — Helper availability accelerates swim-ready completion, turning evenings into progress toward that inaugural splash.
Weather, site access, and my own grit determine whether I’m floating by week three or still backfilling. This in-ground pool belongs to whoever plans hardest.
Hidden Costs of DIY Pool Kits: Permits, Excavation, Electrical
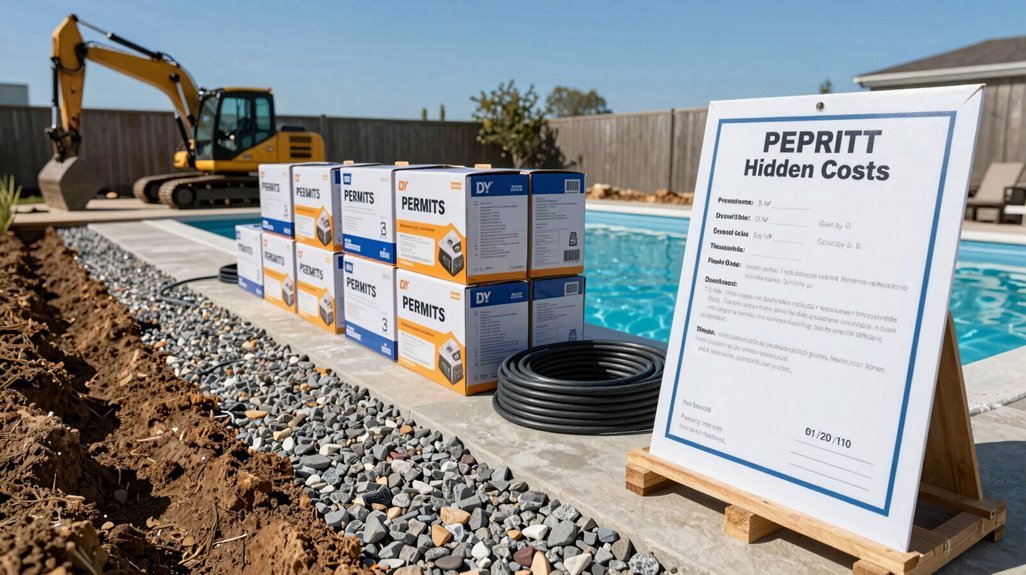
While the sticker price on that glossy pool kit brochure might seem like your total investment, I’m here to tell you, it’s barely the beginning. Before breaking ground, you’ll navigate permits requiring a detailed site plan showing setbacks, zoning compliance, and safety codes. Don’t skip your 811 call; marking underground utilities prevents catastrophic utility strikes during excavation.
Speaking of excavation, renting equipment or hiring operators to achieve plumb walls adds substantial hidden costs. Then there’s electrical permits for pumps, heaters, and automation panels, plus trenching runs and backfill materials never included in that attractive kit price. These elements turn your backyard vision into a compliant, safe installation. We’re all learning this together; budgeting realistically means belonging to the community of successful pool owners who planned ahead.
How to Match Pool Kit Size to Your Yard and Budget
I start by measuring my yard’s buildable footprint, accounting for setbacks, utility easements, and the equipment pad’s spatial requirements, before weighing whether a compact 14-by-28-foot kit suits my budget or if stretching to an 18-by-36-foot footprint justifies the marginal cost increase.
With base kits ranging from roughly $11,145 to $11,850, I’m allocating funds not just for the shell and structural components, but for the excavation precision, permit compliance, and post-installation upgrades: tanning ledges, saltwater systems, LED lighting, that turn functional space into resort-style amenity.
Ultimately, I’m balancing square footage against feature density: a smaller pool with premium finishes often delivers greater lifestyle value than raw dimensions alone, particularly when financing options and phased enhancements let me scale the project across seasons.
Assessing Yard Dimensions
Where exactly does your vision of summer afternoons, kids cannonballing, neighbors lingering past sunset, that particular blue shimmer cutting through humid air, intersect with the physical limits of your property? I start every project with precise yard measurements, because your kit footprint must accommodate not just pool dimensions, but equipment pad placement and setback space required by local codes.
Measure Everything Twice — Record length, width, and slope variations across your site measurements; even gentle grades demand attention when establishing level ground for structural integrity.
Map Your Clearances — Calculate decking clearance early. Pool Warehouse’s 14 x 28 through 20 x 40 kits each require different breathing room for circulation and aesthetics.
Leverage Digital Planning — Their design tool turns raw dimensions into visual reality, letting you preview how rectangular kit footprints integrate with existing hardscape before breaking ground.
Budget Allocation Tips
How precisely does your available capital align with the aquatic footprint you’re envisioning? I’ve found that matching kit size to budget starts with understanding the full cost landscape beyond the sticker price.
1. Size-to-Cost Mapping
The 14 x 28 suits modest yards and tighter budgets, while the 20 x 40 demands substantial investment; each tier (16 x 32, 18 x 36, 18 x 40) offers distinct value propositions with occasional freebies like robotic cleaners sweetening larger commitments.
2. Hidden Cost Integration
I always run numbers through the DIY Savings Estimator, comparing excavation, decking, and components against contractor bids. Then I layer in permit fees, site preparation demands, and backfill costs, which kit prices rarely capture.
3. Material Economics
Polymer walls reduce labor in flexible soils; steel commands premium rigidity where frost heave threatens. Both choices ripple through long-term maintenance budgets.
Size Versus Features
When you’re standing at the edge of your backyard, tape measure in hand, the gap between your vision and your available square footage becomes immediately apparent. I’ve learned that reconciling these two realities demands more than simple arithmetic.
- Measure Your Footprint First — Before selecting any DIY kit size, I map my yard’s buildable envelope, accounting for setbacks, equipment pads, and deck circulation; a 14×28 kit fits tighter suburban lots, while a 20×40 kit demands expansive acreage.
- Weigh Price by Size Against Kit Features — I’ve noticed the cost-to-size trend favors scaling up for volume, yet a tanning ledge option or upgraded vinyl pool liner on a smaller rectangular pool sometimes outperforms bare-bones modular construction in a larger shell.
- Prioritize Modular Construction Flexibility — With rectangular pool kits offering free robotic cleaners at certain thresholds, I balance financing tools against contractor bids, making sure my selected footprint aligns with both budget constraints and aspirational lifestyle goals.
14×28 DIY Pool Kit: Best Compact Option for Small Backyards
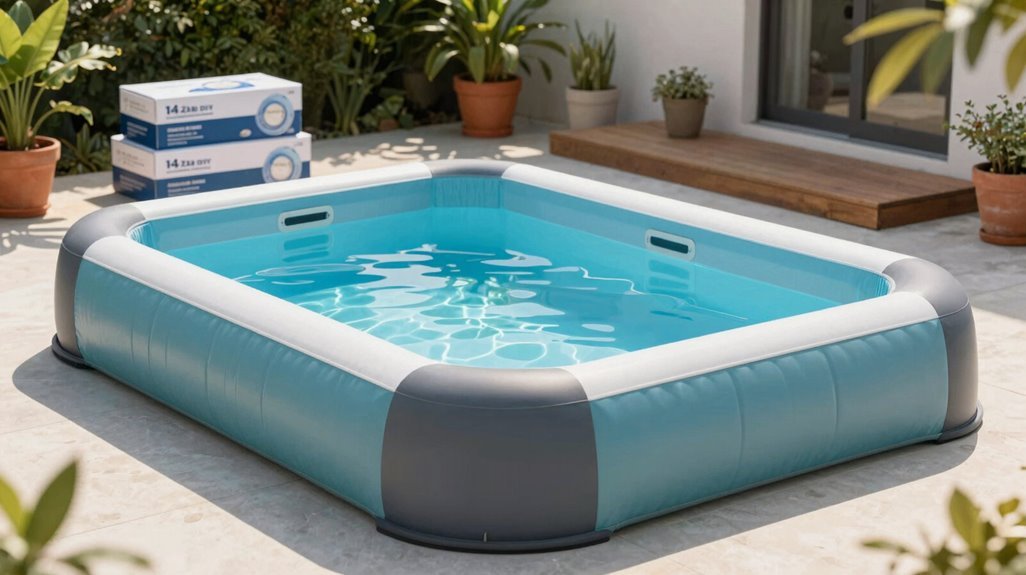
Why settle for a cramped, cookie-cutter solution when your modest outdoor footprint can still accommodate genuine aquatic luxury? I’ve found this 14×28 rectangle DIY pool kit transforms tight quarters into personal retreats, delivering full-scale enjoyment without overwhelming your landscape.
This compact option for small backyards includes robust wall panels, a custom-fit vinyl liner, and complete pool kit inclusions: pump, filtration, poly step, coping, and skimmer. You’ll also receive a FREE Robotic Cleaner and chemicals, valued additions that ease maintenance from day one.
| Feature | Specification | Value |
|---|---|---|
| Dimensions | 14×28 rectangle | 392 sq. ft. swimming area |
| Current Price | $11,145.00 (was $12,339.97) | $1,194.97 savings |
| Core Components | Wall panels, vinyl liner, hardware | Complete structural system |
| Bonus Inclusions | Robotic Cleaner + Chemicals | Zero added cost |
Consider ongoing upgrades, tanning ledges, LED lighting, saltwater systems, to evolve your space as lifestyle demands shift.
16×32 DIY Pool Kit: The Sweet Spot for Family Swimming
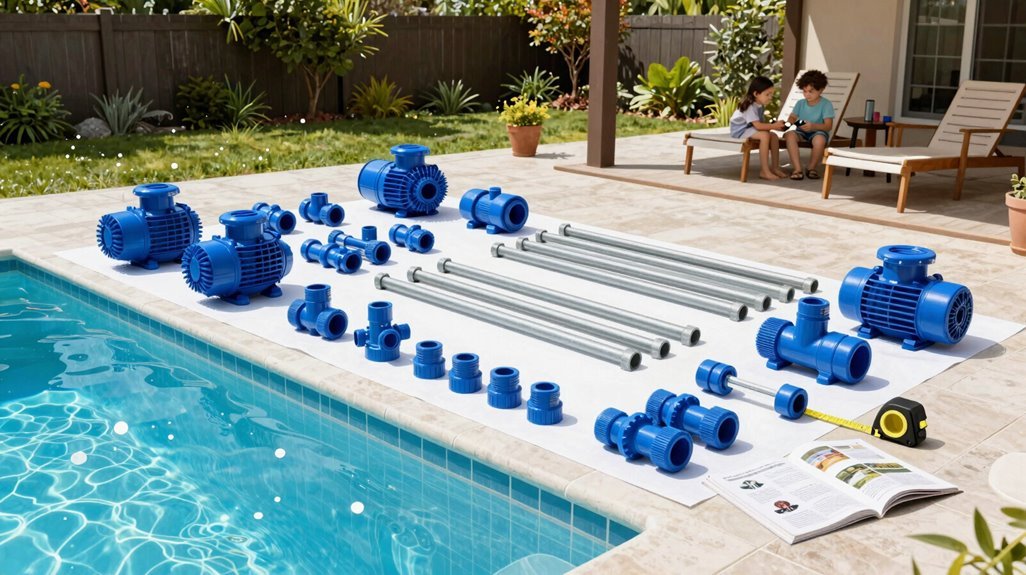
I’ve watched countless families grapple with finding that ideal balance—enough space for genuine recreation without overwhelming their property—and the 16×32 rectangular DIY pool kit delivers precisely that equilibrium. This vinyl liner pool from Best Pool Warehouse hits the mark for family swimming without dominating your landscape architecture.
- Core Components: Your DIY pool kit ships with wall panels, braces, hardware, a custom-fit vinyl liner, poly step, coping, skimmer, and pump/filtration system. Everything’s engineered for straightforward assembly.
- Personalization Options: Optional upgrades transform the 16×32 rectangle into your retreat: tanning ledges for afternoon lounging, LED lighting for evening ambiance, saltwater systems for gentler swimming.
- Execution Essentials: Permits planning, backfill excavation, and equipment pad positioning demand attention. Proper winterization protects your investment through harsh seasons.
18×36 DIY Pool Kit PFX: Upgraded Frame for Demanding Soil
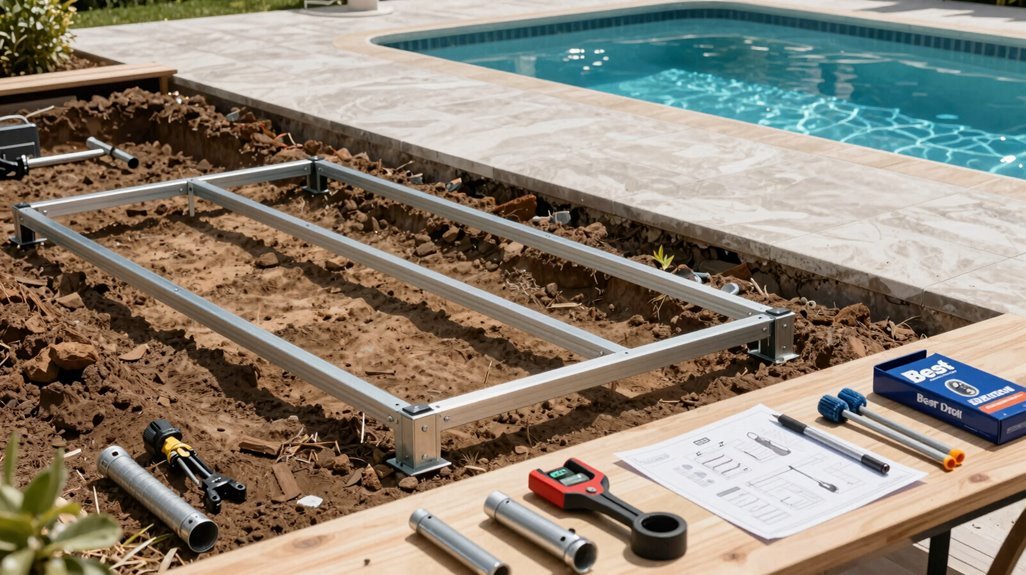
Where does your property push back: expansive clay, sandy loam, or that notorious hillside cut that shifts with every spring thaw? I’ve found my answer in the 18×36 DIY Pool Kit PFX from Pool Warehouse, a reinforced frame system built for demanding soil conditions that would compromise lesser builds.
Built for demanding soil conditions that would compromise lesser builds.
The PFX upgrade changes standard wall panels into a geotechnically resilient structure, accommodating ground movement without sacrificing installation ease. You’re not wrestling with engineering anxiety; you’re assembling a kit designed for your specific terrain challenge.
- Structural Integrity: The reinforced frame distributes lateral loads across the 18×36 footprint, protecting your vinyl liner from stress fractures common in reactive soils.
- Component Integration: Braces, coping, and filtration hardware arrive calibrated for the PFX specification; no field modifications needed.
- Belonging Assured: This kit welcomes homeowners excluded from standard offerings, recognizing that challenging ground shouldn’t mean surrendering your pool dream.
18×40 DIY Pool Kit: Extended Length for Lap Swimming
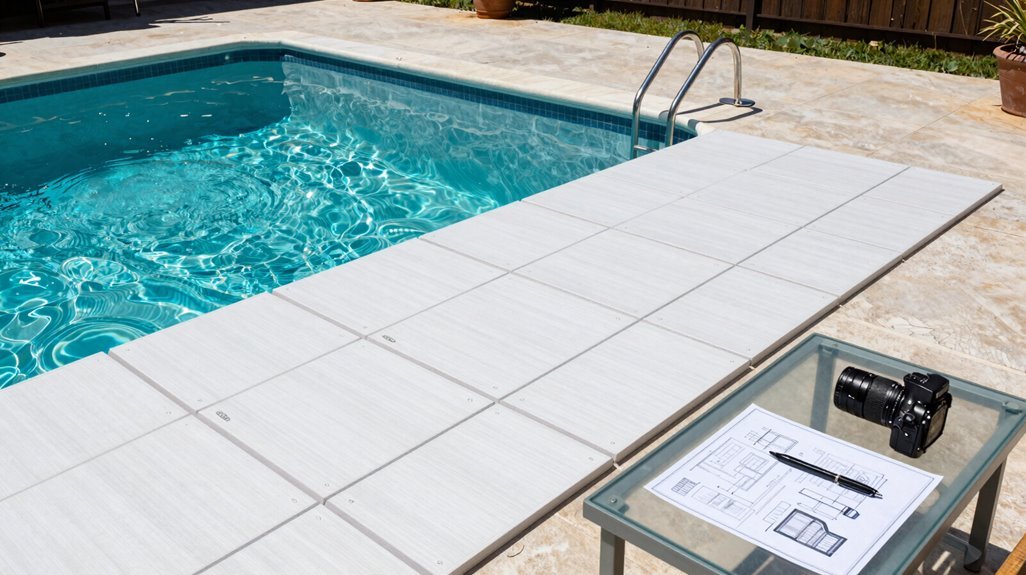
An 18×40 footprint transforms your backyard into something more ambitious than a cooling hole; it becomes a training lane, a morning ritual, a measured stretch of purpose. I’ve found this DIY kit delivers exactly that extended length serious swimmers crave, with wall panels engineered for structural integrity across the full span.
Your 18 × 40 package includes a custom-fit vinyl liner, poly step, coping, and pump/filtration system; everything for self-installation. Planning considerations matter here: equipment pad placement, excavation timing, permits. The pricing range runs $11,110–$12,420, with promotional robotic cleaners occasionally included.
- Wall Panel Engineering: Galvanized steel braces resist hydrostatic pressure across 40 feet of water weight, ensuring dimensional stability through freeze-thaw cycles.
- Vinyl Liner Fit: Computer-cut patterns eliminate wrinkles during installation, creating that seamless glide surface lap swimming demands.
- Filtration Sizing: Matched pump/filtration system handles extended length volume without circulation dead zones, maintaining clarity for daily training.
20×40 DIY Pool Kit: Maximum Size for Entertaining
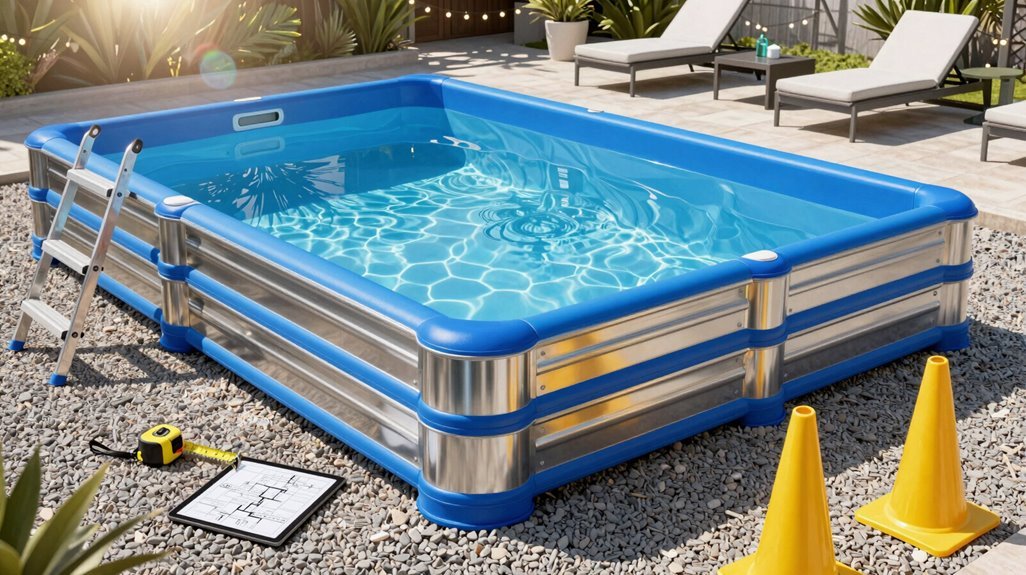
Why settle for modest when your backyard could host the season’s defining gathering? I see the 20 x 40 kit as the vinyl liner pool that transforms your property into the neighborhood’s unofficial summer headquarters, delivering serious entertaining space without breaking into six figures.
| Feature | Specification |
|---|---|
| Wall panels | Galvanized steel with bracing system |
| Entertaining space | 800 sq ft swimming area plus decking space |
| Equipment pad | 6′ x 10′ recommended placement |
| Backfill strategy | Controlled compaction around shell |
| Winterization | Required for cold climate protection |
You’re looking at roughly $11,850–$12,420 for this footprint; wall panels, liner, coping, and core systems included. I recommend adding LED lighting and planning your equipment pad location early, since proper backfill strategy and winterization protocols keep this investment party-ready for years. Your crew’s already asking when the inaugural barbecue happens.





