
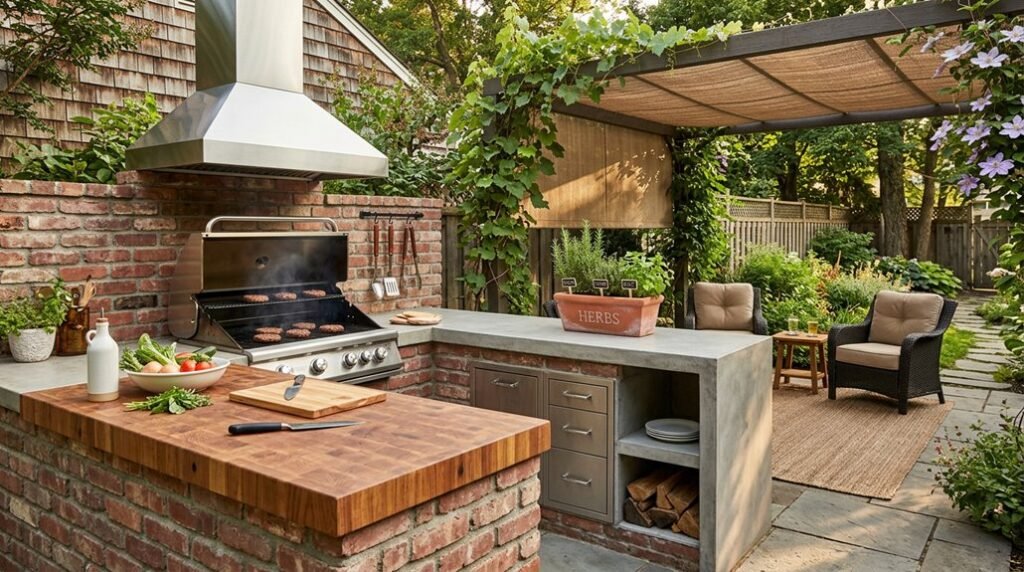
I’ve built three outdoor kitchens across climates from coastal Florida to high-desert Colorado, and each taught me that the difference between a showpiece and a sunk cost lies in what happens before the first 2×4 meets concrete. When you’re standing in your backyard, measuring the distance from your sliding door to that mature oak you can’t remove, calculating whether your grill’s vent hood clears the soffit by that critical 6-inch code minimum, you’re not just drafting a cooking space; you’re negotiating with weather, permitting offices, and your own tolerance for maintenance.
The ten steps ahead aren’t aspirational Pinterest fodder. They’re load-bearing. Skip the thermal expansion gap behind your cement board in Phoenix, watch your stucco spiderweb by August. Forget the dedicated 20-amp GFCI circuit for your fridge in Seattle, and you’re explaining to guests why their beer’s lukewarm.
I’ve seen $12,000 installations fail at the first freeze because someone trusted a contractor who “knew outdoor kitchens” but had never poured a frostline footing. What follows is the sequence I wish I’d found: documented, dimensioned, and tested against rot, rust, and regret.
Plan Your Outdoor Kitchen Layout Around Your Space and Workflow
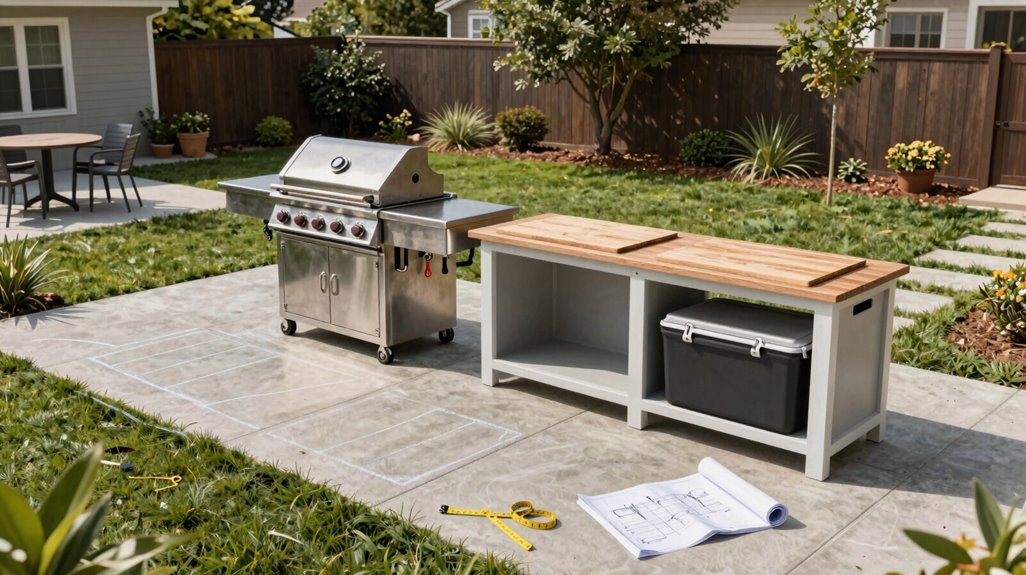
Where do I even begin when the backyard’s a blank canvas and the grill’s calling my name? I start with a clear plan on paper, sketching, CAD, or even PowerPoint, to map my outdoor kitchen layout with every door, drawer, grill, fridge, and sink in place.
Start with a clear plan on paper—sketching, CAD, or even PowerPoint—to map every element of your outdoor kitchen before breaking ground.
Workflow planning means I position components so I’m not dancing between hot surfaces and prep zones. I obtain exact cut-out dimensions from hardware catalogs and supplier data to size precise openings for veneers, stucco, tiles, or stone finishes.
Before breaking ground, I pre-purchase hardware to confirm openings align with planned locations, avoiding costly mismatches. I have a second person review my blueprint, catching clearance issues I’d missed.
This foundation turns my vision into buildable reality.
Choose Appliances First and Capture Every Cut-Out Dimension
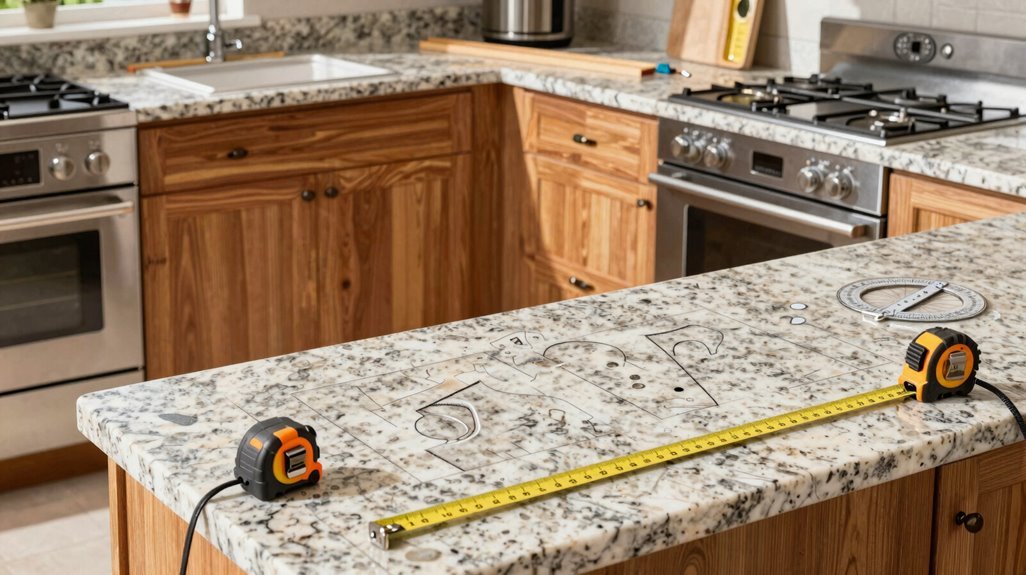
I start every outdoor kitchen project by locking in my appliance lineup: grill configuration, refrigeration unit, storage drawers, before sketching a single cabinet box, because undersized openings or missed ventilation gaps destroy timelines and budgets.
With model numbers in hand, I pull precise cut-out specifications from manufacturer catalogs, cross-referencing standard dimensions across mid-market and premium lines to make sure my rough openings accommodate future replacements or upgrades. I map every height, width, depth, and clearance into a single master plan: CAD, PowerPoint, or even scaled grid paper. Then I have a second pair of eyes verify all hardware tolerances before the first frame goes up.
Appliance Selection Priority
Why guess at cabinet sizes when your appliances can dictate them with precision? I’ve learned that starting with your core equipment: built-in gas grill, outdoor refrigerator, storage drawers, transforms how we approach every downstream decision.
1. Anchor Your Outdoor Kitchen Layout with Primary Appliances
Selecting these first establishes the spatial rhythm of your entire build. I always measure appliance dimensions before sketching a single cabinet, ensuring each unit’s footprint governs adjacent surfaces and traffic flow.
2. Verify Service Clearances Early
Gas lines, electrical receptacles, and drainage outlets demand precise coordination. I review mounting requirements now, avoiding clashes when framing begins, saving costly revisions later.
3. Future-Proof with Strategic Reserve
Planning for charcoal grills, smokers, or pizza ovens means incorporating extra vertical and horizontal clearances today, even if installation waits until next season.
Cut-Out Dimensions Matter
How does precision transform a weekend project into a lasting architectural statement? I’ve learned that fabrication planning fails without exact cut-out dimensions locked in early.
When I build, I capture every measurement before drafting begins: grills, fridges, sinks, drawers. Each demands precise appliance openings with ventilation and wiring clearance.
- Record manufacturer specs exactly: never estimate, always add breathing room for hardware and airflow
- Consolidate your plan: one document mapping width, height, and depth for every opening ensures framing accuracy
- Bring a second set of eyes: verification catches clearance conflicts before construction locks you in
This discipline separates amateur builds from cohesive outdoor architecture. Your future self, and every guest gathering around your finished kitchen, will feel the difference precision makes.
Hardware Catalog Reference
Precision begins long before the first cut, rooted in the quiet work of catalog study and dimensional capture. I gather hardware catalogs from Chinese manufacturers to premium European brands, poring over specification sheets until every millimeter of my planned components reveals itself.
1. Catalog Acquisition
I collect dimensional data for doors, grills, drawers, fridge, and sink openings, each measurement becoming sacred geometry in my growing plan. Without this foundation, I’m building blind.
2. Opening Calibration
I determine precise opening sizes using cut-out dimensions, ensuring planned components nest perfectly within their designated voids. Every grill cavity, every drawer box, every refrigeration chase earns its exact coordinates.
3. Peer Verification
Before breaking ground, I submit my blueprint for critique. Another set of eyes catches clearance oversights I’d missed: misaligned stone reveals, conflicting hardware swings, and thermal breathing room forgotten.
This discipline transforms aspiration into buildable reality.
Pick Your Frame: Steel Studs, Concrete Panels, or Lumber
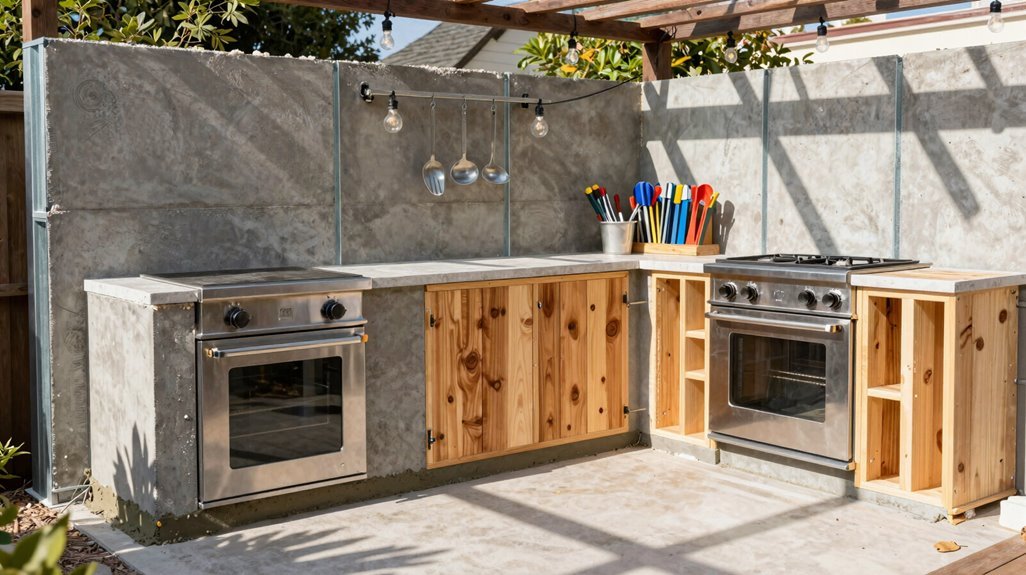
I frame my outdoor kitchen with steel studs when I’m chasing longevity near the coast; 304 stainless paired with cement board gives me that commercial-grade skeleton I’m after. When speed matters more than welding, I’ll reach for pre-cast concrete panels: they’re modular, accept stone veneer directly, and shave days off my timeline without the thermal mass of full masonry.
Budget builds still have their place in my playbook, though. Pressure-treated lumber wrapped in cement board hits that sweet spot between approachable DIY and polished finish, provided I’ve poured a footing that won’t sink come spring thaw.
Steel Stud Framing
Why settle for a flimsy grill cart when you can build a permanent outdoor kitchen that anchors your backyard like a culinary pavilion? I’m choosing steel studs for my framing because they deliver professional-grade durability without the weight of traditional masonry.
When working with steel studs for outdoor kitchen construction, you’ll want to remember these essentials:
- Secure your foundation: I always pour a solid footing first; nothing undermines steel framing faster than settling or shifting ground
- Combat coastal corrosion: living near salt air means I’m specifying 304 stainless steel or aluminum studs with protective coatings
- Reinforce for finishes: extra blocking prevents flex when I’m hanging cement board and heavy stone veneer
With proper steel stud framing, you’re building something that’ll host gatherings for decades.
Concrete Panel Alternative
Steel studs aren’t the only path to a resilient outdoor kitchen, concrete panels offer a compelling modular alternative that trades some installation sweat for streamlined finishing.
Concrete panels deliver modularity and muscle in equal measure. I’ve seen how their pre-cut precision supports serious weight while welcoming veneer integration without fuss: natural stone or manufactured finishes bond directly to the surface, skipping elaborate framing gymnastics.
Modular construction means faster assembly, though you’ll coordinate closely with manufacturers on exact dimensions. Plan every opening, doors, grills, appliances, before lifting begins.
These panels run lighter and leaner than traditional builds, yet still demand crew-handed placement. Edge detailing deserves attention; it anchors your kitchen’s visual cohesion. From Arizona backyards to Pacific Northwest patio builds, concrete panels reward builders who value efficiency without sacrificing finish quality.
Dig Trenches and Pour a Foundation That Won’t Sink or Shift
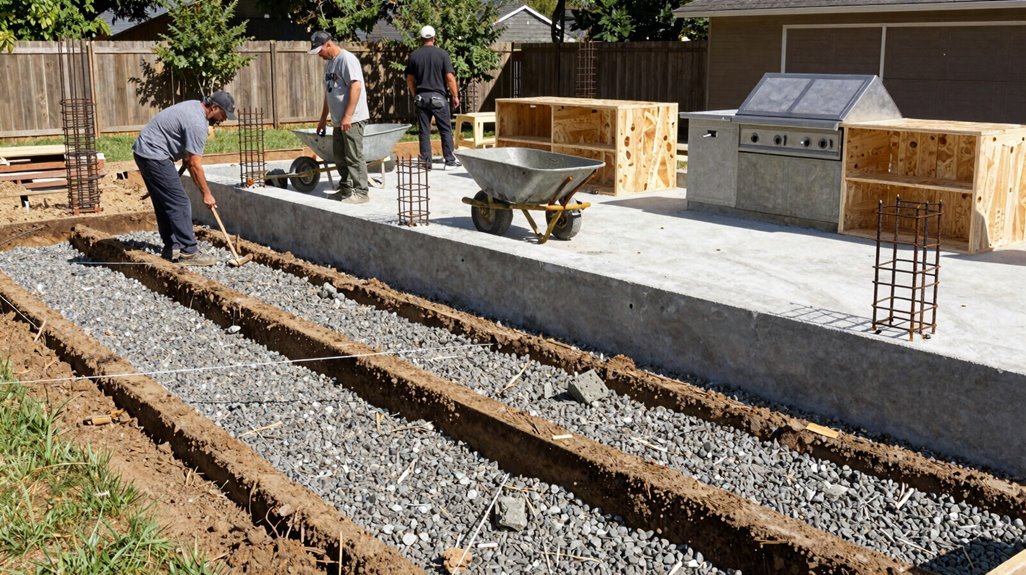
Digging out the utility infrastructure for an outdoor kitchen isn’t glamorous work, but it’s the invisible backbone that keeps everything running safely: eighteen trenches to carve, three separate utility runs to plan, each supply line starting at opposite ends of the site so water, electric, and gas never cross paths or create hazards. I tackle utilities trenching methodically, knowing this groundwork defines every step that follows.
With trenches complete, I shift focus to the concrete foundation, building something permanent that anchors our shared vision.
Excavate footer holes in four locations, four feet deep, using a two-man auger for structural integrity that withstands freeze-thaw cycles.
Grade and compact to establish proper drainage with a power tamper, creating substrate stability beneath the wooden frame.
Pour the pad by layering paver base several inches deep before the final concrete pour, guaranteeing our kitchen never sinks or shifts.
Route Gas, Water, and Electric Before You Seal the Walls
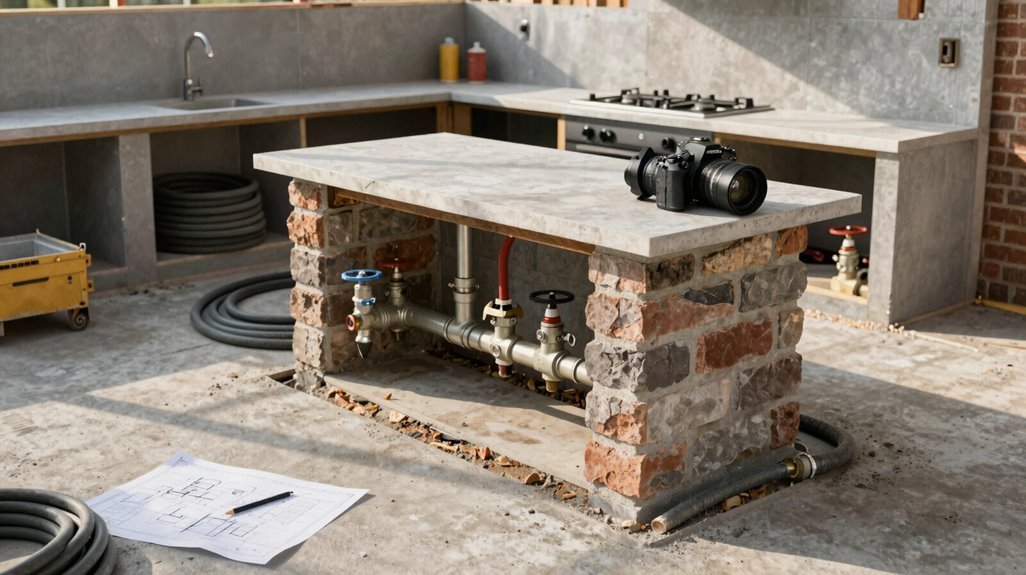
How do you keep a kitchen alive once the walls go up? You route every utility before sealing anything, because retrofitting through finished surfaces is a nightmare you don’t want.
I’ve learned this the hard way: gas, electrical, and plumbing all need dedicated pathways. I dig trenches eighteen inches deep, keeping supplies at opposite ends so nothing crosses where it shouldn’t.
Through the foundation, I drill three holes—one for gas, one for drainage back to the house, one for water and electric—each properly sleeved and separated.
| Utility | Routing Spec | Critical Check |
|---|---|---|
| Gas | ¾” trunk, ½” branches | Pressure test before burying |
| Water/Electric | Shared trench, separated conduits | Weatherproof GFCI outlets |
| Drainage | 4″ slope to house connection | Cleanout access maintained |
I choose between propane tanks or hard-piped gas lines, then secure every connection. Once this infrastructure sits beneath my concrete pad—supported by footing footers—I’m ready to build upward with confidence.
Build the Frame and Hang Cement Board or Panels

I frame my outdoor kitchen’s skeleton using pressure-treated lumber, cutting corner posts to finished height minus countertop thickness, while weighing metal stud alternatives for coastal humidity. After securing stretchers and sheathing with plywood, I hang cement board in sequence from bottom to top, staggering joints like masonry coursing for structural continuity.
I seal every panel seam with alkali-resistant mesh and thinset, creating monolithic planes that’ll receive stone veneer, tile, or stucco across climates from Arizona deserts to Carolina coasts.
Frame Material Options
Where exactly should we anchor this outdoor kitchen so it stands firm through decades of cookouts? I’m building on solid footing: no soft ground settling here, because our frame carries serious weight.
For coastal resilience, I’m choosing 304 stainless steel studs. They resist corrosion where salt air attacks lesser metals, and they’ll bear heavy veneer finishes without complaint. Aluminum works inland, but I’m planning for permanence.
My three material paths:
- Stainless steel framing: marine-grade 304 studs, cement board backing, ready for stone or tile veneer application
- Aluminum construction: lightweight, corrosion-resistant, ideal for moderate climates with standard veneer loads
- Concrete panels with lumber: modular mass, exceptional weight capacity, compatible with any veneer system I’m envisioning
Each supports our shared vision: an outdoor kitchen that welcomes everyone, built to last.
Board Installation Sequence
Why settle for anything less than a frame that’ll outlast the seasons? I build my corner posts first, cutting eight lengths of 2×4 pressure-treated lumber to counter-height, notching them 1.5 inches deep by 3.5 inches high at top and bottom for rock-solid framing connections. Then I connect posts with stretchers, add 2x4s for top and bottom plates, and drop in a middle bottom support where my cabinets’ll anchor.
| Step | Action | Result |
|---|---|---|
| 1 | Notch corner posts | Secure joinery for vertical members |
| 2 | Install stretchers and plates | Rigid box frame structure |
| 3 | Add middle support | Cabinet anchoring points |
| 4 | Screw cement boards to studs | Stable substrate surface |
| 5 | Confirm openings and hardware | Ready for veneer application |
I hang my cement boards, HardieBacker or Durock, cutting carefully around appliance openings, driving screws at regular intervals into those stainless or aluminum studs. Once everything’s aligned and clearances check out, I’ve got the right foundation for whatever veneer finishes my outdoor kitchen vision.
Panel Joint Sealing
With the frame locked in and cement boards hung, the real craft begins at the seams, those linear intersections where panels meet and moisture finds its way in. I seal every gap like I’m protecting something worth keeping.
- Bed your mortar thick. I run a continuous bead along each seam, pressing it deep with a margin trowel so the veneer bonds true and water stays out.
- Choose your sealant wisely. Acrylic caulk works where flexibility matters, especially around openings that shift with temperature swings.
- Scratch coat for unity. I skim the entire surface afterward, burying the panel joints beneath a unified skin that reads as monolithic stone.
This is where weekend warriors become craftsmen, where patience pays and your kitchen weathers decades.
Finish Surfaces With Stone Veneer, Tile, or Stucco
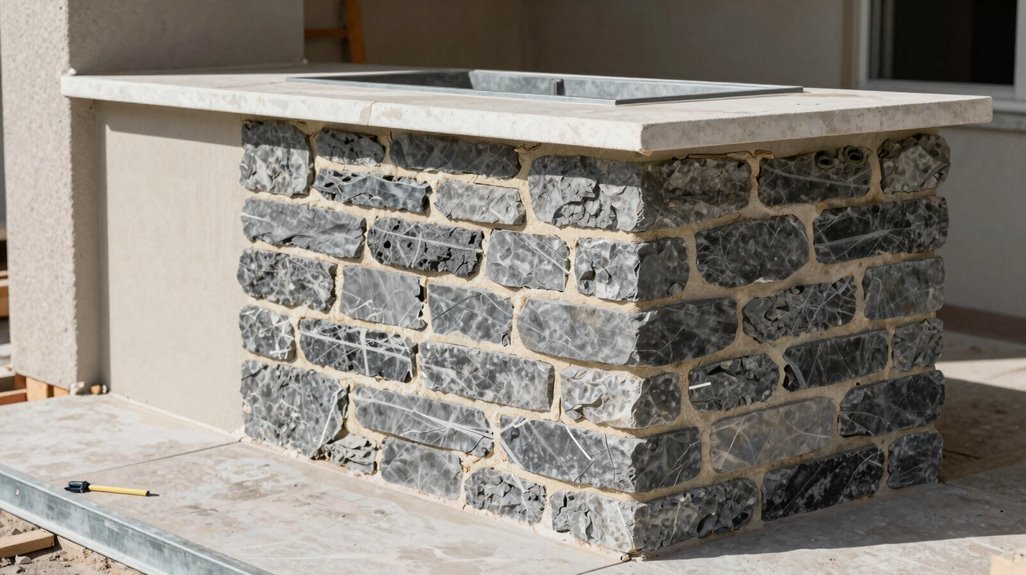
The transformation begins once your framing and hardware are locked in place; I’m ready to dress these raw surfaces in finishes that’ll withstand decades of backyard gatherings. Here’s how I make stone veneer sing:
1. Prepare the Foundation
I apply a scratch coat over the lath; mortar bonds completely to create a weatherproof substrate that’ll grip every stone through freeze-thaw cycles and summer heat alike.
2. Map Before Mortaring
Dry-fitting comes first; I arrange stones, then shape tricky corners with a diamond blade before any adhesive touches the wall. No surprises, no wasted material.
3. Build From the Base Up
Starting at the bottom corner with dedicated corner pieces, I establish that foundation line, stacking upward with tight reveals and clean joints.
4. Seal the Investment
Finally, I protect everything; sealing surfaces appropriate to the material, my work belongs here, permanent and proud, for years of gatherings.
Install Countertops With Proper Overhang and Edge Details
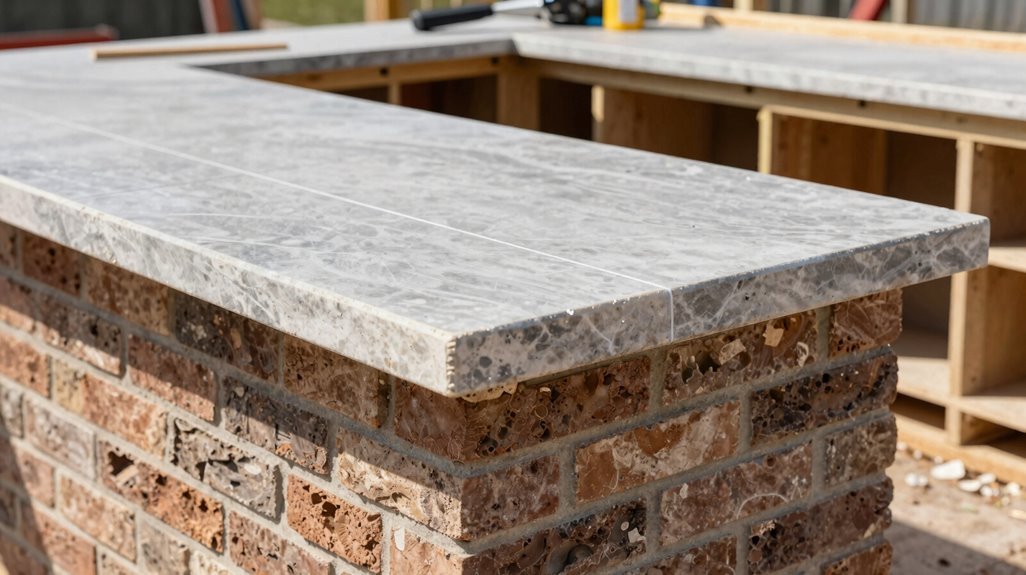
How do you create a surface that anchors the entire kitchen while surviving seasons of abuse? I build concrete countertops using an inverse-pour method; melamine forms help my top and bottom dimensions match exactly, giving me consistent thickness across every section.
I break this into eight pours, totaling 1,525 pounds of material, and I plan for a 12-inch overhang on both sides of my U-shape; iron supports beneath prevent catastrophe when guests lean in. After each pour, I seal seams with silicone caulk before curing, and I mist the surface every 10–15 minutes to ward off cracks.
Once cured, I sand with diamond discs and polish, then seal against weather and stains. Here’s what matters most:
- Form precision — matching dimensions eliminate weak points across all eight sections
- Structural support — hidden iron brackets carry the overhang load without visible bulk
- Curing discipline — consistent moisture and silicone caulk seams prevent future failure
Connect Grills, Ovens, Sinks, and Specialty Features
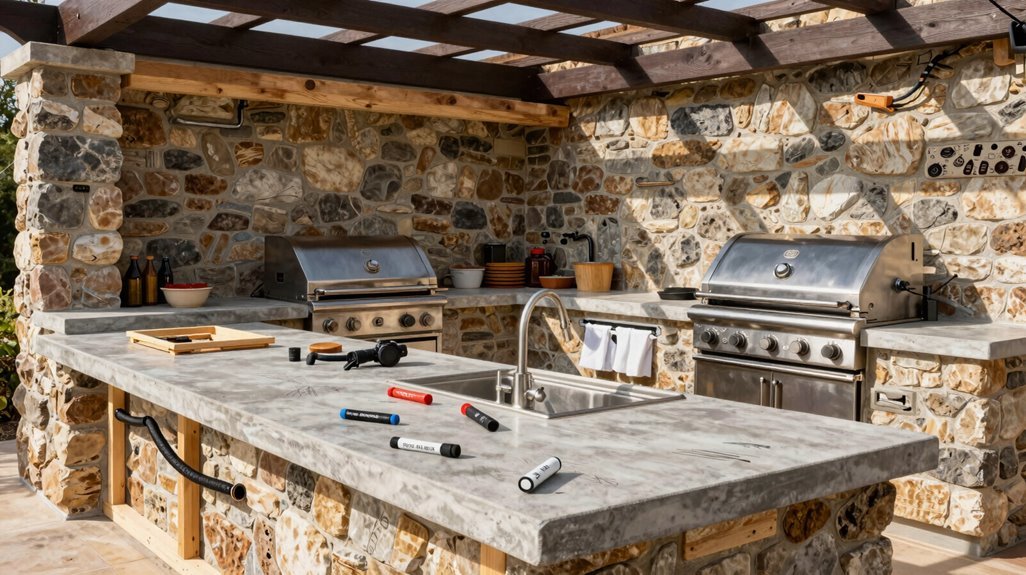
Every outdoor kitchen lives or dies by the moment you marry hardware to structure, after months of planning pours and polishing concrete, I’m finally ready to cut holes that can’t be undone.
- Measure twice, cut once. I gathered catalogs months ago, plotting cut-out dimensions for grills, sinks, fridges, 304 stainless steel frames await, cement board ready for veneer.
- Route utilities before closing walls. I’m running 3/4-inch gas trunk lines with 1/2-inch branches, water supply and drainage for the sink, weatherproof outlets, utilities routing determines everything downstream.
- Align appliances in one zone. Appliances alignment minimizes gas runs, optimizes counter space, facilitates venting, grills, pizza ovens, side burners breathing together.
- Secure and finish. Heavy hardware mounts to structural studs, I check clearances, test connections, step back, this outdoor kitchen finally breathes.
Winterize and Protect Your Outdoor Kitchen Year After Year
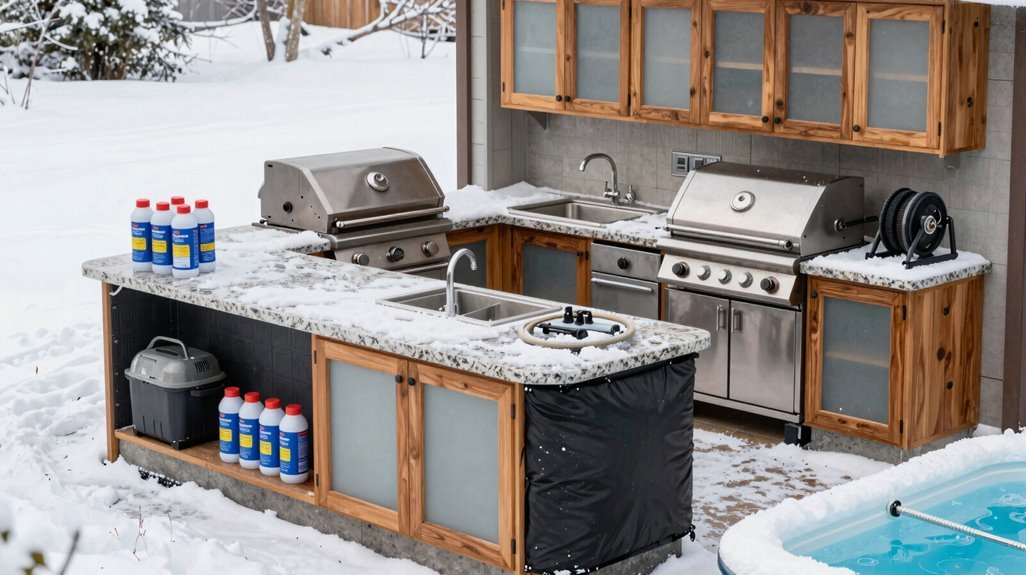
Once the last burner clicks off and autumn light slants low across the countertop, I’m already thinking about spring, because what I’ve built won’t survive winter on good looks alone. I winterize methodically, knowing our shared craft deserves protection that lasts.
Drain every line, sinks, refrigerators, ice makers, to prevent catastrophic freeze damage in the infrastructure we’ve invested in together. Weatherproof electrical with sealed enclosures on outlets and dry conduits for lighting, guarding against moisture intrusion at every juncture. Cover and clean, stainless wiped with the grain using non-abrasive cleaner, portable appliances stored indoors, surfaces shielded by weather-resistant covers.
Before sealing everything away, I inspect mortar bonding and stone cladding for cracks. This annual ritual, protection through preparation, helps our outdoor kitchens welcome us back, intact, when warmth returns.





