
Outdoor entertainment spaces have surged 72% since 2020, yet most homeowners abandon their patio TVs within two seasons due to water damage and sun warping. I’m building a solution that lasts, starting with a cedar shell engineered to shed rain, resist UV degradation, and house a motorized lift mechanism.
The real challenge isn’t the carpentry; it’s the sequence of sealing, sloping, and anchoring that determines whether your cabinet survives its first freeze-thaw cycle. Here’s how I approached it.
Build the Weatherproof Cabinet Box With Sloped Top and Sealed Joints
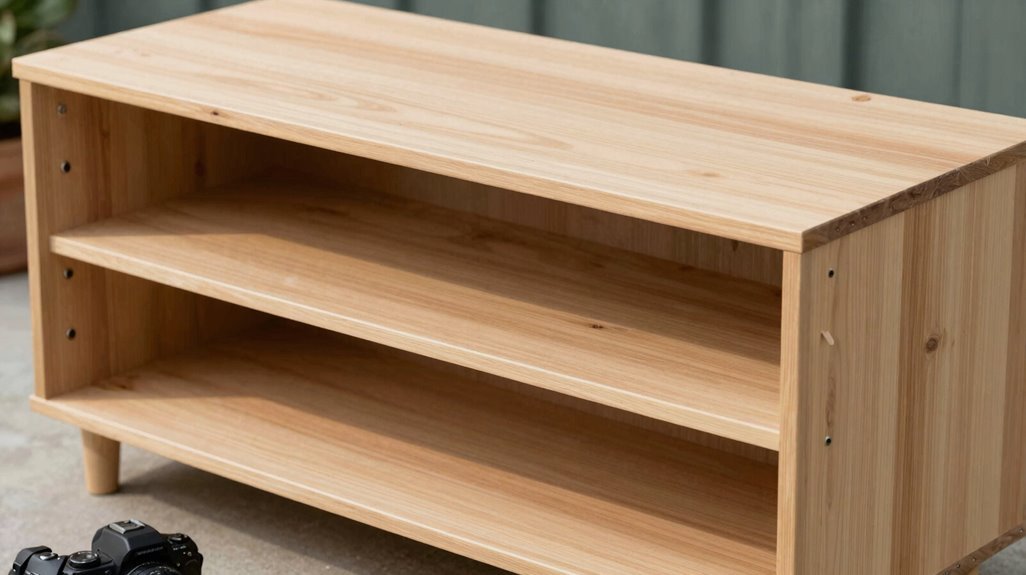
Why let the elements dictate your entertainment? I’m building an outdoor TV cabinet that’ll keep your screen safe through every season, starting with a weatherproof box engineered for longevity.
1. Frame the Structure with Precision
Using my Kreg Pocket-Hole Jig, I’m drilling pocket-hole joints set for 3/4″ cedar, rapid, robust connections that’ll withstand expansion and contraction. I’m forming front and rear rectangles, then adding vertical supports and a base panel, checking square at every corner.
2. Create the Sloped Top
I’m cutting side bevels at 15° and matching the top edge for wall clearance; this sloped top sheds rain and snow backward, protecting your investment.
3. Seal and Finish
I’m sanding through 80, 120, and 220 grit, prefinishing flat surfaces before applying UV-resistant sealant. Your weatherproof box awaits its lift mechanism.
Install the TV Lift Mechanism and Interior Mounting Hardware
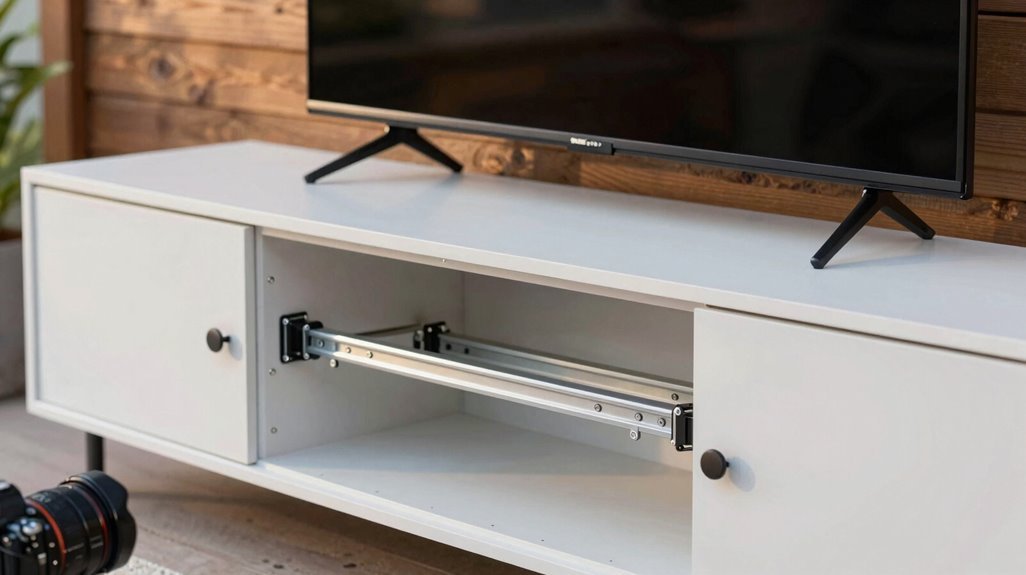
Mount the lift mechanism now, transforming your weatherproof shell into a dynamic entertainment center. I’m centering the assembly between the cabinet’s vertical supports, precisely 21 inches from each side, where it’ll bear the screen’s full weight through thousands of cycles.
Center your lift 21 inches from each side, where it will bear the screen’s full weight through thousands of cycles.
- Position and Level the TV Lift — I’m securing the mechanism to the base panel using #8 or #10 screws, 1.5 inches long, after pre-drilling to prevent binding; a level makes certain of perfect verticality for smooth operation.
- Route Wiring Cleanly — I’m running power and control cables along the frame with cable ties, eliminating interference during the lift’s travel arc.
- Complete Interior Mounting — I’m drilling pilot holes through the mounting tabs into vertical supports, matching manufacturer spacing exactly, and installing a stable mounting surface so the cabinet frame—not the lift axis alone—carries your television’s load.
Anchor to Brick and Apply Exterior Finish for Year-Round Protection
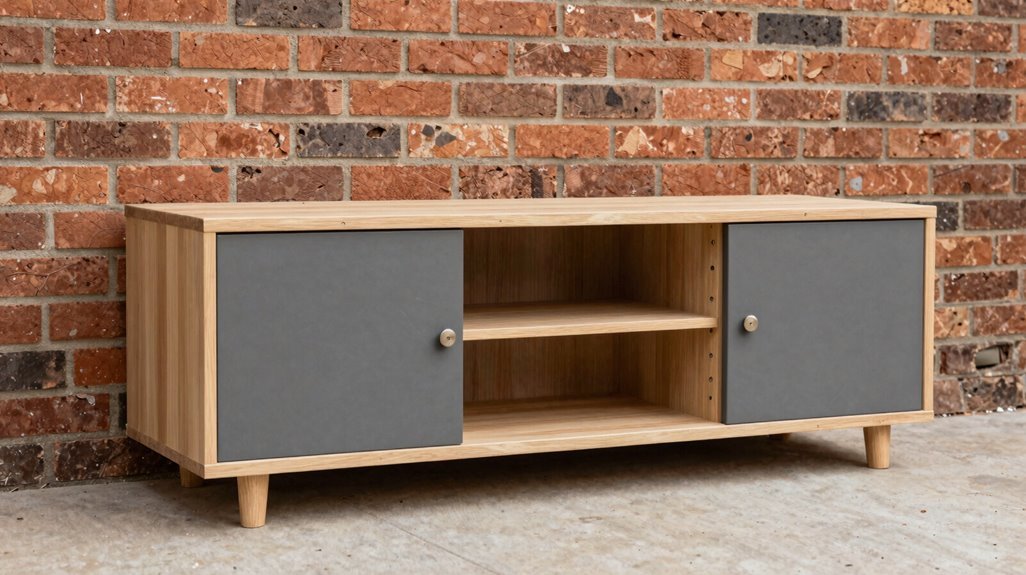
How does a cabinet endure seasons of sun, rain, and shifting temperatures without succumbing to warping, rot, or the slow creep of moisture damage? The answer lies in rigorous cabinet anchoring and meticulous weatherproofing: steps that transform raw lumber into resilient outdoor architecture.
I anchor my cabinets using six brick anchors, drilling precise holes with a masonry bit to distribute load evenly across the wall. This robust framing transfers weight directly to masonry, making certain the frame, not the anchors, bears the burden.
For exterior finish protection, I apply outdoor stain followed by UV-resistant sealant across all surfaces, scheduling multi-coat applications over seven to ten days for complete curing. I route cables through weatherproof grommets at rear panels, sealing every potential entry point against moisture intrusion. These efforts create spaces built to last.





