
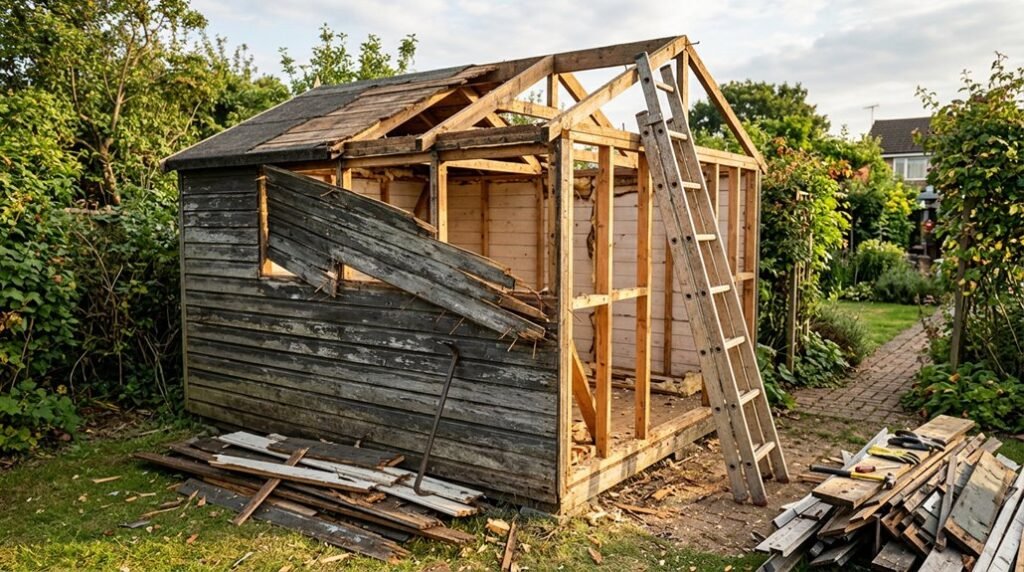
It happens that I was dismantling my own shed the same week my neighbor started his, both of us staring at rotting cedar shiplap, wondering where to begin. I’ve learned that deconstruction rewards patience over force, and that every nail you preserve saves a trip to the hardware store.
Here’s how I approach it.
Check Permits, Test for Hazards, and Disconnect Utilities
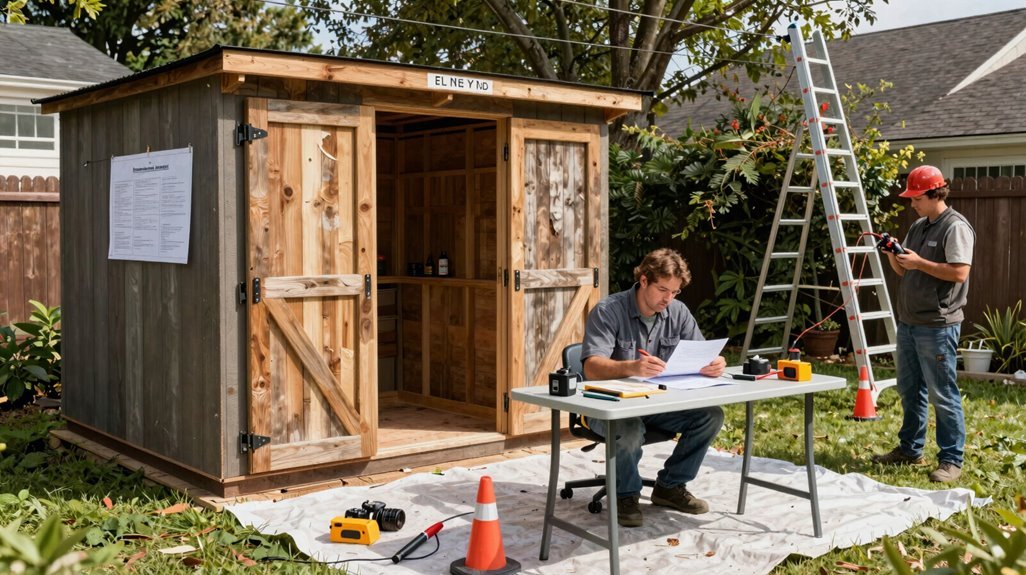
Before swinging a single hammer, I ask myself: what invisible barriers stand between me and a clean demolition? That’s where planning becomes my foundation. I start by investigating whether my municipality requires a demolition permit for small structures, since zoning laws vary dramatically.
- Secure the Paperwork. I contact my local building authority to verify permit requirements. Some jurisdictions exempt sheds under 200 square feet; others demand documentation regardless of scale. I’ve learned never to assume.
- Conduct Hazards Testing. Before disturbing vintage materials, I’m testing for asbestos and lead paint. These hidden threats demand professional remediation, not DIY bravery.
- Disconnect Utilities. I’m shutting off electricity at the breaker and capping water lines. Live circuits and pressurized pipes transform demolition into disaster.
- Inventory Nonstructural Items. While I’ll remove fixtures later, I’m cataloguing windows, shelving systems, and hardware now.
Safety precautions aren’t obstacles; they’re my passport to belonging in the community of competent builders.
Remove Interior Fixtures, Windows, and Doors
With permits secured and hazards neutralized, I’m finally stepping inside the structure I’ve been studying from the outside, ready to strip it down to its bones.
- Clear the Interior Fixtures. I’m removing shelves, hooks, and pegboards first, freeing workspace and protecting materials. Using a pry bar, I detach panels from unbolted sections, minimizing structural damage.
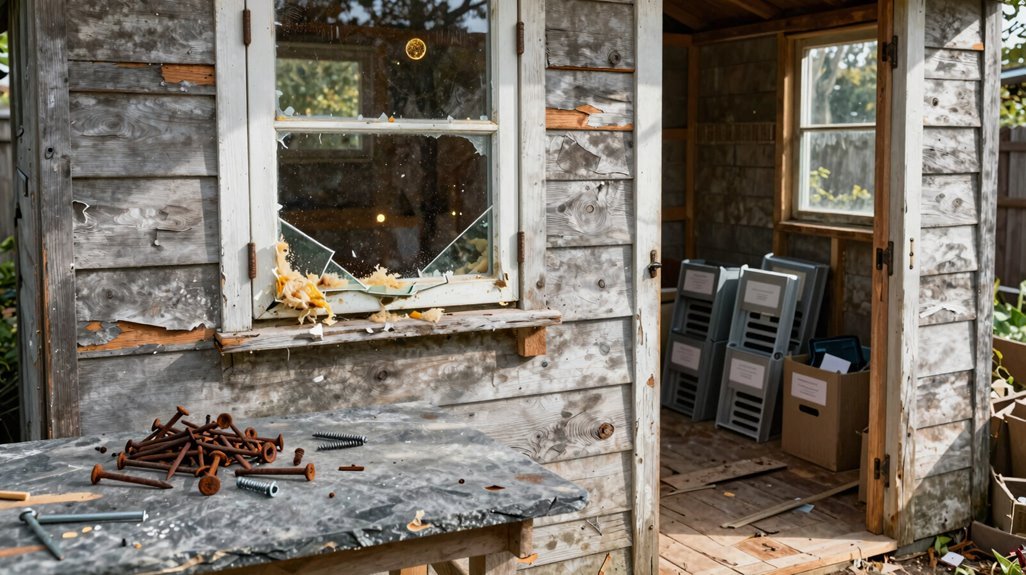
- Extract Windows. I’m removing glass before frames, preventing dangerous shattering. A drill loosens screws; I set hardware aside for labeling parts later.
- Remove Doors. I’m detaching hinges carefully, preserving reusable components.
- Disconnect Nonstructural Elements. I’m taking out workbenches and countertops, storing fasteners in labeled containers, shed safety demands complete emptiness before dismantling continues.
- Verify Utility Disconnection. I’m double-checking electricity and water are fully disconnected, making sure no surprises remain hidden within these walls.
Dismantle the Shed Roof From Peak to Eaves
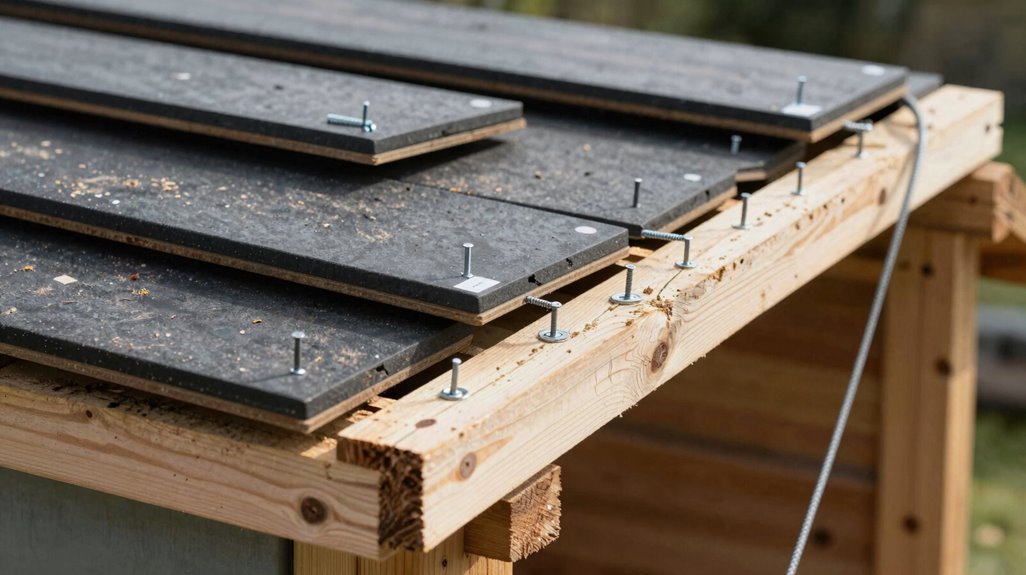
How do you take apart a roof without bringing the whole thing down on your head? I’ve learned that a methodical roof teardown, starting at the peak and working toward the eaves, keeps you safe and preserves materials you might want to salvage.
- Remove the ridge caps first. I pry off these protective strips along the roof’s apex, exposing the fasteners beneath. This prevents the upper courses of shingles from sliding as I work.
- Strip the shingles systematically. Using a roofing shovel, I lift from the top row downward, protecting underlayment if I plan to reuse it. Damaged shingles go to the tarp, intact ones to a salvage pile.
- Cut the roof sheathing. With my reciprocating saw, I section the plywood or OSB into manageable pieces, typically 4×4 feet, prying each free before lowering it carefully.
- Handle metal roofing differently. I unscrew panels from peak to eaves, organizing fasteners by size for potential reuse.
- Clear as you go. Debris drops straight to the ground tarp, while salvaged sheathing stacks separately to prevent nail punctures.
Take Apart Wall Panels and Framing in Sections
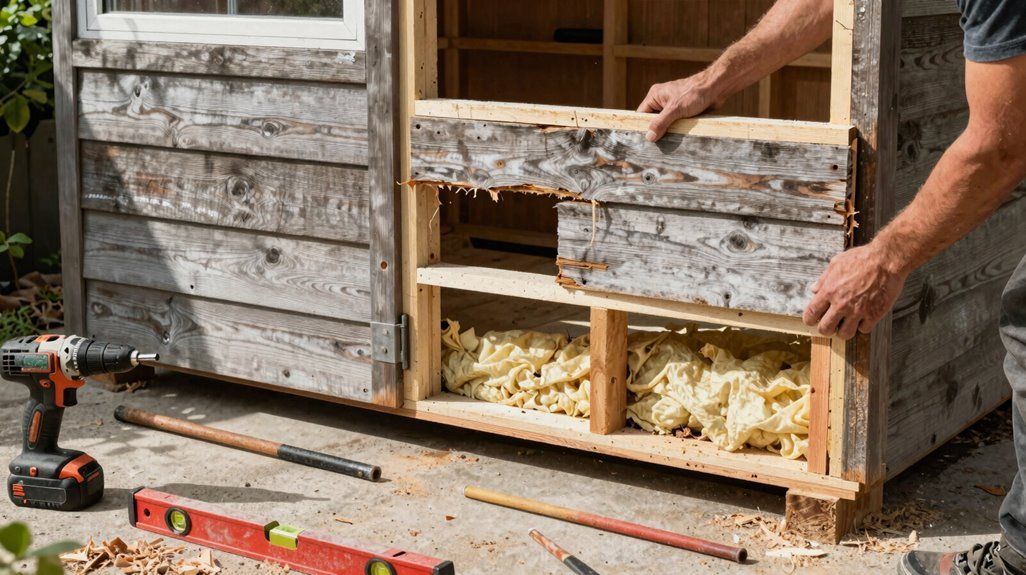
Where do you even begin when the roof is gone and four walls still stand between you and a clear site? I’ve learned that patience wins when I dismantle an old shed: working from the outside in, I remove nails one by one, prying wall panels free with my crowbar. For tongue-and-groove siding, I loosen several rows together, pulling carefully to spare the joints. I hammer out stubborn fasteners, using temporary timber supports to steady the framing as sections come away.
Starting at the top plates, I create a gap beneath with my hammer, then slide panels loose before tipping walls with controlled leverage. In older structures, I never strip too much framing at once; sudden collapse isn’t the souvenir I’m after.
Remove Flooring and Sort Salvaged Materials
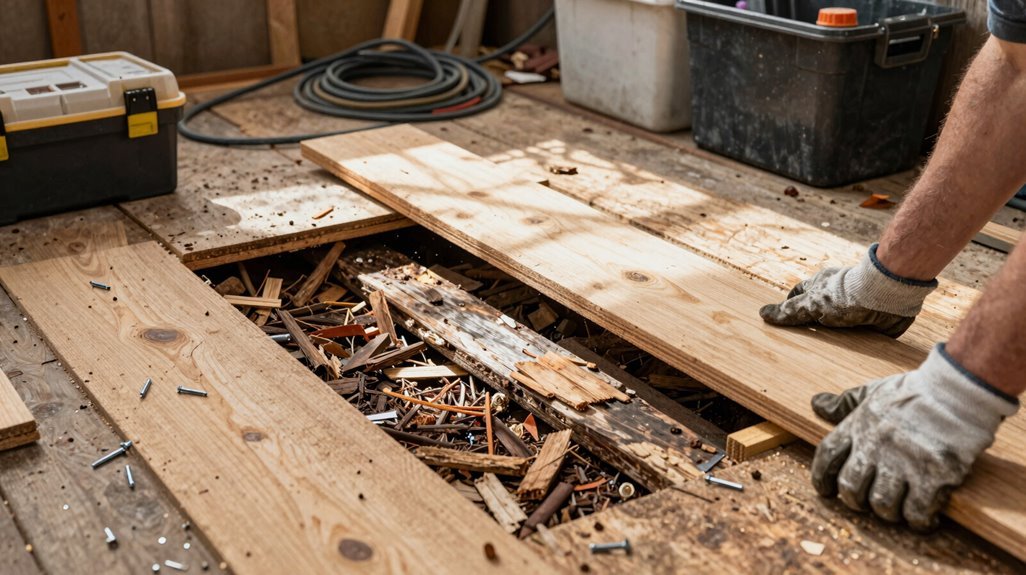
Once the walls are down and you’ve cleared the framing timbers, you’re left with the foundation of it all, the floor. I start by removing floorboards, typically secured with screws I save in a container for reuse. Using my drill, I work systematically, lifting each panel carefully to protect what’s underneath, noting whether the subfloor is plywood or another material.
After clearing the boards, I detach any joists worth salvaging, sometimes bracing what’s left for stability. As I dismantle, I sort materials into separate piles: reusable wood for future projects, debris bound for disposal. For concrete floors, I grab a sledgehammer or sawzall, breaking sections into manageable pieces before arranging pickup.
| Material | Condition | Destination |
|---|---|---|
| Floorboards | Intact | Salvage pile |
| Screws | Reusable | Storage container |
| Subfloor | Damaged | Debris/recycling |
| Joists | Structurally sound | Salvage pile |
| Concrete chunks | Broken | Dumpster rental |





