
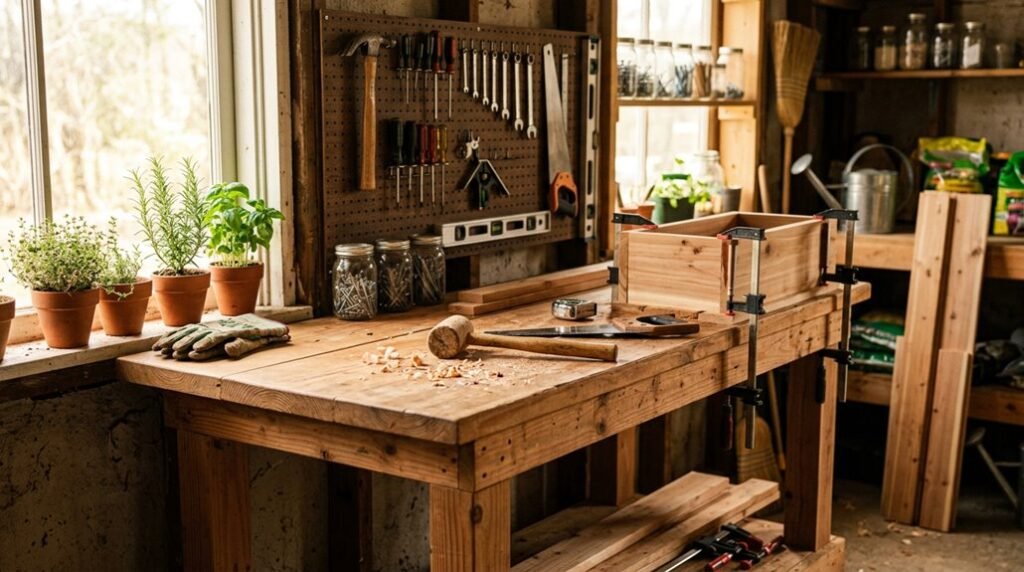
The potting bench serves as a threshold, where raw timber transforms into the anchored heart of a garden.
I’ve built seven of these structures, each one teaching me that precision in the joinery matters more than ornament.
You’ll need this.
Choose Timber and Size Your Potting Bench to Fit Your Space
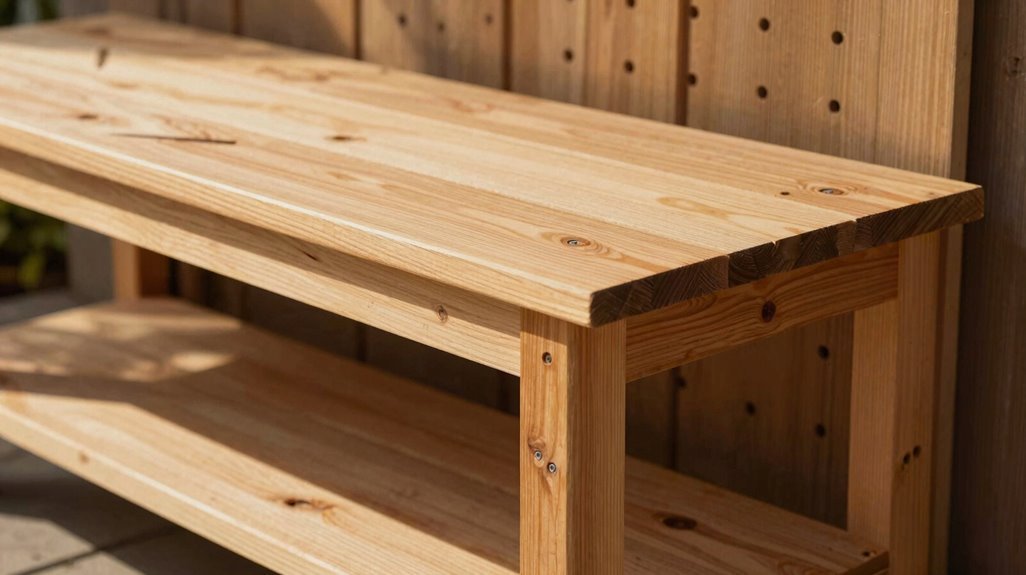
Where exactly will this bench live, and what do I need it to do? These questions guide every decision I’m making: measuring my available footprint, considering workflow, imagining rainy mornings with soil under my fingernails.
Every bench begins with place and purpose—measuring footprint, tracing workflow, imagining soil under fingernails through rainy mornings.
For workspace dimensions, I use the wrists-to-ground rule: standing naturally, my wrists hang about 35 inches above the floor. That’s my working surface height, though I’ll adjust for my partner’s frame too.
My timber selection balances durability against cost; cedar resists rot beautifully, but pressure-treated pine works when I’m watching my budget. The removable top matters more than you’d think; after years of abuse, I’ll swap it without rebuilding everything.
I’m planning eight feet long, thirty-five inches deep; spacious enough for trays, tools, that morning coffee. This potting bench becomes my garden’s heartbeat.
Cut Pieces and Prep Your Assembly Area
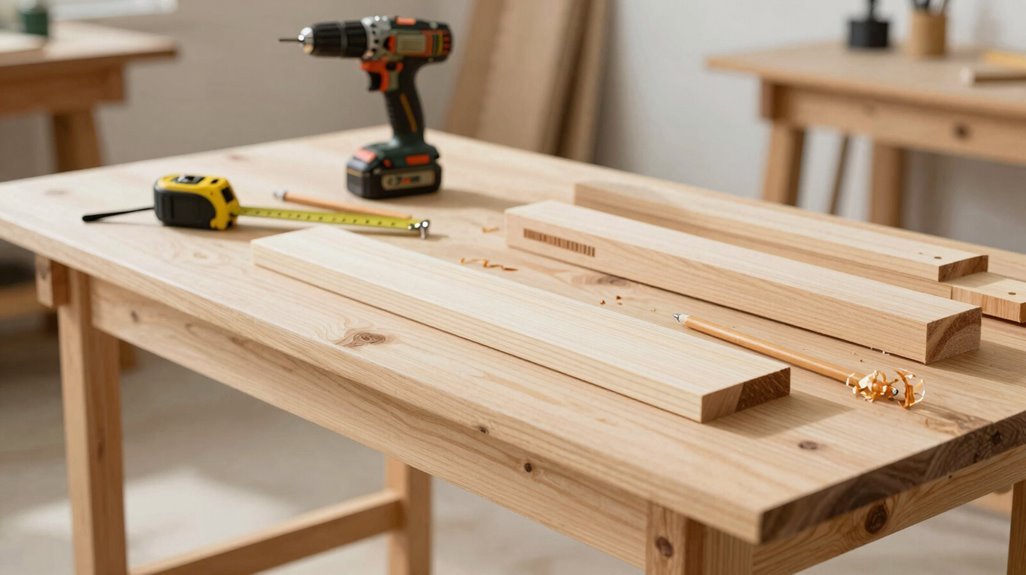
I’ll measure and mark every cut line on my reclaimed timber before touching the saw, then slice through the legs, worktop, and cantilevered overhang; precision here determines whether my potting bench stands plumb or wobbles. With all pieces cut to specification, I’ll clear my assembly zone, sanding rough edges and applying protective oil so the wood bonds cleanly when I start fastening. Now the vernacular architecture of my garden workspace begins taking shape, piece by piece.
Measure and Mark
Before making a single cut, I measure every dimension twice, mapping the bench to my workspace so the finished piece feels inevitable rather than improvised.
1. Establish Your Potting Bench Parameters
I start by measuring my available space, planning length, width, and height, with the working surface at 35 inches from ground level. This measuring guarantees the layout serves my body and my garden.
2. Prepare Framing Stock
I select 4x4s for legs and crosspieces, cutting them from identical stock to guarantee uniform height and squareness. Consistency matters when you’re building something meant to last.
3. Create Assembly Guides
I lay plywood or OSB on the floor as a reference plane, checking diagonal measurements to verify frame squareness before fastening anything.
4. Plan for Adaptability
I mark positions for long base rails, 2x4s or 2x6s, keeping frames plumb with a level, and I note where removable tops or future sinks might integrate.
Cut All Pieces
How do you transform raw lumber into the bones of something lasting? I follow my cut list with precision, measuring twice and cutting once, because every potting bench begins with pieces that fit together like family.
Cut every board to specification, sanding edges smooth so no one catches a splinter while working. Pre-drill pilot holes where screws will seat, preventing splits that weaken the frame’s integrity. Mark shelf alignment points clearly, so your benchtop sits level through seasons of use.
Before assembly, I oil each piece, protecting against morning dew and afternoon rain. This isn’t just construction; it’s craft we’re building together, something that holds soil and stories alike.
Prepare Workspace Area
With every board cut to dimension and edges dressed smooth, you’re ready to claim your territory for the work ahead.
1. Organize Your Workshop Setup
I arrange my potting bench components near the vise, grouping legs (35.4 inches precisely) and shelving pieces separately. Keeping pre-cutting organized prevents confusion during assembly.
2. Sand and Detail
Running fine-grit paper along every edge, I eliminate splinters that betray a rushed job; surfaces must accept oil evenly.
3. Mark and Measure
With my framing square, I transfer shelf positions onto uprights, verifying even spacing. This groundwork determines structural integrity.
4. Drill Pilot Holes
I pre-drill clearance holes through rails, countersinking for clean hardware lines. Test-fitting components now reveals misalignment before permanent commitment, saving wood and frustration when torque meets grain.
Your assembly area awaits; prepare deliberately.
Build and Square the Leg Frames
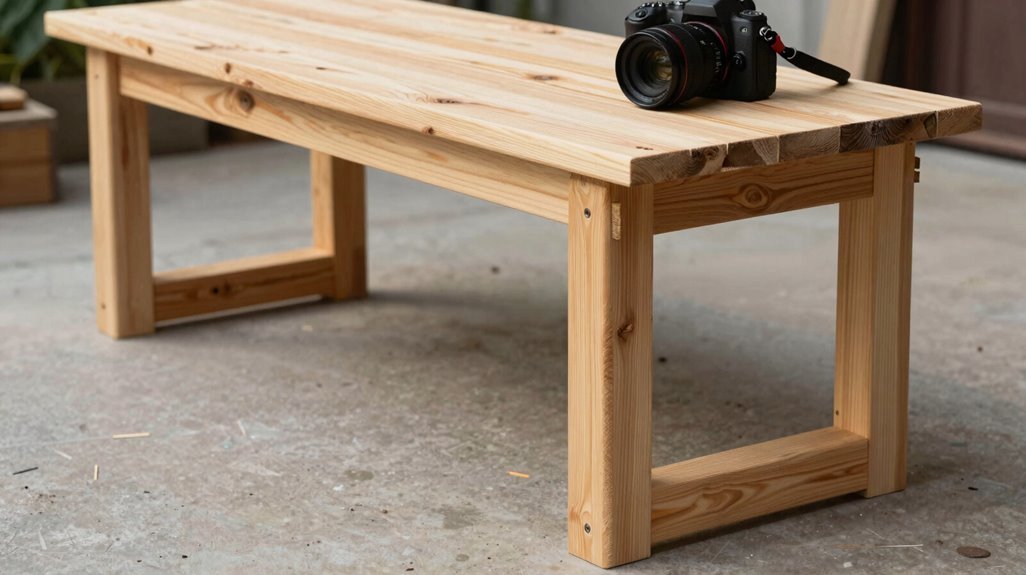
Why settle for wobbly sawhorses when you can engineer a rock-solid foundation? I start my potting bench by cutting all 4×4 legs and crosspieces together: uniform length guarantees balanced leg frames that won’t teeter on uneven ground.
Cut as one batch: Gang-cutting guarantees identical pieces, eliminating the wobble that plagues lesser builds.
Screw with conviction: I drive two 3 1/2″ deck screws per joint, plus glue, starting flush at the top, then six inches above the bottom.
Verify squareness precisely: I lay frames on a plywood sheet, checking diagonals until they match; this assembly guide transforms guesswork into joinery confidence.
With leg frames squared and plumb-checked against my level, I’ve built the architectural backbone this project demands: no compromises, no shortcuts.
Connect the Base and Check for Level
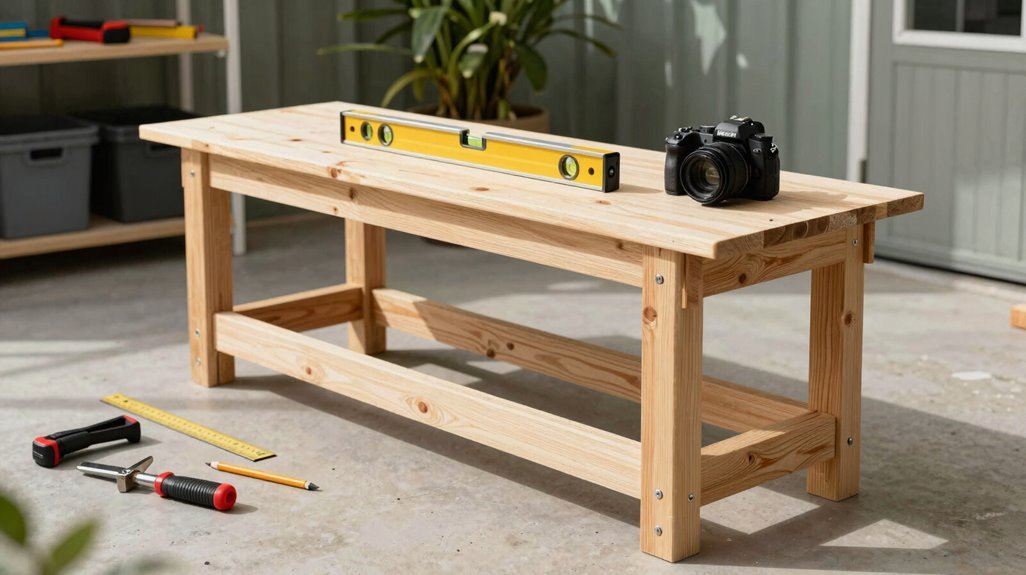
Leg frames standing plumb mark only half the battle; now they crave a unifying spine. I join mine with long rails—2x4s or 2x6s—fastening them flush to the leg tops, creating the skeleton our potting bench demands.
- Secure the Spine. I apply glue and drive one deck screw per joint, following with a second for redundancy; carriage bolts, I’ve learned, yield superior longevity in base assembly.
- Maintain Plumb. Wielding my 24-inch level, I verify each leg stays true vertical during connection; a level check now prevents heartache later.
- Confirm Geometry. Measuring diagonals across the frame, I ensure equal lengths, guaranteeing squareness before proceeding.
This unified base, rigid and true, awaits its purpose: bearing soil, seedlings, and the quiet satisfaction of work well measured.
Install the Top and Add a Removable Potting Tub

The work surface defines a bench’s utility, and I’ve learned that material choice, whether ¾-inch plywood or solid lumber, shapes both durability and character. I secure the workbench top to the leg frames, reinforcing the underside with 2x4s where the removable inset will sit.
- Measure twice, cut once: I mark the potting tub’s dimensions on the benchtop, making sure the lip rests flush with the surface.
- Reinforce for strength: Adding 2x4s beneath the opening prevents sagging under soil weight.
- Optional sink setup: I install a kitchen faucet with copper inlets and a quick-release fitting, covering the tub with a plywood cap for continuous workspace when not in use.
I cut the opening with a jigsaw, drop in the tub, and I have ergonomic soil access at working height.
Add the Lower Shelf and Optional Back Panel
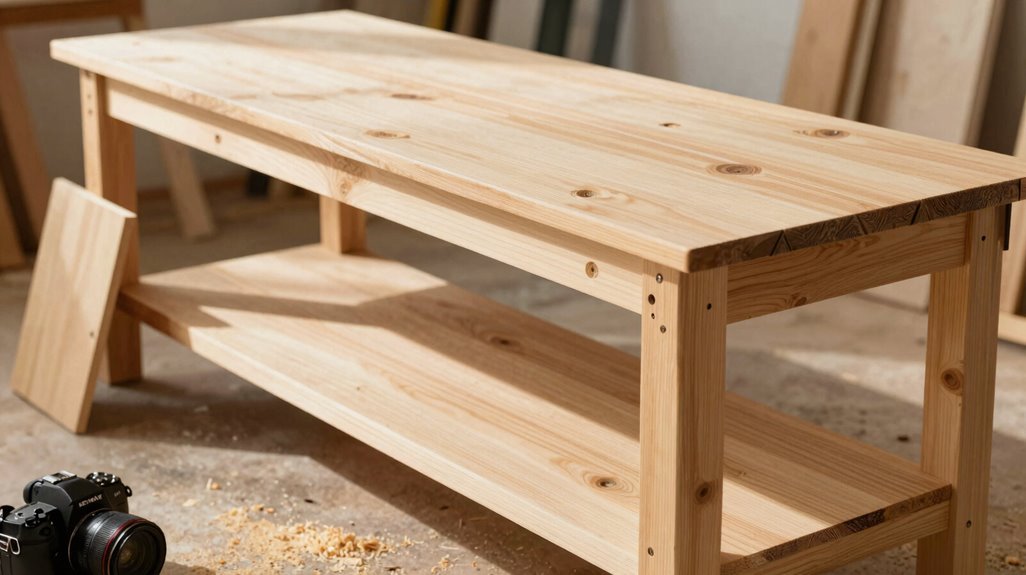
I’ll install the lower shelf next, cutting a 3/4″ plywood rectangle to mirror the top’s footprint, then fastening it between the leg frames with screws to create hidden storage beneath my workspace.
For the optional back panel, I’m adding a vertical stop behind the shelf to prevent pots and tools from rolling off while reinforcing the bench’s structural integrity. Both pieces get the same preservative and oiling treatment as the rest of the build, making them resistant to weather across the entire assembly.
Lower Shelf Installation
Why settle for a cluttered workspace when you can engineer dedicated storage directly into your bench’s footprint? I’m installing the lower shelf between the leg frames, cutting boards to fit precisely and fastening them with screws, no glue, for easy removal later.
- Position your supports at matching heights on both leg assemblies, ensuring the mounting points align perfectly for maximum stability.
- Fasten with precision, driving screws through the shelf into the supports while checking square; this joint bears serious load when you’re storing heavy pots and bags of soil.
- Reinforce as needed, adding backing or crosspieces beneath if your garden materials trend toward the substantial.
I’m positioning this shelf for adequate leg clearance, typically mid-span between feet and work surface. Before final tightening, I verify plumb and square; structural integrity demands it.
Back Panel Options
With the lower shelf locked in place, I’m turning my attention upward: deciding whether to enclose the rear of the bench with a back panel that transforms this utilitarian frame into a cohesive workstation.
1. Structural Reinforcement
A back panel adds essential rigidity, preventing lateral sway while unifying the vertical planes. 3/4″ plywood cut to match your lower shelf dimensions creates this structural integrity.
2. Vertical Storage Systems
Mounting rails and hooks along the rear surface enables organization of hand tools, keeping essentials visible and accessible without consuming precious benchtop real estate.
3. Expandable Configurations
Some designs incorporate a folding extension surface: hinged at the top rail, this swings outward for temporary workspace, then tucks away when not needed.
Whichever configuration speaks to your workflow, check squareness and plumb with a level before securing fasteners.
Finish, Weatherproof, and Maintain Your Bench
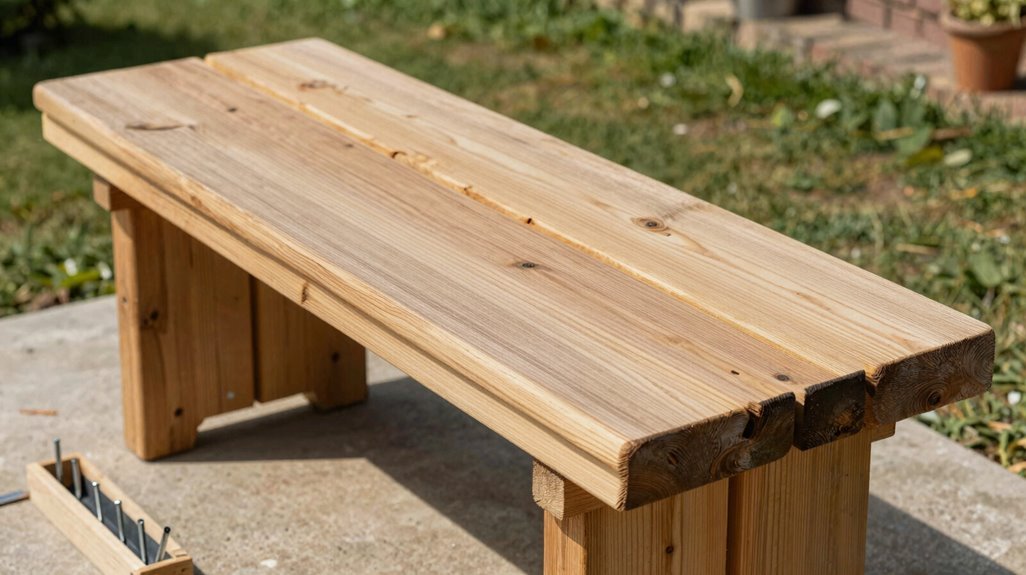
How does a garden bench endure years of rain, soil, and sun without warping into a splintered relic? I’ll show you how I protect my outdoor bench through smart weatherproofing and maintenance.
I oil every board after cutting, letting it dry completely, before driving 1–2 deck screws per joint. Rechecking squareness and plumb post-assembly helps maintain structural integrity. Every year, I apply two coats of wood preservative, cleaning spills immediately to preserve moisture resistance. For weatherproofing, I select robust species: larch or acacia, and seal exposed surfaces, especially on outdoor installations. If the top is removable, I never glue those joints; replacement becomes simple when surfaces degrade.
- Oil before assembly: Penetrating finish bonds deeper when boards remain unassembled
- Avoid glued tops: Removable surfaces accommodate inevitable wear and rot
- Annual preservation: Scheduled maintenance prevents costly reconstruction





