
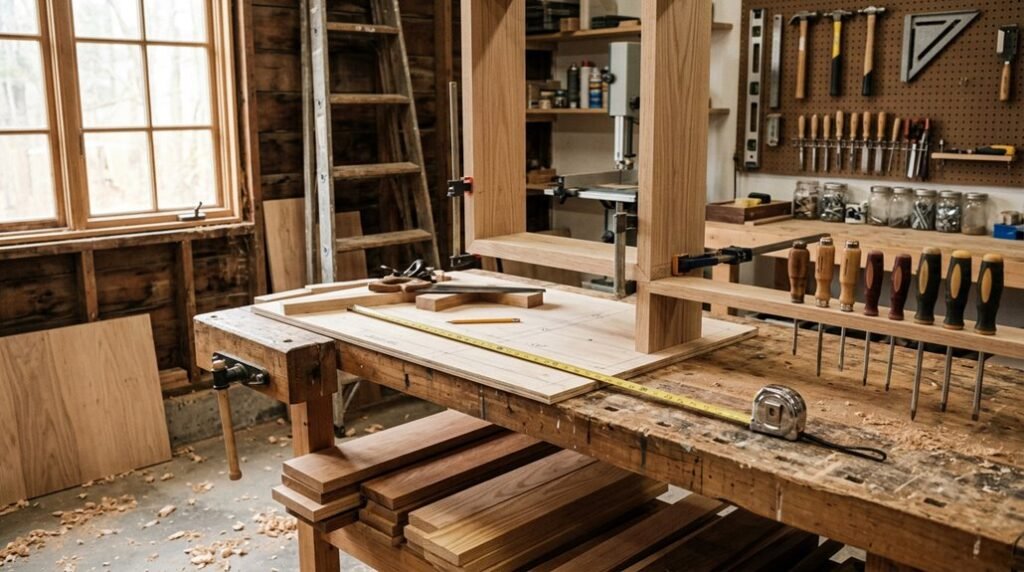
Like a skeleton key unfastening hidden square footage, I’m transforming my cluttered shed into an organized workshop, one bracket at a time.
You’ll want to see how 2x4s and plywood become cantilevered storage that defies gravity.
Measure Your Shed and Plan Your Layout
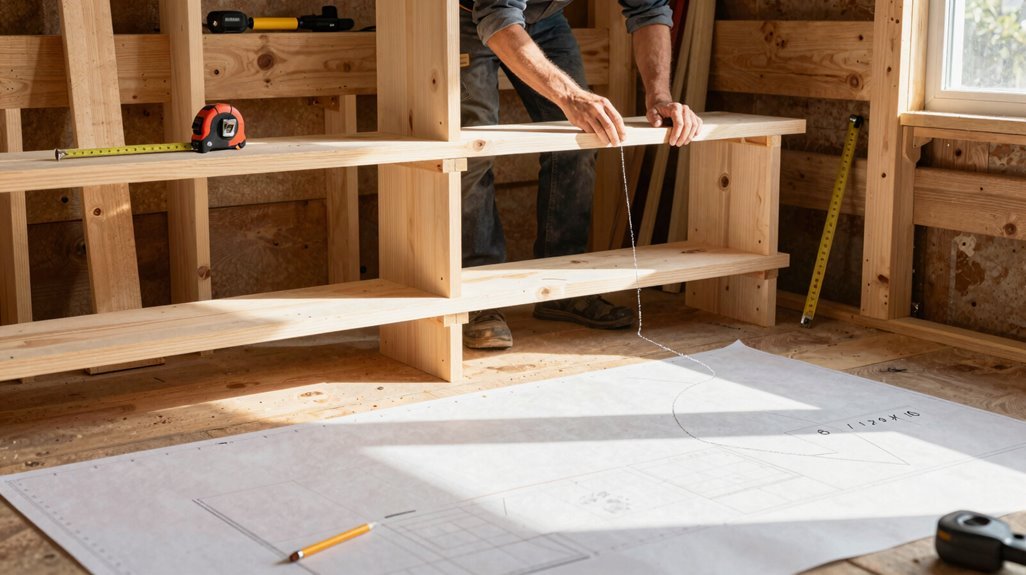
Where do you begin when your shed’s a jumbled mess of half-empty paint cans and mystery boxes? I’ve learned that building shelves starts with knowing your space, really knowing it.
- Assess Your Wall Space. I measure every inch, from floor to about 18 inches below the ceiling, calculating how many shelf rows fit. In my 8×10 shed in Raleigh, that meant five levels, enough for serious organization without crushing claustrophobia.
- Navigate Obstructions. Windows and corners demand respect. I sketch around them, maximizing linear footage while preserving light and access; shelves shouldn’t block what you need to see or reach.
- Locate Structural Support. Using my stud finder, I mark vertical lines where London brackets will anchor. No guesswork, just solid, load-bearing connections.
- Draft Your Cut List. I plan 24-inch sections, 2×4 braces, and precise screw placements, accounting for tote variability, Costco’s behemoths, Home Depot’s standards, ensuring every lip, width, and height finds its home.
Design Shelf Spacing Around Your Storage Totes

I design my shelf spacing around standard storage totes, measuring their width, height, and stacking profile to create a modular system that maximizes every cubic foot of vertical space. By spacing rails to cradle each tote’s base while leaving finger clearance at the front lip, I’m building infrastructure that prevents tipping and supports efficient retrieval.
Starting from the floor and working upward to within eighteen inches of the ceiling, I’ll balance accessibility with density, making certain the uppermost shelf still accommodates seasonal gear and tall implements.
Measuring Tote Dimensions
How do you guarantee your shed shelves actually fit the totes you’ve already bought? I measure every exterior dimension: width, height, and those built-in lips that’ll rest on rails, before cutting a single 2×4.
Here’s my tote measurement system:
| Tote Feature | Measurement Purpose | Shelf Impact |
|---|---|---|
| Exterior width | Determines rail spacing | Prevents side-to-side wobble |
| Total height | Sets vertical clearance | Allows stacking without jamming |
| Lip depth | Calculates rail width | Ensures secure seating |
| Base footprint | Plans shelf depth | Maximizes floor-to-rail efficiency |
Using these numbers, I’m building shelves that actually work: no guesswork, no wasted lumber. I grab my miter saw, reference those video tutorials when I’m stuck, and adjust for window notches or wall obstructions. Your totes deserve a custom fit, and measuring right means you’ll join the group of builders who get it done once, done right.
Spacing Rail Height
From subfloor to ceiling, the rail layout transforms raw framing into architecture; each support becomes a datum line I’m mapping to the exact bins I’ve measured. Shelf spacing isn’t arbitrary; it’s the difference between chaos and systems that welcome you home.
1. Floor-to-Ceiling Reach
I run rails 18 inches below the ceiling, preserving headroom while claiming every vertical inch for storage. In my shed, this yields three zones: ground-level bulk, mid-height daily access, and upper seasonal reserve.
2. Tote-Specific Zones
Spacing shelves to Costco tote height (12.5 inches for the 27-gallon) creates modular bays. I’m leaving ¾-inch overhang on brackets so lips catch, preventing forward slide.
3. Dual-Section Planning
Across eight feet, I’m building two deep sections per side: one for tall garden tools, another stacked with labeled bins. Clearance between rails (two fingers’ width above each tote) lets me pull without catching.
Maximizing Vertical Efficiency
Where does a shed earn its keep? In every vertical inch we claim back from emptiness, starting with shelving that stretches from floor to ceiling minus eighteen inches, a deliberate clearance for seasonal overflow.
I build my system around the humble tote, that rectangular rhythm of suburban order. Twenty-four-inch 2×4 horizontals match standard tote lengths exactly, while three-quarter-inch plywood overhangs embrace each container like a custom frame. I center payloads between brace and back wall: weight distributed, sag prevented.
For fellow organizers seeking flexibility, twin-slot adjustable hardware or CLS between studs offers modular heights without sacrificing that clean wall-to-box relationship we crave.
Your shed isn’t just storage: it’s membership in a community that values intention over accumulation, where every measured space welcomes you home.
Get Your Tools and Materials Ready
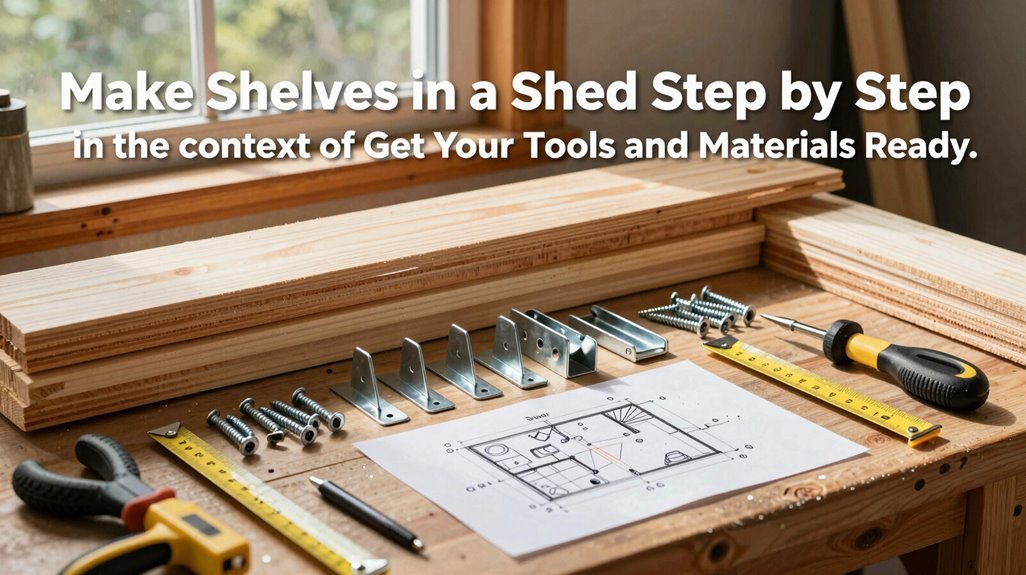
Before building begins, I need everything within arm’s reach. Scattered tools mid-project kill momentum faster than a dull blade. I’ve gathered my arsenal: twenty-four 2×4 boards, half-inch plywood for surfaces, and my trusty miter saw for precision cuts. My tape measure, long level, and pocket hole jig sit ready alongside the drill, nail gun, and wood screws: 1.5-inch and 3-inch lengths stacked by purpose. A stud finder waits nearby, optional but reassuring.
Here’s what transforms raw lumber into functional storage:
- Primary Cutting Equipment — My miter saw handles every 2×4 cut, from 24-inch standards to 23.25-inch variations, establishing clean joints that carry load-bearing responsibility.
- Joinery Essentials — The pocket hole jig creates concealed mechanical connections, drilling angled holes at bracket ends for seamless assembly without visible fasteners.
- Surface Preparation Tools — Half-inch plywood or reclaimed scrap forms shelf surfaces, dimensionally stable across spans when properly supported.
- Fastening Hardware — Wood screws in graduated lengths secure horizontal members to vertical supports, creating rigid triangular geometry that resists racking.
With these elements arranged—measuring, cutting, joining—I stand ready to transform vertical wall space into organized sanctuary.
Cut 2×4 Boards to Length for All Bracket Parts
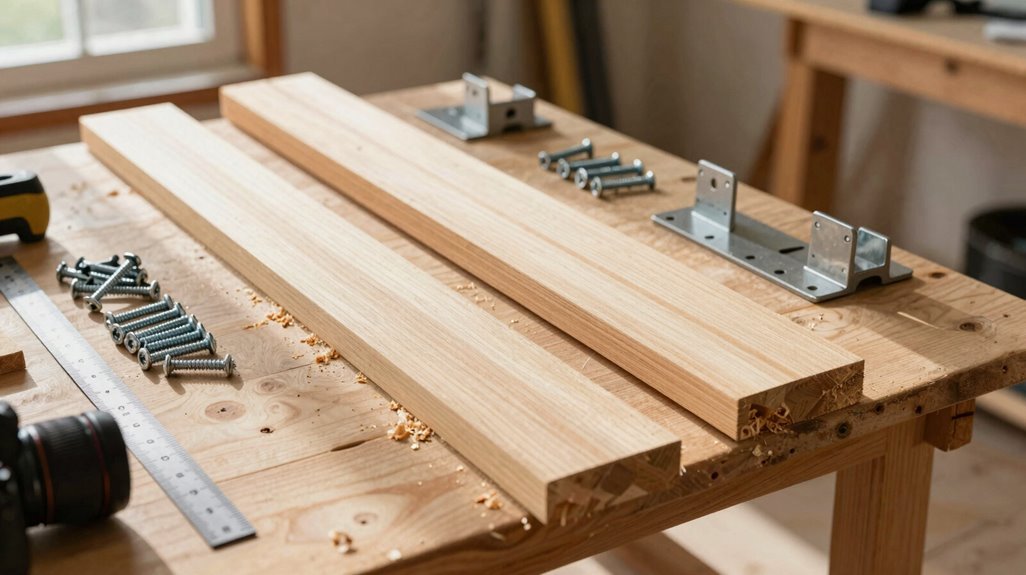
How does organized storage take shape? It begins with precise preparation of your 2x4s, transforming raw lumber into the architectural backbone of your shelving system.
| Component | Length & Specification |
|---|---|
| Standard Bracket Parts | 24 inches (clean crosscut) |
| Chamfer Option – Part 1 | 24″ with 45° chamfer, then 0.75″ removed |
| Non-Chamfer Alternative | 23.25 inches (simplified profile) |
| Bottom Shelf Supports | Four matching pairs per shelf pair |
| Bracket – Part 1 (Final) | 23.25″ or chamfered, ready for holes |
I’ll grab my miter saw; it’s essential for these cuts, and start slicing through the 2x4s with purpose. Creating those four matching pairs feels satisfying; each set becomes wall and front supports that’ll cradle your shed’s new organization. Whether you chamfer or keep it straightforward, you’re building something lasting together.
Assign Cut 2x4s to Bracket Components

Now that we’ve transformed raw lumber into precision-cut components, let’s examine how each piece earns its place in the bracket assembly. I’ve organized our 2x4s into functional groups, each pair destined for specific structural duty.
Horizontal Arms: These 2x4s carry the shelf load; chamfer one end at 45 degrees, trimming 0.75″ for clean joinery, or cut to 23.25″ if you’re skipping the bevel.
Vertical Supports: Floor-resting posts that transfer weight downward; keep these perfectly plumb when fastening to outer pieces.
Matched Pairs: Four sets per shelf level, temporarily screwed together during assembly, two screws per board maintains alignment while you work.
Drilled Components: Pre-bore your 2x4s for screws where brackets intersect; this prevents splitting and ensures clean hardware placement.
Build the London Bracket Horizontal Arm
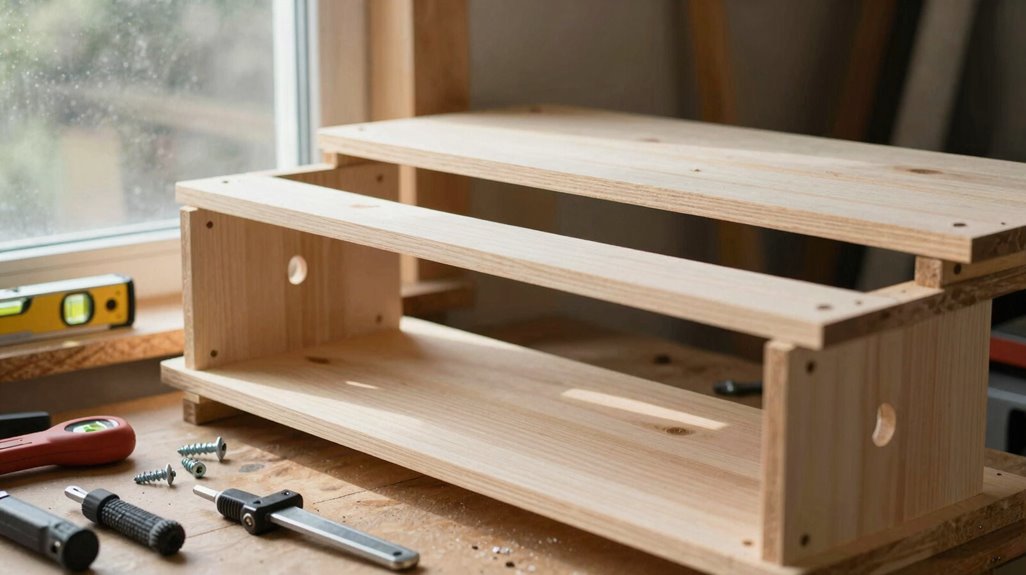
With my 2x4s assigned to their roles, I’m turning my attention to crafting the horizontal arm, the cantilevered element that’ll bear the shelf’s load. I’ll start by crosscutting two 24″ sections on the miter saw, one destined for clean edges, the other for a chamfered finish that brings architectural refinement to this utilitarian bracket.
When chamfering that edge to 45 degrees, I’m trimming 0.75″ from the resulting bevel. I’m noting that a straight 23.25″ length works just as well if I prefer the unadorned look.
Cutting Horizontal Arm
Where exactly does the horizontal arm fit into our bracket assembly? It extends outward from the wall plate, supporting your shed shelf from below and bearing the load we trust it with. We’re building this together, step by deliberate step.
Here’s how I cut mine:
- Measure twice, cut once: I start with 2x4s at 24 inches, our baseline for every horizontal arm in this London bracket system
- Chamfer or trim: From that 45-degree chamfered edge, I remove 0.75 inches; skip chamfering and use 23.25 inches instead
- Precision matters: My miter saw delivers clean, square cuts. No tearout, no second-guessing the joint integrity.
- Prep for assembly: I drill pilot holes now, aligning with Part 1 instructions, so our wood screws bite true when mounting day arrives
Chamfering Edge Details
Once I’ve cut the horizontal arm to rough length, I turn to the chamfered edge that distinguishes this bracket’s silhouette and engineering.
1. Execute the 45-Degree Chamfer
I plane or rout the edge to a precise 45-degree angle. This bevel creates the signature shadow line that elevates these shelf brackets beyond purely utilitarian hardware. The chamfer removes visual mass while preserving structural integrity.
2. Compensate for Material Loss
After chamfering, I trim 0.75 inches from the chamfered edge to restore proper length. Alternatively, skipping the chamfer means preparing Part 1 at exactly 23.25 inches, though I find the beveled profile worth the extra step.
3. Prepare for Assembly
I drill screw holes per the diagram, positioning this horizontal arm to eventually marry with the vertical mounting piece (Part 2), completing the bracket’s cantilevered architecture.
Add the Vertical Mounting Piece
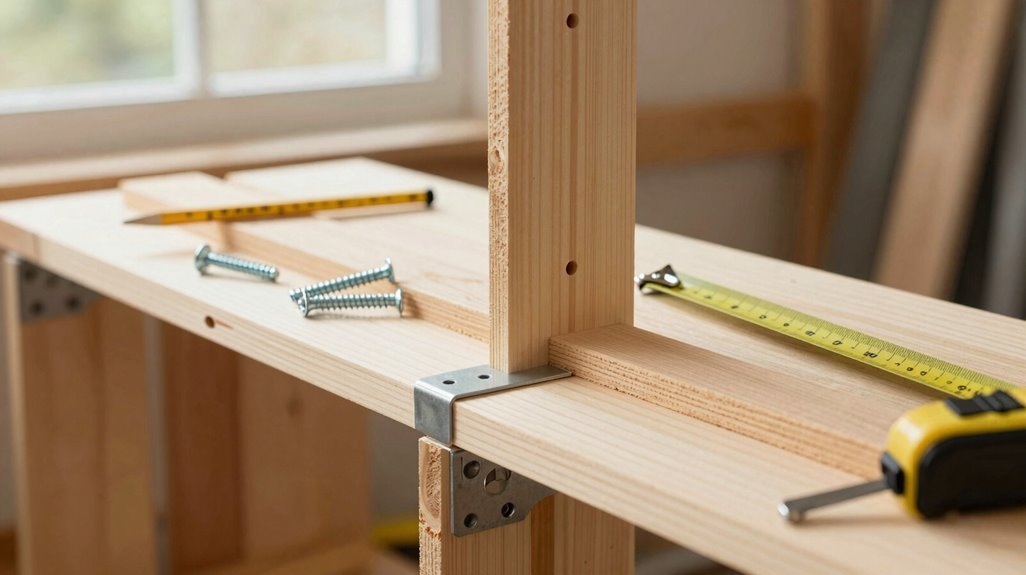
Before securing the horizontal shelf support, I’ll anchor the vertical mounting piece, Bracket Part 2, to the shed wall, establishing the load-bearing backbone of this storage system. This upright timber transforms raw lumber into architectural infrastructure, bearing the weight of everything we’ll store together in this shared space.
This upright timber transforms raw lumber into architectural infrastructure, bearing the weight of everything we’ll store together in this shared space.
- Chamfer both ends at 45 degrees, creating clean, finished edges that speak to craftsmanship we can all appreciate
- Add pocket-hole holes to each chamfered end; preparation for the joinery that follows, connecting us through proven technique
- Position against wall studs, marking precise locations where this vertical element meets the shed’s skeletal framework
- Pre-drill and countersink, ensuring screws bite deep without splitting grain, because lasting work requires patience
With Part 2 secured plumb and true, we’re building more than storage; we’re creating belonging, one bracket at a time.
Drill Pocket Holes for Strong Corner Joints

I’ll set up my pocket-hole jig to anchor these bracket joints with architectural precision, drilling angled cavities at 45-degree chamfered ends so screws pull the vertical and horizontal members into seamless alignment. You’ll want to position the jig flush against Part 2’s ends, those vertical struts, before boring holes that’ll receive 1.5″ screws, making certain each pocket lands exactly where clamping pressure needs it.
With proper jig calibration and screw selection dialed in, these concealed mechanical fasteners will turn simple butt joints into rigid, racking-resistant corner connections worthy of a permanent installation.
Pocket Hole Placement
Where exactly should pocket holes go when I’m building bracket joints that’ll actually hold weight?
I position my pocket holes precisely: drilling into the ends of Bracket Parts 2 and 3 after cutting them to 12 inches, setting depth around 15 inches (adjusting to 18 when structural demands call for it). I chamfer both ends at 45 degrees first, facilitating seamless assembly while maintaining clean joinery lines.
- Ends of horizontal members, where shear forces concentrate, demanding concealed reinforcement
- Vertical bracket faces, creating perpendicular connections for shelf-to-wall stability
- Mating surfaces between parts, making sure glue and screws work in tension together
- Jig-compatible screw locations, beyond adhesive alone, securing Parts 2 and 3 during Step 7 assembly
These placements turn simple boards into load-bearing architectural elements worthy of any serious shed build.
Jig Setup Tips
How do you transform raw 2x4s into load-bearing corner joints that’ll withstand years of shed storage? I’ve learned it’s all in the pocket-hole jig setup, our key to professional-grade shelving that feels like it belongs in any serious workshop.
1. Chamfer First, Drill After
I chamfer my 2×4 ends at 45 degrees before touching the pocket-hole jig. This gives flush assembly and cleaner screw seating when brackets come together.
2. Align for Vertical-to-End Joinery
Positioning the jig, I drill through Part 2 (vertical) and Part 3 (end pieces), creating angled holes that pull these members into rigid, square junctions.
3. Verify Dual-Plane Alignment
Before tightening anything, I check that my pocket holes engage both horizontal Part 1 and vertical Part 2. This cross-grain connection turns simple lumber into structural brackets built for heavy loads.
Screw Selection Guide
Why do so many shelving brackets fail at the joints? I’ve learned it’s usually poor screw selection, using the wrong length or type for pocket-hole assemblies. When I’m building corner brackets, I match my pocket-hole screws precisely to each connection point.
- 3-inch wood screws — I drive these through Part 1 into Part 2 for maximum shear strength at the primary joint.
- 1.5-inch wood screws — These secure Part 3 without penetrating too deeply, preventing material blowout.
- Self-tapping pocket-hole screws — Their washer heads seat flush, drawing mitered corners tight without visible fasteners.
- Coarse-thread varieties — I choose these for soft shed lumber, ensuring grip without splitting the grain.
With proper spacing, two screws per board initially, then pocket-hole ends, I create joints that withstand real loads.
Assemble the Bracket With Glue and Screws

The bracket assembly anchors your entire shelving system, so we’ll build it right, once, with materials that’ll outlast the seasons.
Build it right, once—because the seasons will test everything you didn’t.
1. Join the Horizontal and Vertical Members
I apply wood glue to the joint where Part 1 meets Part 2, then drive 3″ wood screws through the horizontal arm into the vertical mounting piece. The top arm bears the load, transferring weight down through the vertical member; this is where structural integrity begins.
2. Center and Mount to the Stud
I position the assembled bracket on the stud, top flush to the shed’s top plate, securing it with 3″ wood screws. Precision here prevents failure later.
3. Attach the End Brace
I add Part 3 using 1.5″ wood screws and glue, completing the bracket assembly before shelf installation.
Attach the Diagonal Brace for Stability
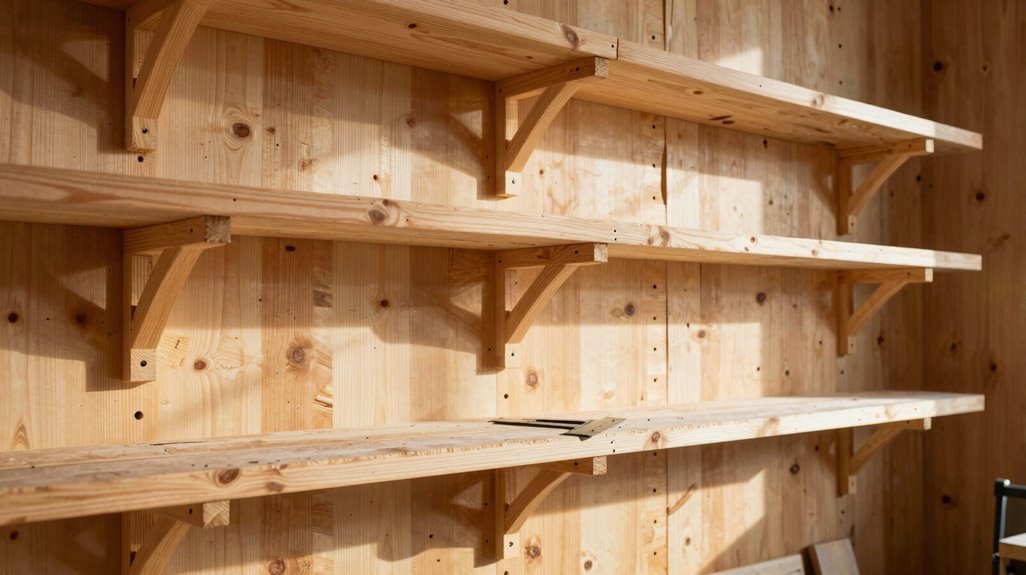
I’ll position the diagonal brace between the vertical post and horizontal arm, ensuring it transfers load from the top shelf while reducing lateral movement of the bracket assembly. I’m selecting screws that penetrate both Part 1 and Part 2 securely without splitting the lumber, checking alignment so the brace sits centered for even weight distribution across the shelf edge.
Before final tightening, I verify the brace won’t obstruct shelf loading or interfere with neighboring components. This triangulated support transforms the bracket into a rigid structural element.
Brace Placement Location
Where exactly should the diagonal brace land to transform shaky brackets into load-bearing infrastructure? I’m positioning mine to bridge the horizontal shelf arm and vertical wall post, creating that essential triangular geometry that architects call the king of rigidity.
Getting brace placement right means we’re building something that lasts, something that holds our tools and our trust. Here’s where I focus my attention:
- Front edge anchor — I attach one end to the outer lip of the horizontal member, maximizing the lever arm against sagging loads
- Vertical post connection — securing the opposite end to the upright, completing the load transfer path from shelf to wall
- Flush mating surfaces — checking that the brace sits tight against both planes before driving any fasteners
- Pre-assembly alignment — verifying straightness while the bracket’s still loose, making sure the center of gravity falls within our support triangle
Screw Size Selection
A 1.5″ wood screw becomes my weapon of choice when locking the diagonal brace into place, short enough to avoid blowing through the material, yet long enough to bite deep and hold. I’ve learned this the hard way, and now I’m passing it on so you don’t have to.
For the critical joints, where your horizontal brace meets the vertical piece, where Part 1 joins Part 2, you’ll want 3 wood screws, each three inches long. These penetrate deep, creating tensile strength that glue alone can’t match.
When I drill my pockets and drive those 3 wood screws through the chamfered bracket, I’m building something that’ll carry the weight of my ambitions, and my tools. Choose wisely here. The right screw turns your shelf from wobbly afterthought to permanent fixture.
Load Distribution Check
With those screws biting tight, the framework gains its first real backbone, but rigidity lives in triangles, not rectangles. I secure the diagonal brace now, transforming cantilevered arms into moment-resisting assemblies. Shear forces travel through this slender member, delivering lateral stability where torsion threatens.
Proper load distribution demands precise geometry. I center each shelf’s weight between brace and wall, preventing eccentric loading that invites creep and fatigue. The horizontal arm bears directly on its vertical anchor, no gaps, no twist, channeling compression straight to stud.
My checklist confirms we’ve built this together:
- Brace placement creates triangular bracing, locking the frame against racking
- Load centers between support points, eliminating tipping moments
- Top arm seats flush on vertical mounting, directing forces downward
- Stud alignment remains plumb, so load spreads evenly across fasteners
I’ll verify level and capacity before stacking a single pot.
Mount the Bracket to Wall Studs
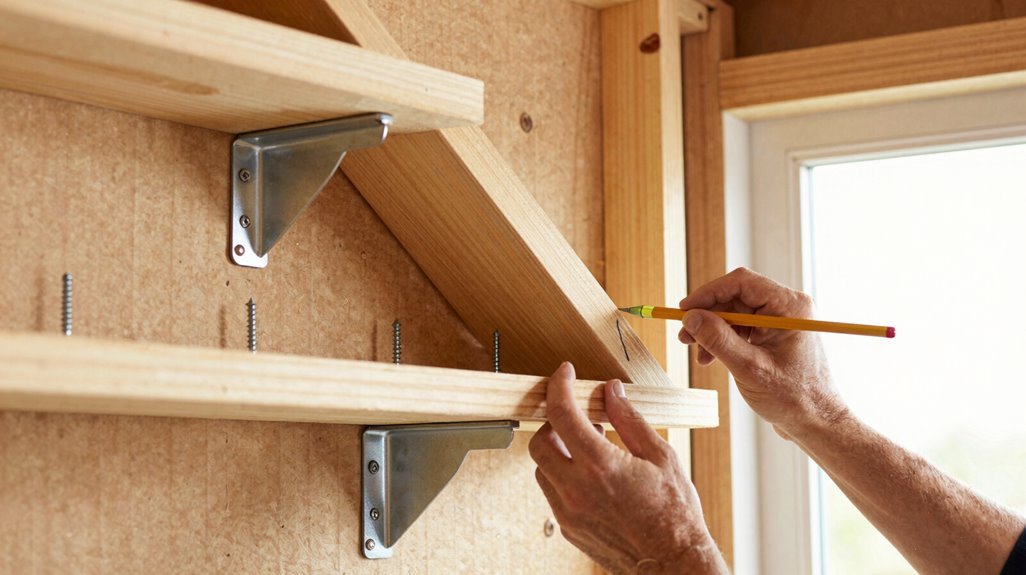
Before we settle the bracket into its final position, I’ll walk you through anchoring this assembly to the shed’s structural backbone, those vertical studs that’ll bear every ounce of what you’re storing.
- Position the Assembly. Center the bracket on your desired stud, keeping the top flush with the shed’s top plate; this ensures your shelves sit level and true.
- Align for Load Transfer. Match Part 1 (horizontal) with Part 2 (vertical), creating a continuous path where weight flows from the shelf surface down through the mounting piece.
- Secure with Screws. Drive 3″ wood screws through the vertical post into solid stud material; no anchors needed when you’re biting into actual structure.
- Verify Plumb. Step back; confirm your posts stand straight before final tightening, preserving the integrity we built into this bracket system.
Choose and Cut Plywood for Shelf Surface
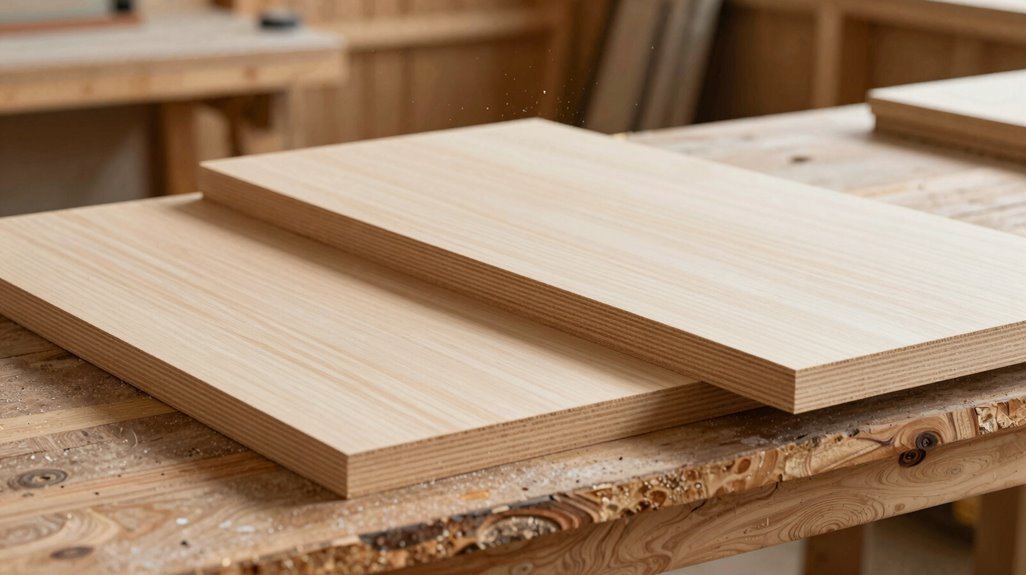
Now that the bracket’s locked to the studs, I’ll turn my attention to the surface that’ll actually hold your gear, because even the sturdiest frame means nothing without the right platform spanning it.
I’m selecting 19/32″ plywood, cutting it into 24″ strips for standard runs, leaving a ¾” overhang on back and sides to balance load distribution and minimize edge sag. For spans exceeding eight feet, I’m dividing into two sections per side, preserving structural rigidity across the cantilever. I avoid MDF entirely in this damp environment; plywood resists moisture, maintaining integrity where particleboard fails.
- Select thickness: 19/32″ plywood provides adequate stiffness without excessive weight
- Cut dimensions: 24″ strips suit standard depths; verify squareness with a framing square
- Manage overhang: ¾” extension beyond brackets optimizes load balance
- Finish edges: Sand thoroughly; splinters undermine longevity and safety
Screw Down the Shelf to the Bracket
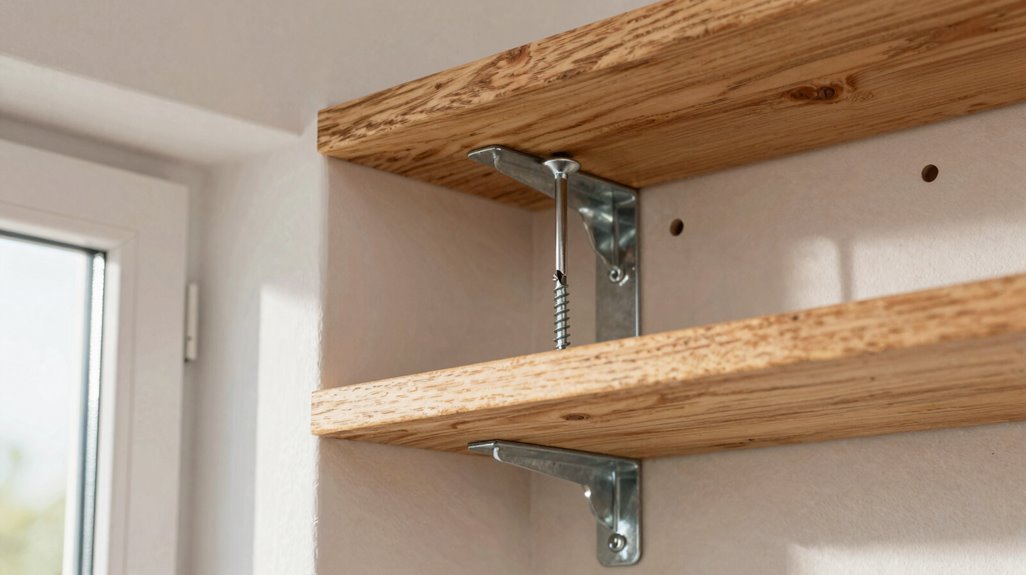
How does the platform become one with its support? I’ll show you the method we’ve all come to trust for shelves that feel like they grew there.
1. Position for integrity. Centering the shelf on the bracket, aligning its midpoint with the vertical arm’s axis, I make sure of even load distribution across the mounting surface. This symmetry matters; it’s what separates amateur work from joinery that invites respect.
2. Secure the union. Driving 1.5″ wood screws through the shelf into the bracket’s horizontal arm, I apply glue between mating surfaces. The screws provide mechanical grip while adhesive bonds the substrates chemically, dual assurance for dynamic loads.
3. Verify the load path. Each fastener transfers shear forces downward through the vertical member, then into wall studs. Checking alignment against stud centerlines before final tightening, I confirm the bracket’s stability throughout this structural dialogue.
Brace the Front Lip to Prevent Sagging
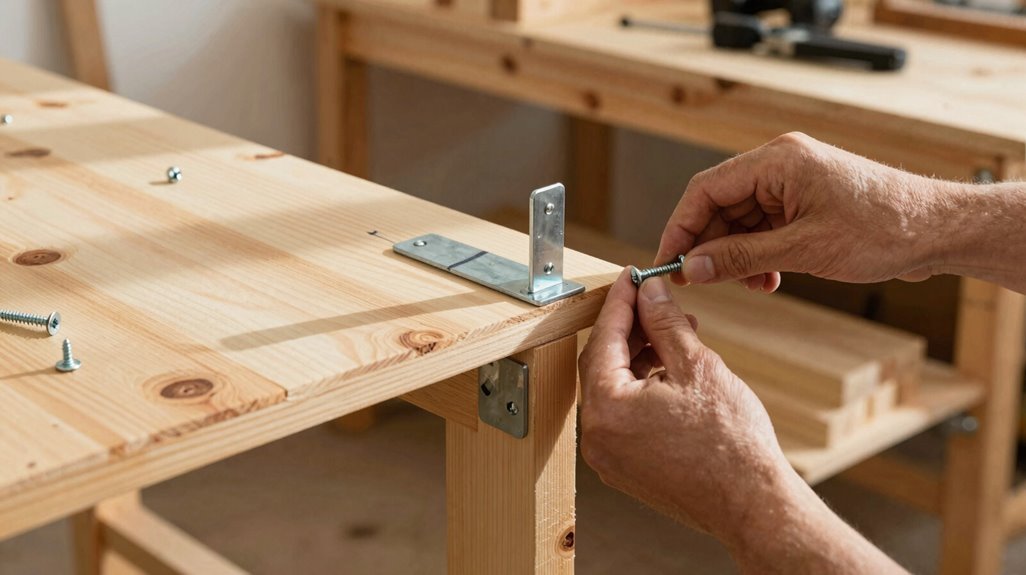
Though gravity never sleeps, I’ve learned to outwit it: adding a front brace changes a simple shelf into a structure that defies time and load. Here’s how we secure brace_sagging prevention together:
Gravity never sleeps, but a front brace lets us outwit it—transforming simple shelves into structures that defy time and load.
- Center the brace—align Part 3 flush with the shelf edge before committing to placement, ensuring even load distribution across the span.
- Drill pilot holes—pre-boring prevents splitting in the front lip, guaranteeing those 1.5″ screws bite tight and true.
- Glue and screw—bonding with adhesive before driving fasteners creates a unified beam resisting deflection under weight.
- Reinforce if needed—stacking an extra 1×2 or 1×4 along the lip adds redundant strength for heavy storage demands.
I mount this brace after brackets are secured, before laying boards—building shelves that’ll hold our tools, our harvest, our trust.





