
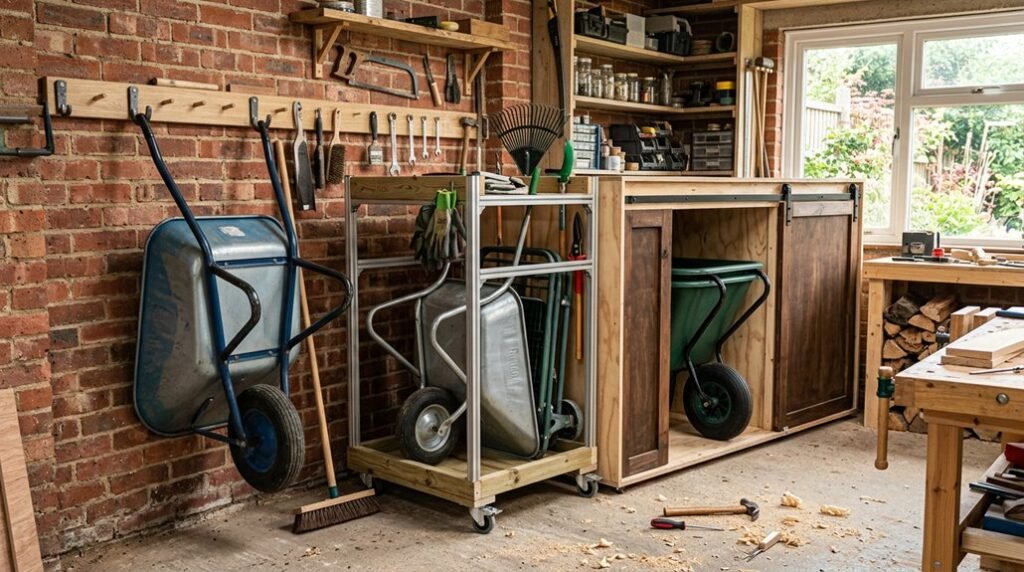
I’ve wrestled wheelbarrows into corners for years, until I discovered three systems that reclaim floor space without sacrificing accessibility.
Whether you’re working within a compact garage footprint or organizing a sprawling shed, vertical and overhead solutions turn cluttered zones into functional architecture.
Each method demands specific load calculations, surface anchoring, and spatial clearances that I’ll outline below, starting with wall-mounted brackets that turn dead wall planes into active storage.
Wall-Mounted Wheelbarrow Storage: Bracket Installation for Any Surface

Where exactly does a bulky wheelbarrow belong when square footage comes at a premium? I’ve found wall-mounted storage changes cluttered garages into organized, functional spaces, yours included.
1. Select Appropriate Brackets
Choose heavy-duty brackets with sufficient weight capacity for your wheelbarrow’s loaded mass. I recommend powder-coated steel rated at least 150% of anticipated loads.
Select heavy-duty brackets rated at least 150% of your wheelbarrow’s loaded mass for safe, reliable wall storage.
2. Locate Structural Anchors
Mounting into reinforced studs, or using toggle bolts in masonry, ensures your wall-mounted system withstands dynamic stress during lifting.
3. Optimize Mounting Height
Position brackets at waist level, approximately 36–42 inches, facilitating ergonomic loading without excessive reaching.
4. Distribute Weight Strategically
For substantial wheelbarrows, I duplicate supports, installing secondary brackets mid-span, to prevent sagging and bracket fatigue.
5. Inspect Periodically
Examining hardware quarterly, I check for loosened fasteners, corrosion, or anchor degradation, maintaining safety through vigilance.
This wall-mounted approach frees up valuable floor area, creating breathing room for projects that matter.
Ceiling Wheelbarrow Storage: Pulley Systems and Height Requirements
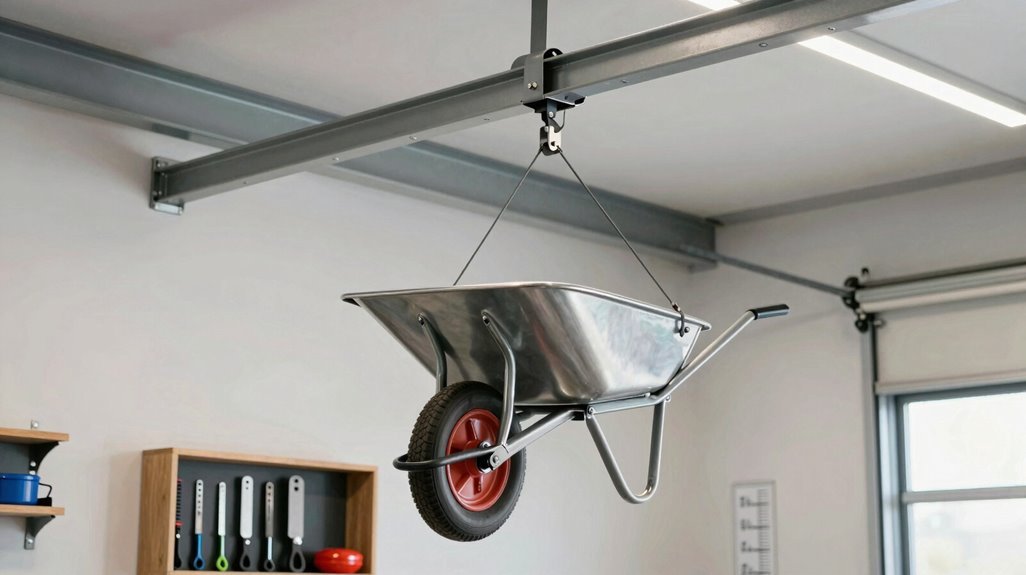
Three distinct advantages make ceiling storage my go-to recommendation when wall space runs scarce: vertical real estate, often underutilized, transforms into functional infrastructure with the right pulley system.
1. Selecting Robust Ceiling Hoists
I prioritize hoists with secure locking mechanisms, ensuring your wheelbarrow stays suspended without accidental release. Weight capacity matters; verify your chosen system handles your wheelbarrow’s load plus safety margin.
2. Following Critical Installation Guidelines
I always check ceiling joist integrity before mounting, consulting manufacturer specifications for proper anchoring. Inadequate structural support risks catastrophic failure.
3. Maintaining Pulley Systems
I schedule regular inspections of cables and pulleys, watching for fraying or corrosion. Adjustable straps accommodate various wheelbarrow dimensions, creating stable, customized attachment points that keep your investment secure overhead.
Freestanding Wheelbarrow Racks for Flexible, No-Drill Setup
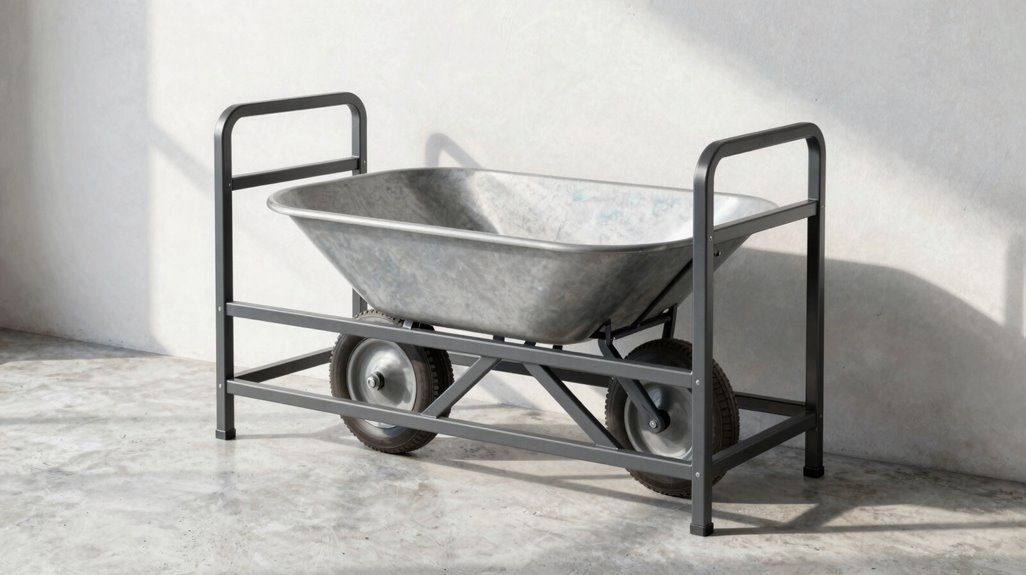
Ceiling systems aren’t always practical; rental restrictions, inadequate joists, or simply preferring ground-level access send me hunting for alternatives that don’t sacrifice structural integrity. That’s why freestanding racks transform my approach to wheelbarrow storage.
| Feature | Function | Benefit |
|---|---|---|
| Sturdy metal frame | Cradles wheelbarrow securely | Prevents tipping, protects equipment |
| Adjustable arms | Accommodates varying handle widths | Fits multiple wheelbarrow sizes |
| Leveling feet | Stabilizes on uneven garage floors | Ensures safe, wobble-free storage |
| Optional casters | Enables repositioning without lifting | Adapts to changing storage layouts |
| Staggered arrangement | Maximizes floor-space efficiency | Creates accessible, organized rows |
This no-drill setup grants me complete flexibility. I position racks wherever floor-space efficiency demands, whether clustered near my workbench or aligned along perimeter walls. No anchors, no compromises.





