
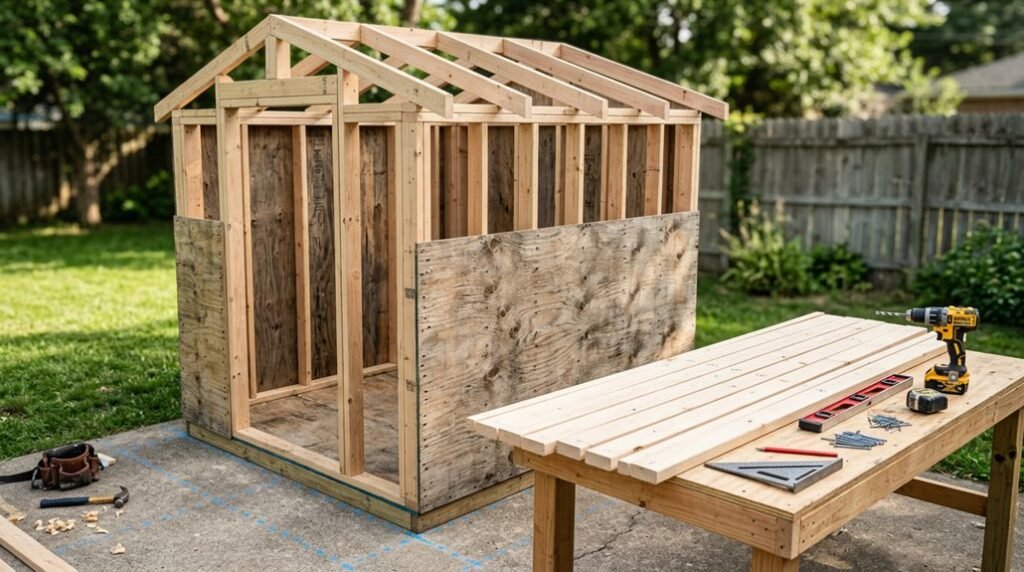
I built my first shed on a sloped lot in Vermont, 8×12, lean-to roof, frost-heaved twice before I learned about proper footings. Ten steps separate a weekend warrior from a structure that survives winter. Each one carries weight: permits, 811 calls, square framing, moisture management.
I’ve watched neighbors skip the checklist and rebuild in year three. The difference isn’t talent, it’s sequence. Start here, and your foundation won’t betray you when the ground freezes.
Pick a Shed Plan That Matches Your Budget and Skills
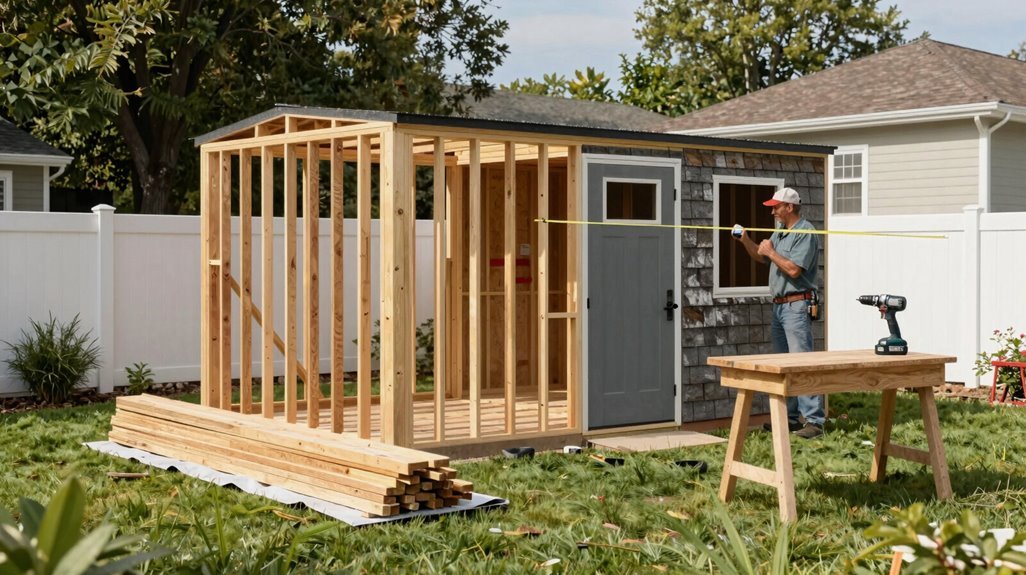
Where do you begin when dozens of shed plans promise the perfect backyard addition? I start by matching my budget and skill level to realistic options, taking comfort in knowing there’s a plan designed just for where I stand.
Beginner-friendly shed plans, those compact 8×10 or 8×12 footprints, run $2,500 to $2,900, featuring lean-to roofs that forgive measurement errors. When I’m ready to expand my capabilities, intermediate gable-roof designs welcome loft additions and double-door entries.
For seasoned builders, ambitious 12×24 or 16×20 structures ($6,400–$8,300) reward practiced hands with ridge-beam grandeur and ramplike accessibility.
I appreciate how free PDF previews let me walk through layouts before committing, examining 20-foot floor configurations, side-shelving potential, long-wall door placements. This isn’t just construction; it’s claiming space that belongs to me.
Check Permit Requirements Before Breaking Ground
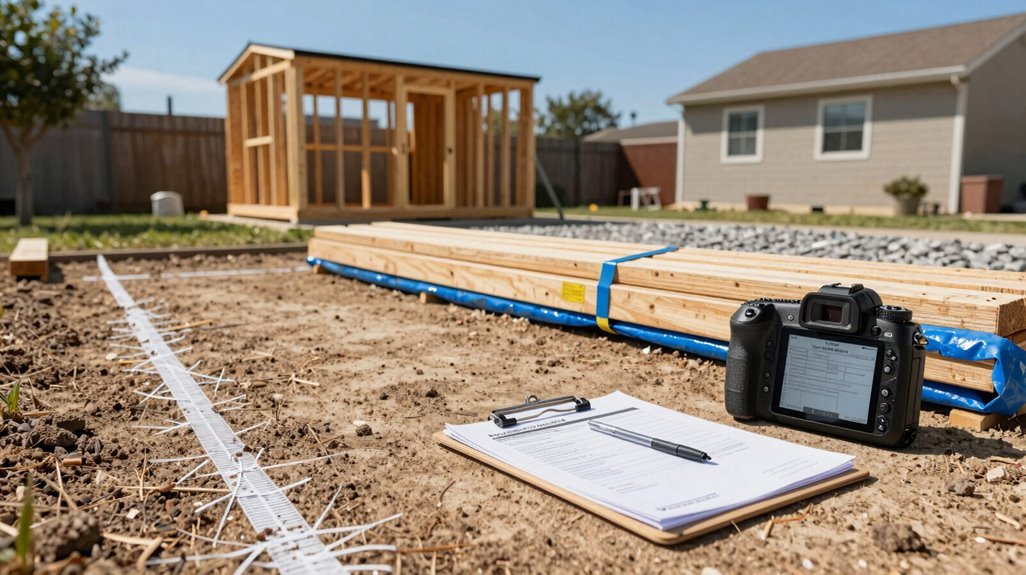
Once I’ve settled on a plan that fits my budget and skills, I turn my attention outward, toward property lines, zoning codes, and the quiet bureaucracy that governs what I’m allowed to build. I start by researching local regulations, knowing that permits aren’t universal. An 8×8×8-foot accessory structure might sail through permit-free in rural Oregon, yet trigger full review in suburban Florida.
- Verify Thresholds. I confirm square footage and height limits; exceeding them means formal permits with plan reviews and drawing updates.
- Secure Digging Clearance. Before any excavation, I call the buried utilities hotline, typically 811, for free line marking, often mandatory for permit compliance.
- Design for Compliance. I align dimensions with standard lumber lengths, minimizing waste while avoiding mid-process redesigns triggered by code surprises.
Grade Your Site and Pour a Frost-Resistant Foundation
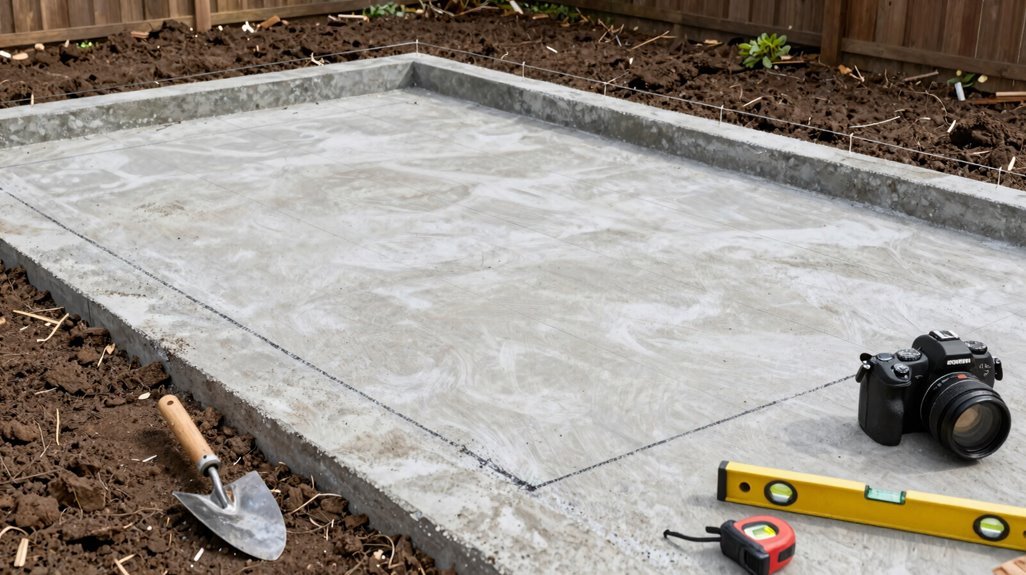
I’ll assess your site’s topography and drainage patterns before breaking ground, using a laser level or straightedge to establish a true plane across both axes, correcting deviations with compacted fill where necessary.
For frost protection, I’m specifying either a monolithic slab or concrete pier blocks set below the local frost line, making certain the foundation won’t heave when winter temperatures drop. Once I’ve staked my string lines and verified square corners, I’ll pour or place my footings with precision, knowing this substrate determines every subsequent dimension of my shed’s frame.
Site Assessment Basics
How do you transform uneven ground into a foundation that’ll still be level when spring thaw hits? I start with thorough site assessment, walking the terrain, noting drainage patterns, and identifying where water collects after rain. This groundwork determines everything that follows.
For a level foundation, I grade the site using concrete pier blocks or pavers at corners and midpoints, compensating slope with elevated risers bolted securely to blocks. A temporary frame guides placement during leveling, keeping accuracy before walls rise.
A frost-resistant footing demands more than surface preparation. I pour concrete slabs or frost-grade footings below the frost line, spacing blocks to support the floor frame with treated lumber, isolating wood from ground contact and moisture. On flat sites, I verify squareness corner-to-corner, keeping outside edges true during framing.
Leveling Methods Explained
Site assessment maps the problem; now comes the physical work of making ground obey your plans.
- Establish Your Benchmark. I grab my laser level, string lines work too, and mark square corners, checking diagonals for equal measurement. Without this leveling precision, your roof planes misalign and doors stick forever.
- Tame the Slope. On uneven terrain, I set concrete pier blocks with elevated risers bolted tight, creating a level foundation that maintains consistent floor height across the entire footprint.
- Frame with Intent. Doubling outer joists of pressure-treated 8-foot lumber, I drive three galvanized lag bolts per corner into pre-drilled holes; no wobble, no compromise.
- Guide True Assembly. A temporary ground frame keeps wall studs and posts in alignment during construction.
- Lock the Perimeter. Finally, I install a level sill plate so walls rise plumb and windows operate smoothly.
Frost Protection Strategies
Why gamble with months of labor when a single freeze can heave your foundation out of true? I’ve learned that proper frost protection starts with grading your site to establish a level foundation, using concrete pier blocks on compacted soil or pavers, elevating risers where slope demands it for frost stability.
Choose Your Frost-Resistant Foundation. I opt for concrete slabs or raised decks with continuous footers, preventing frost heave from shifting my shed frame during freeze-thaw cycles.
Install Protective Barriers. I use pressure-treated lumber for ground-contact framing, layering a moisture barrier beneath the floor to block frost-related moisture intrusion.
Manage Drainage Strategically. I direct water away from the foundation, incorporating slight slopes to eliminate pooling near frost-prone areas, protecting my investment through brutal winters.
Frame Floor Joists and Lock In Plywood Subflooring
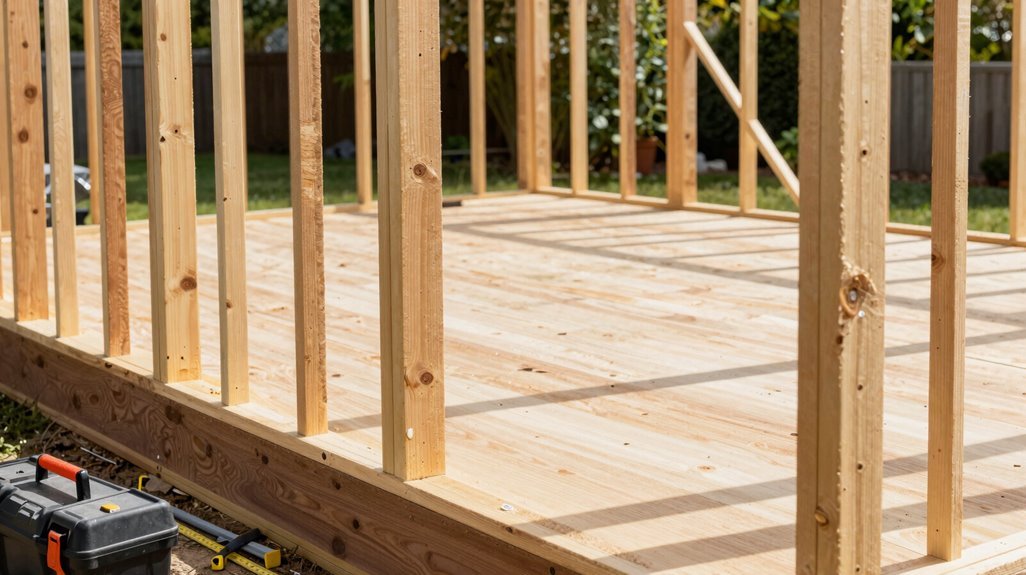
I’ll frame the floor joists using pressure-treated 8-foot 2×6 boards, doubling the outer rim joists for structural integrity, then square the assembly by measuring corner-to-corner before locking everything down.
For the plywood subfloor, I’ll countersink 3 galvanized 5/16″ lag bolts into pre-drilled holes at critical joints, running exterior screws elsewhere to prevent splitting as I work my way across the decking. With riser blocks tied in to accommodate foundation variations, I’m building a level, rigid platform that’ll carry the shed’s load for decades.
Floor Frame Assembly
Where does a structure find its true stability? I discovered it begins with the floor frame, our foundation for something that lasts. I built mine from pressure-treated lumber, those 8-foot 2×6 boards doubled along the edges for uncompromising strength against time and weather.
I anchor the rim joists using three galvanized 5/16″ lag bolts per corner, each driven through pre-drilled, slightly counterbored holes that prevent splitting while ensuring flush, professional lines. Throughout assembly, I measure corner-to-corner, diagonal to diagonal, adjusting until my frame sits perfectly square; anything less betrays the craftsmanship we share as builders.
Exterior screws with pre-drilled pilots tie the floor frame to riser blocks below, creating that monolithic connection between earth and shelter. Using treated lumber throughout, I’ve built something that resists moisture, pests, and doubt, our shared legacy in every bolt driven true.
Subfloor Installation Tips
How does a floor become more than planks and nails? It starts with intentional leveling: elevating your frame above uneven terrain using concrete pier blocks or risers, ensuring every joist meets solid ground. I’ve learned that framing demands squareness. I measure corner-to-corner, adjusting until diagonal lengths match, then lock everything together with galvanized lag bolts and exterior screws.
My subfloor process follows three essentials:
1. Stabilize the perimeter. Doubling outer 2×6 boards—pressure-treated for rot resistance—creates load-bearing strength where walls will rise.
2. Elevate strategically. Aluminum shims between treated lumber and foundation blocks deter pests while maintaining airflow beneath.
3. Secure the surface. Spanning plywood across properly spaced joists, fastening edges to framing, transforms individual components into unified platform, ready for vertical elements.
Raise Wall Frames and Check They’re Square Before Securing
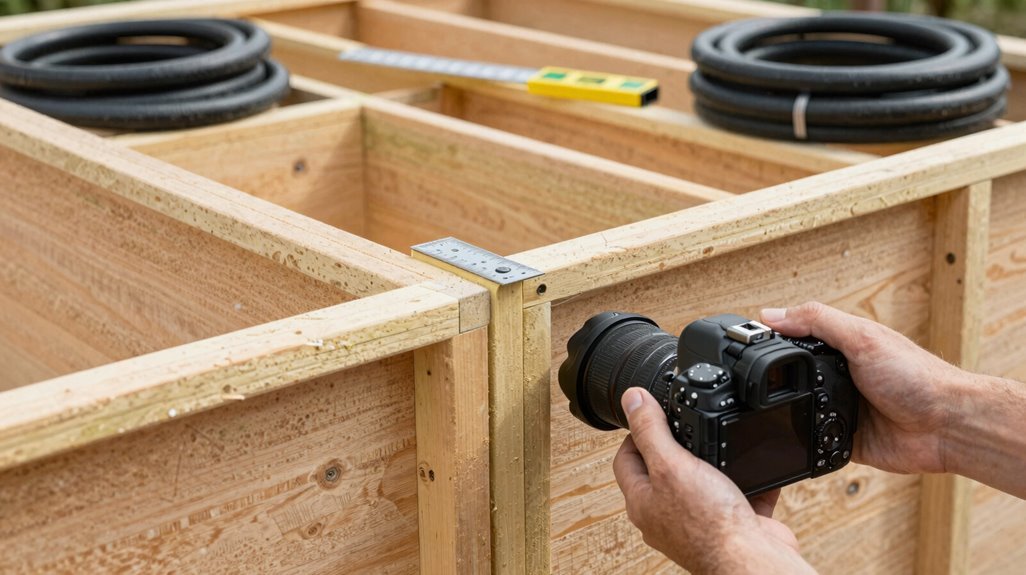
Why start with the back wall? I position it first because it anchors everything, aligning with existing structures and giving me a true reference line for the remaining wall frames. Without this cornerstone, I’m building on uncertainty.
- Lift and brace. I raise the back wall frame, clamping temporary braces to hold it plumb while I work. Movement kills precision.
- Check squareness. I measure corner-to-corner diagonals; when those numbers match, I’ve got a rectangle, not a rhombus. I adjust until perfection.
- Secure with care. Using exterior screws through pre-drilled holes, I fasten to floor joists. Splitting wood wastes time, material, and patience.
- Build forward. With the back wall true, each subsequent frame follows its lead, so my shed stands solid, square, and built to last.
Frame Door and Window Openings
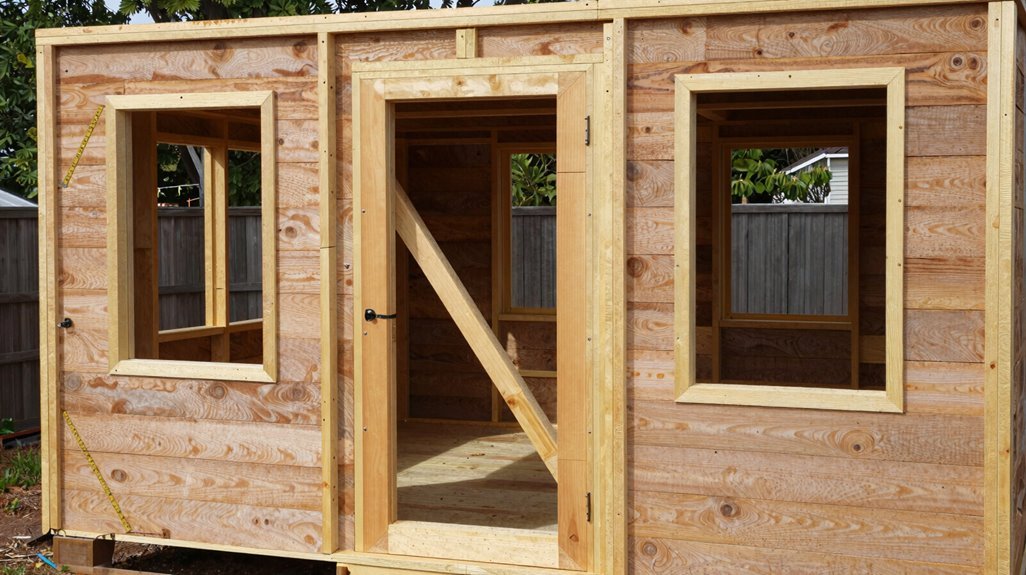
When exactly do windows and doors enter the picture? Right now, friend, Step 13, where we frame openings that’ll transform your shell into a functional space.
- Position Your Openings. I place the window in the side wall, locating the door window per my design specs, measuring twice, cutting once, as they say in every workshop from Maine to Oregon.
- Raise in Sequence. Back end wall first, then side walls, then that final end wall, each wall panel fitting precisely because I’ve checked they’re square, making certain my frame openings align for hardware later.
- Cut and Secure. Paneling around the window gets trimmed after walls stand; I leave the door area temporarily weakened for fitting. Corner joints, screwed from inside for rigidity, keep everything plumb, because moisture intrusion kills sheds faster than any storm.
Hang Pre-Hung Double Doors and Seal Gaps
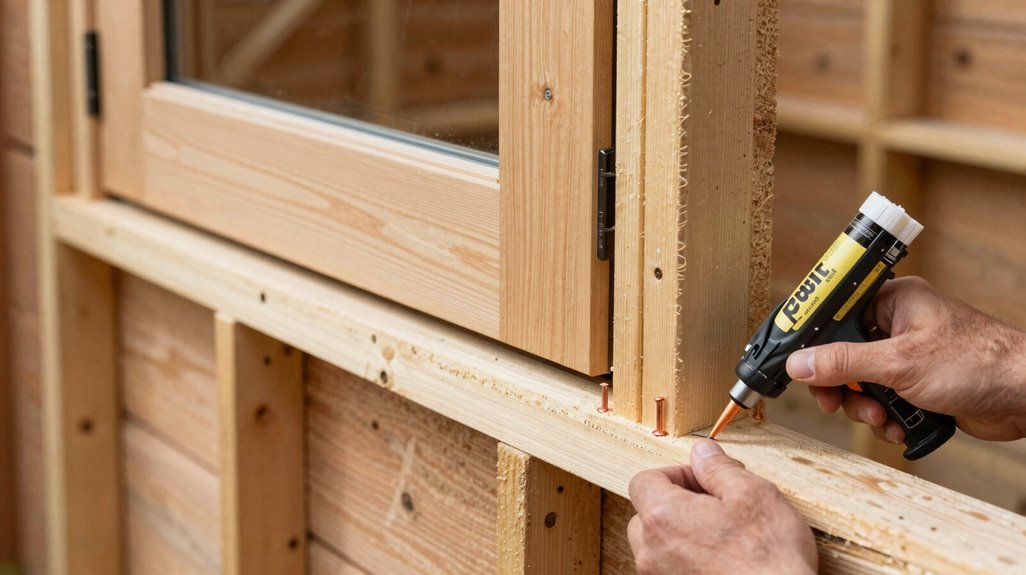
Where exactly does your shed become truly accessible? Right here—when I hang these pre-hung doors and seal every gap against the elements.
I start by positioning the pre-hung doors in the framed opening, checking swing and clearance on both sides before driving exterior-grade screws through the door jambs, predrilled, of course, to prevent splitting. I shim carefully, making certain the reveal stays consistent from top to bottom.
Next, I run weatherstripping along the jambs and head, compressing it just enough to form a watertight seal without binding the doors. I test operation with a full load of tools inside, confirming gaps remain uniform after all that framing stress.
| Task | Purpose |
|---|---|
| Shim jambs plumb | Maintains door alignment |
| Predrill screw holes | Prevents wood splitting |
| Install weatherstripping | Blocks air and moisture |
| Load-test with tools | Verifies final clearance |
This threshold, your shed’s true welcome, deserves precision.
Frame the Roof: Gable Trusses, Lean-To Rafters, or Modern Slopes
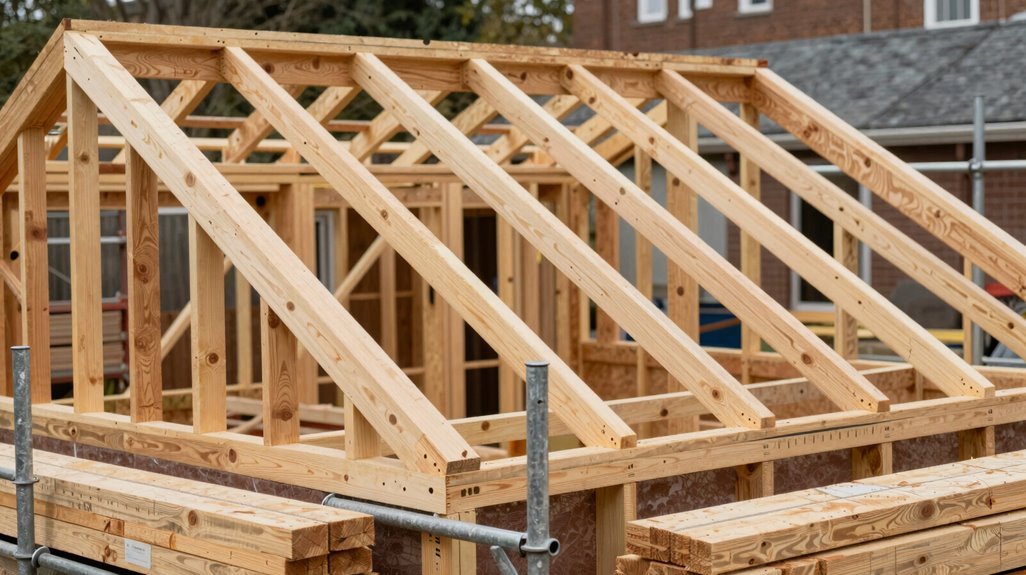
Whether you’re dreaming of cathedral-like space or clean modern lines, the roof you frame now defines everything: your shed’s silhouette overhead, its storage capacity, and how weather flows off its flanks. I’ve learned that roof framing demands precision from the moment walls stand plumb.
1. Select Your Structure
Gable sheds use pre-built shear trusses nailed to top plates; fast, strong, creating that iconic peaked profile we recognize from childhood backyards. Lean-to designs slope toward one wall, with rafters bearing on a ledger; simpler geometry, fewer cuts, welcoming for first-timers.
2. Align and Anchor
Whether trusses or rafters, I align each member with wall studs, checking square as I go. Diagonal measurements must match, or the roof twists.
3. Cut with Care
Notching rafters requires templates; one degree off compounds across the span.
Deck the Roof, Layer Underlayment, and Shingle in One Day
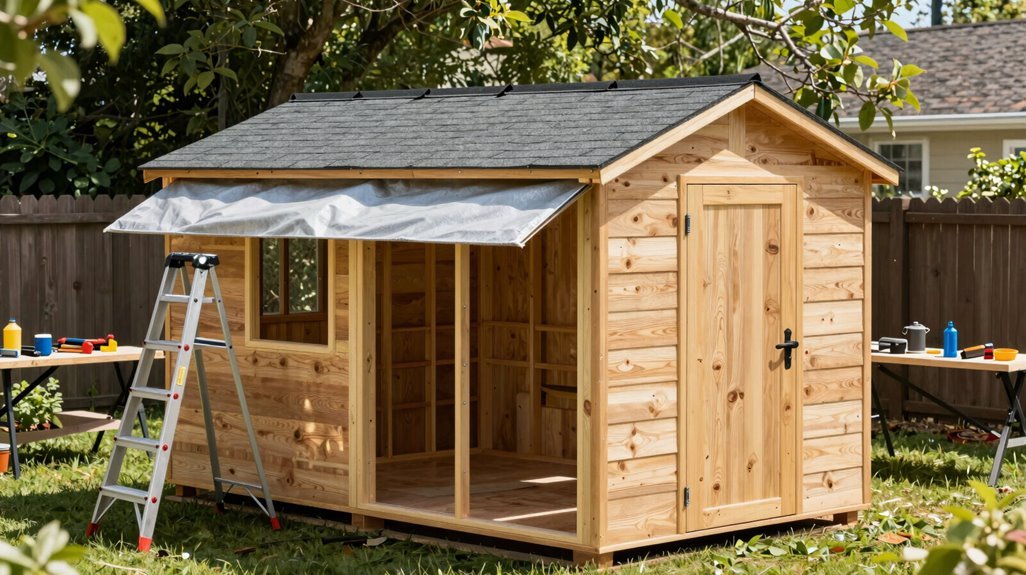
I’ll start by nailing down the plywood sheathing, ensuring each sheet sits square against the rafters, before rolling out that underlayment with overlapping seams to lock out moisture. When I’m shingling, I’ll work from the bottom edge upward, staggering those architectural tabs in a tight pattern so the whole roof sheds water like a pro.
With roof brackets set and my fall harness clipped in, I’m aiming to get this whole system—decking, underlayment, and shingles—buttoned up before sunset.
Roof Decking Basics
How do you transform a skeletal frame into a weatherproof crown in a single day? I’m going to show you how we tackle roof decking together, turning raw structural framing into something that’ll make your shed stand out in the neighborhood.
Here’s my approach:
- Deck the Structure — I lay OSB sheets across the roofing trusses, reinforcing lower edges with 7-inch OSB strips for critical load-bearing support at the eaves.
- Seal the Barrier — Installing synthetic underlayment over the roof decking creates our moisture defense line before shingle application.
- Edge the Perimeter — I precut 2x4s for fascia boards, establishing proper overhang and that finished architectural profile we all want.
Getting your structural framing square matters; misaligned rafters complicate everything downstream. Measuring twice here saves our whole day.
Shingle Installation Tips
What’s the fastest way to crown your shed with a roof that’ll last decades? I’ve found it’s all about nailing the roofing prep sequence, rafters first, then OSB sheathing, working methodically across your decked surface before any weather hits.
- Deck Solid — Attach rafters, sheet with OSB, and reinforce lower edges with strips. I always check my overhang and trim alignment now, not later.
- Layer Underlayment — Roll felt paper or synthetic barrier from eaves upward, overlapping courses like shingles themselves. This moisture shield, your insurance policy, protects sheathing until shingle installation begins.
- Shingle Smart — Start architectural shingles matching your house, adding drip edge for water management. I work bottom-up, nailing through underlayment into solid decking, completing sections before moving across.
With proper venting and daylight options considered, you’ll finish in one day, joining fellow builders who’ve mastered this craft.
Add Lofts, Shelving, or Tool Walls by Plan Specifications
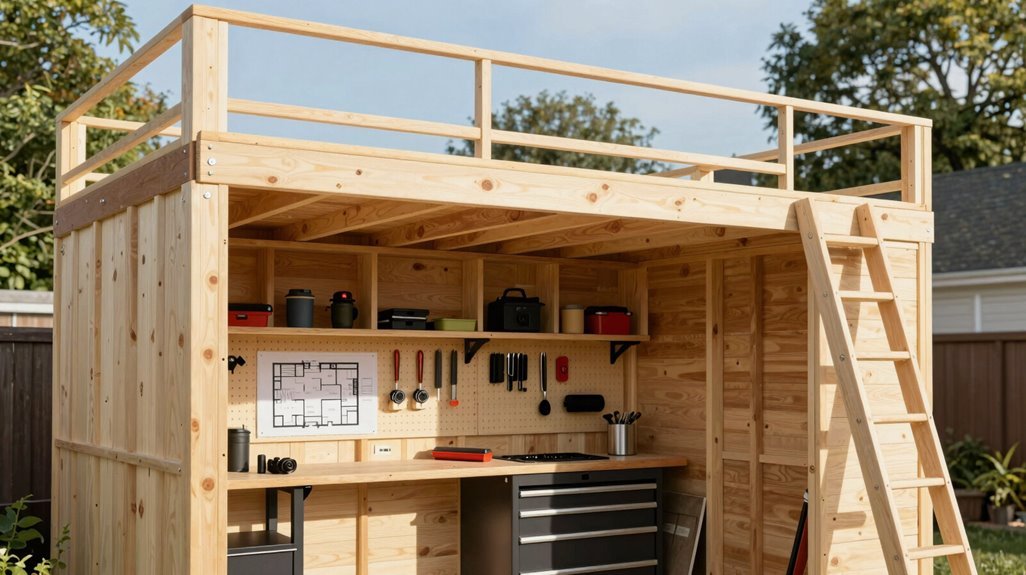
Where exactly should I put all this gear? I’ve found the answer lies in maximizing vertical space through strategic interior planning, transforming empty air into functional storage.
1. Evaluate Loft Options by Dimensions
My 12×16 plan offers an optional loft with extra wall storage overhead. Stepping up to 12×20 gives me headroom above the back half without sacrificing twenty feet of floor space below.
2. Integrate Shelving with Structural Elements
I’m mounting shelving directly into wall framing, making sure each bracket bites into studs. This distributes weight properly and prevents catastrophic collapse under heavy loads.
3. Respect Load-Bearing Requirements
When adding lofts, I’m checking floor joist capacity and separating loft zones from main storage areas. This maximizes usable square footage while keeping the structure sound throughout my build.





