
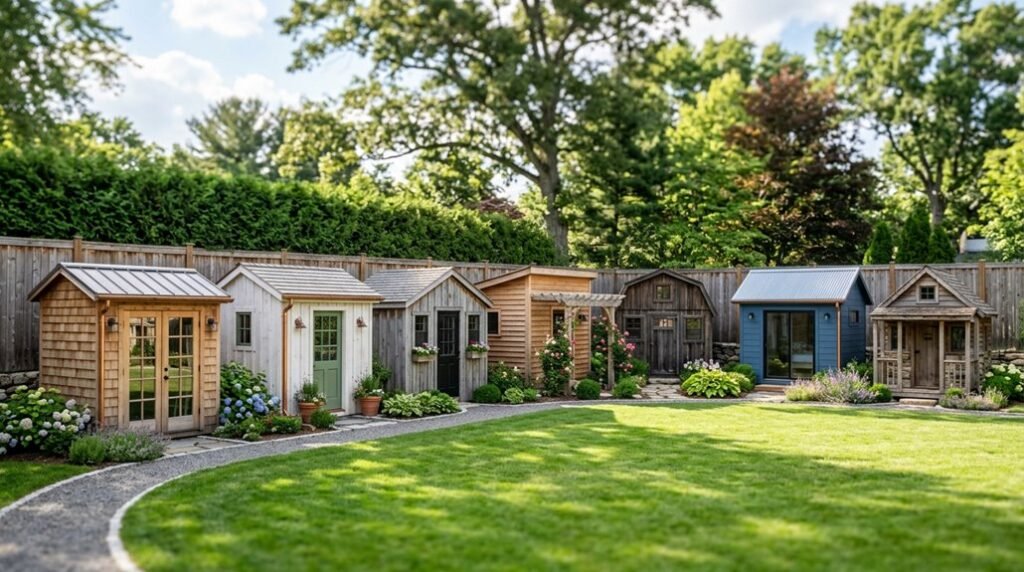
I was sketching floor plans for my own backyard retreat when I stumbled across seven kit options that solve nearly every constraint: tight footprints, harsh climates, tight budgets.
Each promises weekend assembly without contractors.
The catch? Choosing wrong means sweating through summer in a metal box or watching cedar warp within two seasons.
Here’s how to match kit to conditions.
What Actually Matters When You’re Buying a She Shed Kit
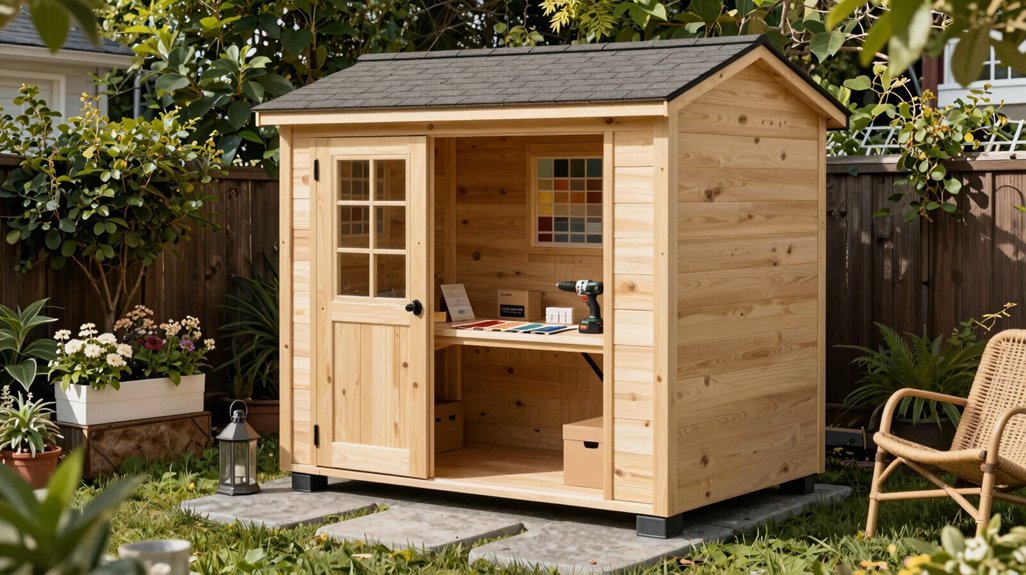
When I’m standing in my backyard, imagining where a personal retreat might take shape, I start with the bones of the space: square footage and spatial flow that match what I actually plan to do inside. Whether you’re picturing a reading nook, home office, or art studio, you’ll want open floor plans that minimize beams or trusses, giving you uninterrupted space to breathe and create.
I always consider location and utilities early. Sun exposure matters, and so does the potential for insulation, electricity, plumbing, and wifi if you plan year-round use.
For durability, I’ve learned to weigh maintenance carefully. Steel prefab kits offer weather resistance and pest protection with minimal upkeep compared to wood alternatives. Look for DIY-friendly features like pre-cut parts and clear instructions; most assemble in 8–12 hours, Lincoln log–style.
Best Small DIY Kit: Moderna 10×10 for Tight Backyards
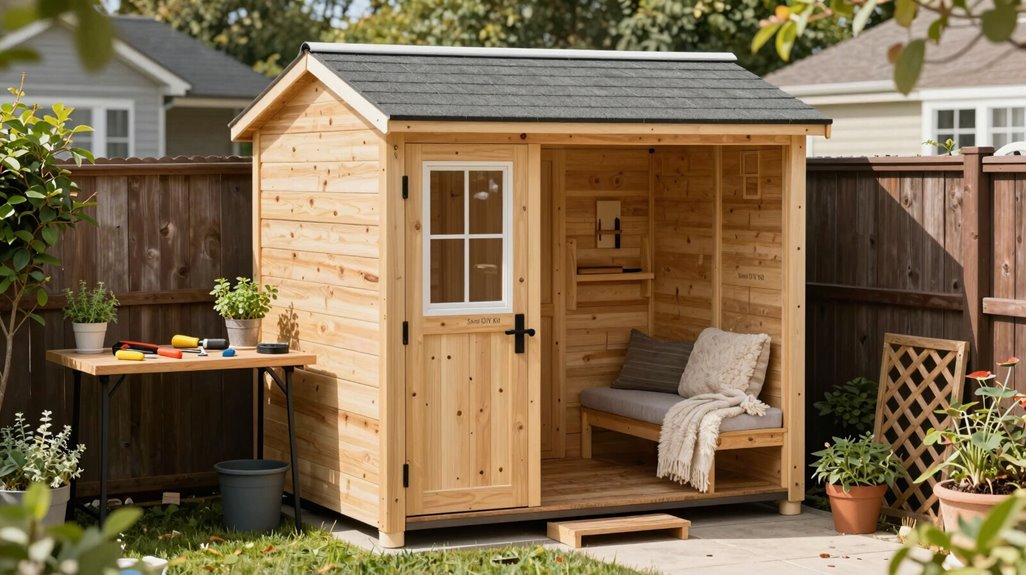
Where does one carve out sanctuary when every square foot of yard already earns its keep? I’ve found my answer in the Moderna 10×10, a compact DIY shed kit delivering 80 square feet of intentional retreat.
- Dimensions That Respect Boundaries. At 10×10 feet, this modern shed nestles into tight backyards without overwhelming existing landscaping, offering just enough room to breathe, create, or simply exist apart from the main house.
- Assembly Without Intimidation. The pre-engineered components invite genuine DIY participation; I appreciate how the kit design eliminates guesswork, turning weekend labor into satisfying progress rather than frustration.
- Investment in Proportion. Priced at $5,995, the Moderna occupies thoughtful middle ground, neither bargain-basement compromise nor extravagant splurge, but accessible entry into dedicated personal space.
For those of us finding our place in smaller footprints, this kit proves constraint need not mean sacrifice.
Best Mid-Size DIY Kit: Solana 13×10 for Versatility
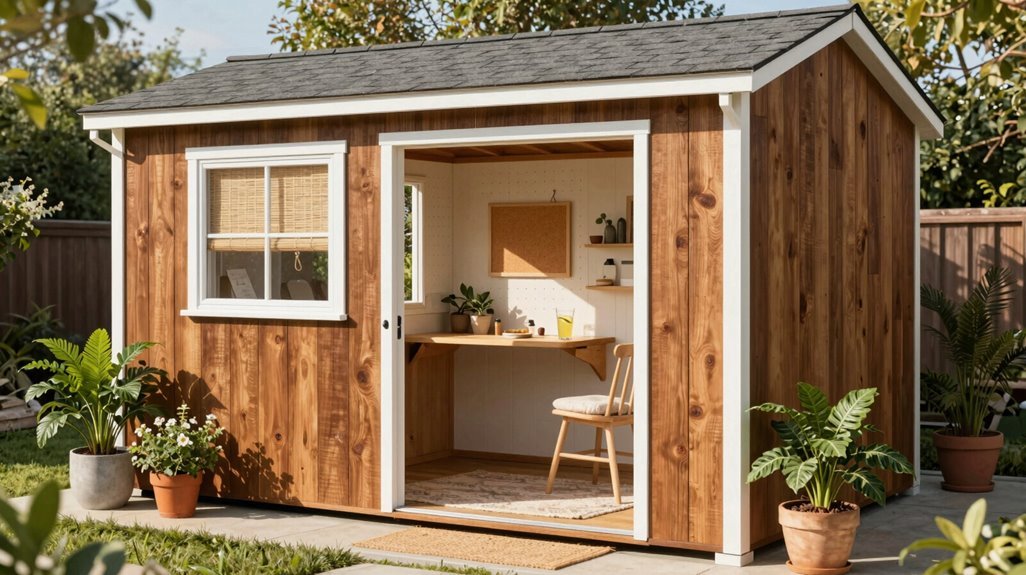
A 13×10 footprint invites possibilities that smaller structures simply cannot accommodate. I’ve watched the Solana transform from boxed components to 120 square feet of purposeful space, its 80-square-foot core expanding through a 40-square-foot annex that bends to whatever version of retreat I’m chasing.
At $6,795, this mid-size entry among DIY kits hits the sweet spot between compact starter sheds and sprawling builds. Nestled in the $6,001–$8,000 bracket, it’s priced for dreamers ready to commit. I appreciate how the ready-to-assemble system respects my weekends; the Solana doesn’t demand professional crews or architectural degrees.
Whether I’m crafting, writing, or simply escaping, this 120-square-foot envelope adapts: studio, workshop, sanctuary. For those of us building belonging by hand, the Solana offers room to become.
Best Premium Wood Kit: Astoria 11×13
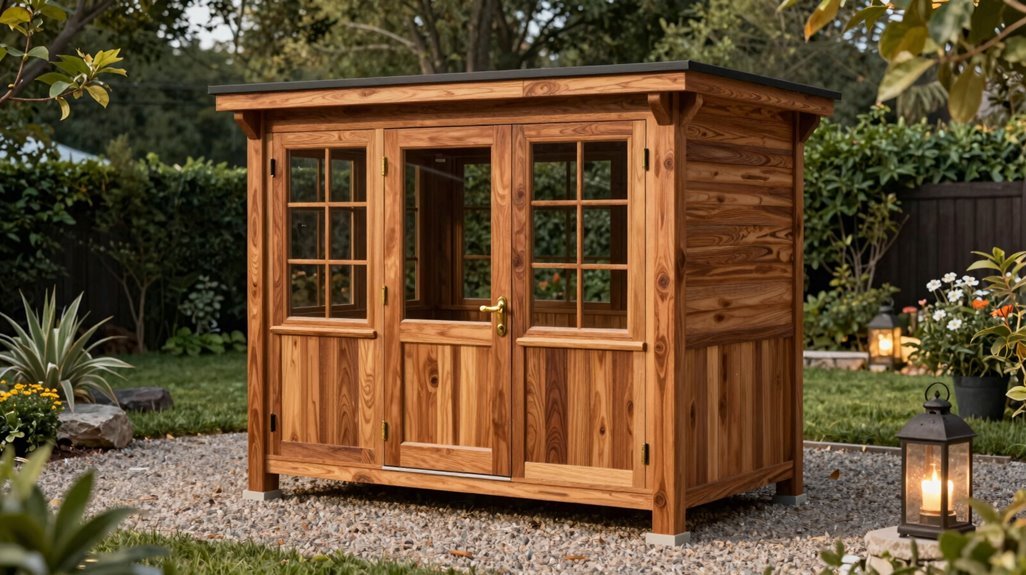
Why settle for ordinary when 117 square feet of premium cedar invites something more deliberate? I’m drawn to the Astoria 11×13 wood kit precisely because it offers that rare convergence of craftsmanship and accessibility, currently priced at $8,595.00, down from $8,895.00 MSRP.
- Architectural Integrity. The natural cedar finish welcomes staining or painting post-assembly, letting you claim ownership through customization. This DIY shed assembles in 8–12 hours via Lincoln-log construction, intuitive joinery that doesn’t demand professional contractors.
- Spatial Consistency. Sharing its 117 sq ft footprint with siblings like the California 13×11, the Astoria maintains proportional harmony across the premium lineup, an 11–13 ft module that anchors your backyard without overwhelming it.
You’re building sanctuary here, not just storage.
Best Metal Kit Alternative: SteelMaster Arch-Style Options
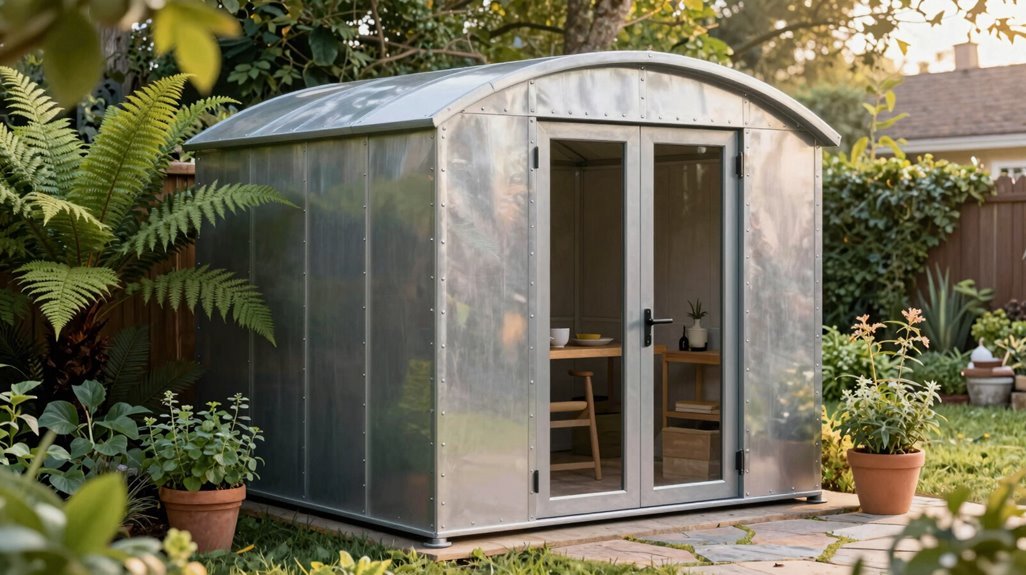
I chose SteelMaster’s arch-style kits when I wanted something that wouldn’t rot, warp, or demand annual staining. Instead, you get Galvalume-coated steel formed into a continuous curved shell that sheds snow and rain while maximizing every interior foot.
Their pre-engineered components snap together faster than you’d expect, turning a potentially intimidating build into a weekend project with basic tools and a helper. Whether you’re envisioning a sleek modern studio, a rustic farmhouse escape, or something entirely your own, these structures adapt. They offer clean spans up to 30 feet without internal posts, so you’re free to arrange lighting, lofts, or workbenches exactly where inspiration strikes.
Arch-Style Durability Advantage
The arch-style silhouette rising from your lawn carries more than visual distinction; it redistributes structural loads along a continuous curve, eliminating the need for interior trusses that interrupt headroom and workflow. I chose this arch-style path for my own retreat because the durability speaks to something permanent, something that withstands seasons without demanding constant attention.
SteelMaster’s arch-style engineering envelopes you in Galvalume Plus-coated steel: rust-resistant, wind-defiant, energy-smart. The curved shell sheds snow, sheds doubt.
Choosing arch-style durability means joining a community of makers who value structures that endure. Your shelter becomes legacy: low-maintenance, spacious, unmistakably yours.
Size options bend to your purpose: 122 square feet of sanctuary or expansive workshop.
This is steel reimagined. This is where you belong.
Quick Assembly Process
Beyond selecting a structure that endures, you’ll want one that respects your calendar. Arch-style assembly rewards the weekend builder with notable efficiency. I’ve found that SteelMaster’s prefab kits turn what feels like a construction project into something approachable, even for those of us who’ve never raised a wall before.
The quick assembly stems from pre-engineered components arriving ready to connect. Standardized panels bolt together without extensive cutting, and the modular sizing means you’re not wrestling with custom fits on uneven ground. The arched shell rises tool-light, each piece slotting into place like a familiar puzzle.
| Weekend Phase | Hours Needed | What You’ll Accomplish |
|---|---|---|
| Friday evening | 2–3 | Foundation prep and layout |
| Saturday | 6–8 | Panel assembly and arch raising |
| Sunday morning | 3–4 | Endwall installation |
| Sunday afternoon | 2 | Door, window, and trim work |
Design Customization Options
Why settle for a box when your retreat can actually speak to who you are? SteelMaster’s arch-style kits let me craft a space that feels like it belongs in my yard, and my life.
- Endwall Expression: I can tailor endwalls to echo my home’s exterior or stand as a bold counterpoint, bridging modern minimalism or farmhouse warmth without sacrificing that industrial edge I crave.
- Interior Flexibility: With no interior beams blocking my vision, I’m free to configure studios, offices, or workshops; wiring windows and doors exactly where inspiration strikes.
- Material Harmony: Though steel forms the shell, I can introduce natural wood accents inside, softening the aesthetic while maintaining structural integrity through Galvalume Plus coatings.
- Climate Control: Site-specific engineering and insulation options let me inhabit this space year-round, regardless of regional extremes.
Wood vs. Steel: Which Material Fits Your Climate and Budget?
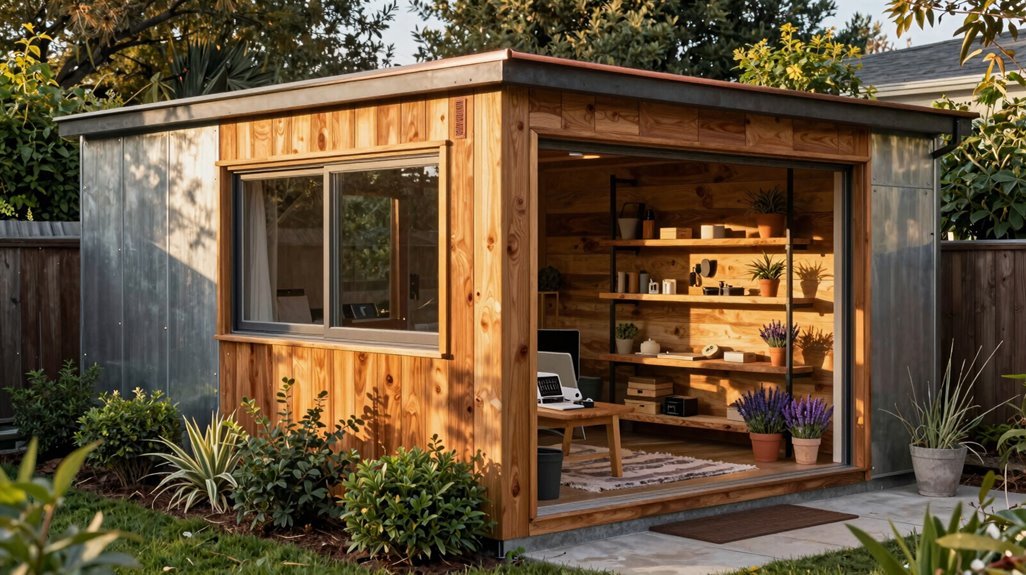
When planning your dream retreat, selecting between wood and steel framing becomes one of your most consequential early decisions, each material offering distinct architectural possibilities, climate adaptability, and cost trajectories that will shape your she shed experience for decades.
| Feature | Steel | Wood |
|---|---|---|
| Climate Resilience | Withstands high winds, heavy snow, hail | Moderate; requires weatherproofing |
| Maintenance | Minimal—no painting, rot-resistant coatings | Higher—staining, pest prevention needed |
| Long-term Cost | Lower maintenance expenses | Higher upkeep over decades |
| Aesthetic | Industrial, beam-free interiors | Warm, customizable natural beauty |
I gravitate toward steel when I want rugged durability without weekend chores; Galvalume Plus coatings banish rust worries. Yet wood calls to me for that cozy, cottage-core sanctuary where I belong. Your climate and hands-on willingness decide which material welcomes you home.
How to Build Your Kit in One Weekend (Without Professional Help)
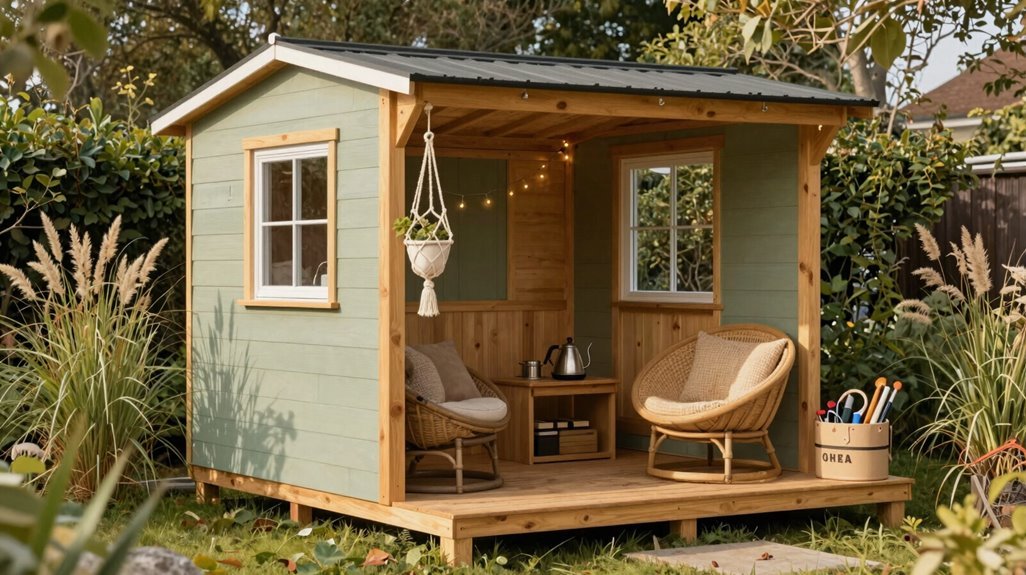
I’ve found that pulling off a weekend build starts with nailing your pre-assembly planning: leveling the site, confirming utility clearances, and staging tools before Saturday morning hits. Once that foundation’s set, you’ll follow a tight weekend assembly guide. Day one tackles the floor system and wall panels, while day two finishes roofing, doors, and window trim. Sunday evening is for that first glass of wine inside your finished retreat.
With kits like the Allwood Solvalla promising 8–12 hour completion windows, I’m walking you through the exact steps that keep you on schedule without calling in pros.
Pre-Assembly Planning Steps
Where exactly do you begin when transforming a stack of pre-cut steel panels into your personal sanctuary? I’ve learned that weekend success hinges on preparation, specifically, these four steps:
1. Site Assessment and Preparation
I start by scouting level ground with proper drainage, ensuring my chosen spot accommodates the kit’s footprint, say, an 80–117 sq ft model like the Solana 13×10, while leaving accessible pathways for delivery.
2. Tool and Material Gathering
Before Saturday arrives, I collect my drill, level, tape measure, screws, and sealant, cross-referencing against the kit’s included hardware to eliminate mid-project interruptions.
3. Strategic Kit Selection
I match size and layout to my intended use. Minimal on-site modifications mean more time enjoying, less time adjusting.
4. Guidelines Review
I study manufacturer specifications for base requirements and safety protocols, ensuring my sanctuary meets standards from foundation to fascia.
Weekend Assembly Guide
Though a steel stud may seem unfamiliar at first, I’ve found that bolting together a prefabricated kit follows a surprisingly intuitive rhythm, one that turns a bare concrete slab into weatherproof enclosure over a single Saturday and Sunday.
Pre-cut parts eliminate guesswork, letting me focus on assembly rather than measuring twice. With modular steel panels and beam-free interiors, I’m bolting walls upright by mid-morning Saturday, no professional crew required.
- Stage Your Foundation Friday Night — Leveling the concrete pad beforehand means Saturday starts with framing, not frustration; I’ve learned this prep separates finishers from stragglers.
- Follow the Lincoln-Log Sequence — Corner posts slot together, wall panels bolt sequentially, and roofing locks into place, each pre-engineered joint guiding the next.
- Document Progress Hourly — Snapping photos against my checklist keeps weekend assembly on track, turning first-timers into proud she-shed owners by Sunday dusk.





