
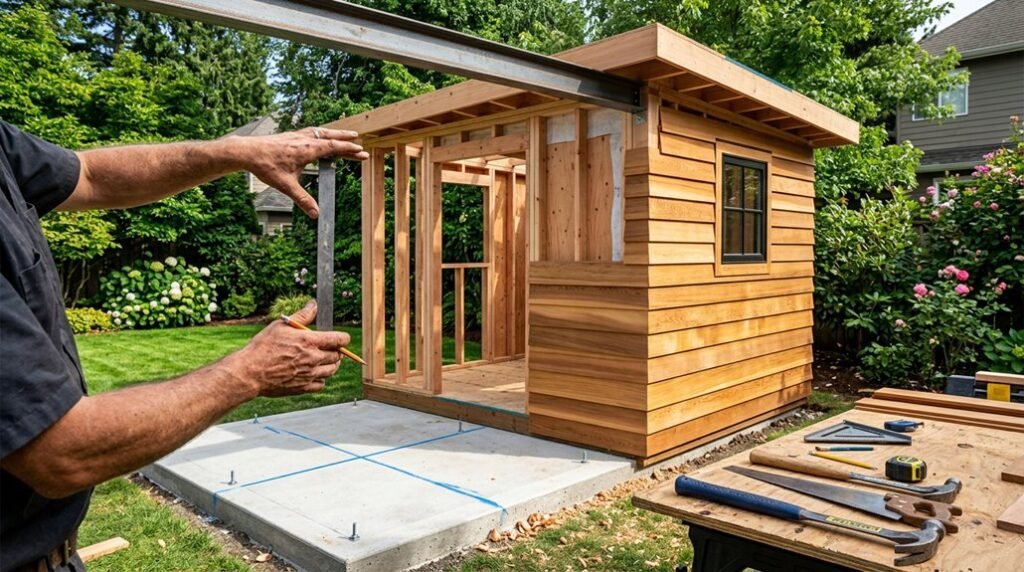
Homeowners completed over 1.4 million DIY shed projects last year, a 23% increase since 2019. I’m walking you through five essential phases, from permit acquisition to weatherproofed roof assembly, each demanding precision with treated lumber, pier block elevations, and structural squareness.
What most builders overlook in step three could compromise your entire foundation.
Get Your Permit, Mark Utilities, and Finalize Shed Dimensions
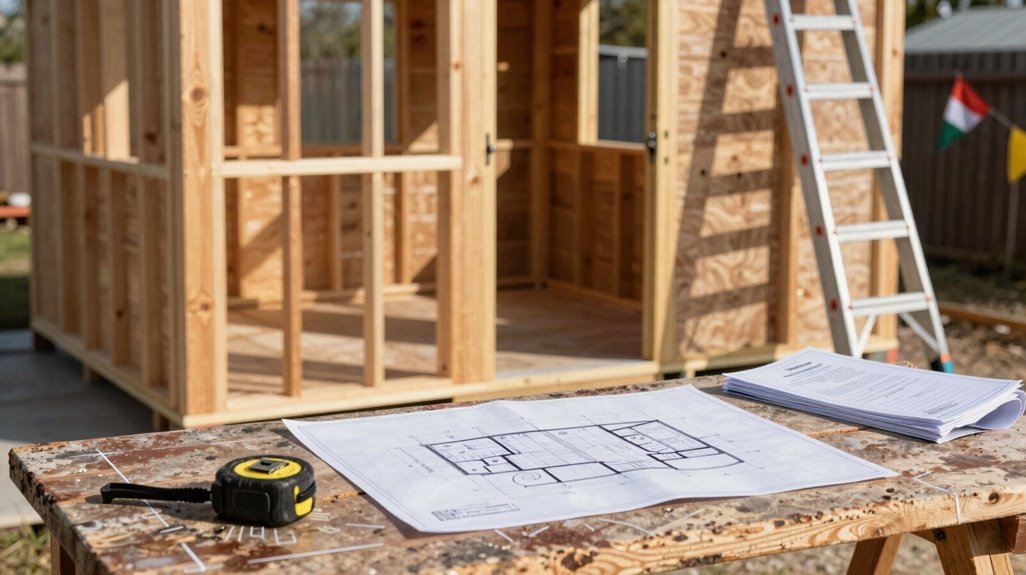
Where do we begin when building something meant to last decades? I start with planning and sizing, measuring my backyard’s constraints against my storage dreams, balancing ambition with practicality.
- Navigate Local Regulations. I check local regulations first, discovering whether my shed dimensions trigger permitting requirements. An 8x8x8-foot structure often slips through exemptions, while larger builds demand building permits.
- Arrange Utilities Marking. Before imagining my foundation layout, I call the buried utilities hotline. This free service, required by authorities, paints my yard with safety colors, protecting me from costly mistakes.
- Finalize Dimensions. I assess my needs against available space, perhaps settling on a 10 by 20 ft footprint, generous yet compliant, functional yet restrained.
- Secure Approvals. I obtain permits before breaking ground, avoiding teardown orders and fines that haunt the unprepared.
Prep the Site and Set Level Pier Block Foundations
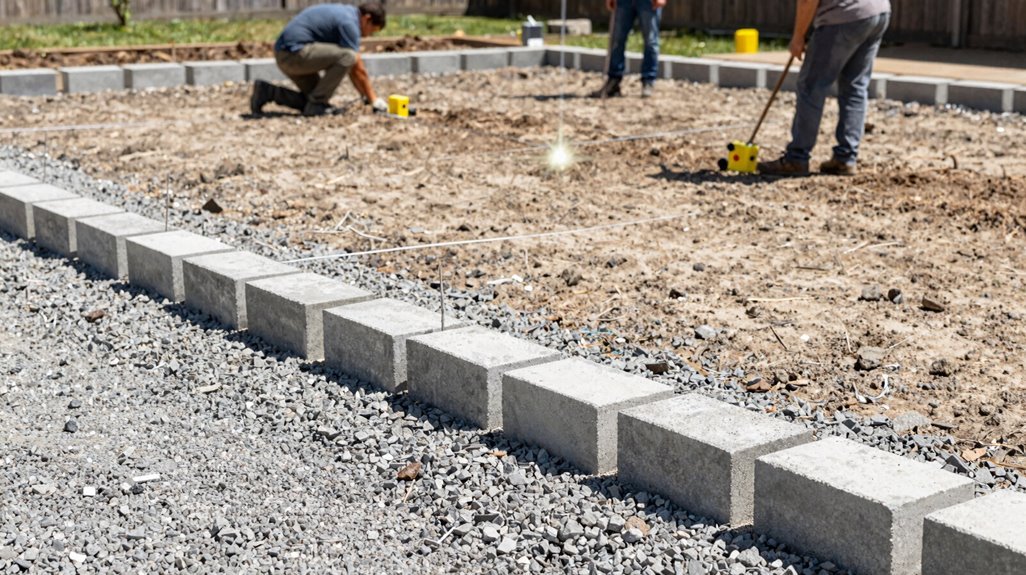
With permits filed and boundaries marked, I’m ready to break ground, turning paper plans into physical reality.
Paper plans surrender to shovel and sweat—the first true measure of a build begins where the ground breaks.
First, I tackle site prep, clearing vegetation and grading for drainage flow. Then I dig footing trenches, one foot wide and deep, filling them with concrete and stacking mortared bricks for stability. For flat terrain, I measure corner-to-corner, checking squareness with a temporary frame; on slopes, I combine ground blocks with elevated risers bolted to concrete pier blocks. I excavate eight holes roughly 50 cm deep, lining bottoms with gravel drainage, inserting threaded rods for height adjustment and vent clearance. These level foundations isolate my structural framing from ground moisture. Finally, I select treated lumber, knowing durability matters when you’re building something meant to last.
- Excavate with precision: Digging to exact depths helps your concrete pier blocks sit stable; measure twice, cut once, as they say in our circle.
- Drainage is non-negotiable: That gravel drainage layer prevents frost heave and wood rot, protecting your investment through harsh winters.
- Isolate and elevate: Using treated lumber for any ground-contact elements creates a thermal and moisture barrier; your structural framing deserves that protection.
Build the Shed Floor Frame and Install Decking Boards
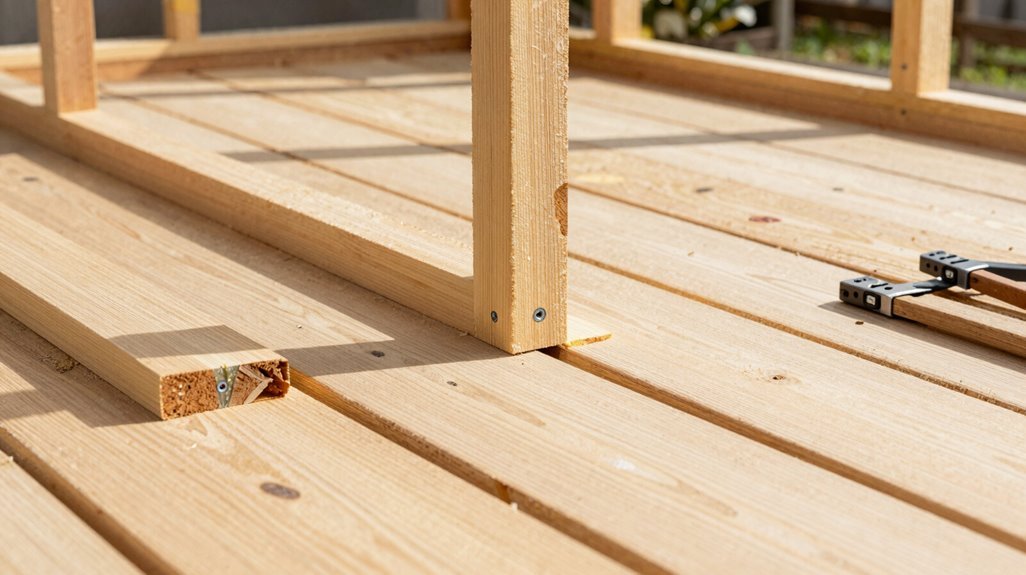
All eight piers now stand level and true, their threaded rods jutting up like metal saplings ready to anchor my floor frame, this is where the shed transforms from abstract plan into tangible structure.
- Frame the perimeter. I double the outer pressure-treated boards for strength, securing the first layer to the foundation with three galvanized 5/16″ lag bolts, pre-drilling prevents splits.
- Install interior joists. Spaced precisely for plywood flooring alignment, these pressure-treated 2x6s elevate the base 5 cm off ground, thwarting moisture intrusion.
- Verify squareness. Measuring corner-to-corner diagonally ensures geometric integrity, adjust until dimensions match.
- Lay the decking boards. Two 18 mm hardwood-faced sheets cover the joists, seams staggered across different supports, fastened with 2-inch exterior screws.
- Protect below. I spread Tyvek moisture barrier beneath, an essential shield between soil and sanctuary, completing this weather-resistant platform.
Frame the Shed Walls, Attach Exterior Panels, and Raise Them
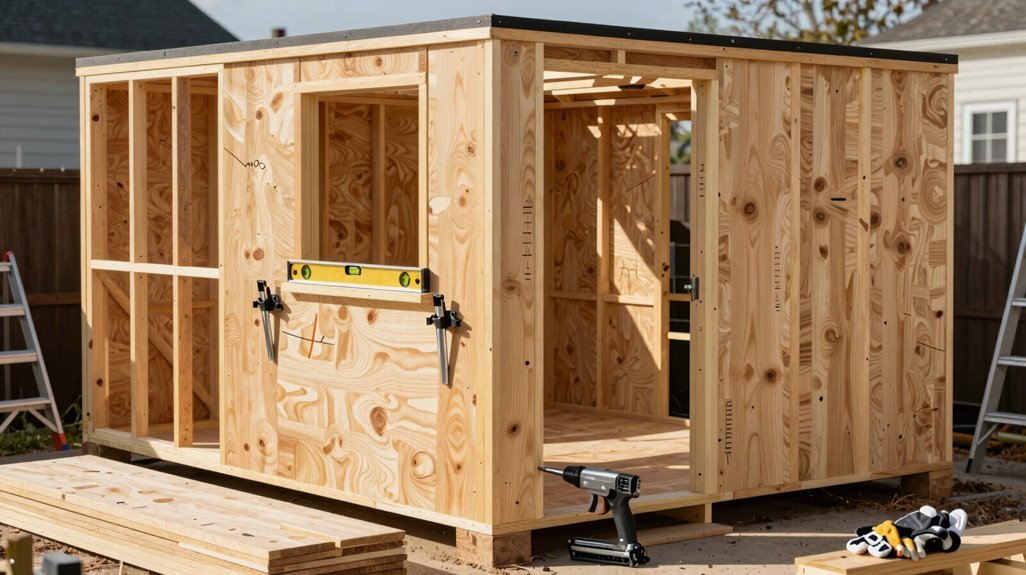
How do you transform a flat platform into vertical shelter? I start with wall framing that matters, building the back wall first, then the front wall six to twelve inches taller for drainage. With studs 16 on center, I frame the door opening by skipping floor joists, sliding the door frame into place before I raise walls.
Pre-panel precision: I attach exterior panels while walls lie flat, simpler than wrestling plywood overhead, especially when working solo in a Carolina backyard.
Angled side walls: I cut side wall plates at slight bevels, fitting them between front and back wall heights; studs 16 on center keep everything plumb when I toe-nail corners together.
Raising day: I brace temporarily, checking squareness, because nothing bonds a shed crew like hoisting that first wall, then celebrating with cold drinks.
Install Roof Trusses, Add Sheathing, and Apply Weatherproofing

The roof transforms your shed from a box into shelter, and I approach it as the crowning structural moment, where precision in the frame determines decades of dryness beneath.
- Position the Trusses: I align each roof truss with wall studs, securing them to form the skeletal foundation for everything above, checking plumb twice before driving the final fastener.
- Deck the Frame: Covering the trusses, I install roof sheathing, plywood sheets fitted to rafters with edges meeting flush, then reinforce the lower perimeter with 7-inch OSB strips, creating rigid overhang that extends beyond walls for weather protection.
- Seal Against Elements: Laying tar paper over sheathing, I apply the weatherproofing barrier essential before shingles, this membrane, properly overlapped, channels water away from your stored treasures below.





