
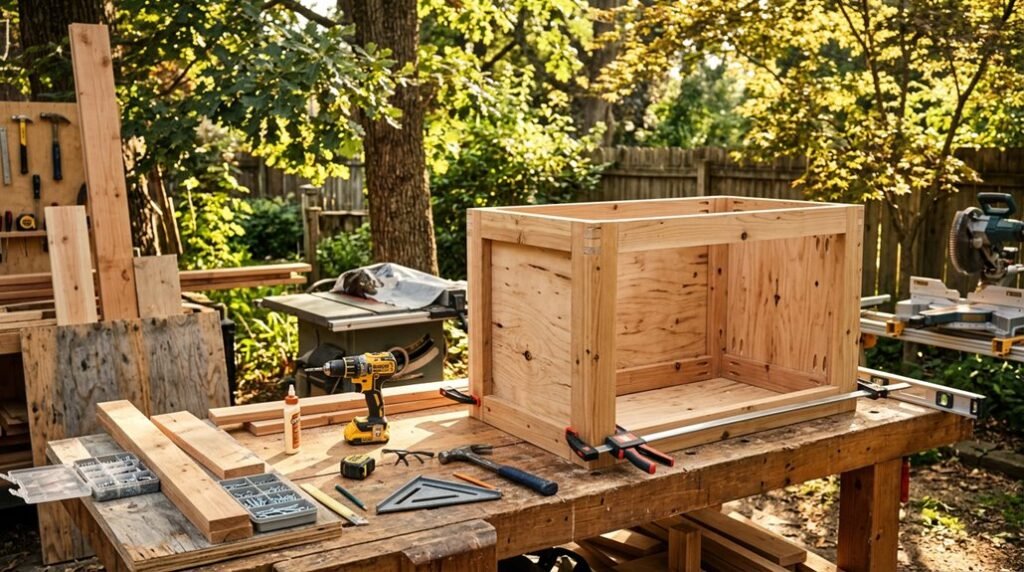
I’ve built outdoor kitchens through three coastal winters, each project teaching me what survives salt, heat, and daily use. The difference between cabinets that last five years versus twenty isn’t budget; it’s sequencing. Measure your footprint against prevailing winds, secure permits before material delivery, and frame with marine-grade plywood over pressure-treated 4x4s.
Stone veneer demands cement board, lath, and mortar cured before hardware installation. What most builders miss, drainage slope, ventilation gaps, anchor points, destroys investment faster than coastal storms. Here’s how I prevent that.
Measure Space for Your Outdoor Cabinet Layout
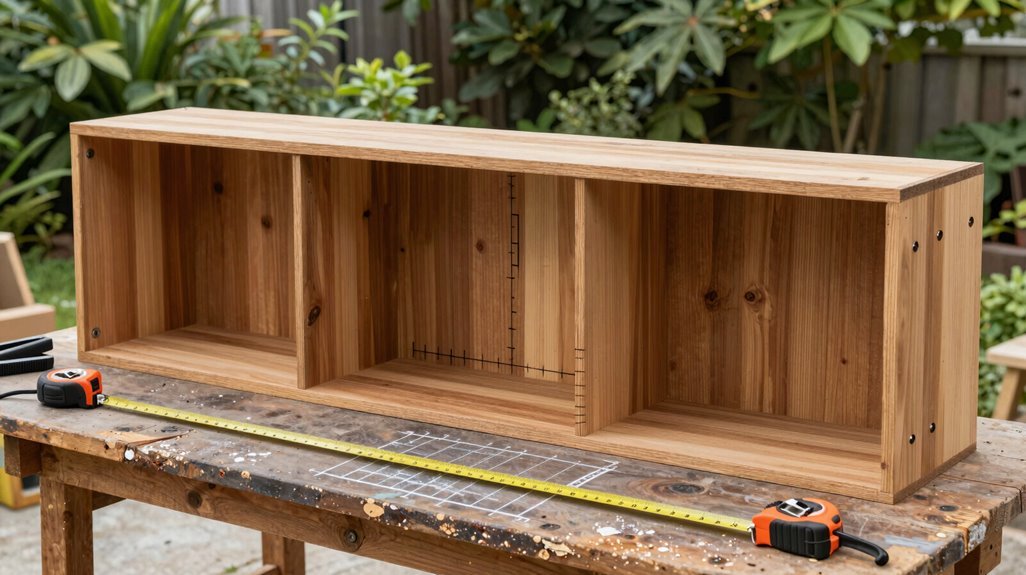
Where exactly will your outdoor kitchen take shape? I start every project with precise measurement of my available footprint, mapping clearance zones for drawer swings, door arcs, and appliance ventilation.
Precision measurement of your footprint comes first—mapping every clearance zone before a single cabinet is ordered.
1. Establish Your Base Dimensions
I measure twice, recording length and width while marking utility stub-outs: gas, water, electrical, that anchor my cabinet layout. Without this foundation, I’m guessing.
2. Account for Environmental Stress
Weather exposure dictates material selection and vertical planning. I position base cabinets at 36 inches, reserving upper storage where roofs permit, protecting finishes from rain, sun, and thermal cycling.
3. Model Before Building
I draft a scaled floor plan, testing L-shaped versus linear configurations digitally, saving lumber, time, and regret. This space planning ritual connects me to generations of builders who’ve measured, marked, and made.
Your outdoor cabinets deserve this precision.
Check Permit Requirements Before Building
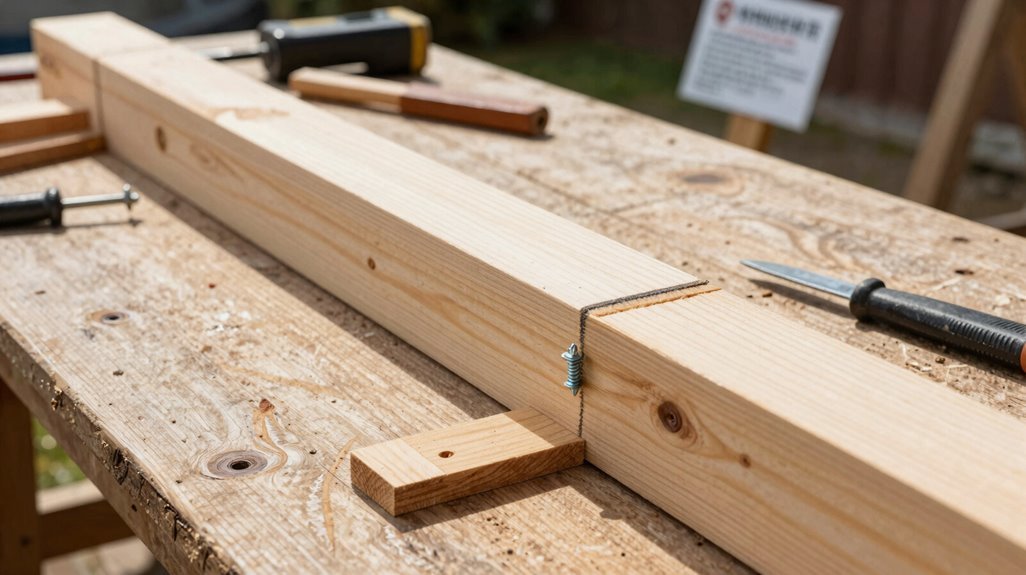
Before I lift a saw or pour a footing, I’m pulling permits, because nothing derails a build faster than a red tag from the inspector. I’ve learned that permits aren’t bureaucratic hurdles; they’re my roadmap to a build that lasts.
| Permit Type | Typical Cost | What It Covers |
|---|---|---|
| Deck/Patio | $220–$500 | Structural foundation, load-bearing elements |
| Plumbing Permits | $50–$500 | Water lines, drainage, gas connections |
| Electrical Permits | $150–$500 | Outdoor-rated circuits, GFCI protection |
I’m checking local codes and zoning requirements early, before I’ve committed to cabinet placement or utility routing. Compliance with these regulations protects my investment and keeps my outdoor kitchen legal. Skipping this step risks fines, tear-outs, and neighbor disputes.
I call my municipal zoning office, explain my plans, and request a checklist. Electrical permits and plumbing permits vary wildly by jurisdiction; what passes in one county fails in another. I document everything, file early, and build with confidence.
Set a Realistic Budget for DIY Cabinets
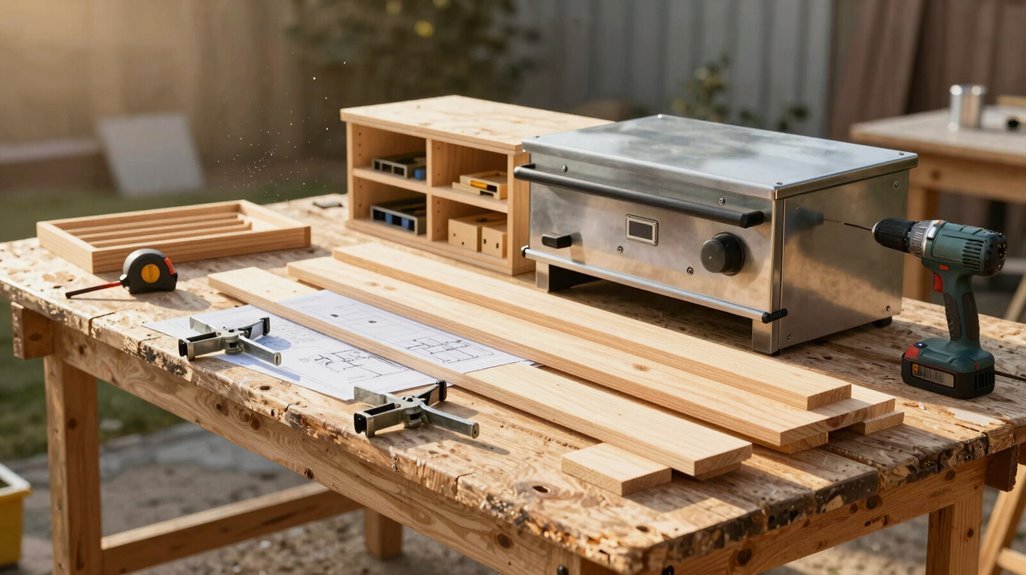
I start every outdoor kitchen build by mapping out what truly matters: weatherproof cabinetry, durable countertops, and smart storage. Then I layer in the infrastructure costs like gas lines and permits as separate line items. By handling the framing and assembly myself, I’m typically shaving 20%–40% off labor, which lets me redirect funds toward marine-grade stainless or HDPE components that’ll hold up against coastal humidity or desert sun. I’ll walk you through the basics of budget planning and cost-saving strategies that keep your project realistic without sacrificing that polished, professional finish.
Budget Planning Basics
Building a realistic budget for DIY outdoor kitchen cabinets means balancing ambition against hard numbers from the start. Here’s how I approach budget planning for this project:
1. Establish Your Baseline
Professional builds average $20,000, but my DIY outdoor kitchen cabinet cost typically runs $12,000–$16,000, sweat equity that stays in my pocket.
2. Prioritize Essential Elements
I allocate funds first to cabinetry, countertops, and storage, the bones that everything else hangs on.
3. Secure Proper Permits
Deck permits ($220–$500), plumbing ($50–$500), and general permits ($250–$2,000) vary by municipality; I research early to avoid surprises.
4. Know When to Hire
I always budget for professional help with gas, electrical, and water lines; code compliance protects my investment and family.
5. Plan Beyond Completion
Maintenance costs accumulate; weatherproof materials like HDPE reduce long-term expenses.
Cost-Saving Strategies
How do you keep a dream kitchen from becoming a budget nightmare? I’ve learned that smart cost-saving strategies start with honest numbers. DIY outdoor kitchen cabinets typically run 20%–40% less than pro builds, turning that $20,000 estimate into roughly $12,000–$16,000.
Prioritize weather-resistant cabinetry, countertops, and storage first; upgrades come later. Modular cabinets in HDPE speed installation, cutting labor hours. Tackle DIY materials like shelving and stonework yourself, but hire pros for gas, water, and electrical. Permits and safety aren’t places to gamble. Speaking of permits: budget $50–$2,000 depending on your scope.
| What You Risk | What You Gain | Who You’re Building For |
|---|---|---|
| Skipping permits | Code-compliant peace of mind | Your family’s safety |
| Cheap, non-weatherproof materials | Decades of outdoor enjoyment | Future you |
| Doing everything solo | Balanced budget, preserved sanity | Your community of weekend hosts |
| Ignoring maintenance costs | Sustainable, upgrade-ready space | The memories you’ll make |
We’re in this together: building smarter, not just cheaper.
Select Marine-Grade Plywood and Framing Lumber
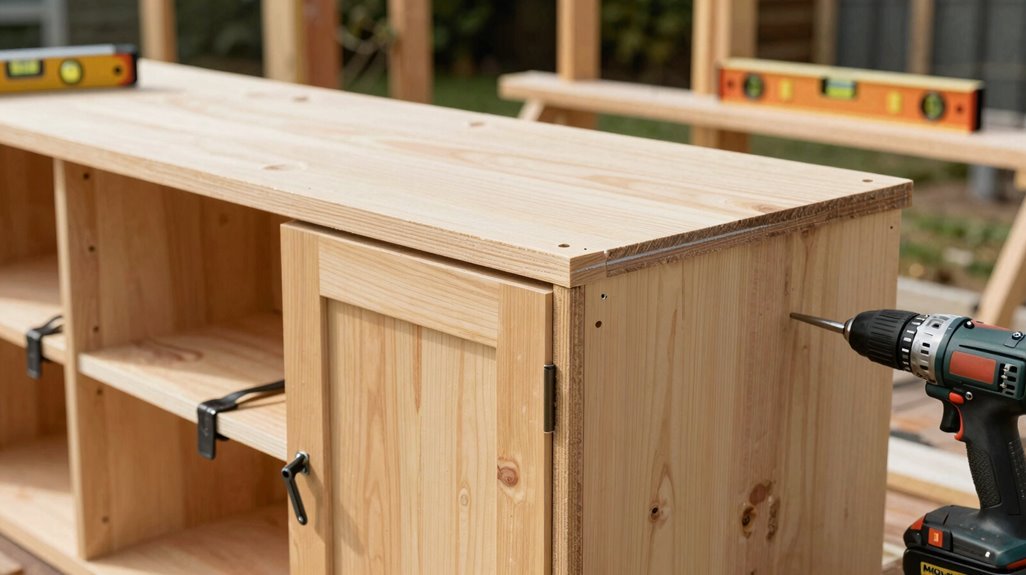
When selecting materials for your outdoor kitchen cabinets, I’m focusing on three critical considerations that’ll determine how well your build withstands years of weather exposure. I’ll walk you through material durability standards, framing lumber types, and plywood grading selection, each playing a distinct role in creating cabinets that resist moisture, prevent structural failure, and maintain their architectural integrity through scorching summers and freezing winters.
Starting with marine-grade plywood and pressure-treated framing, I’m building a foundation that won’t warp, rot, or compromise your investment when the elements inevitably test your craftsmanship.
Material Durability Standards
Why settle for cabinetry that surrenders to the first season of rain? I’ve learned that material selection separates fleeting projects from enduring outdoor kitchens; join me in building something that lasts.
Material Durability Standards
1. Foundation First: Marine-Grade Plywood
Choose marine-grade plywood for its void-free core and superior bonding; this isn’t standard sheathing, it’s engineered for submerged applications, delivering unmatched moisture resistance through brutal freeze-thaw cycles.
2. Structural Integrity: Exterior-Grade Lumber
Frame with exterior-grade lumber, pressure-treated for decay resistance; your cabinet framing perfection depends on dimensional stability when humidity swings from dawn dew to afternoon sun.
3. Connection Points: Corrosion-Resistant Fasteners
Secure everything with corrosion-resistant fasteners; stainless steel or hot-dip galvanized hardware, because rusted screws compromise structural joints within two seasons of coastal exposure.
4. Edge Defense: Waterproofing Protocol
Seal all plywood edges with marine-grade adhesive and exterior-grade sealant; without this waterproofing barrier, capillary action wicks moisture into end grain, destroying your investment from within.
Framing Lumber Types
Where exactly does structural integrity begin when you’re building cabinetry that’ll face relentless weather? I’ve learned it starts with selecting the right bones for your outdoor cabinet framing.
- Marine-grade plywood, I choose this for its superior moisture resistance, preventing the warping that ruins lesser builds in humid climates like coastal Florida.
- Pressure-treated framing lumber, for posts and headers, I’m calculating cabinet height minus countertops and post standoff, ensuring rot resistance through chemical infusion.
- Corrosion-resistant hardware, stainless-steel deck screws maintain joint integrity where salt air attacks ordinary fasteners.
Keeping lumber dry, properly sealed, and knot-free isn’t optional, it’s our shared commitment to craftsmanship that endures.
Plywood Grading Selection
How do you make sure your cabinet panels won’t delaminate after the first monsoon season? I’ve learned it starts with plywood grading—knowing your A/B from your CDX—and selecting marine-grade plywood for the ultimate moisture defense, or exterior-grade plywood with exterior glue when budget demands compromise.
I verify plywood thickness against my design loads, typically ¾ inch for structural cabinet panels, making sure edge-bead compatibility for seamless joinery. Marine-grade plywood, with its void-free core and waterproof adhesive, resists rot where standard sheathing fails: think coastal Florida humidity or Arizona flash floods. Exterior-grade plywood offers accessible protection when sealed properly with marine varnish.
Pairing either with pressure-treated framing lumber creates a cohesive system; load-bearing capacity meets dimensional stability. I seal every surface, every edge, because water finds weakness. Your outdoor kitchen deserves materials that honor the craft.
Choose Corrosion-Resistant Hardware and Hinges
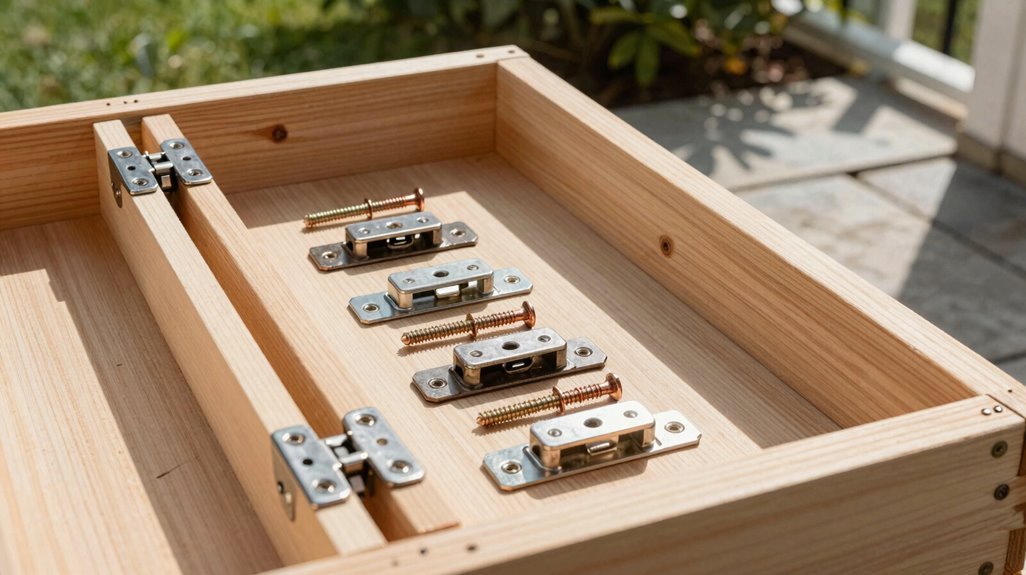
When I’m selecting hardware for an outdoor kitchen, I know every hinge and fastener faces a relentless assault from moisture, humidity, and temperature swings, so I don’t skimp on corrosion resistance. I always choose 304 stainless steel hardware for exterior cabinet components, guaranteeing lasting performance in demanding environments.
1. Prioritize Premium Materials
I specify 304 stainless for all outdoor cabinet fasteners, screws, bolts, and brackets that won’t surrender to rust. This grade offers superior corrosion resistance compared to lesser alloys, particularly in coastal zones where salt air accelerates degradation.
2. Select Weatherproof Hinges
I install European-style concealed hinges with sealed bearings, rated specifically for exterior use. These weatherproof hinges maintain smooth operation despite thermal expansion cycles and resist moisture infiltration that swells lesser mechanisms.
3. Reject Inferior Metals
I never use raw iron or uncoated steel. These corrode rapidly, staining surrounding surfaces and compromising structural integrity when we need reliability most.
Cut and Assemble the Cabinet Frame
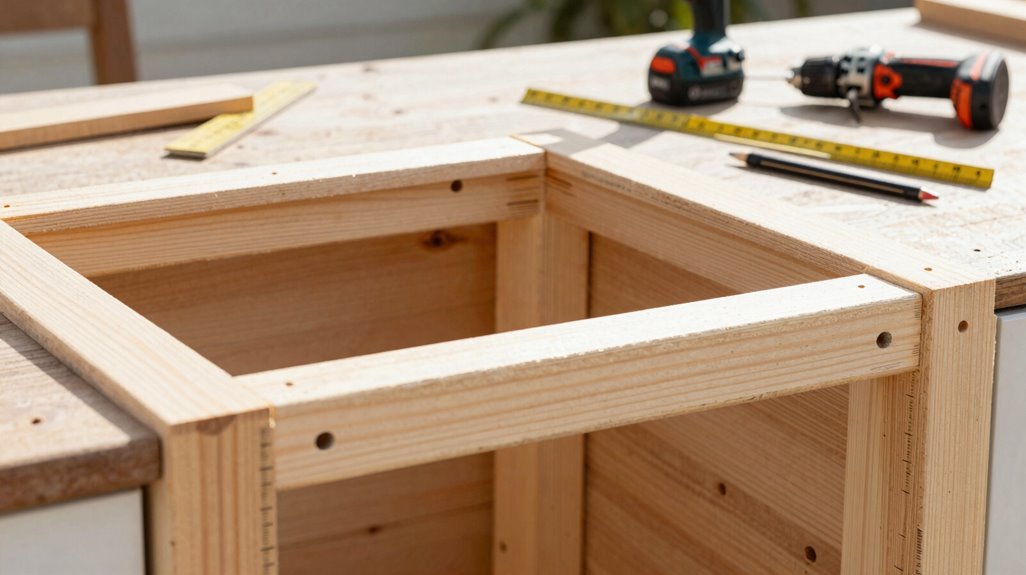
Once I’ve secured my corrosion-resistant hardware, I turn my attention to the skeletal structure that’ll anchor my entire outdoor kitchen. Building this cabinet frame demands precision. I’m marking the footprint, constructing the base with pressure-treated lumber, and making sure everything’s level before anchoring.
For my 2×4 framing, I cut eight posts to finished height minus countertops and standoffs, then screw them in pairs using 2 1/2-inch deck screws. I notch each post 1 1/2 inches deep by 3 1/2 inches high, top and bottom, for stretcher connections. This shed frame assembly approach creates rigid, weather-resistant bones.
When planning for modular HDPE cabinets, I’m measuring twice, cutting once, leaving precise openings. Warped wood kills momentum, so I inspect every pressure-treated board before committing saw to grain.
| Component | Material/Spec | Purpose |
|---|---|---|
| Vertical posts | 2×4 pressure-treated lumber, 8 pieces | Primary structural support |
| Stretchers | 2×4 pressure-treated lumber, notched ends | Connect posts, define openings |
| Base framing | Pressure-treated lumber with middle support | Carry cabinet loads, prevent sag |
Apply Cement Board Sheathing
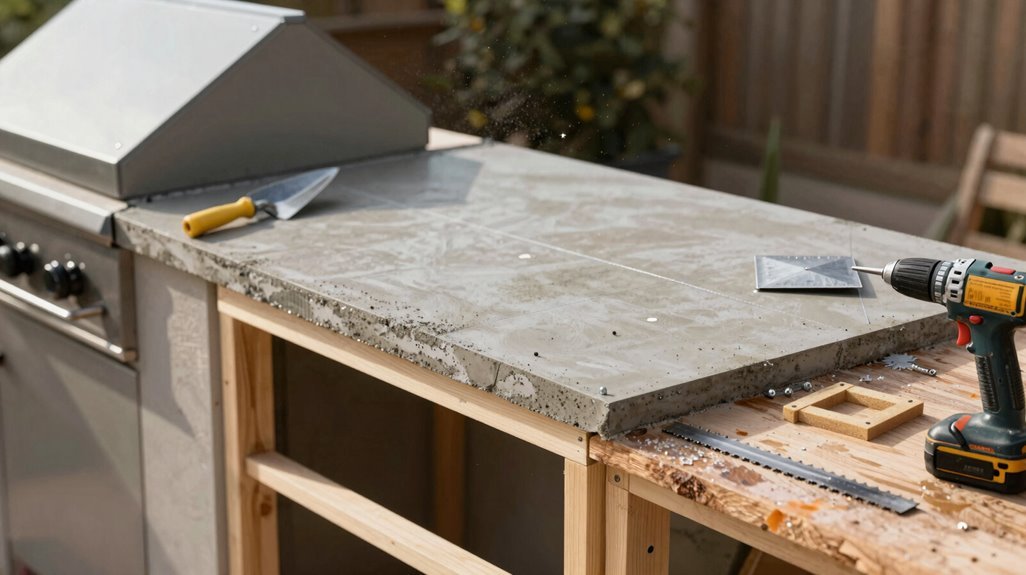
With the frame locked square and level, I’m ready to armor it against the elements.
- Select the right cement board: I choose a ½-inch exterior-rated panel, verifying its compatibility with stone veneer, tile, and stucco applications for seamless outdoor finishes.
- Fasten with exterior fasteners: I drive corrosion-resistant screws every 8 inches, making certain the board sits flush against framing without puckering or stress points.
- Tape the seams: I embed fiberglass tape over joints and corners, pressing it firmly into the substrate to prevent future cracking under thermal expansion.
- Skim with veneer mortar: I trowel a thin cementitious coat across the surface, creating a smooth bonding plane that accepts cladding without voids.
- Seal for moisture resistance: I apply an outdoor-grade primer, protecting the assembly before stone or tile changes this shell into something extraordinary.
Install Wire Lath for Stone Veneer
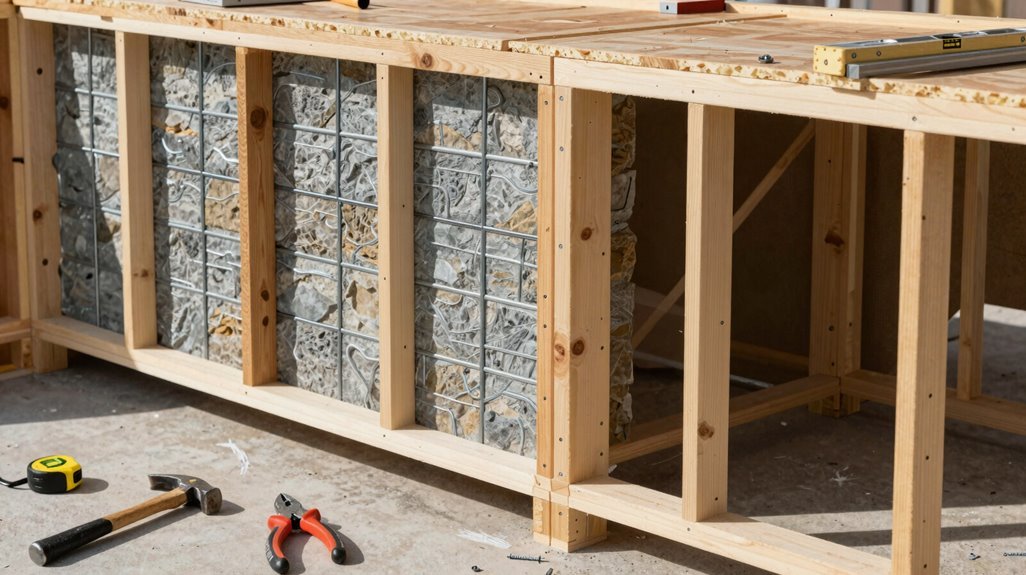
Durability demands a foundation that grips mortar as tenaciously as the stone itself will cling to the finished wall, so I’m layering in wire lath, that humble steel mesh transforming smooth plywood into a surface hungry for cement.
1. Prepare the Masonry Backing
I cover plywood with builder’s felt, creating a moisture barrier before stapling wire lath from the bottom up, overlapping seams by a couple of inches to make certain of continuous coverage.
2. Secure the Mesh
I position wire lath with honeycombs facing upward, cupping future mortar, then fasten with stainless-steel roofing nails every 6 inches vertically and 12–15 inches horizontally, tin snips trim the top flush.
3. Ready for Bonding
After lath installation, I’ll apply a scratch coat of mortar, embedding the mesh completely to create the gripping surface our stone veneer demands.
Trowel and Score the Mortar Scratch Coat
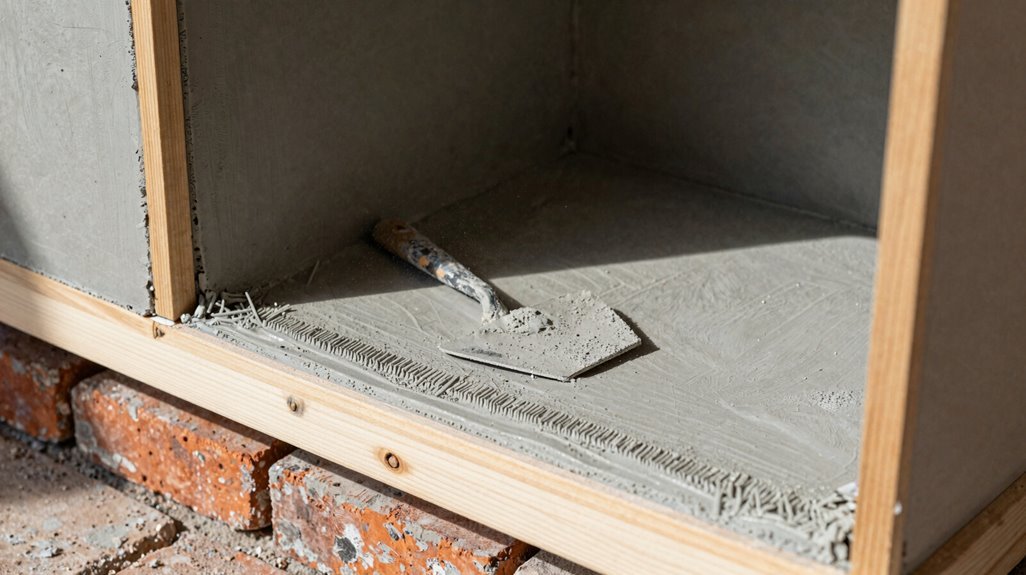
I’ll mix the mortar to a peanut-butter consistency, using my masonry hoe and trough, then spread it ½-inch thick over the lath, working downward to push it into every crevice until no mesh shows through.
After letting it cure for about an hour, I’ll score horizontal lines with my notched trowel, making one continuous pass around the island to create that gripping texture stone veneer demands. That scored surface needs a full day to set before I’m ready to secure my cabinet boxes; patience here guarantees the structural strength that’ll make this outdoor kitchen last.
Mix Mortar Consistency
How do we transform a skeletal frame into something that’ll anchor fieldstone for decades? We start with proper mortar mixing; in masonry, your scratch coat is only as good as what binds it.
I grab my masonry hoe and trough, blending water and mortar until I hit that perfect peanut-butter consistency: thick enough to cling, loose enough to spread. This isn’t guesswork; it’s the foundation of everything that follows.
- Measure twice, mix once: too wet and it’ll slump off the lath; too dry and you’ll fight every trowel stroke
- Feel the resistance: proper mortar consistency should ribbon off the hoe without crumbling
- Work in batches: mixed mortar sets fast, so I only prepare what I can use in twenty minutes
- Push downward into crevices: ensuring complete lath coverage with no mesh peeking through
- Respect curing time: one hour before scoring, twenty-four before stone
Getting this right means we’re building something that lasts.
Apply Scratch Coat
Where does the real structure begin? Right here, with the scratch coat, the foundational skin that changes your lath framework into a substrate worthy of professional-grade outdoor kitchen cabinetry.
I mix my mortar to that perfect peanut-butter consistency, then trowel a ½-inch layer over the lath, working downward until no mesh peeks through. If the lath shifts, I re-nail immediately; no compromises. After one hour of initial curing, I drag my notched trowel horizontally, creating score lines that’ll anchor the next layer. These parallel grooves aren’t decorative; they’re functional architecture, ensuring mechanical bond for what follows.
| Stage | Duration/Purpose |
|---|---|
| Initial mortar application | ½-inch over lath, no mesh visible |
| First curing period | ~1 hour before scoring |
| Score line creation | Horizontal notched trowel passes |
| Final curing before cabinet installation | 24+ hours minimum |
Twenty-four hours later, you’re securing cabinet boxes with deck screws, your outdoor kitchen’s skeleton finally clothed.
Score Surface Pattern
The scratch coat has set for that critical hour, firm enough to hold its shape, yet yielding enough to receive texture. I grab my ½-inch notched trowel and begin this transformative plastering step that separates amateur work from true masonry craft.
- Establish Your Starting Point: I position myself at a short island end, holding the trowel vertically before tilting 45 degrees to cut the first scoring pattern; this masonry alignment ensures my mortar grooves run parallel from the start
- Cross the Short Side First: I pull deliberately across, creating ridges that will anchor everything that follows
- Circle the Perimeter: I continue around the island, maintaining consistent depth and spacing
- Verify Full Coverage: I complete single passes until every inch bears texture; no smooth spots, no mesh footprints remain
- Respect the Cure: I step back, letting this bonding surface rest 24 hours before we build further
The scored scratch coat awaits its next chapter; patience now rewards structural integrity later.
Set Cabinet Boxes Before Veneering
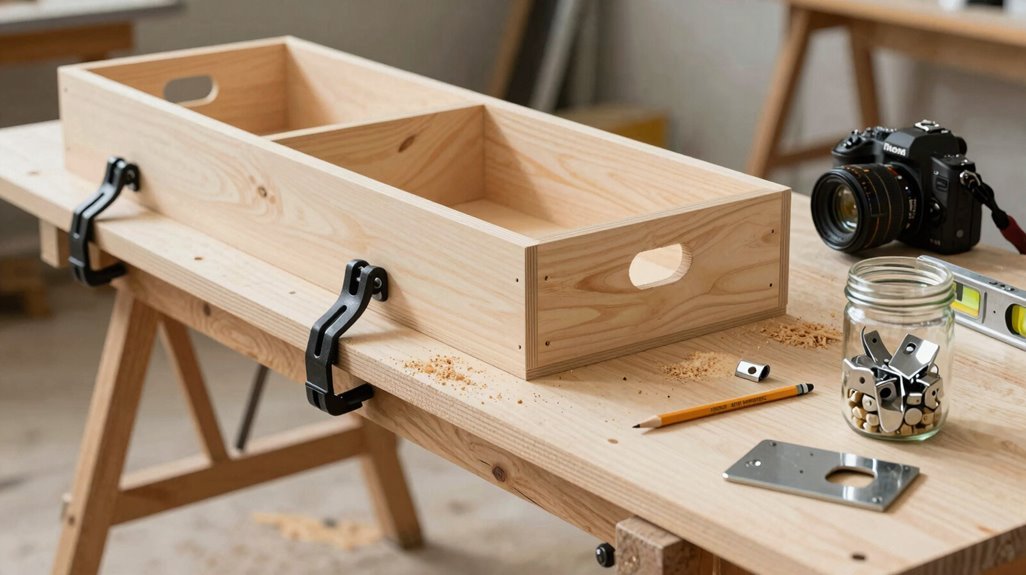
Why rush the finish when the foundation demands patience? I set my cabinet boxes before veneering, timing this installation after the scratch coat cures and masonry grooves are cut, ensuring clean joints where stone meets cabinetry.
| Task | Tool/Material | Purpose |
|---|---|---|
| Secure boxes | 2-inch deck screws | Stable base for veneer |
| Check plane | Level and shims | Plumb, square alignment |
| Verify fit | Tape measure | Door/drawer clearance |
I align each opening with the framed structure, shimming where substrate dips, because once veneering begins, there’s no adjusting without compromising weatherproofing. The level confirms everything stays true; misalignment here telegraphs through finished stone.
Installation timing matters: cabinets first, then countertops and grill, preserving veneer integrity. We’re building something that lasts, together.
Back-Butter and Set the First Stone Course
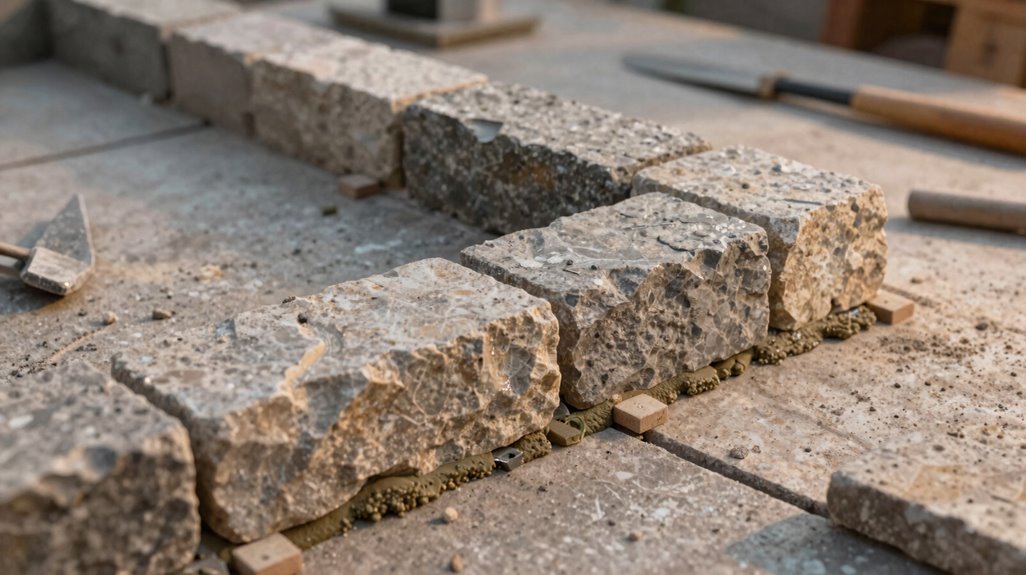
Before mortaring a single stone, I’m sorting my veneer into corner, short, long, and rectangular piles, each back-beveled to create those essential V-shaped air pockets when I butter them with an inch of mortar. Starting at the bottom corner, I’ll rest each L-shaped piece on a 1x scrap board set against my cured scratch coat, wiping excess as I seal joints outward in both directions.
It’s this methodical preparation, dry-fitting overlaps, marking cuts, grinding with a diamond blade, that turns raw stone into that seamless, natural veneer anchoring the entire facade.
Stone Preparation Basics
Where exactly do we begin when transforming raw stone into the architectural backbone of an outdoor kitchen? I’ve learned it starts long before the trowel meets the scratch coat, it’s in the methodical preparation that separates weekend warriors from craftsmen.
- Sort your inventory — Separate corner stones, shorts, longs, and rectangles into organized piles; this ritual changes chaos into possibility, saving hours of hunting mid-process.
- Back-butter strategically — Apply one inch of stone mortar to your L-shaped stone, creating V-shaped air pockets that lock into the wall; this isn’t just adhesion, it’s engineered stone bonding.
- Dry-fit before committing — Test each piece without mortar, making sure of interlock and alignment; this preview prevents costly adjustments once the clock starts ticking on your mix.
- Shape as you go — Keep your grinder with diamond blade handy, refining edges for that seamless fit that defines professional work.
- Establish your baseline — Rest that first corner stone on a 1x scrap board atop the scratch coat, creating the level plane everything else follows.
First Course Placement
How do we translate careful preparation into that first decisive act of construction? We begin with stone masonry fundamentals that transform your cabinet build from vision to structure.
- Corner Stone Positioning: Setting the L-shaped corner stone onto the grooved scratch coat establishes your baseline, resting on a 1x scrap board to maintain level alignment across the outdoor kitchen footprint.
- Back-Butter Application: Spreading one inch of mortar across the stone’s back creates essential mortar adhesion, pressing firmly to eliminate voids while forming V-shaped air pockets that strengthen the bond.
- Course Continuity: Wiping excess mortar immediately, sealing joints as you progress; this discipline ensures clean lines defining your first course perimeter.
- Stone Organization: Separating back-beveled stones into corner, short, long, and rectangular piles before laying minimizes gaps, streamlining placement around the island’s geometry.
Shape and Veneer Remaining Frame Surfaces
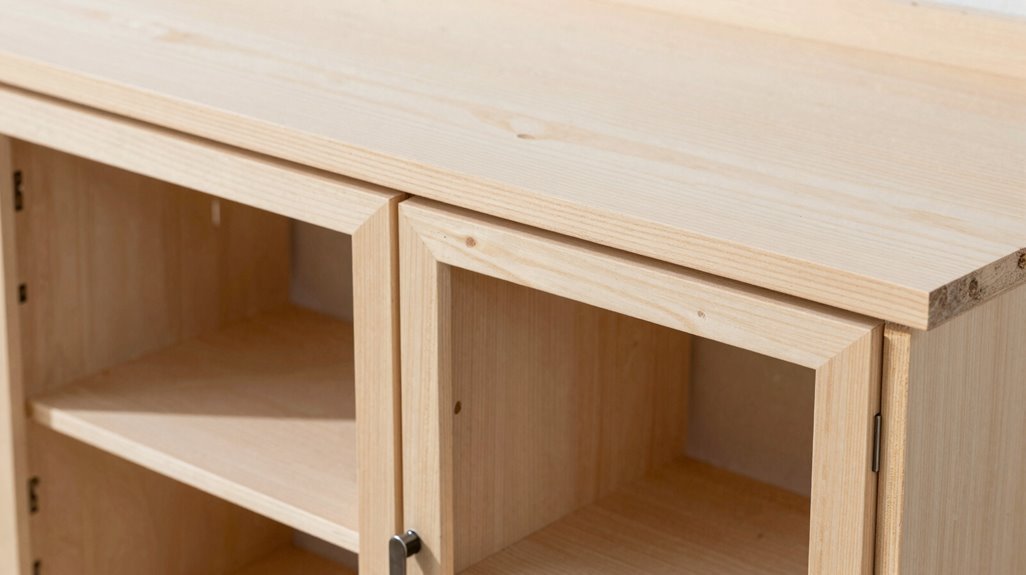
With the frame’s core structure now secured, I’ll turn my attention to the surfaces that remain, the vertical planes and edges that will ultimately define this outdoor kitchen’s visual character.
- Establish the veneer workflow: I begin with stone veneer at the bottom corner, using corner pieces as my foundation point before working outward in both directions. This systematic approach prevents misalignment and keeps visual continuity across the structure.
- Dry-fit before committing: I arrange stones without mortar first, checking countertop alignment and adjusting corner orientations until the pattern feels intentional rather than haphazard.
- Prepare each stone: I create back-bevels and butter surfaces with one-inch mortar, forming V-shaped drainage channels that keep water from accumulating behind the veneer.
- Set with precision: I mortar each piece, overlapping joints and grinding protrusions flush. Concealing cuts beneath neighboring stones maintains that seamless, natural aesthetic.
- Complete the envelope: I continue around all sides, alternating corner orientations and making sure the top edge sits perfectly flat, ready to receive the countertop above.
Install Doors, Drawers, and Ventilation
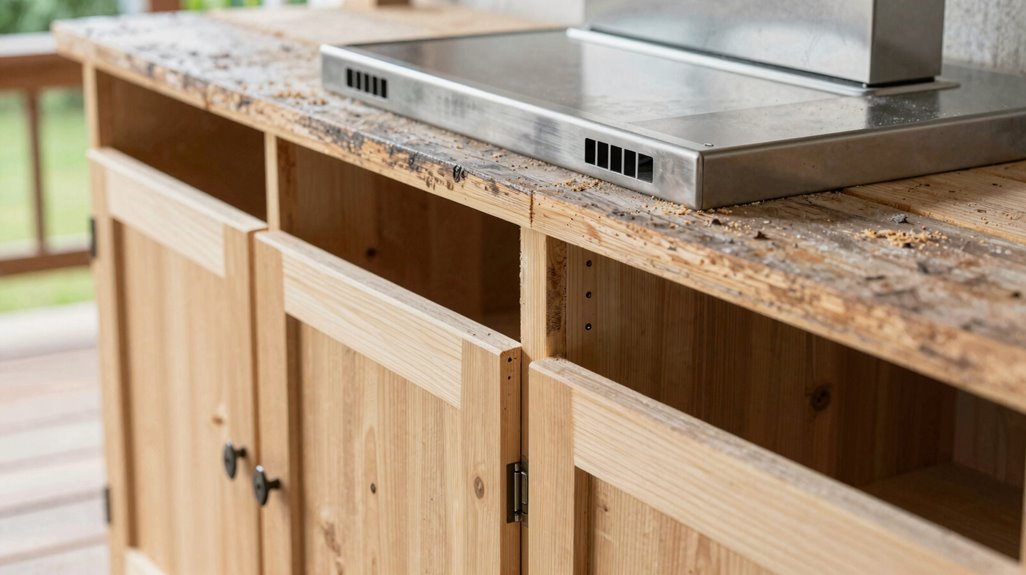
The stone envelope now complete, I’m ready to open up the structure, transforming these solid masses into functional compartments that breathe, store, and serve. This phase demands precision: I’m fitting doors, drawers, and ventilation into my outdoor cabinets.
- Map the Openings — I measure twice, cutting apertures with 1/16–1/8 inch clearance for smooth operation; even spacing separates amateur work from heirloom craftsmanship, Atlanta to Austin.
- Install Drawer Boxes — I build hardwood frames on full-extension slides, testing each drawer installation for fluid travel under load.
- Hang Doors — Using weather-resistant hardware, stainless-steel hinges rated for coastal exposure, I achieve perfect door alignment through incremental adjustment, verifying operation through twenty cycles minimum.
- Integrate Ventilation — Behind grill stations, I install perforated steel panels allowing cabinet ventilation; proper airflow prevents warping, extending these cabinets through decades of gatherings.
Add Interior Lighting and Drainage
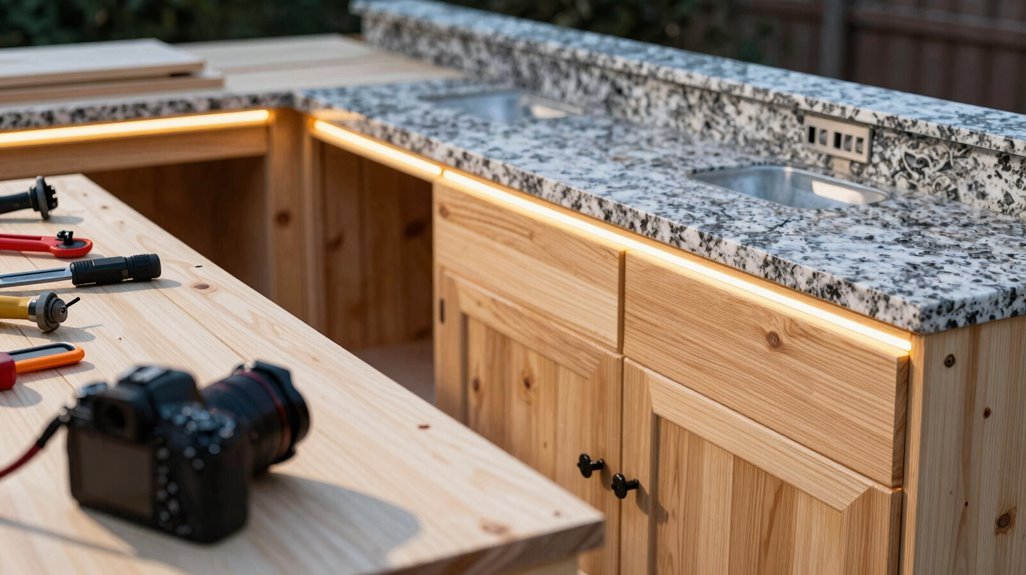
Once the stone envelope breathes with doors and drawers, I turn my attention to the systems that’ll keep this kitchen working through midnight grilling sessions and sudden summer storms: interior lighting and drainage, the invisible infrastructure that separates functional spaces from frustrating ones.
For this outdoor kitchen, I select weatherproof, outdoor-rated fixtures: LED strips beneath cabinets, recessed pucks above prep zones, ensuring every chop and sear happens in clear, shadowless light. My lighting installation routes through GFCI-protected switches, positioned to eliminate glare on stainless surfaces. I favor low-voltage LEDs, reducing heat near grills while trimming energy costs during all-day gatherings.
- Plan fixture placement early: map conduits before stone sets, avoiding cabinet flanges and countertop edges in coastal California installations
- Specify marine-grade housings: flash recessed units to block water intrusion, maintaining clean sightlines in Pacific Northwest rain zones
- Integrate dimmer controls: adjust ambiance from task to entertainment mode without leaving the cooking zone
- Coordinate drainage paths: slope conduits away from electrical runs, preventing pooling in Florida humidity
- Test before final closure: verify all outdoor lighting operates flawlessly beneath finished stone envelopes
Seal, Anchor, and Weatherproof Finished Cabinets
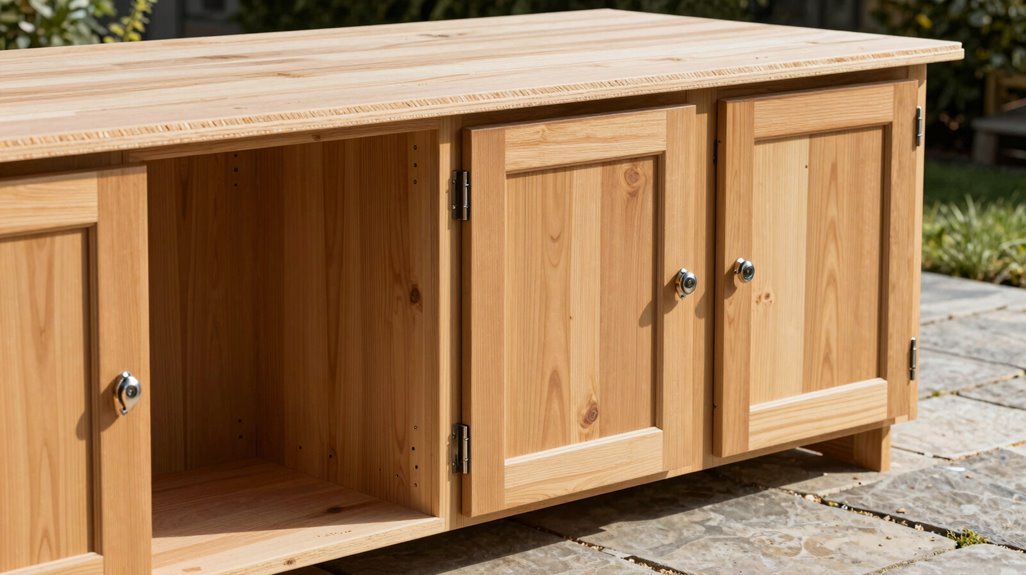
How do these cabinets survive decades of freeze-thaw cycles and salt-laden afternoon squalls? I’ve learned it takes more than wishful thinking; precise execution seals the deal.
1. Seal the Envelope
Applying marine-grade sealants to every seam, joint, and end grain creates the weatherproof barrier your cabinets demand. I focus especially on horizontal surfaces; water pools there, inviting rot. Use penetrating sealers on hardwoods, film-forming finishes on composites. Check shorelines from Cape Cod to Puget Sound: this step determines longevity.
2. Anchor with Corrosion-Resistant Hardware
I secure cabinets using stainless steel or coated anchors rated for coastal exposure; anything less corrodes, loosens, topples your investment. Shim for level alignment; even 1/8-inch variance creates gaps where moisture infiltrates.
3. Engineer Interior Climate
Installing HDPE or marine-grade stainless components resists humidity from within. I incorporate ventilation gaps above appliances; typically 2-inch openings, and sloped drainage channels beneath sinks, preventing mold and odor accumulation in damp climates.
4. Commit to Maintenance
Cover your work when idle, inspect after storms, wash gently; this ritual preserves what you’ve built.





