
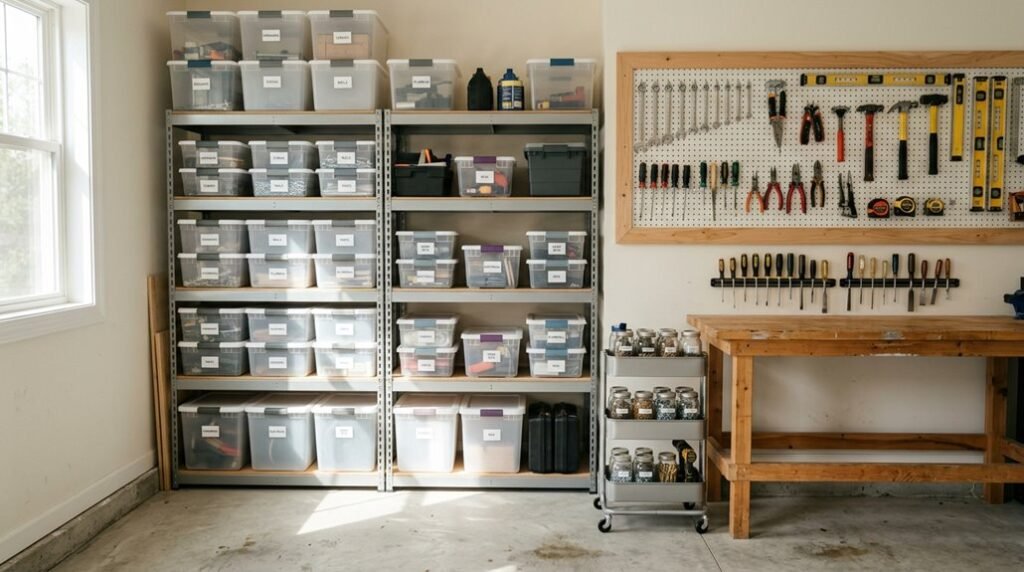
I’ve spent years watching garages devolve into cluttered storage pits, yours doesn’t have to be one of them. With strategic zoning and vertical systems, you can reclaim floor space without draining your wallet. The trick is planning before purchasing.
I’ll walk you through ten proven approaches, each under $50, that turn chaotic square footage into functional architecture. Number three caught me off guard.
Plan Your Garage Zones Before Buying Any Storage
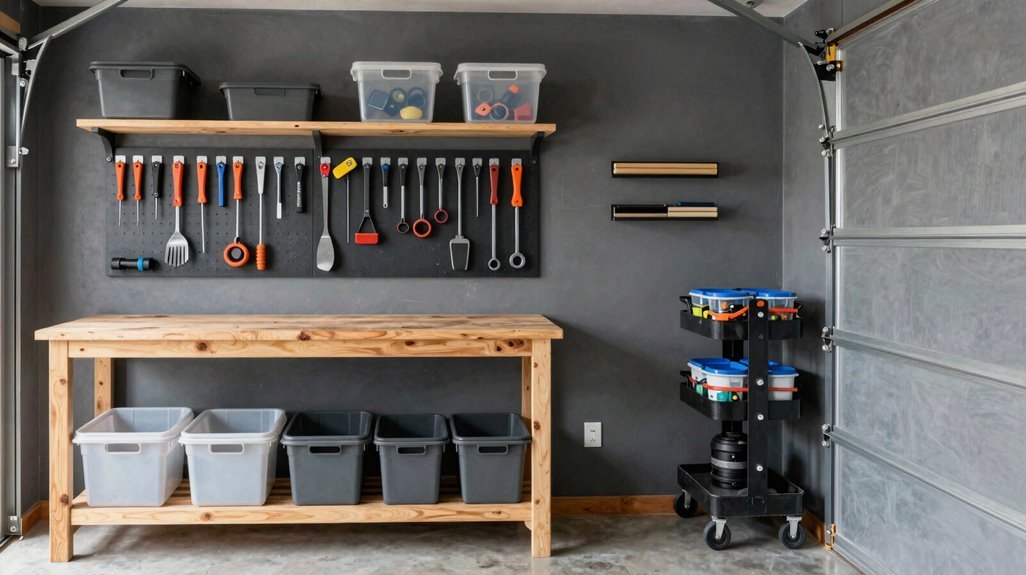
Where do I even begin when my garage feels like a chaotic catch-all? I’ve learned that successful garage organization starts with mapping storage zones before buying a single bin.
Start with zones, not bins—mapping your garage’s purpose comes before any purchase.
1. Define Your Zones by Function
I allocate distinct areas: lawn and garden here, hockey and fishing gear there, shoes and boots near the entry. By reserving the back wall for larger categories, I streamline selecting components later. This spatial zoning prevents the visual clutter that overwhelms most garages.
2. Establish Height Hierarchy
I’m placing everyday items at arm’s reach: cleaning supplies, ladders, trash. I stack seasonal goods overhead. This vertical stratification maximizes capacity without sacrificing quick access.
3. Build Strategic Drop Zones
Near the entry, I’m installing low ALGOT/BOAXEL shelves for sweaty gear. Open baskets and mesh bins maintain visibility. My garage finally breathes.
Install Wall-Mounted Shelves to Free Up Floor Space
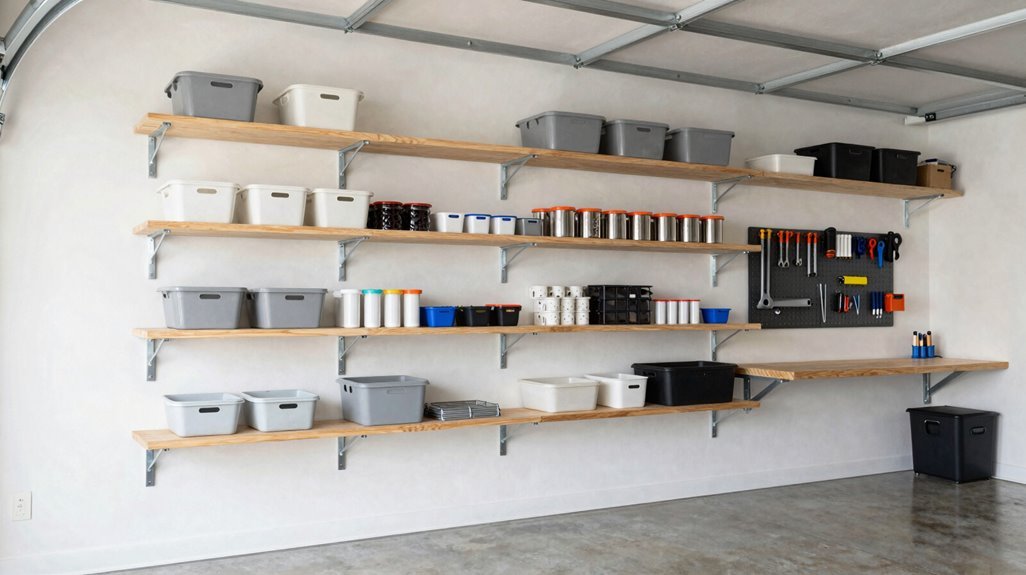
Why let valuable square footage vanish beneath clutter when your walls offer untapped vertical real estate? I’ve transformed cramped garages into functional workspaces by installing wall-mounted shelves, vertical storage that reclaims floor area for vehicles and workflow.
- Maximize Vertical Space: Mounting shelves along stud walls or concrete surfaces elevates bulky items, seasonal gear, tool cases, automotive supplies, above the slab, preserving precious clearance below.
- Choose Durable Materials: I recommend metal wall-mounted systems, like the ALGOT configuration, over particleboard alternatives; steel resists warping, supports heavier loads, and withstands garage humidity fluctuating across climates from Minneapolis to Miami.
- Plan for Flexibility: Adjustable bracket systems accommodate changing needs, repositioned when relocating, reconfigured as collections expand.
- Assess Your Structure: Before anchoring, I verify wall composition, studs, masonry, or rental restrictions dictating installation feasibility.
Choose Metal Garage Shelving When Wall Mounting Isn’t Possible
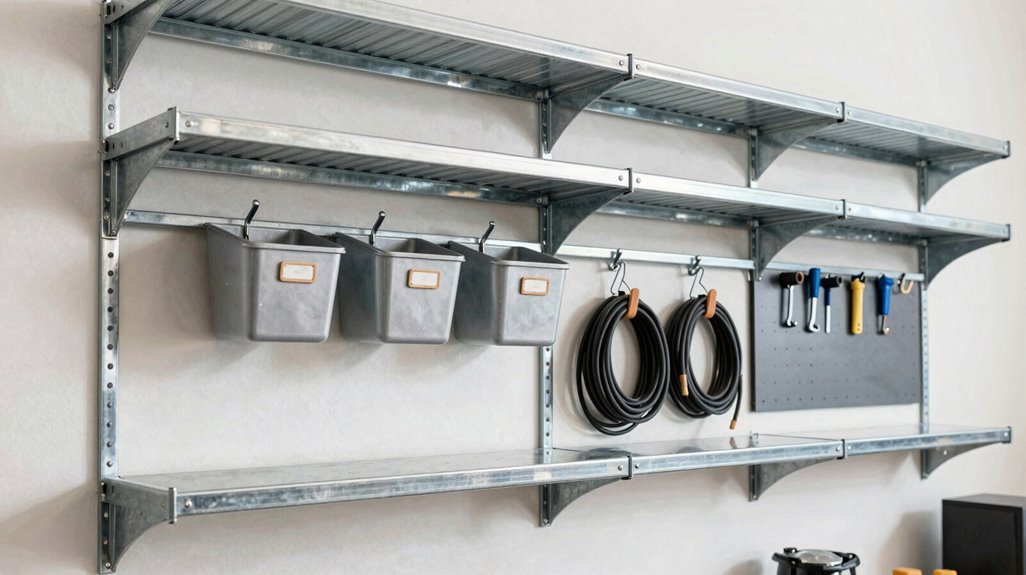
When I can’t anchor shelves to concrete or drywall, whether I’m renting or dealing with stubborn masonry, I reach for steel freestanding units that laugh off the weight of tool chests and chemical drums. Particleboard warps, sags, and eventually surrenders to garage humidity, but 14-gauge steel racking with reinforced uprights keeps my storage vertical and my floor plan open.
I’ll pay a bit more upfront for a Gladiator system or similar industrial-grade shelving, knowing it’ll handle 800 pounds per shelf without the structural anxiety that keeps me awake at night.
Durability Over Particleboard
Stability demands material integrity, something particleboard surrenders the moment humidity seeps through garage concrete or seasonal temperature swings warp its compressed fibers.
I’ve learned this lesson watching sagging shelves buckle under seasonal cycles. Metal shelving offers the durability our shared spaces deserve, resisting the dimensional instability that plagues composite materials in unconditioned environments.
When wall mounting isn’t feasible, freestanding metal systems become our structural allies. I specify powder-coated steel uprights with boltless assembly, tolerating thermal expansion without compromising load-bearing geometry. Unlike particleboard’s delamination risks, these units maintain planar integrity across decades.
The economics align too: reduced replacement frequency offsets initial material premiums. We’re building repositories for generational tools, not temporary storage, selecting substrates that honor our collective investment in functional, enduring spaces.
Weight Capacity Advantage
Material integrity only matters if the structure can bear what we’re asking of it, something I confronted when relocating my heaviest storage to zones where stud spacing or concrete substrates made wall mounting impractical. Metal garage shelving became my solution, delivering weight capacity that particleboard simply can’t match.
When mounting options disappear, whether concrete walls block progress or rental leases forbid anchors, freestanding metal units step in. I’m talking about robust storage systems supporting hundreds of pounds without warping, tipping, or sagging near vehicles and doorways.
Gladiator and BOAXEL families distribute loads across stable footprints, eliminating the danger of cascading failures. In constrained spaces with scarce studs, this vertical architecture prevents floor clutter while maintaining structural integrity, keeping your gear secure and your workspace functional.
Hang a Track System for Oddly Shaped Gear
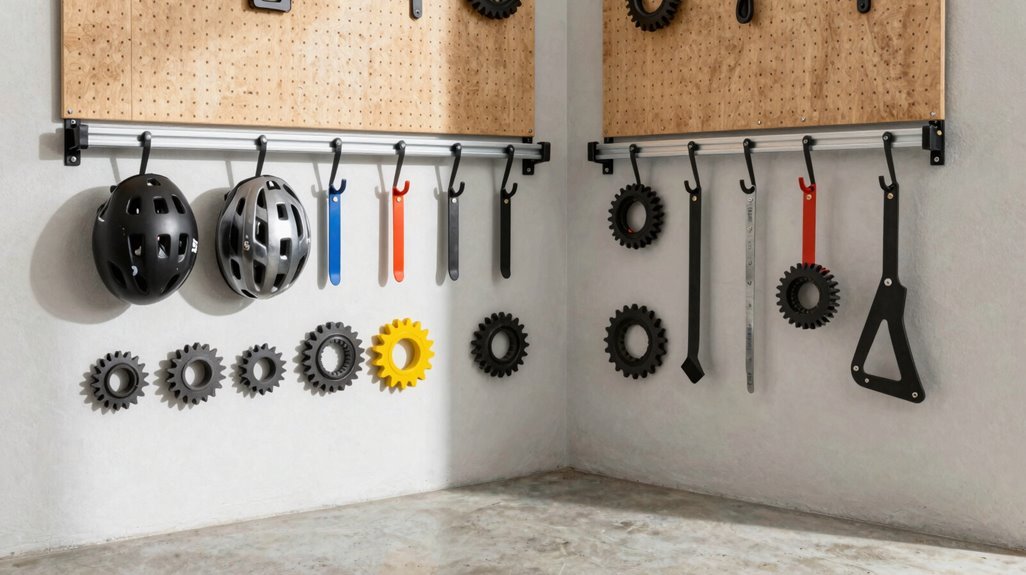
Where does a kayak coexist with a leaf blower and a ten-foot ladder? In my garage, mounted on tracks that transform wall space into adaptable storage architecture.
I discovered hanging solutions for awkward gear by installing wall-mounted tracks with interchangeable hooks and attachments. Here is how I maximize this system:
1. Configure for Custom Profiles
I slide hooks along horizontal tracks, positioning them precisely for bikes, long-handled tools, and sporting equipment, each item finding its designated elevation without floor-space sacrifice.
2. Prioritize Vertical Safety
My ladder hangs at eye level using specialized accessories, eliminating tipping hazards while keeping the floor clear for parking or project work.
3. Maintain Rental Flexibility
In spaces where permanent modifications face restrictions, I appreciate reconfigurable track systems, minimal wall penetration with maximum functional adaptation.
This modular approach welcomes gear of any dimension into organized coexistence.
Mount Heavy-Duty Hooks for Bulky Items
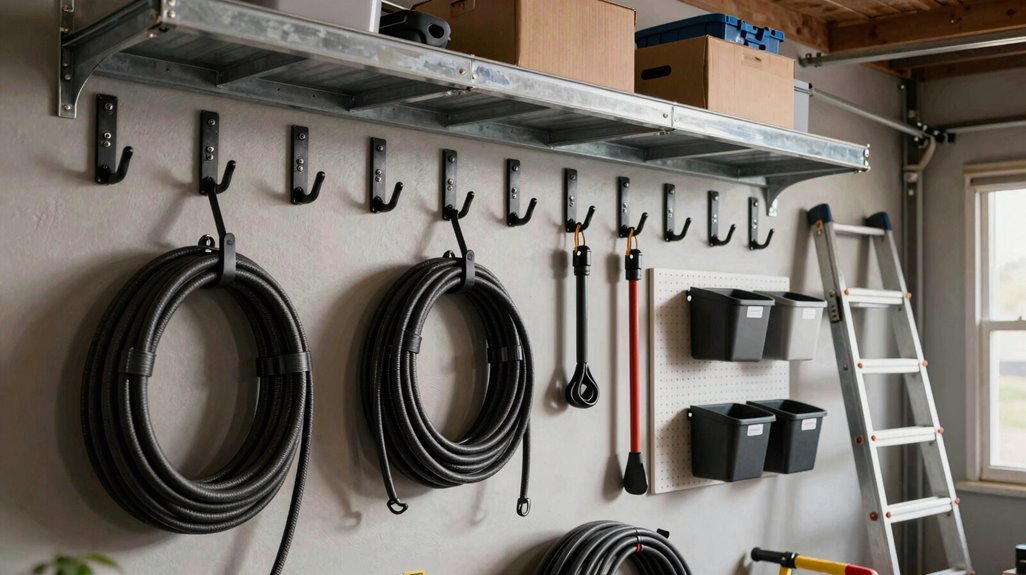
I reclaim precious square footage by mounting heavy-duty hooks along load-bearing walls, positioning shovels, rakes, and wheelbarrows vertically to erase floor clutter. Near the garage door, I cluster these high-capacity anchors, Gladiator systems rated for thousands of pounds, creating an accessible zone that never interferes with vehicle clearance or circulation paths.
This wall-placement strategy changes dead vertical surfaces into functional architecture, delivering both spatial efficiency and immediate tool retrieval.
Floor Space Recovery
4. Corded Equipment Suspension: Near the garage door, I’ve placed dedicated hooks for pressure washers and leaf blowers, each with a 75-pound capacity, paired with adjacent cord hooks preventing tangle hazards.
For true floor space recovery, I’m maximizing wall space with strategic mounting throughout my garage. I’ve lifted ladders, wheelbarrows, and lawn equipment off the concrete, creating room for parking and movement.
Here’s my approach:
- Position hooks at reachable heights, reducing strain while keeping tall gear elevated
- Combine wall-mounted hooks with track systems for irregular items defying shelving
- Install corrosion-resistant hardware near moisture-prone zones for longevity
- Cluster hooks by work zones, minimizing steps when grabbing project gear
- Select heavy-load ratings supporting substantial equipment without compromise
This transformation reclaimed my floor, proving vertical storage delivers functional, accessible results.
Wall Placement Strategy
Why let bulky gear dominate your floor when vertical architecture offers a better solution? I’m reclaiming my garage through strategic wall hooks and vertical storage that transforms dead wall space into functional architecture.
- Anchor with Weight-Rated Hardware: I select heavy-duty hooks rated for each item’s load, preventing catastrophic sagging when mounting wheelbarrows or dense equipment. Safety isn’t negotiable.
- Layer Your Vertical Storage Grid: I’m installing hooks at staggered heights, creating accessible zones where long-handled tools hang above smaller gear. Floor space breathes again.
- Integrate Modular Systems: Pairing wall hooks with affordable track systems (think ALGOT-style configurations), I’m building expandable infrastructure that grows with my needs.
- Position for Workflow: I’m placing frequently used items near entry points, minimizing steps between car and storage. Efficiency becomes habit.
Store Everyday Gear Low and Seasonal Items High
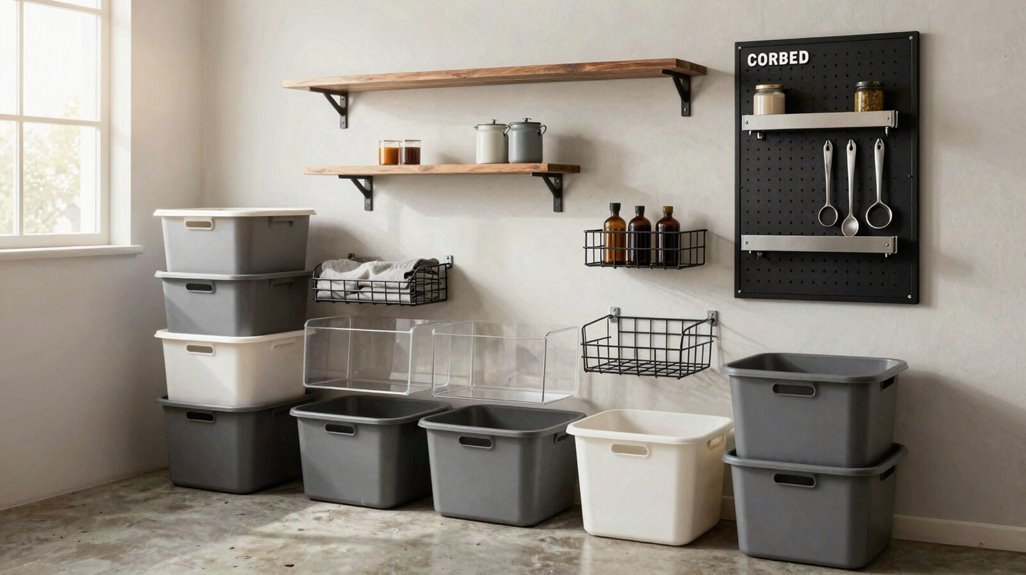
Where should your most-used gear live? I keep everyday essentials at arm’s reach: lower shelves, wall-mounted hooks, and open baskets, so I’m never bending or hunting. Seasonal items go overhead, freeing precious floor space for what I actually touch daily.
Everyday essentials at arm’s reach; seasonal items overhead. Never bend, never hunt.
Anchor low zones with mesh bins for shoes and helmets, placing retrieval within seconds, not minutes. This rhythm keeps mornings smooth.
Mount hooks at 48 inches for bikes and bags, creating intuitive grab-and-go stations that feel almost automatic.
Elevate seasonal items on ceiling racks, clearing vertical real estate while preserving accessibility for holiday décor and winter gear.
Zone by rotation frequency, clustering lawn tools separately from daily equipment. Each district serves distinct temporal needs.
Deploy open containers throughout lower quadrants, eliminating lid friction that stalls departure routines and builds resentment.
This vertical hierarchy transforms chaotic storage into architectural logic we can all adopt.
Position Lawn Equipment Near the Garage Door
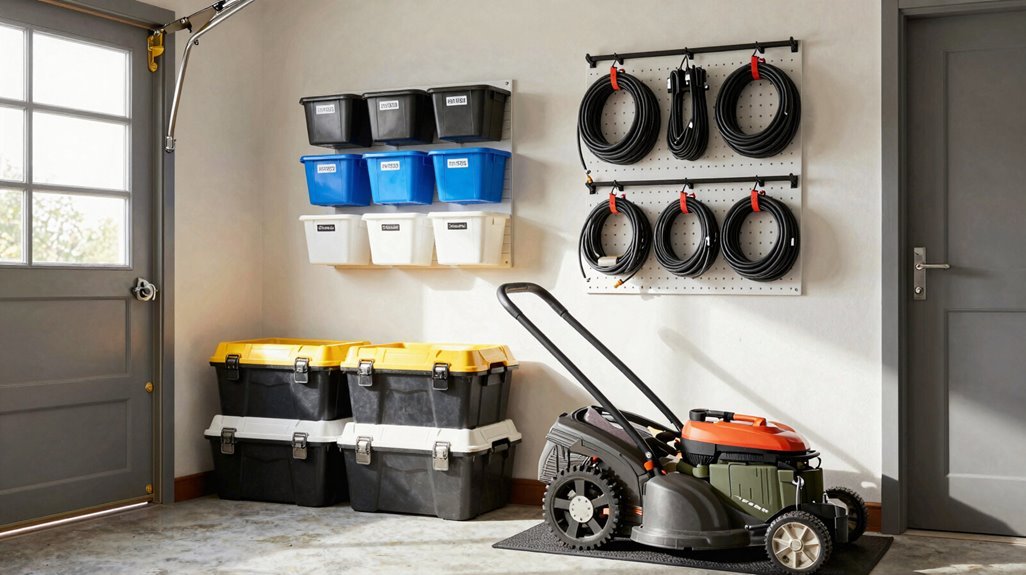
8. Cluster by Function. Items that collaborate belong together. When I return, grass clinging to my boots, everything finds its station near the aperture, ready for the next cycle.
Wind Up Garden Hoses on Reels
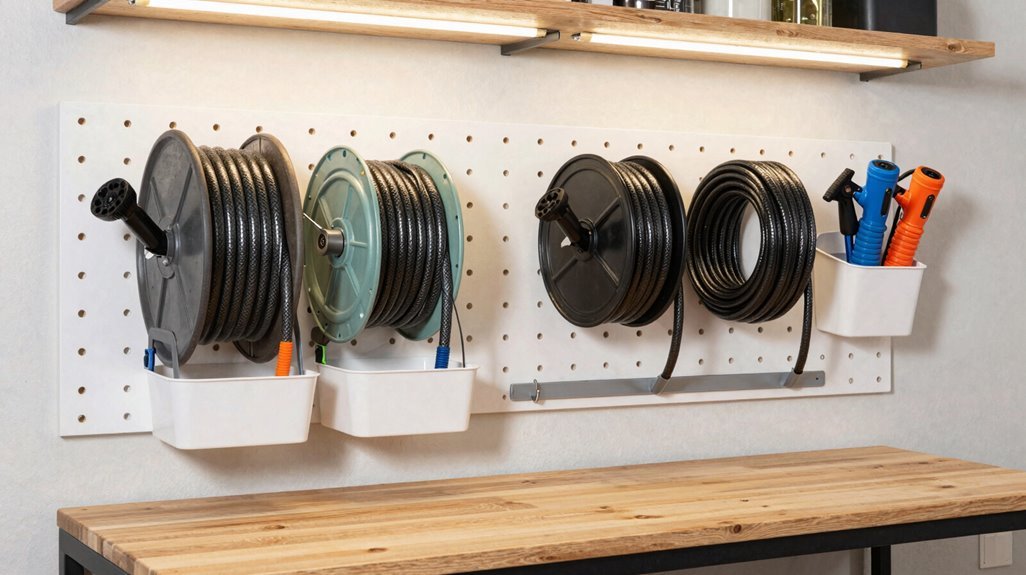
A hose reel transforms this liability into streamlined garden hose organization. Here’s what I’ve discovered works:
- Wall-mounted solutions free floor space, positioning hoses at ergonomic heights near hose bibs
- Compact reel designs tuck into slim alcoves. Mine fits a 24-inch depth beside the service door
- Smooth retraction mechanisms eliminate kinks, extending hose lifespan through reduced torsion stress
- Strategic placement creates efficient workflows, minimizing steps between garage entry and planting beds
- Weather-resistant materials, powder-coated steel, UV-stable plastics, protect against Pacific Northwest moisture
With proper garden hose organization, you’ll join fellow homeowners who’ve reclaimed their threshold spaces from chaos.
Build Labeled Tool Kits With Divided Containers
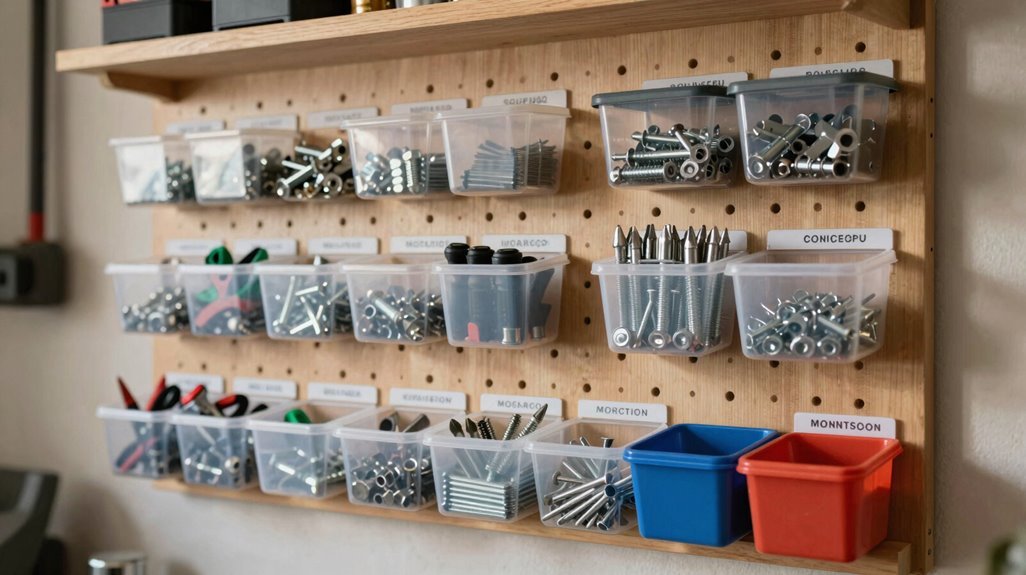
Scattered fasteners and mismatched hardware turn simple repairs into frustrating treasure hunts. I’ve transformed my garage workflow by building labeled kits using divided containers: simple, affordable systems that bring order to chaos.
1. Categorize by Trade
I separate plumbing, electrical, and general hardware into dedicated divided containers, creating intuitive zones that mirror how I actually work. Each compartment holds specific fasteners, fittings, or connectors; no more digging through mixed piles.
2. Visual Coding System
Clear labels paired with color-matched bins let me grab exactly what I need. I’ve mounted corresponding wall brackets near my workbench, reducing retrieval time dramatically.
3. Protect Small Inventory
Foam inserts inside inexpensive plastic boxes cradle screws, nuts, and washers by size; protecting threads and finishes while maintaining visibility.
4. Mobile Configuration
My labeled kits stack on a rolling cart, following me across the garage’s concrete slab or onto the driveway.
5. Maintenance Protocol
Quarterly audits keep labels accurate as my collection evolves.
Add a Fold-Down Workstation for Small Projects
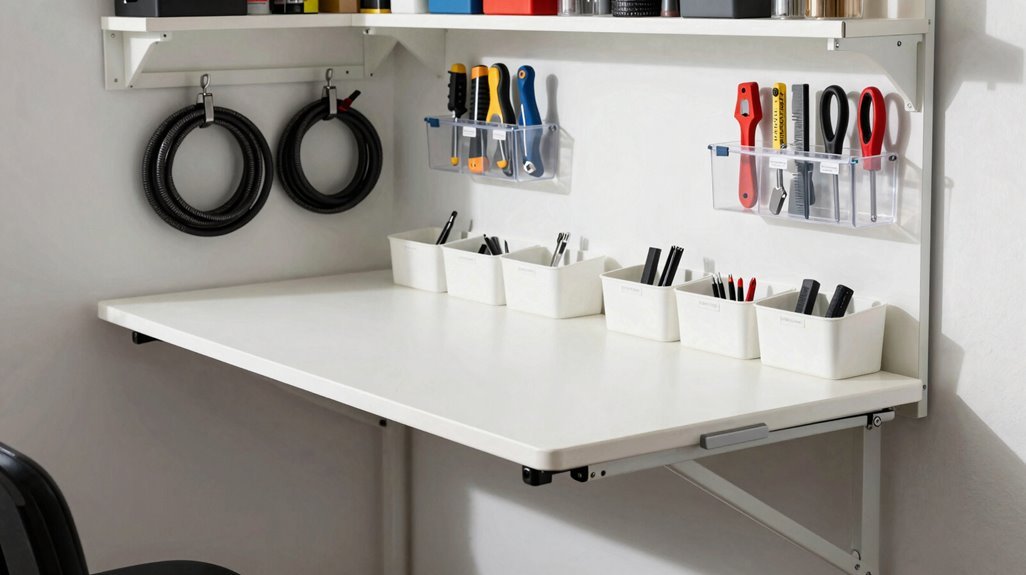
Where floor space comes at a premium, I’ve discovered that vertical real estate holds the answer to reclaiming my garage’s functionality. A fold-down workstation transforms blank wall space into a dedicated project zone, stowing flat against the studs when I’m done, leaving room for my vehicle and movement.
Vertical real estate reclaimed my garage’s functionality, transforming blank walls into a dedicated project zone that stows flat when I’m done.
Building this workspace demands minimal materials and basic carpentry skills. Here’s how I constructed mine:
- Hinged countertop — I mounted a ¾-inch plywood panel on heavy-duty hinges, creating a 24-by-48-inch work surface that swings down smoothly
- 2×4 support frame — securing the ledger board to wall studs at 32 inches high distributes weight evenly across the structural members
- Folding leg system — a pair of hinged 2×4 legs lock into place with gate latches, providing rigid support without permanent obstruction
- Tool integration — installing pegboard directly above the workstation keeps my most-used implements visible and accessible
- Budget construction — repurposing scrap plywood and pre-cut lumber, I fastened everything with deck screws and added lightweight barrel bolts to secure the closed position
When folded, my workspace needs only four inches of clearance, preserving the garage’s primary function while keeping repairs within immediate reach.





