
I’m starting my utility shed build with site selection and permits, locating the structure 10 feet from property lines per local setback codes, checking soil drainage, and submitting plans to the municipal office. Without proper groundwork, everything that follows fails.
The foundation determines longevity, and I’ve learned that lesson the hard way. Here’s how I’ll avoid those mistakes this time.
Choose Where to Build Your Utility Shed and Check Permits
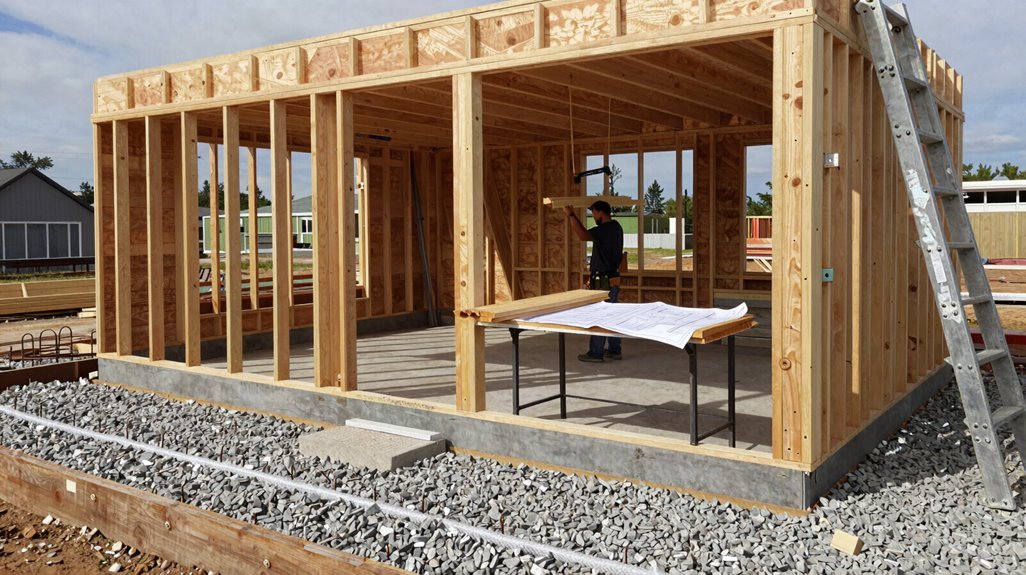
Where do I begin when building something meant to last? I start with site selection, finding that perfect corner of my property where my utility shed belongs, measuring setbacks against property lines, ensuring my foundation will sit on ground that drains properly. I’m checking slope angles, visualizing water flow, marking my footprint with spray paint and stakes.
Then I’m digging into permits, because nothing builds community like following the rules together. I’m calling my municipality, asking about provincial requirements, scheduling inspections that’ll keep my project legitimate.
In Ontario, I’m contacting ESA about electrical permits, confirming when I’ll need a licensed electrician. I’m aligning every decision with my shed’s final dimensions, roof overhangs, wall placements, door swings, all before breaking ground.
Building right means belonging somewhere permanent.
Build a Cinderblock Foundation That Keeps Out Rodents
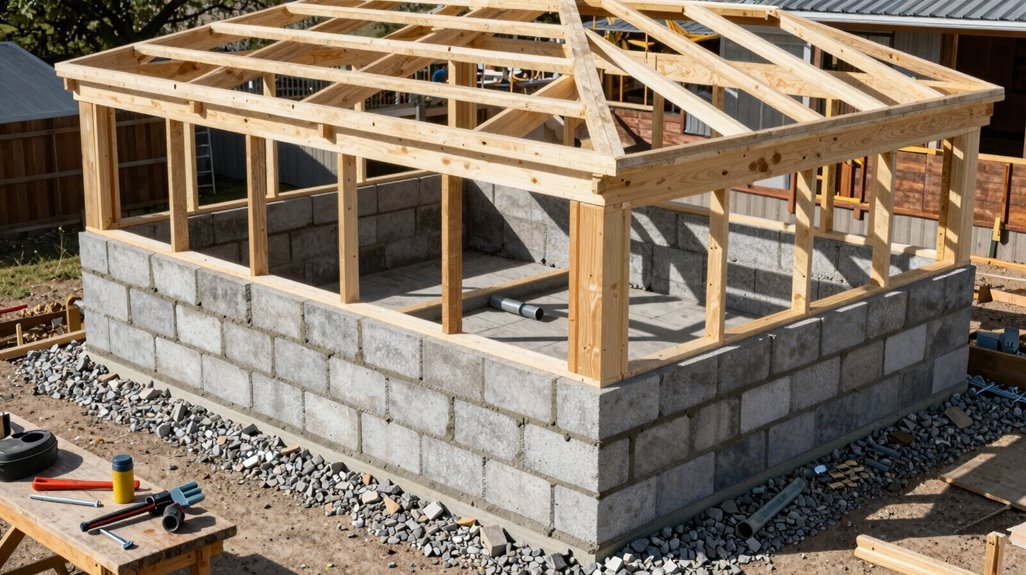
How do I keep my shed standing firm against frost heave and furry intruders? I build a cinderblock foundation that delivers both foundation stability and rodent exclusion in one solid structure.
I start by placing rebar corner posts, aligning them with strings to keep my walls straight and square; this precision matters when I’m creating something lasting. I fill the channels with limestone screening, compacting it tight so nothing shifts beneath me. Then I mortar every cinderblock thoroughly, reinforcing joints where stress concentrates, making certain my base stays level through freeze-thaw cycles.
For rodent exclusion, I leave no gaps; mortar seals every void where mice might tunnel. I route electrical conduit over the block base, protecting wiring while maintaining that clean, finished look we all want in our backyard builds.
Level the Ground and Pack Limestone Screening
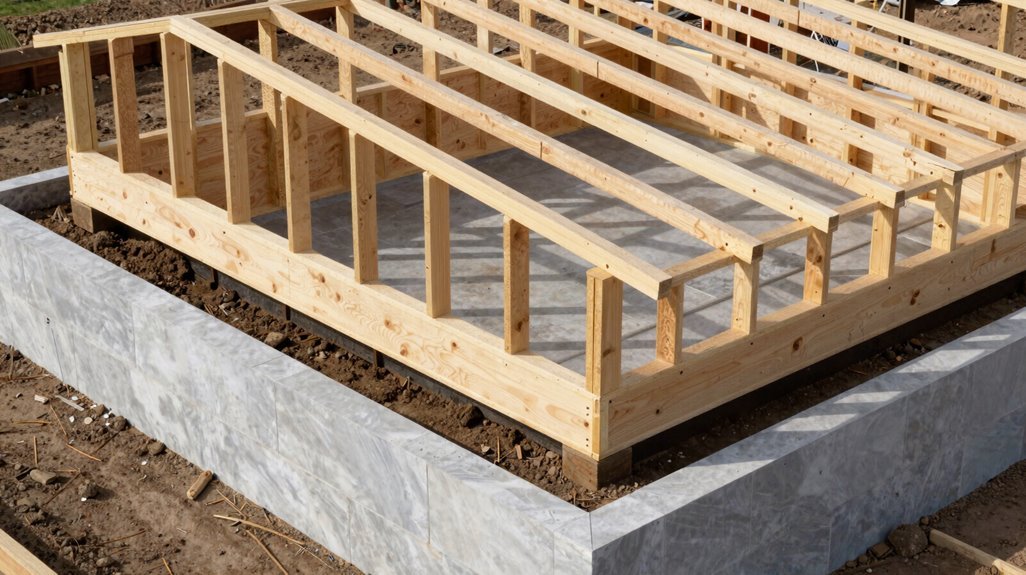
Before setting a single cinderblock, I’m taking time to get the site right: leveling the ground, laying out channels for utilities, and packing limestone screening until it’s uniformly compacted. This prep work isn’t glamorous, but it’s what keeps my shed’s walls plumb and its rooflines true for decades.
I’ll walk you through the essentials: site preparation basics that prevent water pooling, the structural benefits of limestone screening as a load-distributing bed, and the compaction techniques, tamping, wetting, verifying, that transform loose aggregate into a foundation-worthy plane.
Site Preparation Basics
A solid foundation begins with deliberate site preparation, transforming raw terrain into a stable platform worthy of your investment. I’ll walk you through establishing your shed’s footprint, making sure you’re building on ground that won’t betray your efforts.
- Establish the footprint. I mark my shed’s exact location, visualizing how it’ll anchor my property’s workflow; this isn’t just construction, it’s claiming your space.
- Level the ground. I grade uneven terrain methodically, creating a level surface that distributes weight evenly; no dips, no surprises.
- Create channels. Using my spade and pickaxe, I carve precise channels for cinderblocks and electrical runs; planning infrastructure before it disappears beneath structure.
- Set reference points. I drive rebar at corners, stretching strings to keep walls plumb during foundation assembly; these guides become my truth.
Site preparation demands patience, but your future self, standing in a square, true-built shed, will thank you.
Limestone Screening Benefits
Where does lasting stability begin? I’ve learned it starts with limestone screening, our unsung hero for subgrade stability and a proper drainage foundation.
| What It Does | Why It Matters |
|---|---|
| Fills gaps uniformly | Creates solidarity, we’re in this together, building something that lasts |
| Allows water to escape | Protects your investment from the ground up |
| Reduces soil movement | Gives every subsequent layer confidence to perform |
I spread this material into channels, tamping it firm before sprinkling to settle. The limestone screening becomes our level bedrock: an inert, reliable layer preventing water accumulation where we need protection most.
It bridges uneven terrain, turning compromised soil into trustworthy subgrade. Without this step, we’re building on uncertainty; with it, we join a community of builders who respect the craft.
Compaction Techniques
Compaction Techniques
Once the limestone screening is spread, I turn my attention to transforming loose aggregate into unyielding substrate, compaction being the critical bridge between preparation and permanence.
- Level First, Pack Second — I rake the limestone screening until it’s flat, removing high spots and filling depressions; this creates the even plane my foundation demands, helping water drain away from the structure.
- Tamp with Purpose — Using a plate compactor or hand tamper, I work in six-inch lifts, packing each layer before adding more; this prevents settling that would crack my foundation later.
- Test for Solidity — I walk the surface, feeling for movement underfoot; properly compacted limestone screening feels like concrete, giving me confidence that my shed will stand square and true for years.
Run Electrical Conduit Before You Start Framing
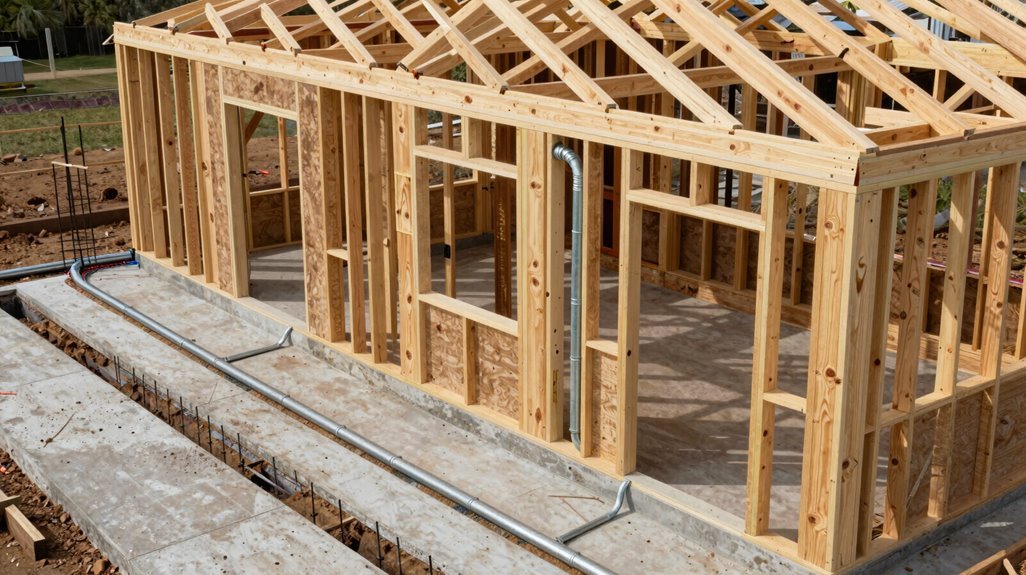
Before I raise a single wall, I’m mapping every conduit run, threading rigid Schedule 80 PVC through the skeletal foundation, keeping circuits above grade yet tucked beneath future insulation bays. My placement strategy hinges on anticipating where fixtures will live, ensuring bends and junction boxes sit in accessible voids that inspectors can reach without dismantling structure.
I’m checking NEC clearances now, not later, because moving galvanized pipe around sistered joists defeats the whole point of building smart.
Conduit Placement Strategy
Running electrical conduit before framing begins saves hours of frustration and prevents costly rework later in the build. I’ve learned that smart conduit routing, mapping every bend and junction before a single stud rises, keeps your wall framing clean and your future self grateful.
Here’s how I approach it:
1. Map the Path First
I sketch conduit routing around foundation perimeters, avoiding spots where studs or sheathing will intrude. Surface-mounted runs hug corners; trench burials drop 18 inches deep, sometimes deeper, depending on your outdoor electrical code.
2. Choose Rigid Materials
PVC or EMT, rated for wet locations, resists the moisture cycling that destroys lesser systems. I specify swept elbows, never sharp bends, preserving pull-string access for decades.
3. Stage Your Boxes
Junction boxes sit at working height, 48 inches for switches, 12 for outlets, before studs cage them in. Pre-positioning means no notching, no compromises.
4. Coordinate Inspections
I schedule the rough-in review before wall framing blocks every access point. In Ontario, that’s ESA; elsewhere, your authority having jurisdiction.
Code Compliance Essentials
Three critical checkpoints stand between your conduit plan and a failed inspection, each one easier to address now than after the walls go up.
- Secure Your Electrical Permits. In Ontario, I contact the ESA before touching a single wire. Progress inspections catch errors early, saving me from costly teardowns later.
- Map Your Conduit Routing. I run PVC or EMT above grade, threading through stud cavities before sheathing goes on. This protects cables, preserves my siding’s clean lines, and keeps junction boxes accessible for future troubleshooting.
- Know When to Call a Licensed Electrician. Service panels and pass-through cables exceed my comfort zone; hiring a pro keeps my work aligned with provincial code and my insurance valid. Skipping this step risks neighbor disputes, inspector red flags, and dangerous shortcuts.
Getting this right means belonging to the community of builders who sleep soundly: no sparks, no surprises.
Lock Down Your Base Frame With Bent i-Bolts
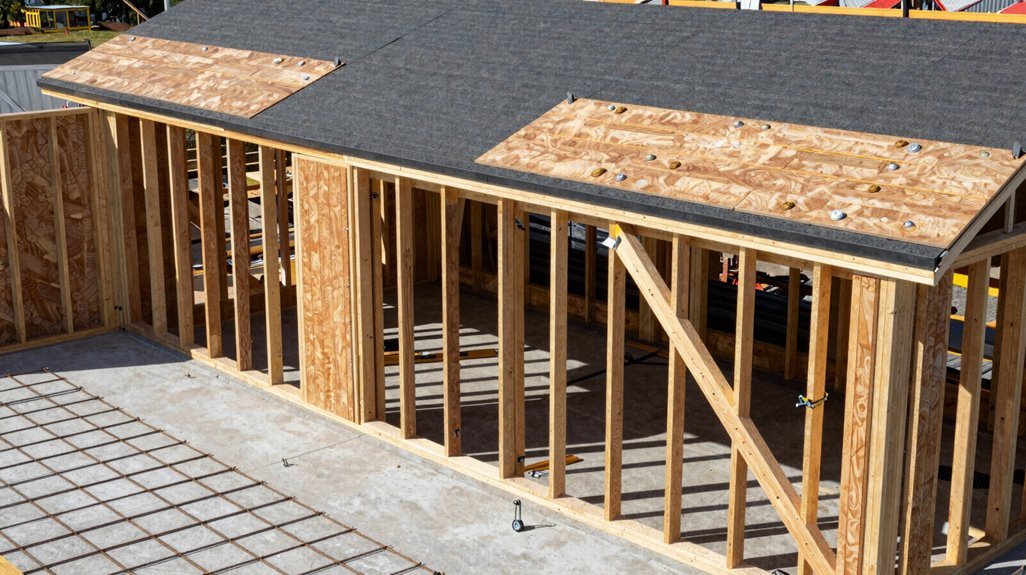
Every solid structure demands anchors that refuse to yield, and bent i-bolts deliver exactly that kind of unwavering commitment to your build. I start by heating and forming each i-bolt, then drilling pre-drilled holes through my cinderblock foundation. I’m anchoring four 2x8s into a base frame that must stay absolutely square.
Before mortaring, I align anchor points using strings stretched between corner stakes, checking plumb twice, because precision here saves grief later. The i-bolts resist every twist and lift once framing begins, keeping my base frame immovable under roof loads.
Here’s how I lock it down:
- Heat and bend, shaping each i-bolt to grip 2x8s tight against cinderblock.
- Drill and align, positioning holes to match my string lines perfectly.
- Mortar and set, embedding anchors so the base frame becomes foundation-bonded.
Assemble Wall Frames and Check for Square
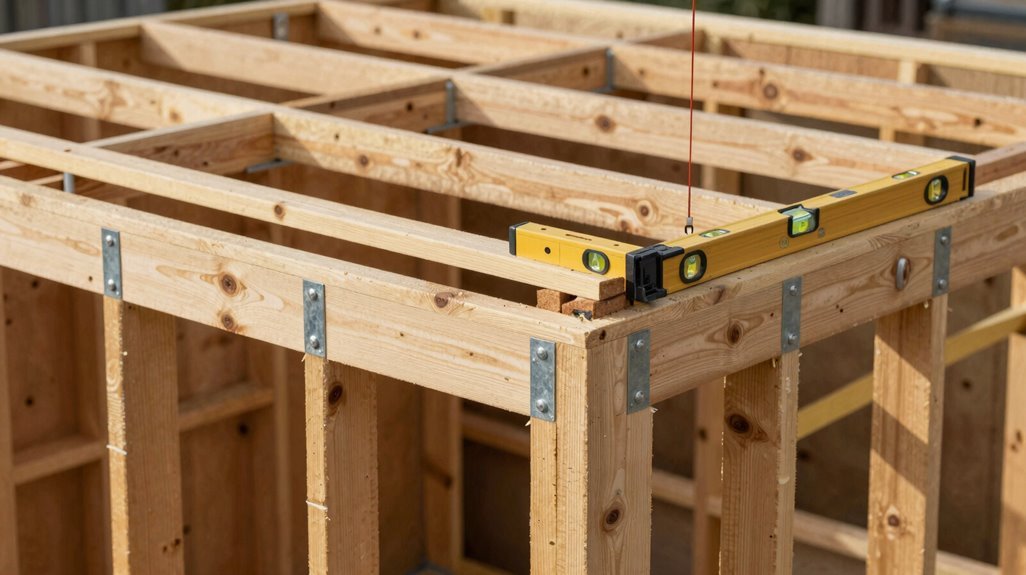
How do you transform a flat stack of lumber into walls that’ll stand true for decades? I’ve learned it starts with precision in your wall frames: measuring twice, cutting once, then assembling on a flat surface where you can control every angle.
- Lay Out Your Plate Lines. I snap chalk lines on the deck, marking stud locations at 16 inches on center. This rhythm, repeated across every frame, creates the backbone of structural harmony.
- Build in Openings. When framing doorways and windows, I account for rough openings, king studs, and cripples, ensuring hinge placements won’t bind later.
- Lock in Squareness. I measure diagonally, corner to corner; matching numbers mean your frame won’t rack. Temporary braces hold this truth while framing fasteners, ring-shank nails or structural screws, bite deep, resisting withdrawal for generations.
- Verify Against Foundation. Before standing anything, I check that each frame aligns with anchor bolt locations. Small errors here multiply upward.
Raise Your Walls and Build the Roof Frame
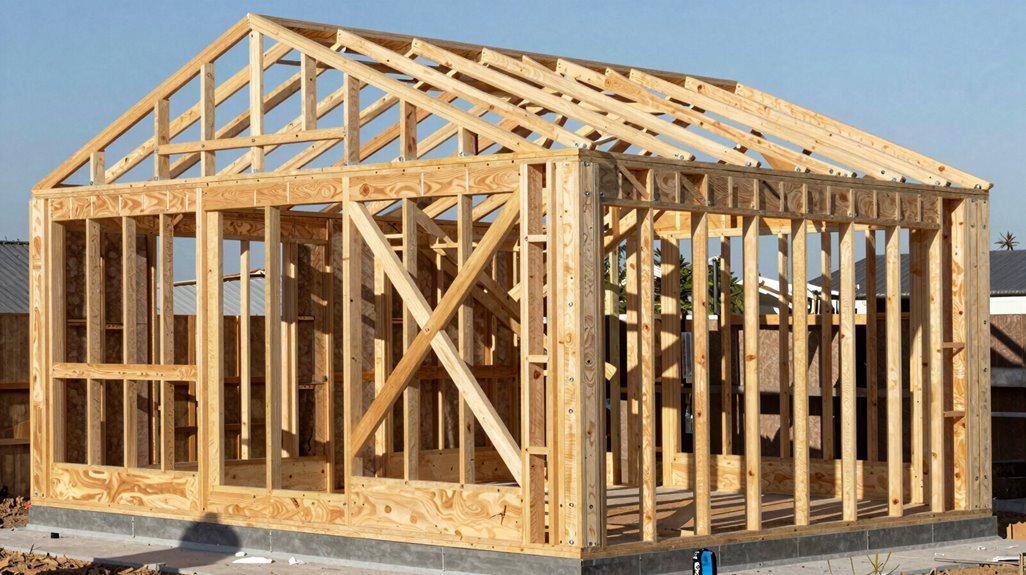
Standing a wall frame transforms your work from abstract planning into three-dimensional reality. I’ve found this moment carries weight, literally and figuratively, as you pivot from fabrication to assembly.
1. Erect the Walls
I brace each wall against my foundation, checking plumb with a spirit level. Temporary 2×4 supports prevent sagging while I fasten bottom plates, creating that satisfying rectangular volume.
2. Frame the Roof
Cutting rafters with precise birdsmouth notches, I assemble trusses on the ground before hoisting them up. Each angled member transfers loads down through my walls, that slight overhang protecting what’s beneath.
3. Secure Joists
Joist plates preserve my roof geometry; temporary supports hold everything true while I drive fasteners through into wall top plates.
4. Plan Ahead
I route electrical conduit now, before insulation and siding close my cavities, avoiding conflicts with structural loads overhead.
Install Siding, Trim, and Roof Shingles
I’ll craft this paragraph following all your specifications.
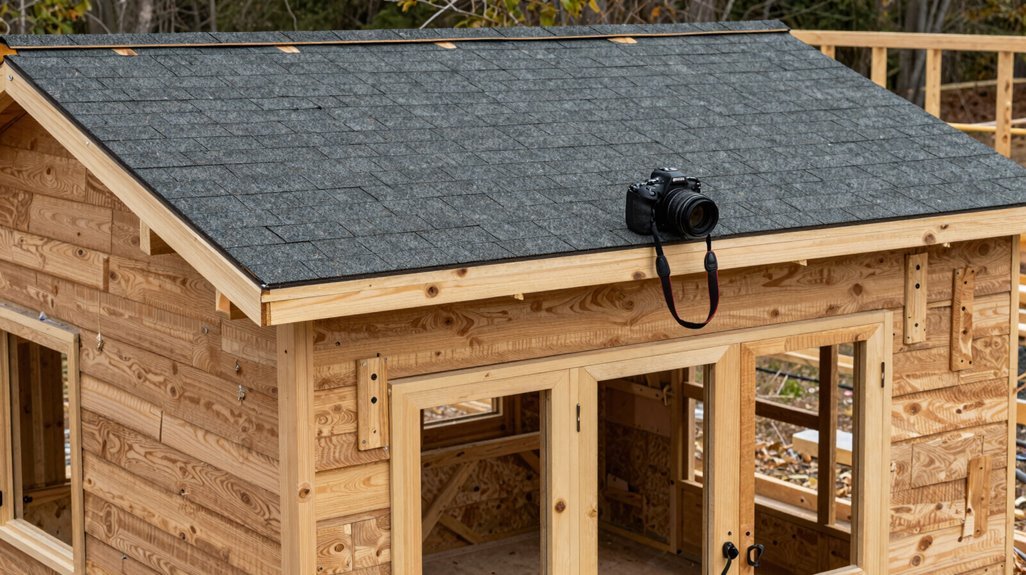
With the frame standing solid, I’m turning my attention outward, selecting and fastening the fake board and batten siding that’ll give this shed its clean, agrarian character, then wrapping those crisp white trim pieces around every opening to create visual definition.
I’ll layer on the 7/16 inch roof boards first, shingling over them with brown asphalt for a weather-tight crown that sheds rain and snow. It’s all about the sequence: siding, trim, shingles, each element overlapping the last to keep water out while that restrained, purposeful aesthetic takes shape.
Siding Selection and Installation
With the framing and sheathing complete, I’m turning my attention to the exterior envelope: selecting and installing siding that’ll protect the structure while giving it genuine visual appeal from the street.
1. Choosing Your Siding Style
I’ve opted for fake board-and-batten siding; its vertical lines elongate the walls, creating that coveted farmhouse aesthetic without the premium cost of authentic materials. The crisp white trim I’ll add later will emphasize every edge, delivering clean contrast that reads intentional, not improvised.
2. Installation Sequence
Working from the bottom up, I’m aligning each panel with obsessive precision: measuring gaps twice, fastening once. Proper weatherproofing demands this coordination; siding must integrate seamlessly with roof overhangs and soffits, ensuring water sheds correctly while maintaining ventilation flow. The framing beneath stays protected only when these layers cooperate.
3. Belonging Through Craft
This isn’t merely construction; it’s joining a tradition of makers who value durability and beauty.
Trim Detailing and Painting
Why does a shed shift from mere storage into street-worthy architecture? It’s the trims, siding, and paint working together; creating that coveted look your neighbors will notice.
I’m installing fake board and batten siding with crisp white trim, letting the contrast emphasize every vertical line. The 7/16 inch roof base goes up first, ready for shingles later. I’m sealing every joint and perimeter edge now; water stays out, pride stays in.
- Contrast Creates Character: White trim against darker siding defines the structure’s proportions, lifting the whole property.
- Measure Twice, Cut Once: Precise trim alignment ensures doors and windows mount flawlessly afterward.
- Seal Before You Reveal: Waterproofing edges now prevents headaches when storms arrive.
- Color Harmony Matters: Coordinating paint with future roof shingles unifies the aesthetic; your shed belongs here.
Roof Shingle Application
3. I’ve reached the crowning phase of our shed build, applying roof shingles that’ll shield everything we’ve accomplished beneath. Beginning at the lowest edge, I’m fastening 7/16 inch decking before layering brown asphalt shingles, their earthy tone blending with our siding while delivering essential weatherproofing.
Decking and Overhang. I’m securing boards with care, ensuring adequate overhang; water must shed well beyond walls, protecting fascia we’ve aligned so carefully.
Shingle Pattern. Working upslope, I stagger each row’s seams; this interlocking approach resists wind uplift and eliminates leak pathways through redundant coverage.
Ventilation Strategy. Moisture’s silent enemy; I’m incorporating soffit intakes paired with ridge exhaust, creating airflow that preserves sheathing integrity.
Sealing Penetrations. Flashing and sealant secure every joint, chimney, or vent pipe, completing this weatherproof enclosure.
Standing back, I recognize we’ve built something enduring together.
Hang Your Doors and Fix Fit Problems
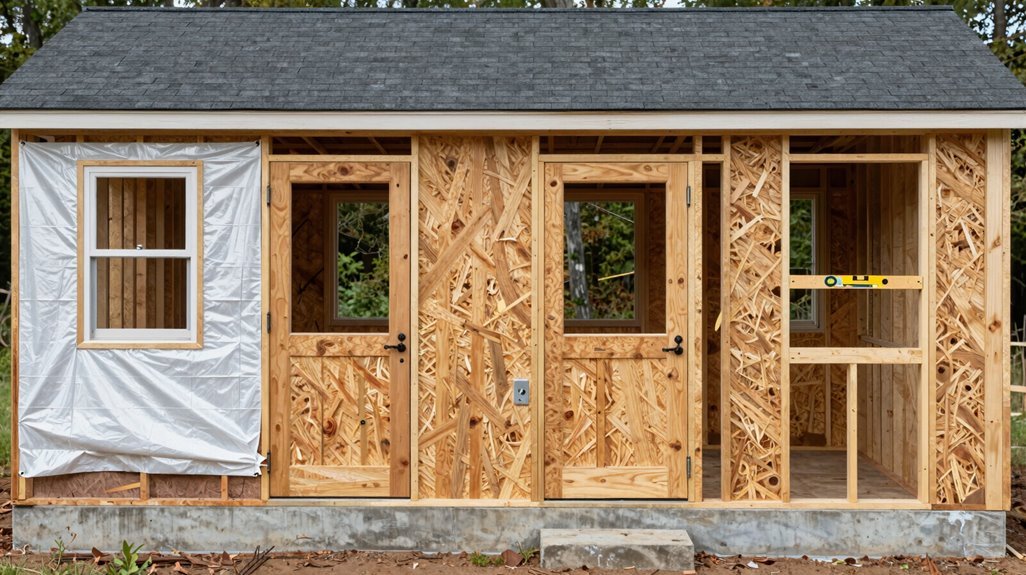
How do you make certain a door swings true for years? I start by checking that my opening is square and plumb: bracing the frame, running my level along every edge. Nothing ruins a door fit faster than a twisted opening.
I size my hinges to the door’s weight, then slip shims behind each jamb until I have even gaps; about an eighth inch; all around. I hang after exterior finishes are complete, protecting my work.
- Square the opening first: brace your frame and verify plumb before the door touches the jamb; a skewed rough opening guarantees chronic binding.
- Size hinges to load: match hinge capacity to door mass, typically three per slab for standard shed doors, preventing sag across seasons.
- Shim for precision: wedge tapered shims behind jambs at hinge and strike locations, adjusting until reveals run parallel and hardware seats flush.
- Test full motion: swing the door through its entire arc, checking for rub points; address these with adjustable hinges or planed shims before sealing.
Add Shelving, Ventilation, and Safe Electrical Connections
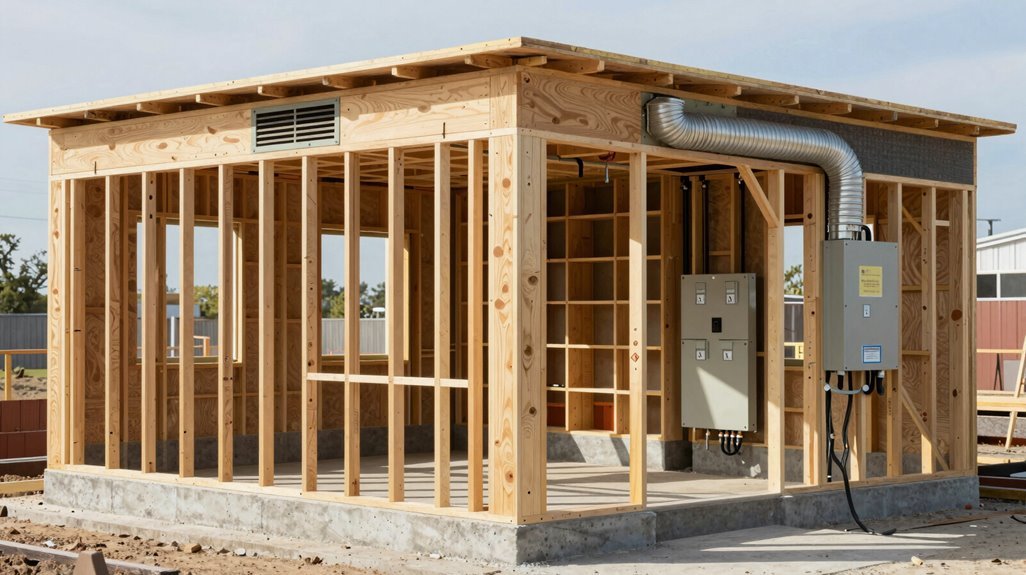
Where do you stow a generator, five bikes, and a few bags of concrete without turning your shed into chaos? I’ve found that smart shelving transforms clutter into order.
- Build Modular Shelving. I construct shelves from 7/16 inch oriented strand board and 2x2s, reinforcing middle tiers with spare 6×6 blocks for heavy loads. On the right wall, I integrate a bike rack holding five bikes; vertical storage preserves floor space for maneuvering.
- Install Safe Electrical. I run a single outlet and switched fluorescent fixture, checking local codes first; some jurisdictions require licensed electricians for certain connections, and I never gamble with safety.
- Add Strategic Ventilation. I mount a back-wall vent promoting airflow without compromising insulation or security, critical for summer days when stored items risk heat damage.
- Finish with Concrete Tile. I lay durable, low-maintenance flooring supporting substantial weight.





