
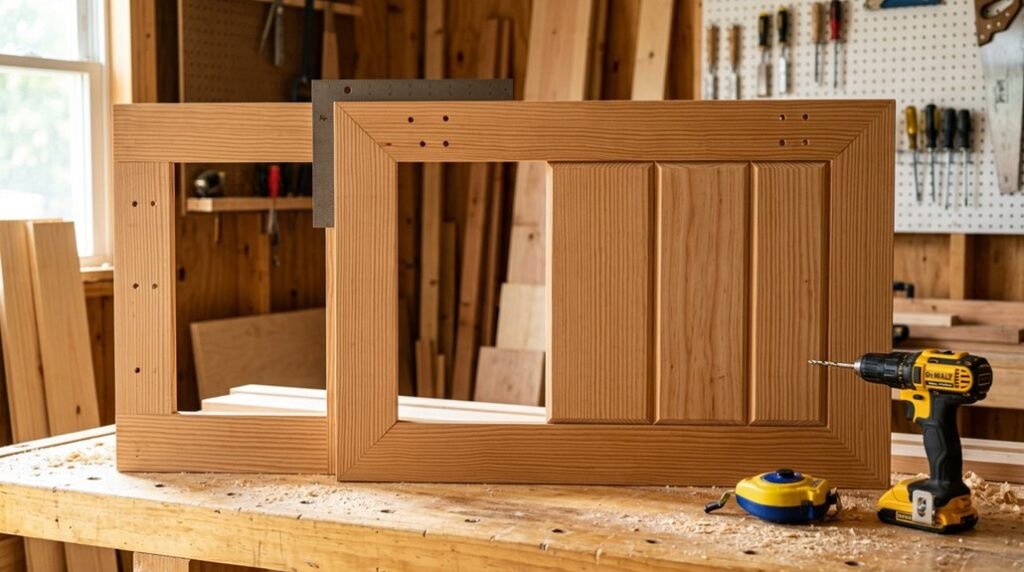
I’ve built shed doors that warped within a season, and others still square after a decade. The difference lies in methodical execution across five essential phases. Each step integrates material science with practical joinery: moisture management through end-grain sealing, dimensional stability via plywood substrates, and hardware alignment preventing binding.
Whether you’re securing tools in coastal humidity or mountain snow load, these principles scale. The first decision, measuring your opening with precision, determines every subsequent cut.
Measure Your Door Opening and Cut the Plywood Base
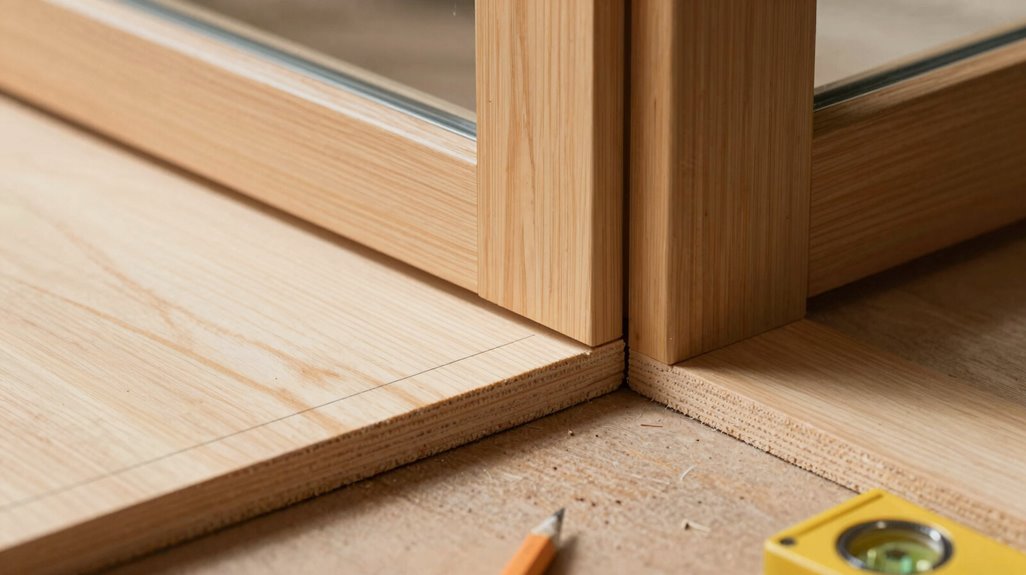
Before you start the build, you need to nail down your starting point, literally. I measure the door opening on at least two sides, taking the smallest dimension as my base for accuracy. This prevents your shed doors from binding or leaving gaps that will cost you trim and weatherproofing later.
- Calculate Your Base Dimensions. I subtract 1/4 inch from all sides of that smallest measurement. This clearance prevents seasonal swelling from jamming your doors against the jamb.
- Cut the Plywood. Using a straightedge, I slice the plywood to my calculated base size, keeping edges clean and square. Imperfections here telegraph through every layer you will add.
- Prep Your Cedar. I cut boards matching the plywood base length so they will cover evenly. No awkward seams, no weak points where moisture creeps in.
- Verify Structural Integrity. I make sure this base withstands pressure before attaching any framing. Your doors hang here, so weakness compounds fast.
Build the Plywood-Backed Cedar Face
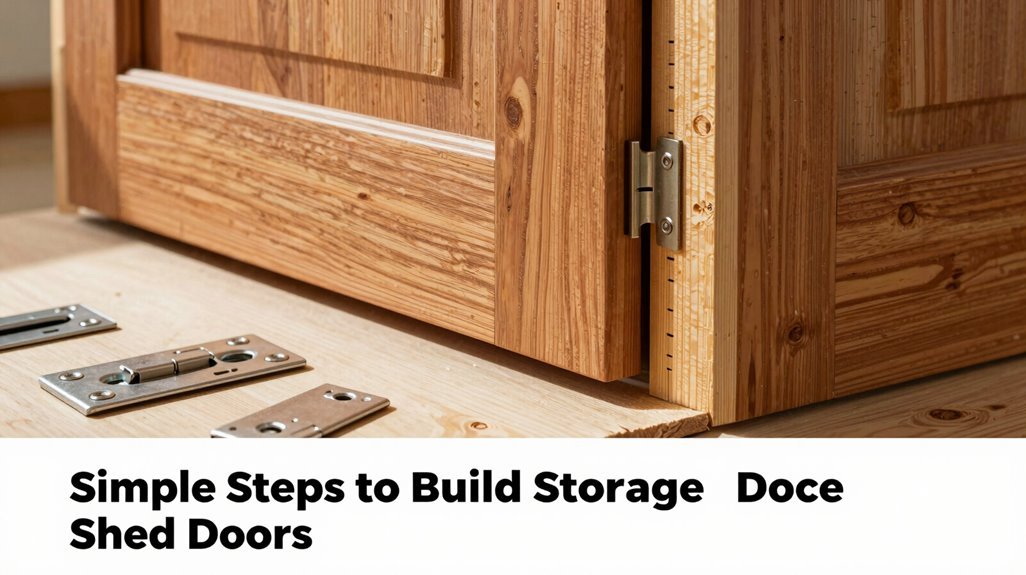
With your plywood base cut square and your cedar boards milled to length, you’re ready to give this door its finished face. I’ll walk you through building the cedar faced door that’ll change your shed from utilitarian to architectural.
- Apply the cedar skin. Working from one edge, I spread Liquid Nails across the plywood, then press cedar boards into place, securing each with 3/4-inch finishing nails. I cover every inch, letting the grain patterns guide my arrangement for visual continuity.
- Seal before trimming. I apply two coats of Ready Seal in Natural Cedar, working the protector into end-grain and seams. This barrier prevents water infiltration that warps lesser doors.
- Template your trim. Using scrap, I fashion a 1-inch overlap guide, then install top and bottom trim pieces square and true. This trim frames the cedar, creating shadow lines that read custom-built rather than improvised.
- Hang with precision. After sealing cures, I pre-drill 1/8-inch pilot holes, driving four screws per hinge while maintaining that pivotal 1/4-inch swing gap.
Add Exterior Trim and Corner Bracing
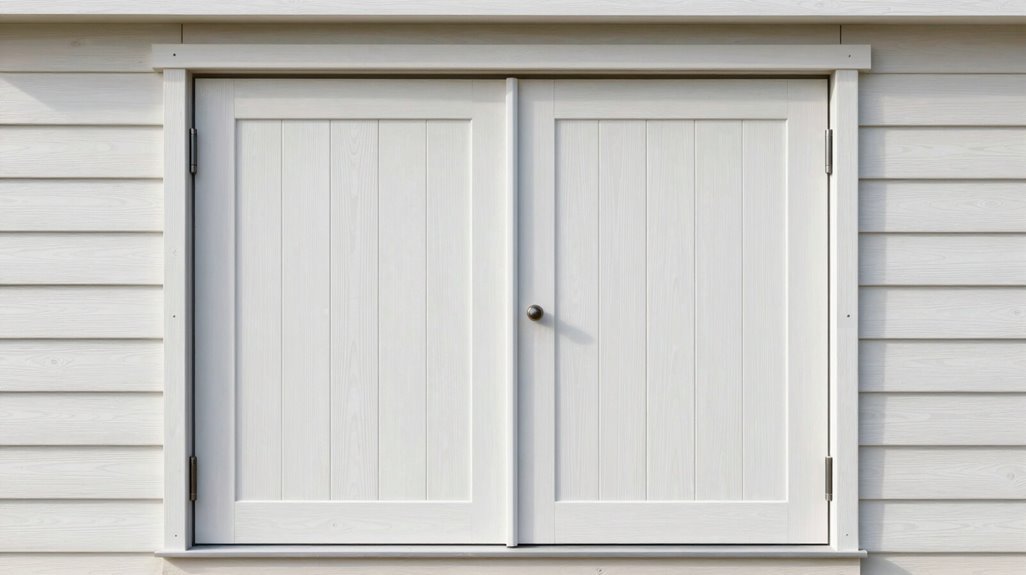
Why settle for a door that merely functions when you can craft one that commands attention? With your plywood-backed cedar face complete, I’ll guide you through adding architectural distinction that fellow builders will admire.
1. Prepare Your Trim Materials
I cut top and bottom trim pieces to my cedar door width plus two inches; this overhang creates that professional shadow line. Having installed my hinges first (crucial for alignment), I’m ready to protect those edges from weather while ensuring consistent gaps.
2. Secure the Perimeter
I apply Liquid Nails generously, then fasten with 1.5-inch finishing nails for a snug, rattle-free fit. This trim installation sequence, after hardware, before final sealing, prevents obstruction while maintaining precise reveal lines around the frame.
3. Reinforce with Corner Bracing
I add diagonal cedar trim between sideboards, creating that signature Z-pattern or craftsman cross-brace. This corner bracing isn’t merely decorative; it distributes structural loads, preventing sagging that plagues lesser doors.
Seal the Wood and Attach the Hinges
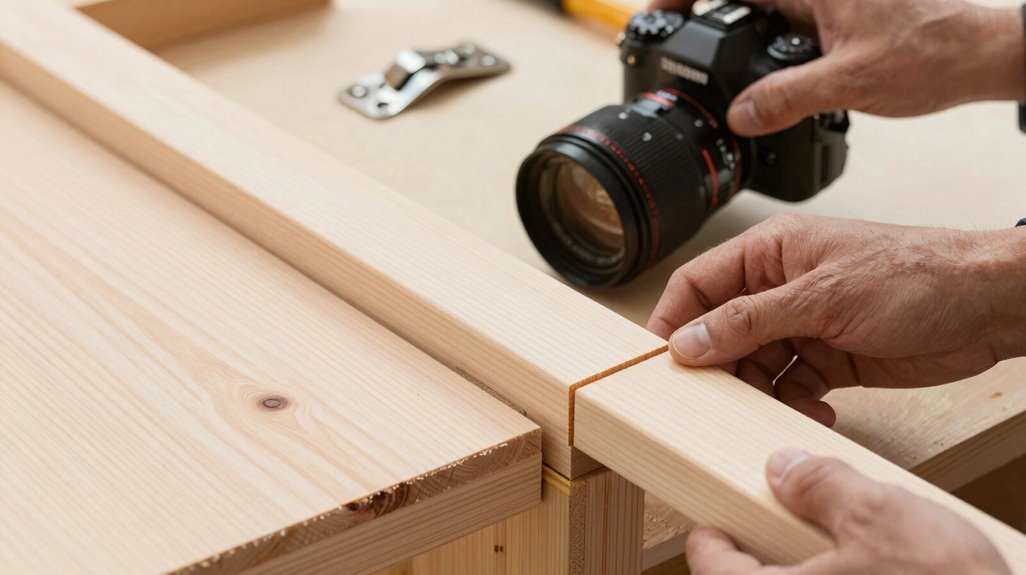
Your cedar face now carries the gravitas of a carriage house entry, its trim and bracing speaking to neighbors passing along your driveway. Now I’ll protect this craftsmanship with sealant before attaching hinges; moisture protection comes first, always.
Your cedar face now carries the gravitas of a carriage house entry, its trim and bracing speaking to neighbors passing along your driveway.
- Apply Ready Seal in Natural Cedar, brush liberally across grain, working the sealant into every joint and corner for complete saturation.
- Allow full drying time; rushing compromises the barrier between wood and weather, inviting rot where we seek longevity.
- Position three hinges, evenly spaced along the stile, balancing weight distribution for decades of smooth operation.
- Pre-drill pilot holes; preventing split grain keeps your hinges seating flush without weakening structural integrity.
- Secure with galvanized screws, resisting corrosion at the critical interface where metal meets sealed wood.
With sealant cured and hinges mounted, your door awaits its final purpose.
Hang the Shed Door and Install Hardware
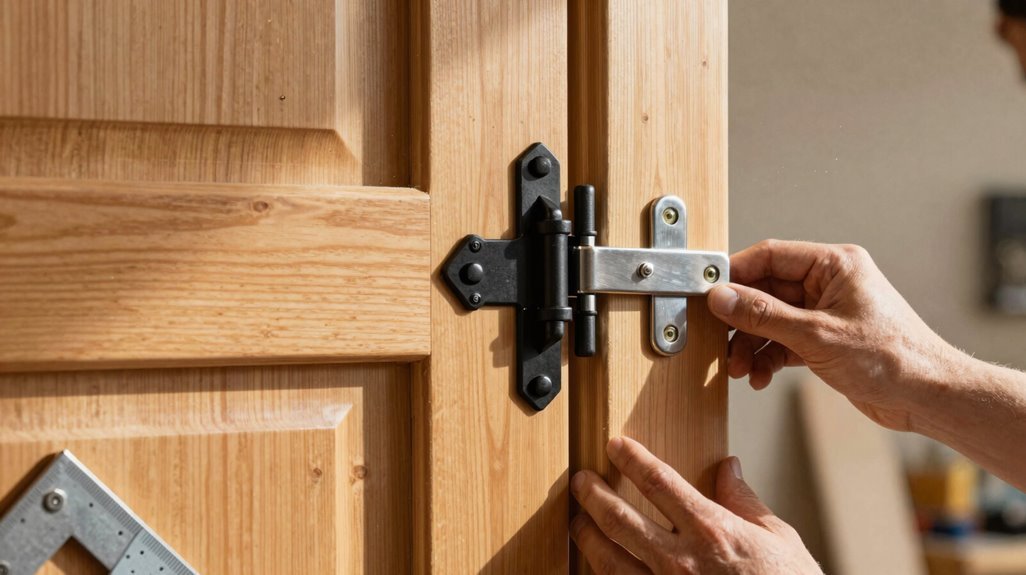
How does a door transform from crafted object to functioning threshold? Through deliberate action, and a partner.
1. Position and Secure. I lift the shed door 1/4 inch above the frame, inserting the top hinge screw first. This establishes plumb before committing fully.
2. Verify Both Doors. With hinges on each leaf, I swing both doors, checking for binding, ensuring the gap between them measures roughly 1/4 inch. Hardware comes after operation proves smooth.
3. Trace and Drill. Using the latch plate as template, I mark pin locations, drilling holes slightly oversized for seasonal movement.
4. Collaborate and Adjust. One person inside, one outside: we sight gaps, test swing arcs, and shim where the frame betrays its squareness.
5. Final Confirmation. Level, flush, functional, the threshold now belongs to daily rhythm.





