
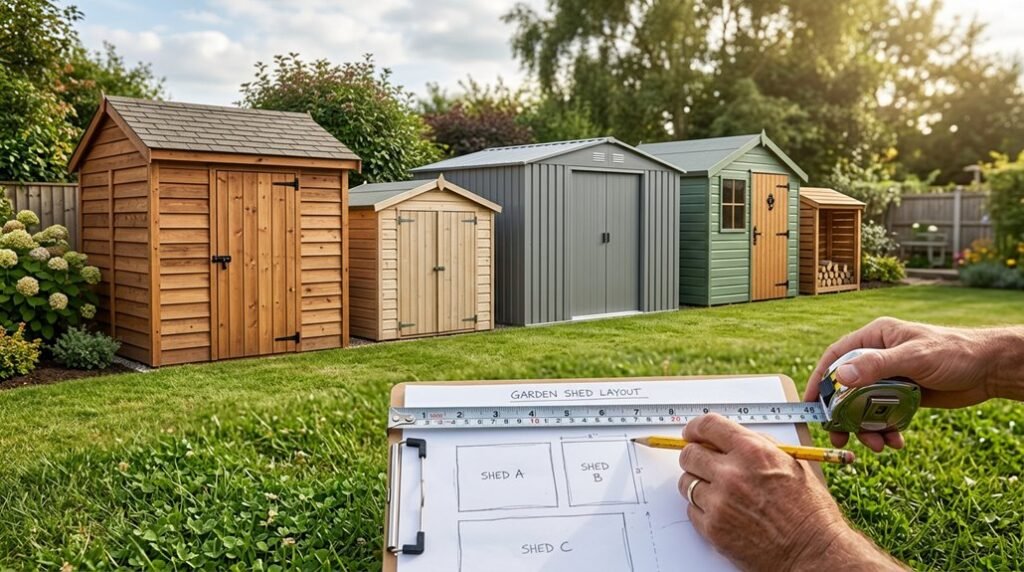
When I started planning my storage shed, I measured twice, then realized I’d forgotten to account for the slope, the setback lines, and how my garden tools would multiply over a decade. What began as a simple calculation became a lesson in foresight: the right structure balances immediate utility with architectural proportion against your landscape, foundation durability against regional frost lines, and municipal compliance against aesthetic ambition.
I’ve mapped six critical thresholds you’ll cross, each one hiding expensive missteps behind seemingly straightforward choices. Starting with the inventory you’d rather avoid.
What Will You Actually Store? (Sizing Your Storage Shed Right)
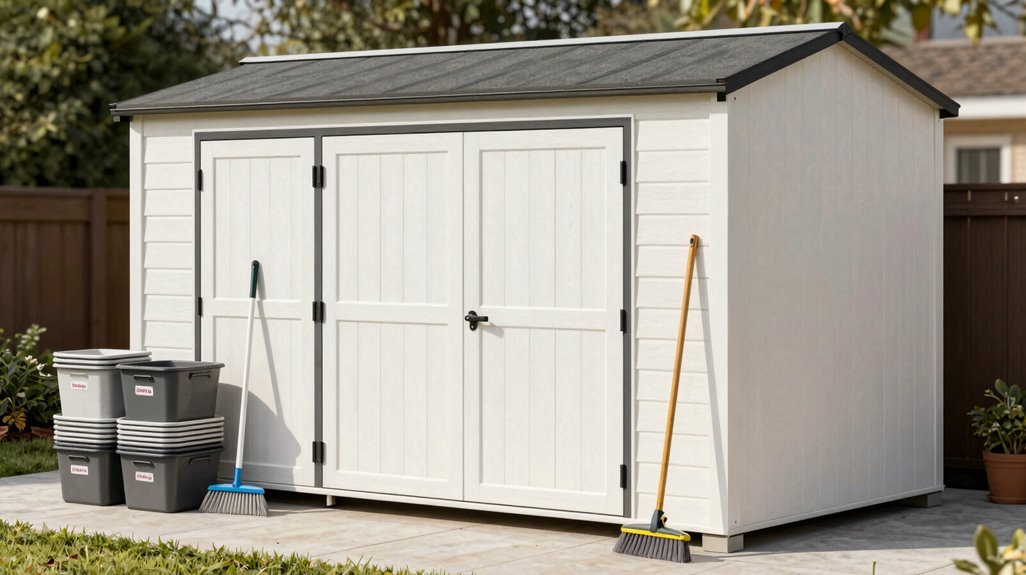
Precision demands honesty, before I browse catalogs or admire cedar siding, I must confront the chaos of my own belongings.
Before dreaming of cedar siding, confront the chaos your belongings have become.
I start space planning by inventorying everything demanding equipment storage—lawnmowers, snowblowers, bicycles, outdoor furniture, seasonal gear—because my storage needs dictate everything following.
For measurement and fit, I walk my yard with a tape measure, noting maximum dimensions while respecting zoning rules and preserving access paths.
Shed sizes vary widely: compact 8×10 structures suit modest gardens, midrange 10×12 to 12×16 dimensions accommodate medium properties, and expansive 14×20-plus footprints serve ambitious layouts with workshop potential.
To plan for future acquisitions and evolving hobbies, I select a size that works beyond today’s clutter. Thoughtful layout options—shelving, lofts, workbenches—transform mere shelter into genuine utility.
5 Mistakes That Cost First-Time Shed Buyers Thousands
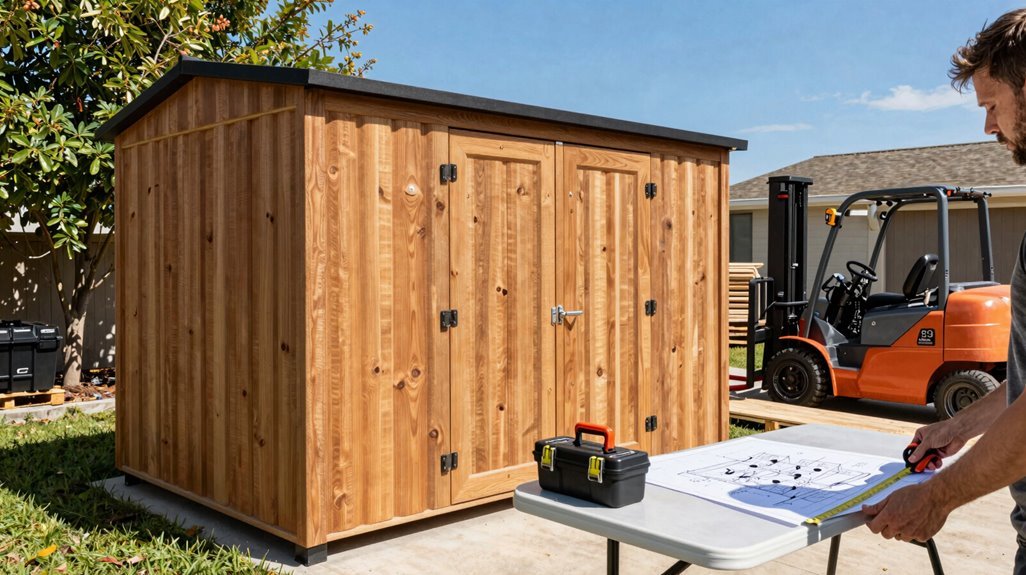
Once I’ve mapped my square footage and imagined my ideal layout, I’m tempted to rush toward purchase, yet this is exactly when costly errors multiply. Here’s where fellow shed enthusiasts lose thousands:
- Mismatched shed size — buying for today’s storage needs while ignoring tomorrow’s expansion leaves me with cramped quarters or cavernous waste, draining budget and cost reserves on replacements.
- Ignored permits and zoning — skipping local regulations triggers fines, forced relocation, and demolition nightmares I’d share at every backyard gathering with embarrassment.
- Neglected foundation planning — skimping on site prep (proper drainage, level grade) warps my investment, turning workshop dreams into rotted, unusable space regardless of material longevity or purpose of shed.
Check Zoning, Permits, and HOA Rules First
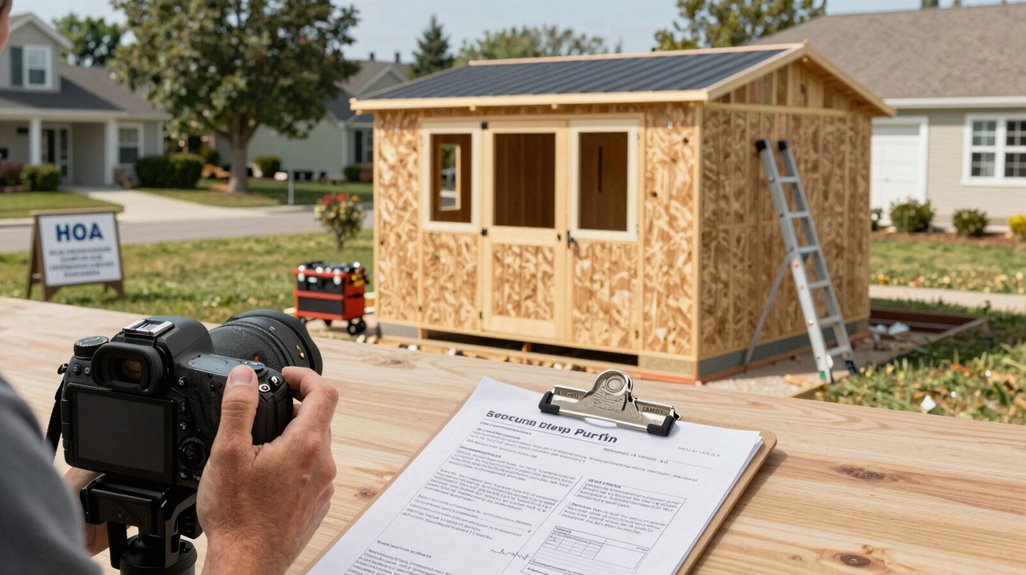
Where exactly am I allowed to build, and how large can I dream, before I’ve committed a dime to lumber or steel? I start here because nothing stings worse than watching neighbors gather as I dismantle an unpermitted structure.
- Decode Your Zoning Laws. I contact my county planning office, requesting setback distances from property boundaries and maximum square footage, typically 120–200 square feet before permits trigger.
- Navigate HOA Rules. Even where zoning laws permit, my homeowners association may dictate shed specifications: roofing materials, paint colors, visibility screening.
- Secure Building Codes Compliance. I gather site plans, detailed shed specifications, and proof of ownership for permit submissions, knowing a town inspector will verify structural integrity before granting approvals.
Skipping this groundwork risks forced relocation. I belong in my neighborhood; I prove it through proper channels.
Pick Your Foundation: Gravel vs. Concrete
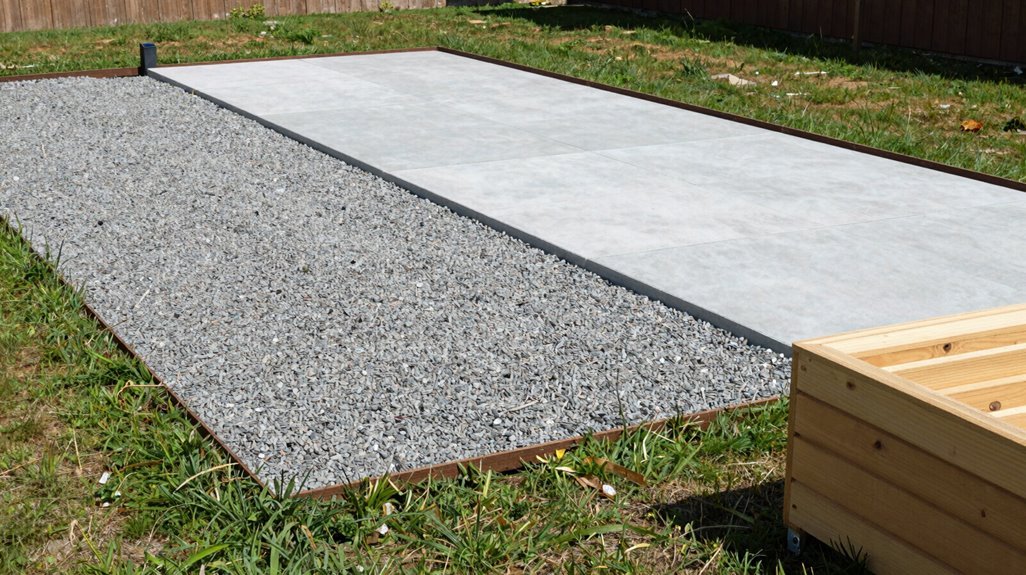
Because I’m building something meant to last, I don’t pour concrete on impulse, or settle for gravel without weighing what I’m actually anchoring to the earth. I’ve learned that foundation options demand honest assessment of drainage, year-round use, and installation cost before breaking ground.
Gravel pads breathe: water escapes through crushed stone, preventing rot beneath my shed while keeping site preparation simple and reversible.
Concrete pads lock permanence: solid mass supports heavier structures, demanding level ground and professional precision for lasting integrity.
Level ground determines everything. Without it, I’m hiring excavation crews, extending timelines, and inflating budgets regardless of material choice.
Whether I choose gravel pads or concrete pads, I’m joining homeowners who respect that shed foundation decisions shape decades of utility.
Size Your Shed to Your Yard (With Room to Grow)
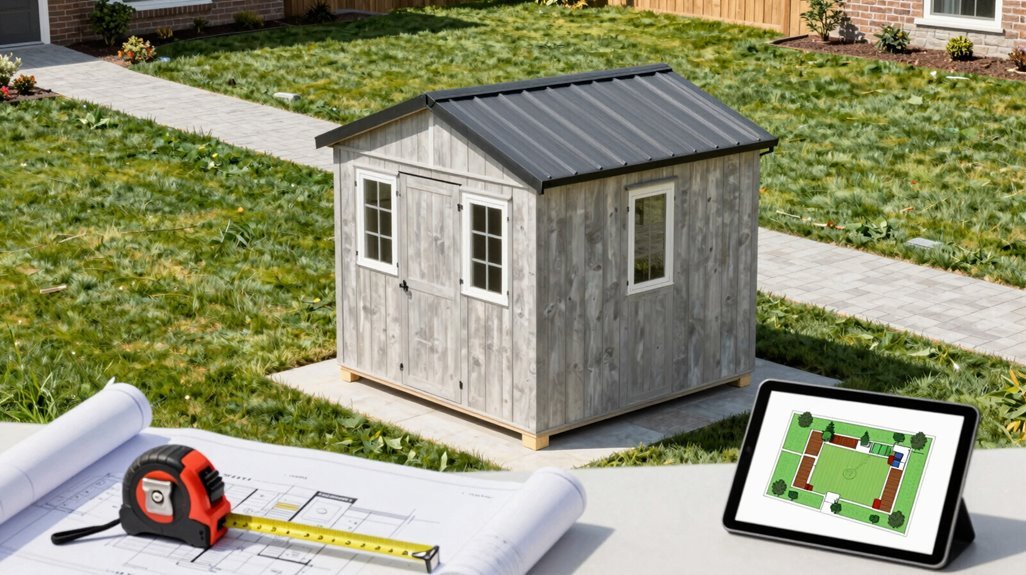
Before committing to a footprint, I measure my available space, accounting for door swing, walkways, and maintenance clearance, while cross-referencing local setback requirements and HOA covenants that often restrict proximity to property lines.
I then project my storage needs five to ten years forward, knowing that a cramped shed becomes a liability, whereas thoughtful expansion room preserves both functionality and resale value. Balancing these constraints, I select from tiered options; perhaps an 8×10 for compact lots, or a 12×16 with workshop potential, making sure my structure complements rather than dominates the landscape.
Measure Available Space
How do you make sure your shed fits your yard without overwhelming it? I measure space carefully, accounting for door swing, existing landscaping, and walkways, so my shed size complements rather than crowds my outdoor space.
Before committing to placement, I check zoning laws, setbacks, and permits. Nothing derails a project faster than code violations.
I visualize three space categories guiding my decision:
- Compact Haven — 8×10 or smaller, tucking neatly beside my garden bed, leaving breathing room for morning coffee rituals.
- Balanced Retreat — 10×12 to 12×16, accommodating my tools without dominating the lawn where my children play.
- Generous Estate — 14×20 or bigger, commanding presence near the property line, respecting neighborly boundaries.
I leave clearance for maintenance access, making certain my shed belongs here, now and always.
Plan Future Growth
With my measurements in hand and zoning cleared, I now look beyond today’s needs toward what my yard, and my life, might become. I plan future growth by selecting a storage shed size that accommodates tomorrow’s passions, not just today’s clutter.
| What I Risk | What I Gain |
|---|---|
| Cramped corners, regret | Breathing room, possibility |
| Locked into limits | Space for transformation |
| Outgrowing my investment | A backyard that evolves with me |
I measure twice, ensuring placement respects property lines and expansion plans. An 8×10 fits modest yards; 12×12 balances larger spaces with aesthetics. I prioritize versatility: extra wall length for future shelving, height for a loft, width for a workshop. My zoning review protects this vision. Future growth isn’t extra; it’s essential.
Check Local Regulations
Where exactly can I place this structure without triggering a citation from code enforcement or a terse letter from my HOA? I’ve learned that navigating permits, zoning, and regulations isn’t bureaucratic busywork: it’s the blueprint for peaceful coexistence with neighbors who share my vision of community.
- Unearth the paperwork trail — I gather documentation on local codes governing shed dimensions, discovering that setbacks from property lines often dictate my foundation’s footprint more than my storage needs do.
- Decode the covenant language — I’m parsing HOA rules with architectural precision, noting how site requirements transform aesthetic guidelines into spatial poetry that preserves neighborhood harmony.
- Survey the topography — I’m walking my yard with measuring tape and drainage awareness, ensuring my selected location honors both municipal ordinances and the unspoken compact between adjacent homes.
Choose Wood, Metal, or Resin for Your Climate
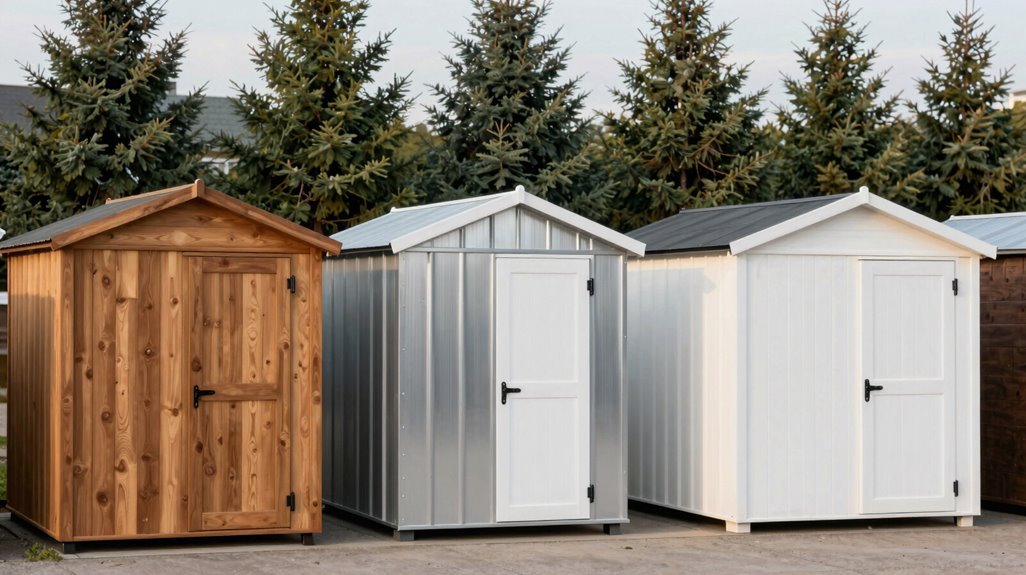
Why settle for a shed that warps within two seasons or rusts before you’ve finished landscaping? Let’s find your perfect match.
- Resin sheds, engineered for durability and weather resilience, these structures shrug off rot and rust with near-zero maintenance. Their molded siding choice mimics cedar grain without the headaches, making them ideal for humid coastal zones or freeze-thaw northern climates where climate suitability matters most.
- Wood sheds, nothing beats the authenticity and customization of cedar or pine. I’ll paint, stain, and modify framing as seasons change, though I’m committing to ongoing maintenance against moisture damage, termites, and UV degradation.
- Metal sheds, galvanized steel delivers affordability and rapid assembly. I’m watching for rust at seams and dents from heavy equipment, selecting reinforced panels when snow loads or hail threaten structural integrity.
Match Colors and Siding to Your Home Exterior
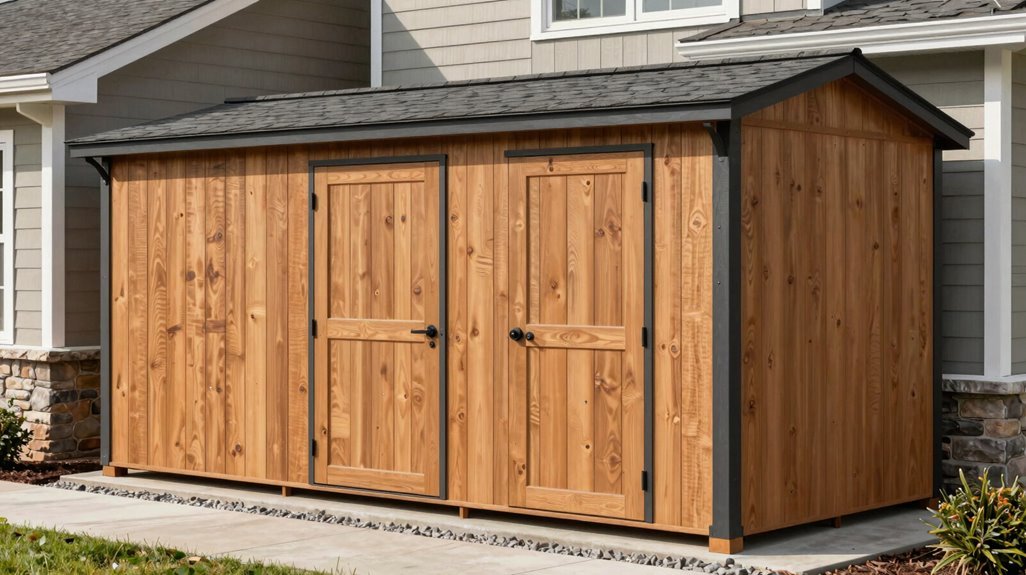
How seamlessly can a backyard structure elevate your property’s entire aesthetic? I’ve found that achieving true exterior cohesion starts with treating your shed as an extension, not an afterthought, of your home exterior.
Consider these elements when perfecting your exterior match:
- Mirror your siding — Selecting identical siding options (clapboard, board & batten, or vinyl) creates that coveted seamless mini-version effect neighbors will notice.
- Harmonize your palette — Matching your shed color to your home’s trim or body color, think grey-on-grey sophistication, draws real compliments on integration.
- Accent with intention — Adding a cupola or complementary architectural style details reinforces classic appeal while cementing your color and siding consistency.
When I align these choices with my residence’s existing character, I’m not just buying storage, I’m claiming my place in a visually unified landscape that feels unmistakably mine.
Shed Pricing Explained: Where to Save vs. Splurge
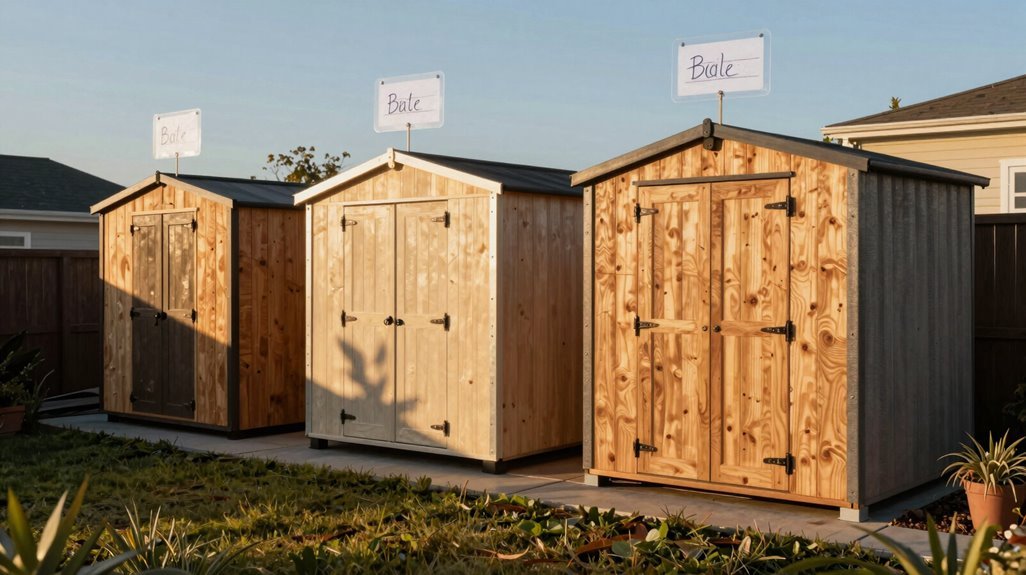
Once I’ve settled on a style that complements my home’s exterior, I’m ready to confront the numbers, and this is where many buyers stall, uncertain whether that upgraded siding or sprawling footprint justifies the invoice.
Shed pricing hinges on several cost factors: sizing drives materials volume, while pre-built sheds range $1,000–$4,000 before customization. I save on foundations with gravel pads, splurge on vinyl siding for longevity. Financing options ease upfront burdens.
| Save Here | Splurge Here |
|---|---|
| Standard sizing (8×10 or 10×12) | Larger footprints for workshops |
| Pressure-treated wood siding | Vinyl or board & batten |
| Gravel foundation | Concrete slab |
| Basic electrical package | Full lighting and outlets |
| DIY vs professional assembly | Expert installation |
DIY or Pro? Deciding on Installation
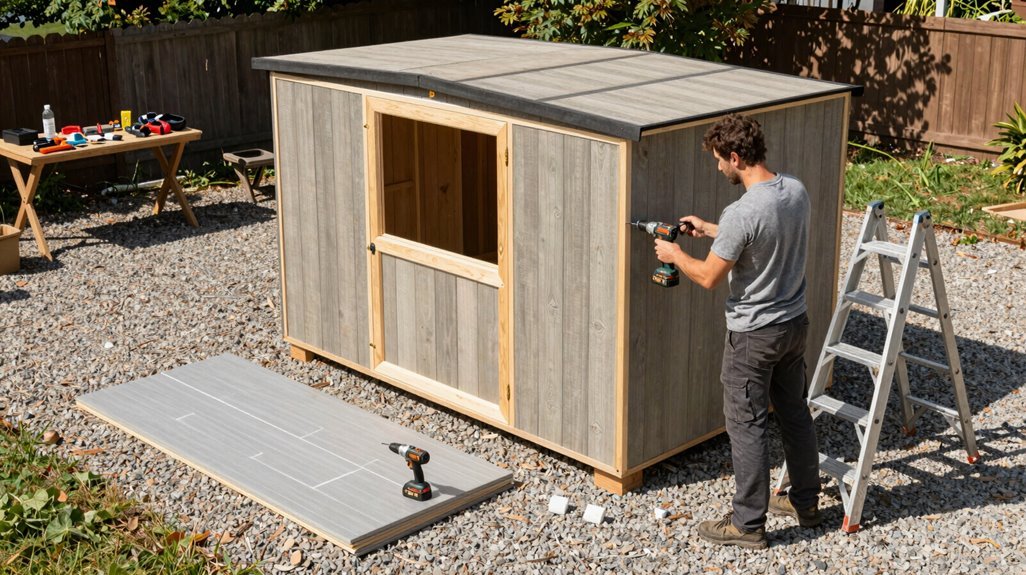
Whether I’m tightening the final bolt on a ridge beam or signing off on a contractor’s invoice, the installation decision shapes everything: my timeline, my budget, and how much sweat equity I’m willing to invest.
When weighing DIY or pro installation, I examine three critical elements:
- Skill versus scale — DIY sheds suit compact structures I can frame solo; sprawling builds demand professional installation for structural integrity.
- Site transformation — ground preparation, from grading terrain to pouring a gravel pad or concrete slab foundation, determines whether I tackle on-site assembly or delegate.
- Resource reality — cost comparison reveals hidden expenses (tool rental, time off work) that extend the installation timeline beyond a weekend.
Ultimately, my comfort with instruction complexity and unit size guides this foundational choice.
How Long Does Shed Delivery Really Take?
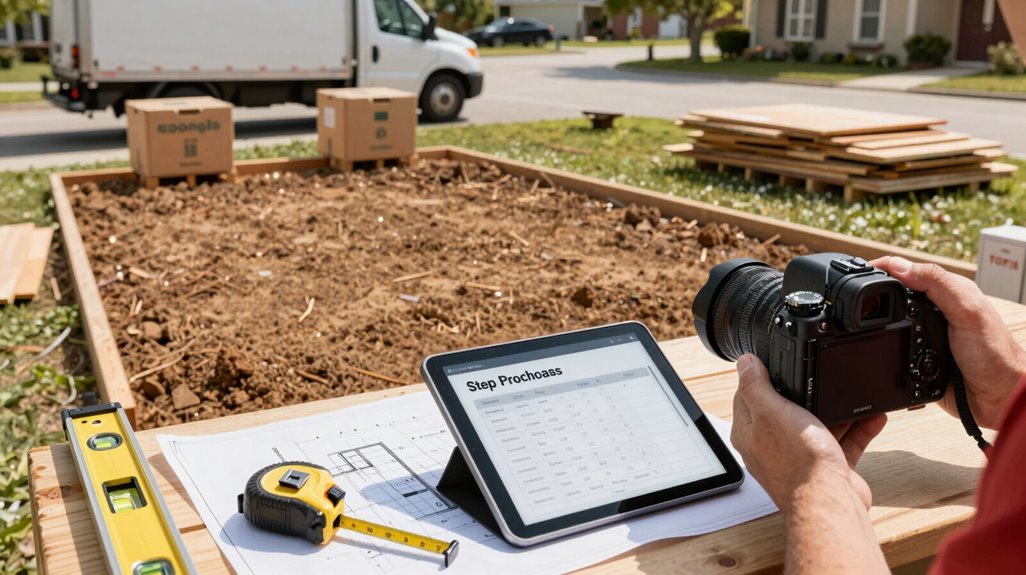
I’ll craft this paragraph following all the specified constraints.
When you’re mapping out your shed project, understanding what stretches the timeline, from manufacturer backlogs to site prep, keeps your expectations grounded. I’ve seen delivery windows swing wildly based on proximity to production facilities and whether you’re opting for pre-built panels or full on-site assembly.
Before we break down the specific factors and shortcuts, let’s look at how each choice ripples through your schedule.
Delivery Timeline Factors
When you’re envisioning that perfect backyard studio or garden storage solution, the gap between order and arrival can stretch far longer than anticipated, sometimes spanning weeks, occasionally ballooning into months. I’ve learned that delivery timeline realities hinge on interconnected factors we rarely consider upfront.
- Manufacturing stock and customization: Pre-built sheds with standard dimensions ship faster, while bespoke designs extend lead time substantially.
- Installation coordination and delivery scheduling: Aligning contractor availability with manufacturer windows creates bottlenecks I’ve watched derail spring projects.
- Ground preparation and protective measures: Leveling terrain, installing a proper gravel base, and planning grass recovery demand attention before trucks arrive. Your DIY base timeline directly impacts when installation coordination can occur.
Preparation Speed Tips
How quickly can you compress weeks of waiting into decisive action? I’ve learned that smart delivery coordination transforms anticipation into momentum, starting with ground preparation before your shed arrives.
1. Prep Your Site Early
A gravel base demands 3-4 inches of compacted stone for drainage and levelness. Completing this during delivery lead times prevents installation delays.
2. Choose Your Assembly Path
On-site assembly by professionals streamlines your installation timeline, while a DIY shed kit offers weekend completion for hands-on homeowners.
3. Protect Your Property
Heavy machinery during delivery risks yard damage; plan grass recovery time into your schedule, particularly in wet climates like the Pacific Northwest.
4. Balance Time and Budget
DIY bases reduce costs but extend effort; pre-built solutions accelerate possession at premium pricing.
Your shed sanctuary awaits; prepare wisely, and you’ll belong among the organized.
Configure Doors, Windows, and Interior Storage
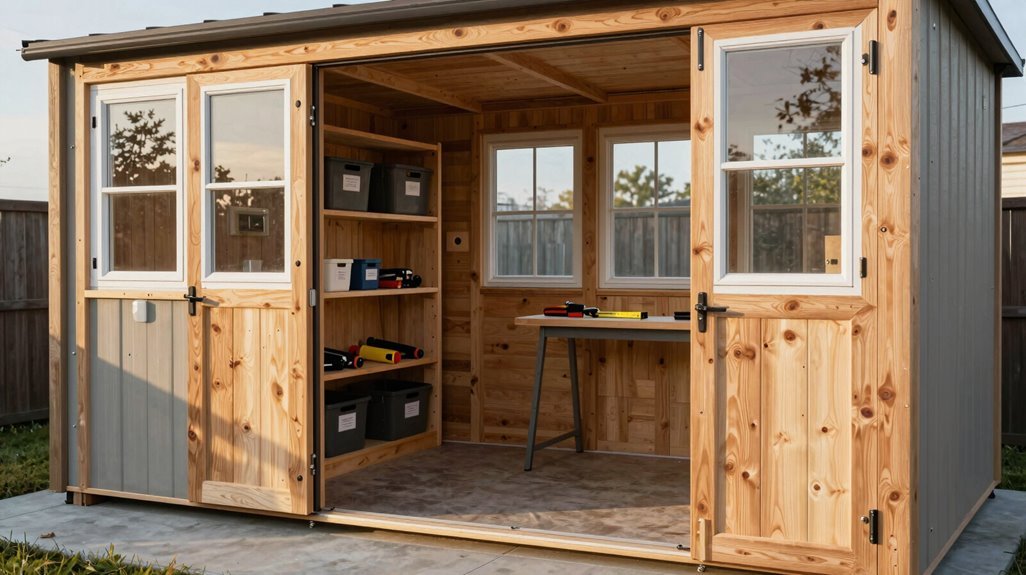
Once I’ve settled on the footprint and framing, I turn my attention to the openings, those deliberate gaps in the envelope that transform a box into a working space.
Openings are deliberate gaps in the envelope that transform a box into a working space.
- Storage shed doors and access configuration: I specify double doors, 64 inches wide, placed on the gable end or long side depending on my shed style; for large equipment, this entry point determines how easily I belong in my workspace.
- Windows and lighting, plus ventilation: I install operable units, 24 by 36 inches, positioned east or south for natural illumination; cross-ventilation controls moisture, creating comfort for serious projects.
- Interior storage and flooring options: I layer built-in shelving along walls, add lofted storage above, and select reinforced flooring, 3/4-inch plywood over 12-inch joist spacing, for heavy gear that grounds my creative pursuits.
Landscape Around Your Storage Shed
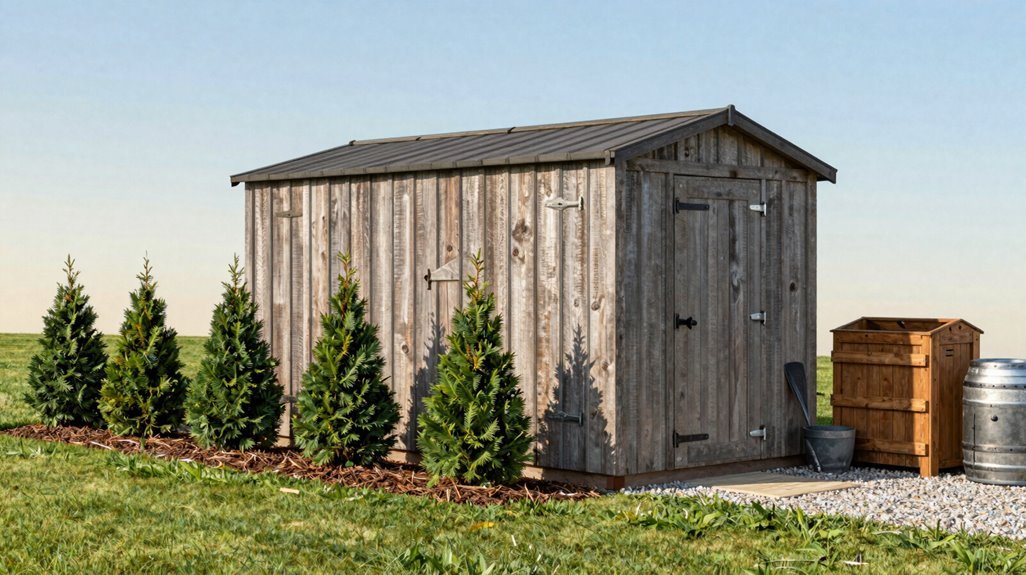
With the structure complete, doors hung, windows glazed, and shelving secured, I step back to contemplate how this new volume sits within the larger canvas of my property. I’ve learned that the landscape around shed matters as much as the building itself.
- Plan Before Arrival. Preparing plant beds and grading beforehand creates seamless backyard integration; this foresight transforms delivery day into foundation-laying for something cohesive.
- Frame with Greenery. Shrub beds soften edges; I position them to preserve sightlines from my kitchen window while establishing color harmony with my home’s siding: terracotta trim meets rust-leafed barberry.
- Make Sure of Function. Easy access to shed requires wider paths than I’d estimated, four feet minimum for wheelbarrows.
- Unify Aesthetics. Matching paint undertones between dwelling and outbuilding improves the look around shed, making this structure feel discovered rather than deposited.





