
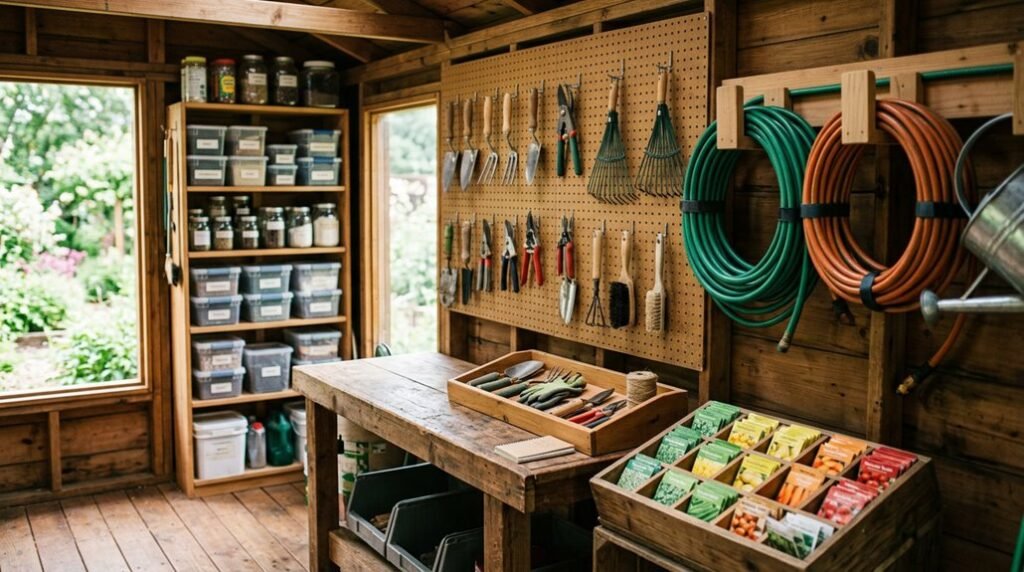
The morning I finally stepped into my garden shed, ankle-deep in rusted shears and crumpled seed packets, my neighbor happened to be hauling her pristine potting bench past our shared fence line, and I realized the threshold between chaos and utility depends entirely on systems, not square footage.
I’m going to show you how five deliberate interventions can restructure your shed’s spatial logic. But first, consider this: most gardeners I know store 40% of their tools within arm’s reach of the door, yet use them only twice yearly. The contradiction begins here.
Clean Out Your Shed Completely and Sketch Your Layout
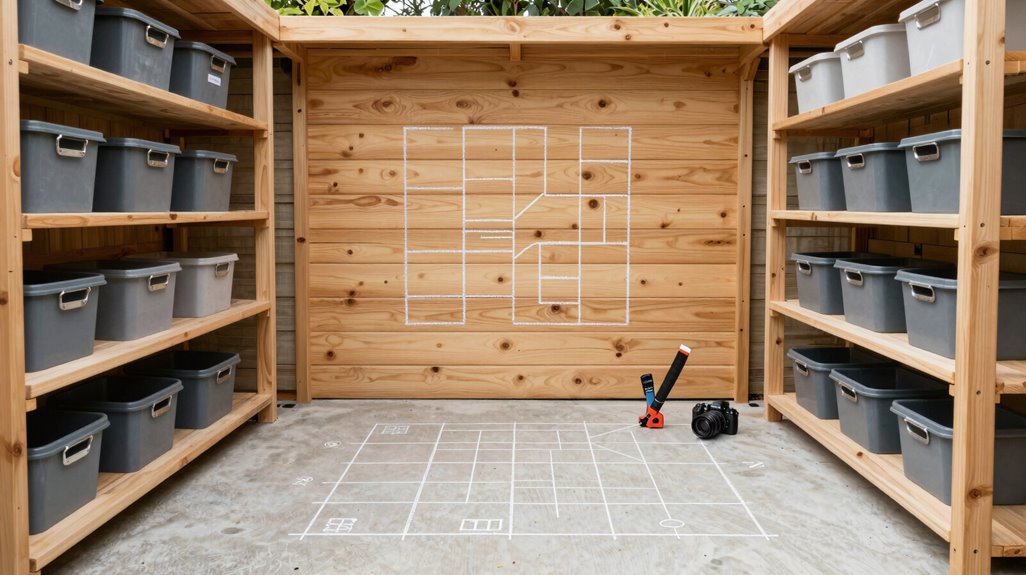
Before I can build anything lasting in my garden shed, I need to strip it down to its bones, pulling every item into the daylight, sweeping decades of accumulated debris from its corners, and evaluating what remains worth keeping.
- Empty and Inspect. I drag everything outside, creating a blank canvas. While sweeping cobwebs from rafters and checking floorboards for rot, I note pest damage: termites in the southern corner, water stains along the northern wall. I plan repairs before any organization begins.
- Categorize and Purge. I group survivors into logical storage families: hand tools, potting supplies, hardware. Broken shears and rusted brackets go to recycling; viable extras, to donation.
- Sketch the Layout. On graph paper, I draft zones: frequent access near the door, seasonal storage overhead. I optimize workflow through intentional spatial arrangement.
Sort Tools Into Daily, Weekly, and Seasonal Zones
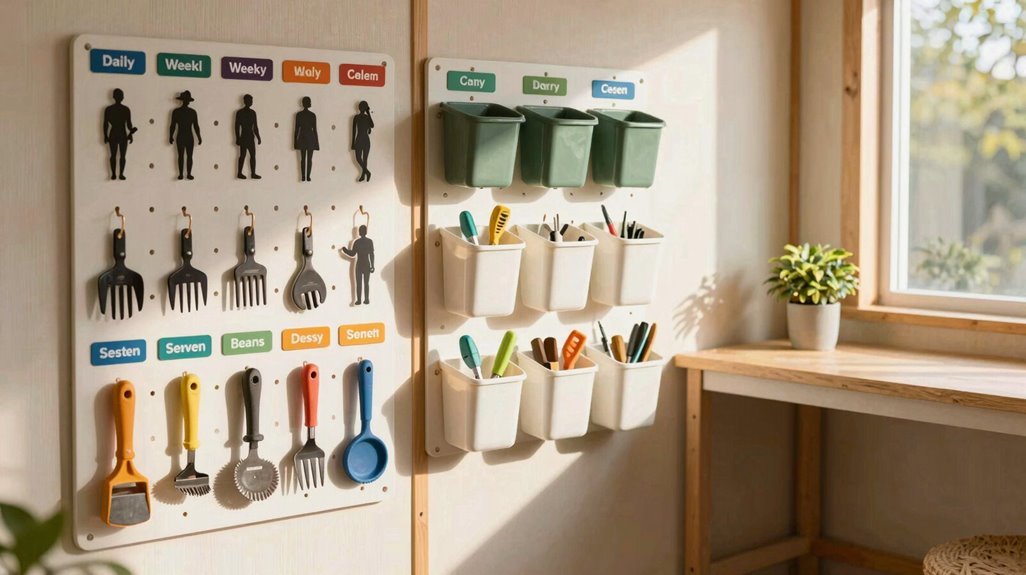
Where should a trowel live when I’m grabbing it twice a day, but my frost blankets hibernate eleven months a year? I solve this storage organization puzzle by mapping frequency to real estate: prime accessibility for daily items, secondary positioning for weekly tools, and architectural elevation for seasonal zones.
Map frequency to real estate: prime accessibility for daily items, secondary positioning for weekly tools, architectural elevation for seasonal zones.
- Daily Zone — Arm’s Reach: My shears, trowel, and hand fork occupy pegboard territory between 32 and 48 inches; no bending, no stretching.
- Weekly Zone — Accessible Shelving: Pruners, fertilizer, and watering cans sit on mid-height open shelves, 24 to 32 inches, within casual grabbing distance.
- Seasonal Zone — Vertical Storage: Frost blankets, dormant seeds, and coiled hoses migrate upward: labeled totes above 60 inches or deep against rear walls.
- Floor Reserve: I keep a 4-by-6-foot clutter-free envelope for mowing and trimming operations.
- Maintenance Ritual: Every Sunday, I conduct a five-minute sweep, returning wanderers to their designated daily, weekly, or seasonal zones.
Mount Wall Storage: Pegboards, Hooks, and Shelves First
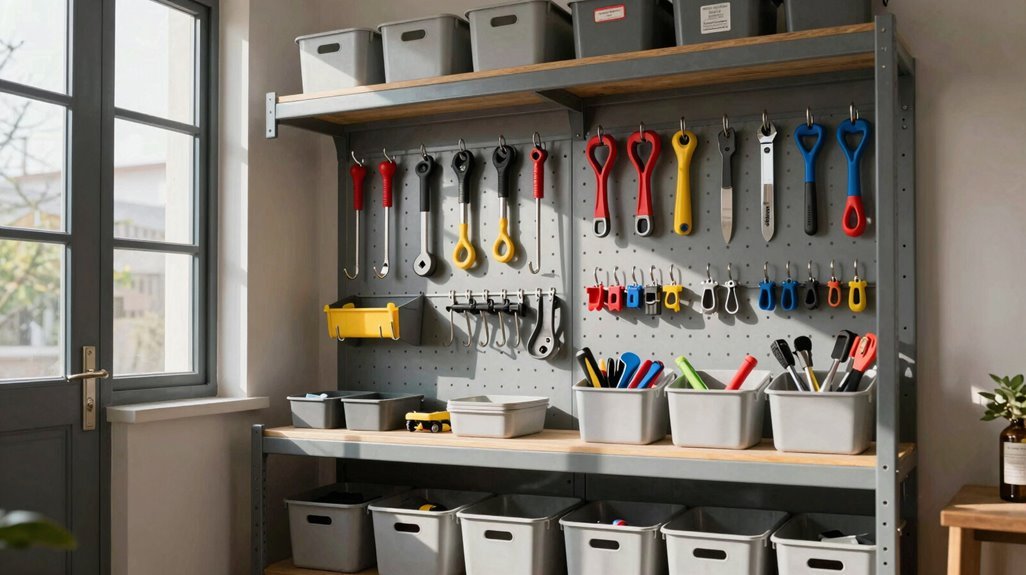
I reclaim my floor space by building upward, transforming blank wall planes into functional infrastructure that suspends my tools in ordered accessibility.
1. Establish Your Vertical Foundation
I mount pegboards first, selecting layouts that accommodate varied hook sizes and tool shapes, using wood spacers when studs demand level adjustment. This wall storage system becomes my organizational backbone.
2. Prioritize by Frequency
I place daily-use implements at arm height, reserving seasonal equipment higher or lower. This zoning optimizes my workflow through intentional vertical hierarchy.
3. Integrate Containment Solutions
I add small baskets to pegboards and install complementary shelving for irregular items: gloves, rags, mower oil. This creates modular flexibility within the system.
4. Secure Structural Integrity
I anchor everything to studs or heavy-duty wall anchors, making certain my wall storage safely bears long-handled tools and weighty equipment without compromise.
Select Clear Bins and Label Every Container
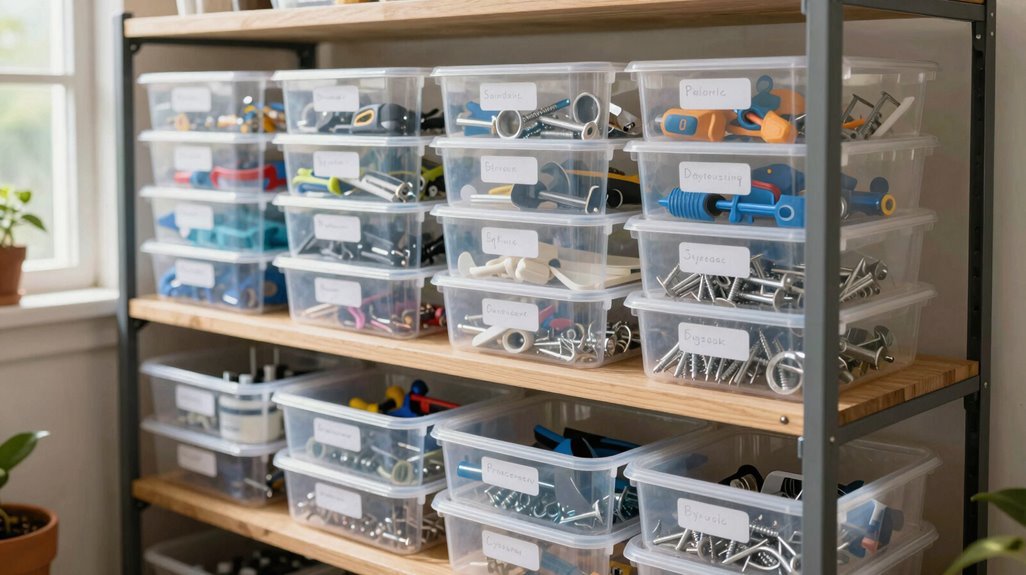
With my wall infrastructure established, I turn my attention to the contents still awaiting homes on shelves and floors: loose packets of seeds, half-empty fertilizer bags, coiled hoses that tangle at the slightest provocation.
Wall infrastructure done, now the real work: seeds, fertilizers, and hoses that fight back at every turn.
I invest in clear bins for my storage organization, knowing I’ll spot exactly what I need without unstacking towers of opaque containers. For labeling, I embrace specificity:
- *Garden Hoses*, coiled neatly, diameter noted
- *Seed Starting Trays*, dated by season, stacked vertically
- *Frost Blankets*, weight and dimensions marked
- *Fertilizers*, N-P-K ratios visible, safety symbols prominent
- *Hand Tools*, QR codes linking to digital inventory
Clear bins accept adhesive labels beautifully; when I repurpose opaque containers, I mark them directly with permanent ink. This system welcomes me back each spring, everything visible, everything findable, everything where it belongs.
Maintain Floor Space and Revisit Your System Quarterly
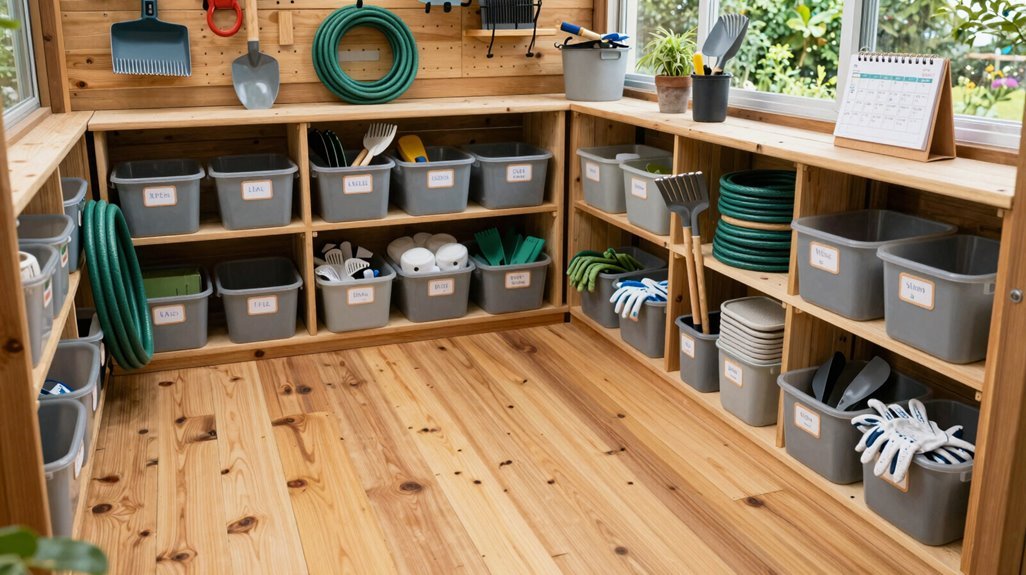
How does a well-orchestrated storage system endure beyond its first season? I commit to a quarterly review, treating my shed as a living space that evolves with my gardening rhythm. During each inspection, I reclaim floor space: sweeping debris, relocating stray pots, ensuring safe passage between zones. I reconcile labels with actual contents, updating QR codes when seeds migrate or tools multiply.
| Season | Feeling | Action |
|---|---|---|
| Spring | Renewed hope | Reallocate frequently used gear forward |
| Summer | Abundant growth | Relocate bulky items to vertical storage |
| Fall | Reflective gratitude | Donate duplicates, consolidate organization |
| Winter | Quiet restoration | Inspect shelving integrity, mop thoroughly |
| Year-round | Belonging | Maintain open floor space for creative flow |
Adjusting my storage strategy as workflows shift, new acquisitions, seasonal rotations, keeps the architecture functional. This disciplined cadence changes maintenance into ritual, my shed becoming sanctuary rather than burden.





