
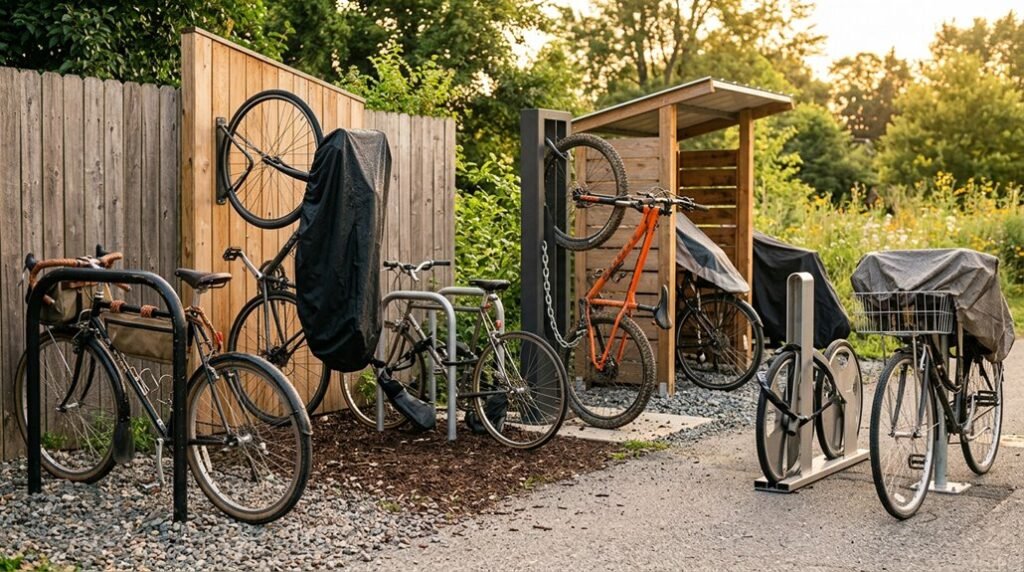
Moisture kills more bikes than thieves, rust colonizes steel in 48 hours of trapped humidity, thriving beneath tarps that promised protection. I’ve watched aluminum frames corrode at their steel interfaces, watched chains seize into orange sculptures.
Seven structural decisions separate ruined frames from ones that outlast mortgage payments. I’ll show you architectures of resistance: ventilated shelters, dew-managed positioning, material-specific defenses, that keep bikes alive through coastal winters and desert monsoons. The first method starts with a question most skip.
Decide If Outdoor Bike Storage Works for Your Bike
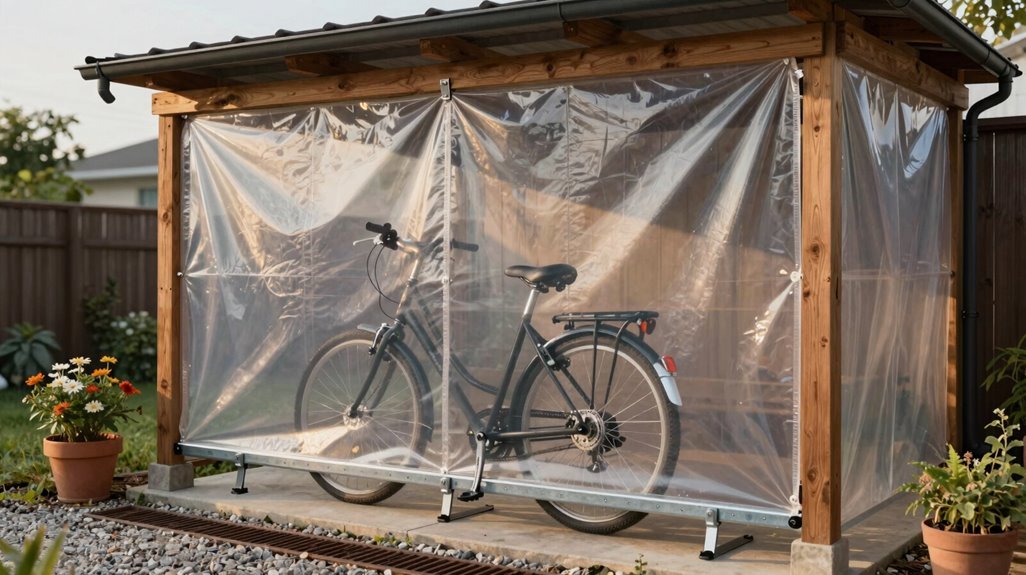
Where exactly will your bike spend its nights? I’m asking because ride storage decisions shape how long your machine stays road-ready.
Let’s consider your options together.
1) Evaluate your climate reality. Living in coastal Oregon or humid Florida means condensation forms faster than in Arizona’s dry heat, so your outdoor protection must match this reality.
2) Inspect your frame material. With aluminum tubing, I’m watching steel components: derailleurs, bolts, that chain, since they’ll surrender first to oxidation cycles.
3) Measure your available footprint. Shed storage occupies roughly 4′ × 6′ minimum, tucked against garage walls or balcony corners, creating architectural containment that breathes.
4) Commit to drying discipline. Before draping any covering, I’m wiping every tube. Sweat evaporates, but trapped moisture corrodes.
Outdoor storage works when we’re deliberate about these variables.
Choose a Weatherproof Shed for Maximum Protection
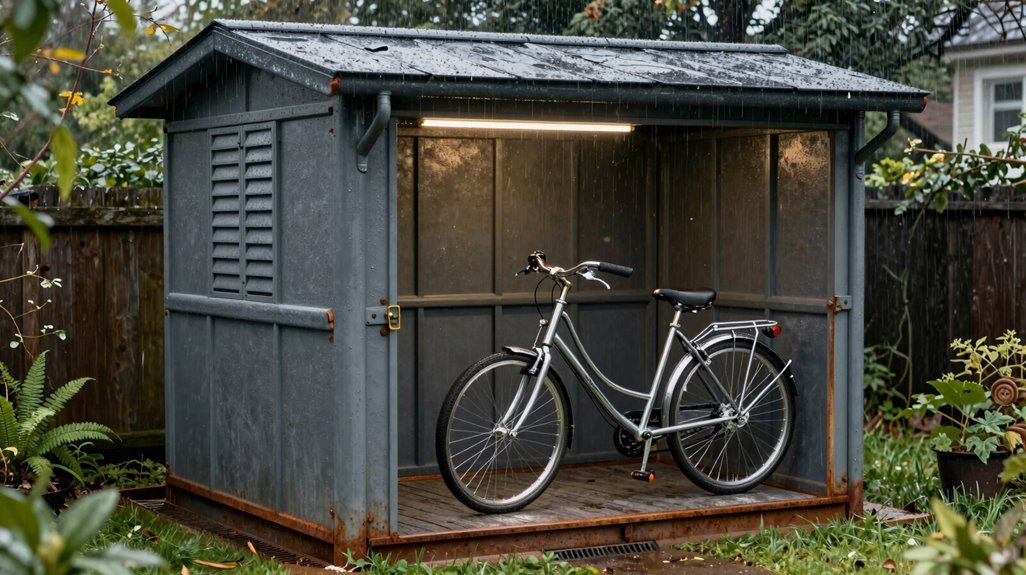
With your storage variables mapped—climate, materials, footprint, discipline—I’m turning toward the most robust solution available to us. A weatherproof shed represents the pinnacle of outdoor bike preservation, shielding your machine from dampness in ways lesser methods simply cannot match.
Built with proper durability in mind, these structures, think shiplap or tongue-and-groove construction, stand resilient where larchlap designs falter. I’ve learned to prioritize raised foundations and anchored slabs, transforming mere shelter into fortress-like protection.
Consider these essentials when selecting your storage solution:
Seek insurance-approved models accommodating 1–3 bikes, liberating precious interior space. Elevate on proper foundations: concrete slabs outperform bare earth against moisture migration. Integrate organizational elements: shelving for gear, hooks for helmets, creating systematic sanctuaries.
This architectural approach welcomes you into serious cycling communities where equipment receives respect commensurate with aspiration.
Use a Heavy-Duty Tarp When Shed Space Is Tight
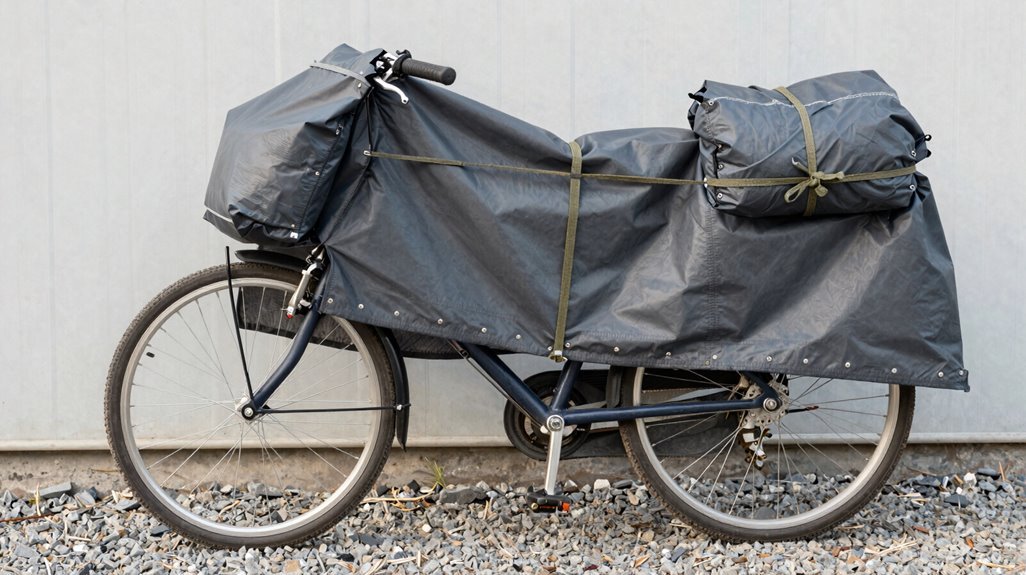
When shed space is tight, I reach for a heavy-duty tarp that meets specific criteria, an 8 by 10 ft sheet with at least 6 oz/yd² thickness and grommets spaced no more than 18 inches apart, to create a protective microclimate around my bike. Setting it up properly means folding the sides to ground level while leaving deliberate openings at the base, allowing air flow that prevents condensation from trapping moisture against the frame.
I always dry the bike thoroughly first, knowing that even the best tarp can’t stop corrosion from starting beneath it if I seal in wetness.
Tarp Selection Criteria
How do you shield a prized frame when your shed’s footprint rivals a broom closet? I reach for a heavy-duty tarp, my go-to architectural solution for compact outdoor storage.
- Tarp thickness matters most: I insist on at least 6 oz/yd² or 8 mils thick; this density deters precipitation without suffocating your components.
- Grommet spacing seals the deal: With loops every 18 inches maximum, I achieve that snug, bespoke fit we all crave for our machines.
- Ventilation prevents the real enemy: I never seal the perimeter completely; those small bottom openings circulate air, stopping condensation before it breeds corrosion.
An 8 by 10 ft tarp suits most bicycles. I skip the silver reflector hype; proper thickness, tight grommet spacing, and deliberate airflow architecture protect what we’ve built together.
Proper Setup Technique
Three principles govern my tarp architecture: dryness, dimension, and deliberate airflow. I start with a bone-dry bike; surface moisture accelerates corrosion under cover. My 8-by-10-foot tarp, 6 oz/yd² minimum, grommets every 18 inches, creates the envelope.
| Element | Specification |
|---|---|
| Material thickness | 6 oz/yd² or 8 mils |
| Grommet spacing | ≤18 inches apart |
| Bottom clearance | Small openings for airflow |
I fold sides to ground level, never sealing tightly; ventilation prevents condensation. Cable ties secure a loose, wind-resistant fit. This isn’t ordinary bike cover territory; tarp sheltering demands intentional breathability. We’re building microclimates here, not coffins. Your machine stays protected, not suffocated.
Ventilate Your Covering to Stop Condensation Rust
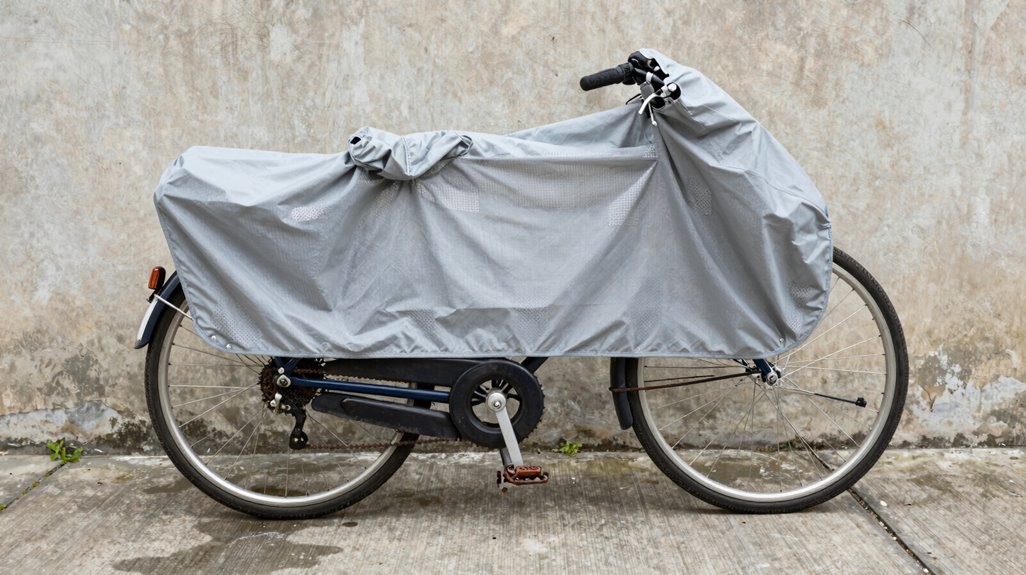
Though I’ve learned this lesson the hard way, that sleek steel frame emerging from under its cover with suspicious orange flecks, ventilation isn’t optional; it’s structural insurance against the slow creep of oxidation.
- Leave strategic gaps at the base: I position my cover with 2-3 inch openings at ground level, creating convective airflow that carries condensation away from the drivetrain and headset.
- Choose a breathable cover: I switched to woven polyethylene with vented panels; unlike PVC tarps, it allows moisture egress while blocking UV degradation.
- Dry before draping: I wipe down my frame post-ride, waiting until components read ambient humidity before covering, preventing trapped moisture from accelerating galvanic corrosion.
This architectural approach to microclimate management, balancing enclosure with permeability, keeps our machines pristine.
Lock to a Ground Anchor Inside Any Covered Storage
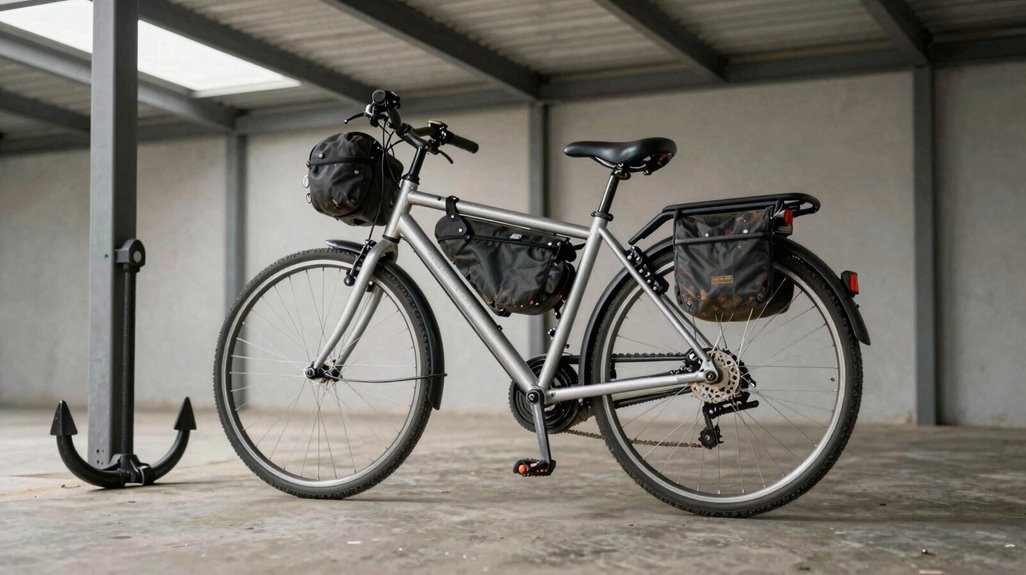
Securing the microclimate against moisture is only half the architectural equation; the infrastructure must also withstand human intrusion and environmental force. Inside your indoor covered shed, I anchor my bike to a ground anchor rated for outdoor use, embedding it in concrete creates a theft-resistant foundation that holds fast against wind shear.
I thread an insurance-approved lock through my frame and front wheel, choosing hardware with tamper-resistant bolts and hardened steel shanks. Weatherproofing matters: corroded anchors fail silently, so I inspect mine quarterly, reapplying protective coatings before rust takes hold.
Positioning elevates the frame off the concrete floor, using frame-friendly mounting points, I prevent paint damage and component wear. This isn’t paranoia; it’s stewardship. Your bike storage deserves architectural integrity matching the machine it protects.
Protect Steel Parts on Aluminum-Framed Bikes
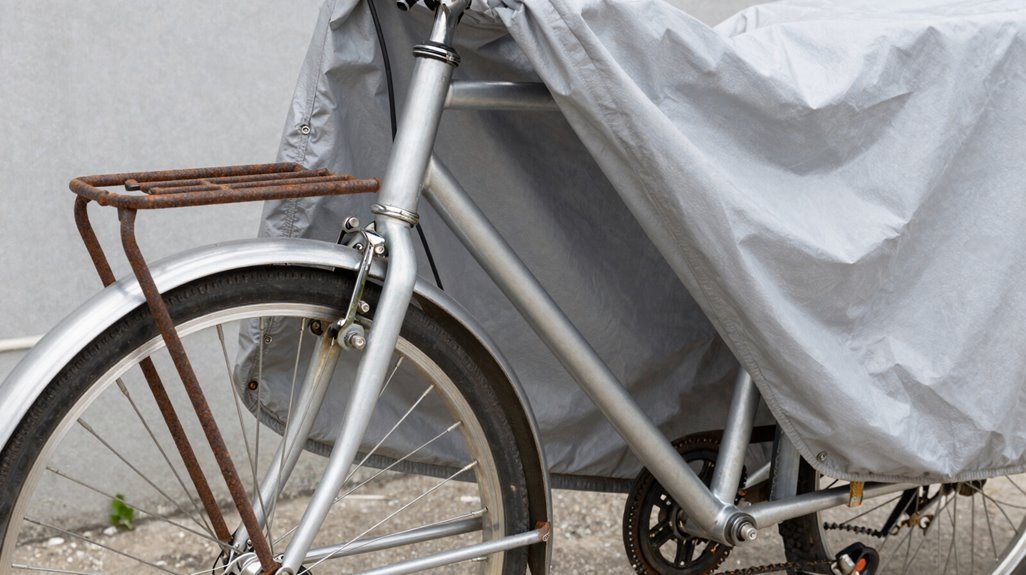
I focus my attention on the steel components, gears, chain, and fasteners, that anchor the aluminum frame’s utility, knowing these ferrous elements corrode faster than the alloy surrounding them. By prioritizing rust prevention on these vulnerable junctions, I’m protecting the bike’s mechanical integrity without over-engineering the weatherproofing.
This targeted approach, spot-treating the steel, keeping cables lubed, and ensuring my storage shelter breathes, preserves both function and form through seasons of outdoor exposure.
Focus on Components
Where exactly should your attention land when an aluminum frame already resists corrosion so admirably? I focus my efforts on steel components, the gears, chain, and fasteners that demand vigilant corrosion protection in moist outdoor conditions.
Moisture management becomes my daily ritual. I clean and wax exposed metal surfaces, sealing against ingress that degrades steel parts. Before covering my bike, I ensure adequate ventilation and dryness, preventing condensation from forming under any shelter.
- Lubricate religiously: I keep chains and cables well-oiled, considering wax-dipping for extreme weather setups.
- Target the vulnerable: I direct protective measures toward fasteners and small steel parts, not the aluminum frame itself.
- Dry before storing: I never cover damp bikes, eliminating trapped moisture that accelerates rust on critical components.
Prevent Rust Damage
The Achilles’ heel of any aluminum-framed machine isn’t the frame itself, it’s the steel constellation of gears, chain, and fasteners that quietly surrender to oxidation when moisture lingers. I’ve learned that smart rust prevention starts with your bike rack placement: position it where morning dew evaporates quickly, avoiding low-lying pockets where condensation gathers.
For outdoor storage success, I follow this protocol:
- Dry Before You Cover — I wipe every steel surface bone-dry, especially cables and bearings, because trapped moisture accelerates corrosion overnight.
- Lubricate Religiously — I coat chains, gears, and pivot points with quality grease, inspecting monthly for orange bloom.
- Ventilate Your Shelter — I drape covers loosely, ensuring airflow that prevents the greenhouse effect.
In extreme coastal environments, I wax-dip chains, an architectural barrier against salt-laden air.
Season-Check Your Setup for Early Decay Signs
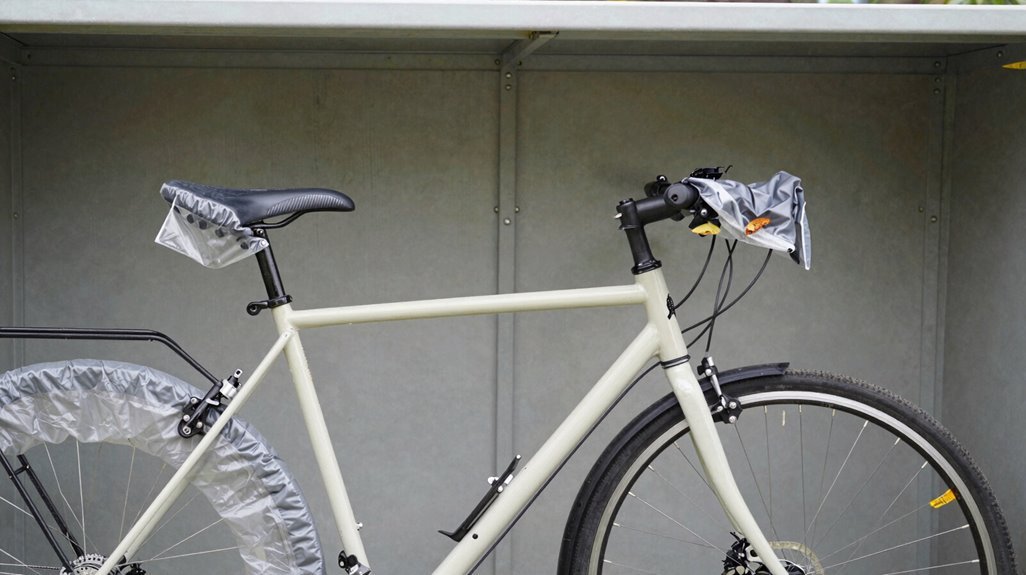
Before winter settles in, or after any stretch of wet weather, I make a habit of surveying my outdoor setup for the first whisper of deterioration. Catching decay early keeps my outdoor bike rideable and my bike storage investment sound.
Survey early, catch decay before it claims your ride.
- Spot paint nicks on steel frames: sealing them fast blocks rust where moisture protection matters most.
- Dry the bike completely: trapping dampness under covers accelerates corrosion, undermining every safeguard.
- Maintain airflow beneath tarps: condensation builds where covers seal too tight, so I leave breathing room.
I prioritize steel gears and chains over aluminum components, knowing steel succumbs first. Periodic waxing, lubrication, and cleaning form my defense rhythm; small rituals that preserve function and signal I belong among riders who respect their machines.





