
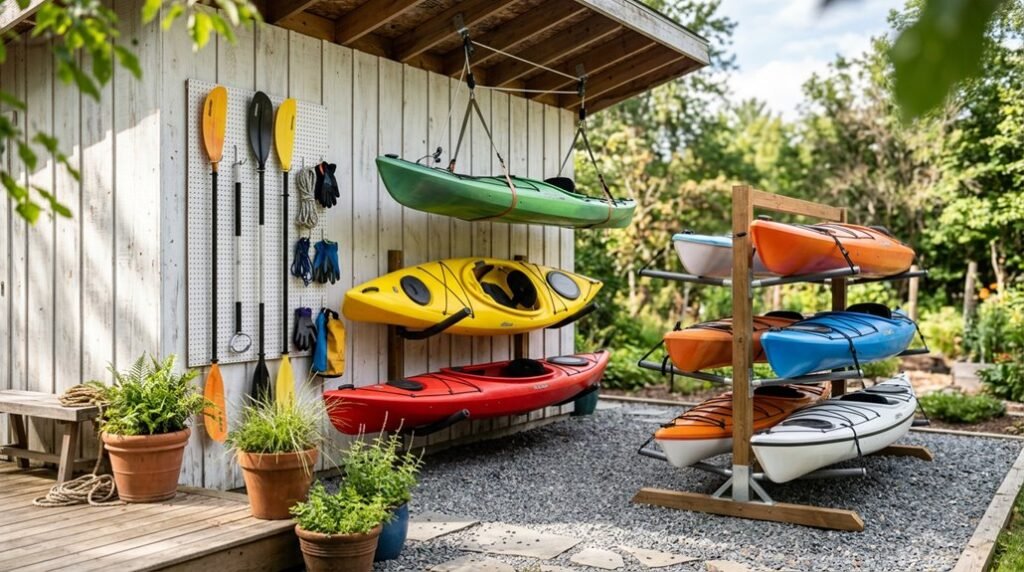
I’ve spent years watching kayaks warp, fade, and crack in backyards across the Pacific Northwest, usually from well-meaning owners who simply didn’t know better. The difference between a hull that lasts fifteen seasons and one that delaminates in three often comes down to how you store it when paddles are hung up.
I’m going to walk you through ten solutions I’ve tested, modified, or built myself, ranging from $12 hardware-store hacks to modular systems worth the investment. Some you’ll recognize; others might reshape how you think about your outdoor space entirely.
Common Outdoor Storage Mistakes That Damage Kayaks
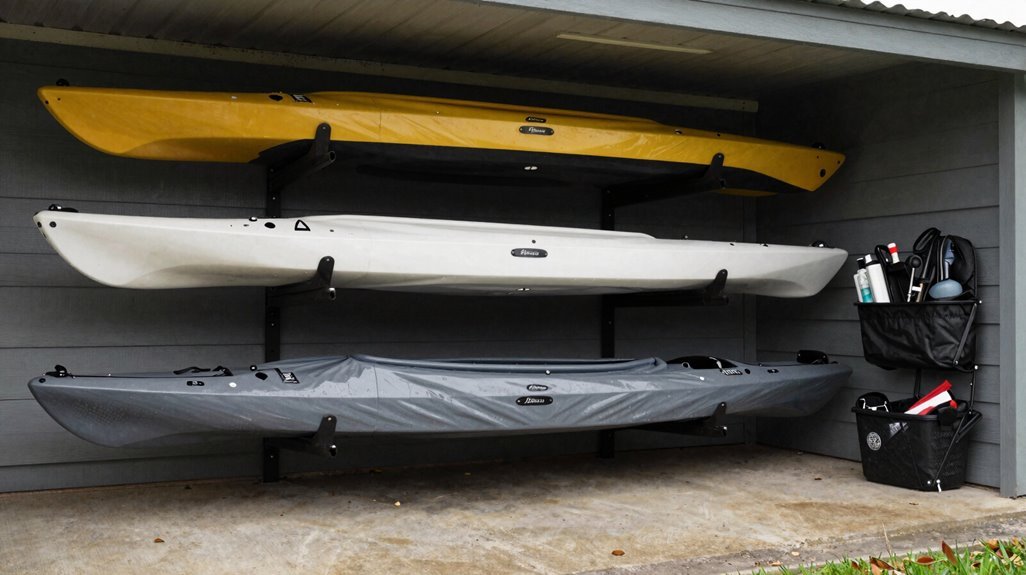
Before I invested in proper storage, I’d committed nearly every mistake on this list, learning the hard way that a kayak’s hull is more vulnerable than it appears.
1. Ground Contact Without Support
Resting directly on concrete or soil creates pressure points that invite hull deformation. I’ve watched polyethylene soften and sag, compromising hydrodynamic efficiency.
Flat-surface storage demands clean, even substrates: think marine-grade carpeting or purpose-built cradles distributing load across the chines.
2. Vertical Bow-Down Positioning
Storing vertically concentrates hull stress at the stem, accelerating material fatigue. The cantilevered weight generates shear forces I’d underestimated until hairline cracks appeared.
3. Inadequate Protective Padding
Bare metal racks or rough timber abrade gelcoat. I now specify closed-cell foam padding, minimum 2-inch thickness, preventing abrasion at contact zones.
4. Thermal Exposure
Direct sun exposure degrades polymers, inducing oil-canning that reduces tracking precision.
How to Choose Your Outdoor Kayak Storage Setup
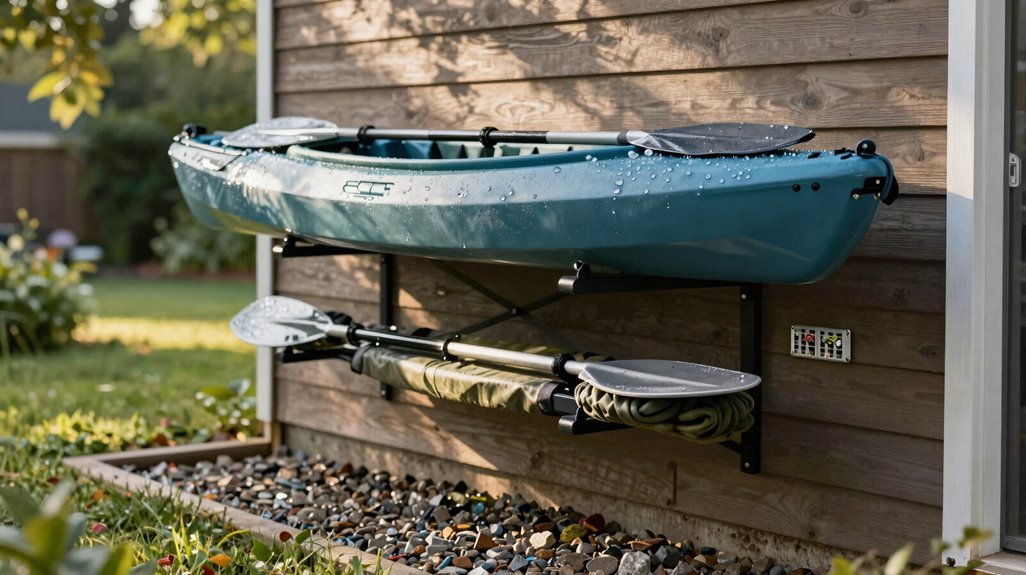
Before committing to any outdoor storage solution, I’m measuring my available footprint, whether that’s a narrow side yard, a garden fence line, or a dedicated pad near the garage, to ensure the stand, shed, or wall-mounted system I’m considering actually fits without compromising circulation or sightlines. Living in a region with harsh sun, driving rain, or freeze-thaw cycles means I can’t prioritize convenience over protection; I’m factoring in UV-resistant covers, elevated drainage, and hardware rated for my specific climate zone from day one.
Balancing these spatial and environmental constraints, while keeping my kayak accessible for spontaneous launches, shapes every decision I’m about to walk through.
Space Assessment First
Where exactly will your kayak live when you’re not paddling? I always start with a proper space assessment: measuring my available footprint, tracing access paths, and noting vertical clearance before committing to any system.
- Measure Your Footprint. I grab a tape measure, marking length, width, and height constraints. Knowing my garage wall spans 12 feet, I can plan accordingly.
- Prioritize Elevation. Ground contact warps hulls over time, so I favor wall racks or elevated storage. Suspending my craft 18 inches minimum preserves structural integrity.
- Plan for Growth. Modular racks let me expand from one vessel to three without re-engineering, future-proofing my investment.
- Integrate Weather Protection. Positioning under eaves or adding UV-resistant covers extends my kayak’s lifespan, reducing material fatigue.
- Secure Access Routes. I make sure retrieval paths remain unobstructed. Efficiency matters when tide and daylight wait for no one.
Climate Protection Priority
Once I’ve mapped my space, I turn my attention to the elements, because outdoor storage demands more than convenience; it demands climate-conscious engineering.
1. UV Protection & Weatherproofing
UV-resistant covers shield my hull from photodegradation, while heavy-duty tarps, budget-friendly alternatives, deflect rain and debris. I layer these barriers, creating a microclimate that extends my kayak’s lifespan.
2. Elevating Racks & Ground Moisture Protection
Elevating racks prevents capillary moisture absorption and galvanic corrosion at contact points. I pair this with ground covers, polyethylene tarps or composite pads, beneath the structure, eliminating soil vapor transmission.
3. Theft Deterrence
Concealment matters. I position storage peripherally, employing locks and secure mounting hardware, reducing visual accessibility while maintaining structural integrity.
4. Monitoring Protocol
Quarterly inspections for UV degradation, thermal warping, and moisture intrusion complete my regimen.
Outdoor Wall Racks That Get Your Kayak Off the Ground
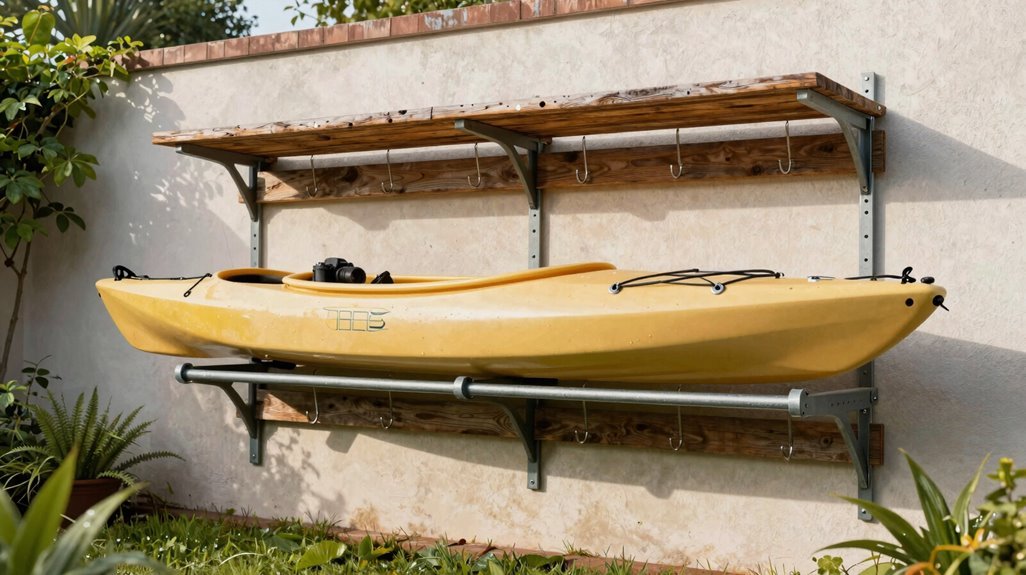
Why let your kayak absorb ground moisture when vertical real estate offers a cleaner solution? I’ve found that outdoor mounting transforms unused wall space into functional kayak storage, keeping your craft elevated and ready for departure.
1. The Pivot-Arm Advantage
The Suspenz Deluxe Rack exemplifies thoughtful design: its pivoting arms cradle your hull while suspension straps distribute weight evenly, eliminating pressure points that deform polyethylene over time. I’ve watched friends load solo, the arms swinging outward to receive the bow before securing the stern.
2. Material Matters
Padded contact points aren’t luxury; they’re essential hull protection. Look for UV-stabilized foam that won’t degrade after seasons of sun exposure.
3. Structural Integrity
Always anchor into studs; no exceptions. Your garage or shed wall becomes load-bearing architecture, supporting fifty-plus pounds of expedition-ready gear through storms and still mornings alike.
Vertical Outdoor Storage for Narrow Side Yards
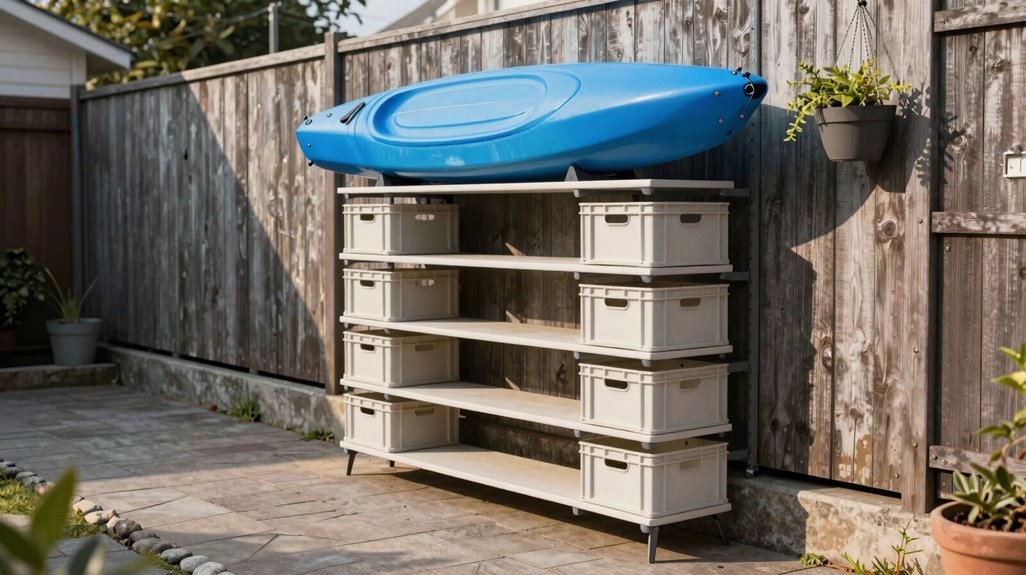
Wall-mounted solutions solve one problem; narrow side yards present another entirely. I’ve found that vertical storage changes these forgotten corridors into functional kayak harbors, maximizing every linear foot without sacrificing accessibility.
Fence-Mounted Pivot Systems: Installing Suspenz-style arms along your property line creates wall-mounted kayaks that swing outward for loading, then nest flat against the fence. This preserves the narrow side yard’s pedestrian function while securing hulls at ergonomic heights.
Structural Anchoring Requirements: I always verify mounting points hit structural studs or reinforced fence posts; inadequate attachment risks catastrophic failure when seasonal moisture compromises exterior materials.
Environmental Protection Protocol: Pair your vertical storage with UV protection covers and padded hull cradle supports, elevating boats above ground moisture that breeds hull deformation in confined outdoor spaces.
Covered Patio Ceiling Hoists for Weather-Protected Storage
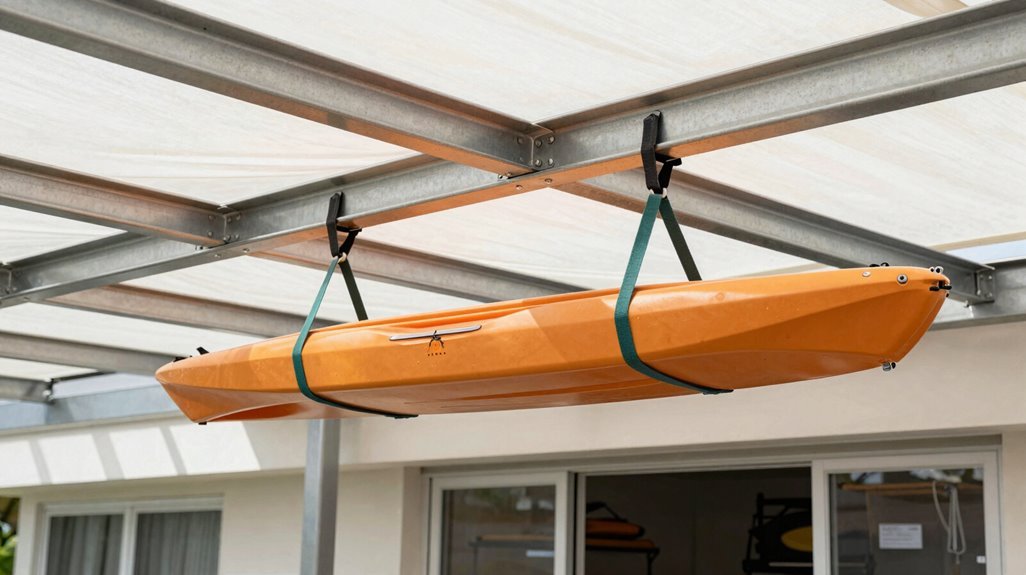
Where vertical storage claims your fence line, overhead systems command the space you never thought to use: your covered patio’s ceiling plane. I’ve found that installing a ceiling hoist changes this architectural void into weather-protected sanctuary for your vessel.
Selecting Your System
Choose a ceiling hoist with wide straps or slings providing proper hull support; narrow bands stress polyethylene, warping your craft over seasons. I measure twice: ceiling height minus kayak length, minus your vehicle’s roofline if parking beneath.
Installation Essentials
Secure anchor points matter; lag bolts into joists, not drywall, bearing dynamic loads as you raise and lower. My covered patio became functional art: kayak suspended, floor cleared, life simplified.
Protection Layer
Pair your overhead storage with weatherproof covers, shielding from sun and precipitation even under rooflines.
Freestanding Outdoor Racks You Can Move Anywhere
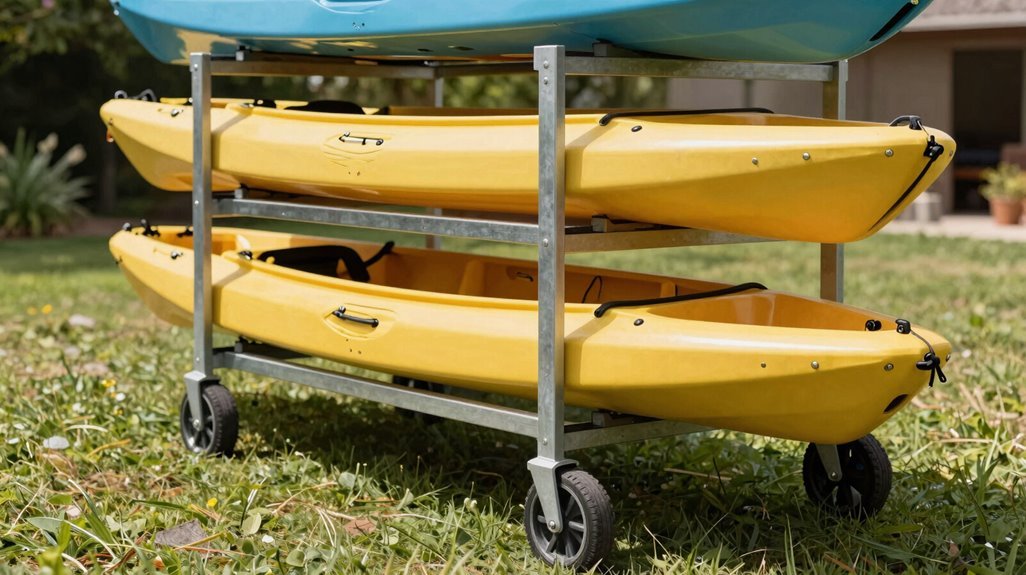
I love how freestanding racks let me reposition my kayaks wherever the season demands, whether that’s shifting them closer to the waterline in summer or tucking them against the leeward side of my garage when winter storms roll through. With options ranging from the Malone FS 6’s 500-pound steel frame to DIY PVC builds costing under fifty dollars, there’s a movable solution for every budget and fleet size.
I’ll show you how to maximize their portability while shielding your hulls from UV degradation and standing water, two problems that can turn even the sturdiest rack into a liability.
Portable Design Benefits
Why tether your vessels to fixed architecture when freestanding kayak racks offer complete spatial autonomy? I’ve discovered that true outdoor flexibility begins with portability—systems that relocate as our needs evolve.
1. Wheeled Mobility for Dynamic Spaces
Freestanding racks equipped with wheels/casters transform static storage into responsive infrastructure. I roll my six-boat configuration across concrete patios, repositioning for seasonal sun patterns or entertaining needs; no disassembly required.
2. Space-Saving Adaptability
Without wall anchoring, these units maximize vertical real estate while preserving floor plans. I’ve nested mine against garden sheds, then rolled it center-stage for loading efficiency.
3. Belonging Through Shared Utility
Our paddling community rotates racks between driveways, creating collective access. This portability fosters connection; gear becomes communal infrastructure, not private burden.
4. Architectural Integration
From compact two-craft units to the Teal Triangle’s eight-boat capacity, freestanding designs accommodate diverse outdoor footprints without permanent modification.
Weather Protection Tips
Portability grants spatial freedom, yet exposed positioning demands deliberate weatherproofing architecture. When I’m positioning my freestanding racks, I’m always thinking about the elements, because our gear deserves sanctuary.
- Elevate the Foundation. Raising racks off damp ground prevents hull degradation from moisture wicking and thermal stress. I’ve learned this preserves polyethylene integrity through seasonal cycles.
- Deploy Protective Layers. A weatherproof cover or heavy-duty tarp becomes essential armor. I secure mine with a wind anchor system, preventing uplift during gusts that would otherwise send protection flying.
- Prioritize UV Defense. UV protection isn’t optional; it’s preservation. I choose racks with UV-resistant padding, shielding gelcoat from photodegradation while enabling smooth loading transitions.
- Mobilize Strategically. Rolling cart designs let me relocate between sun and shade, adapting to shifting weather patterns without dismantling my entire setup.
Backyard Stands for Year-Round Outdoor Kayak Storage
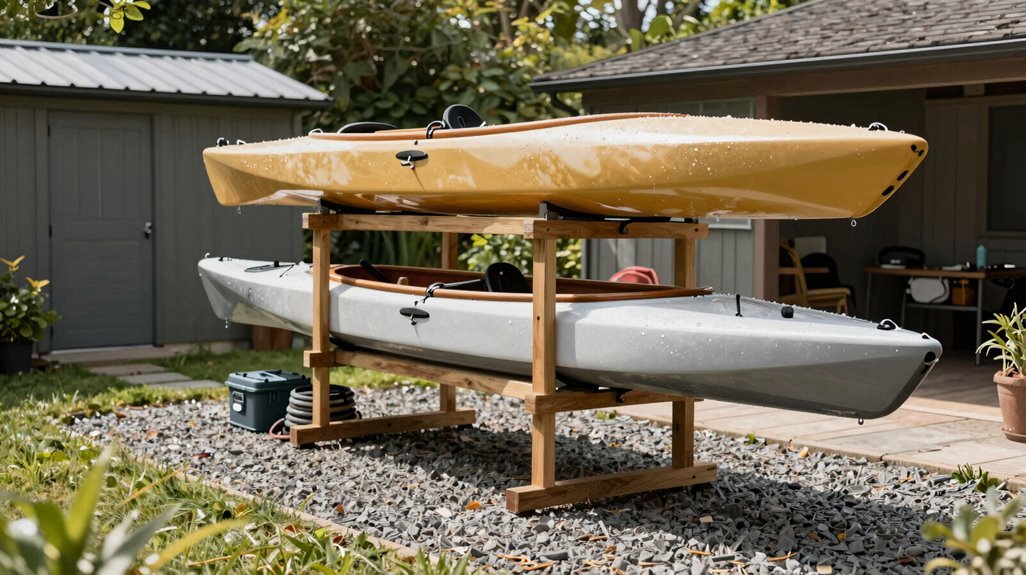
When the paddling season ends and garage space runs thin, I’ve found that well-designed backyard stands offer an elegant solution for year-round kayak preservation.
1. Outdoor Storage Stands with Weatherproof Cover
I position my stands on level ground, draping a heavy-duty weatherproof cover over the hull, creating a protective microclimate against rain and UV degradation. The polyethylene fabric, rated for 1500mm hydrostatic resistance, breathes while repelling moisture.
2. Elevated Racks with Ground Protection
My elevated racks lift boats 18 inches clear of damp earth, minimizing capillary moisture transfer. Beneath, I layer industrial ground tarps, completing a thorough moisture barrier system.
3. Kayak Storage Shed Integration
For thorough protection, I’ve nested stands within a compact kayak storage shed, organizing paddles and PFDs in dedicated zones.
4. Security Lockable Cables
Threading security lockable cables through scupper holes and stand frames, I deter opportunistic theft, sleeping soundly knowing my vessels remain exactly where I left them.
DIY Outdoor Racks You Can Build for Under $50
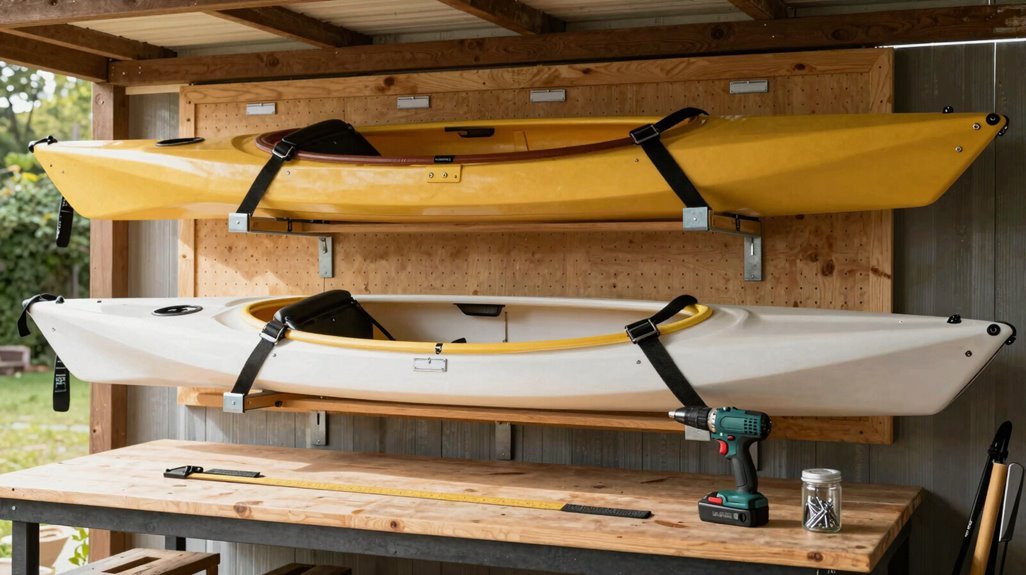
Where does one turn when commercial storage systems strain the budget? I’ve found refuge in DIY outdoor racks that cost under $50 and welcome paddlers into a community of resourceful builders.
1. PVC Kayak Rack, The Modular Foundation
Constructed from PVC piping and T fittings, this DIY rack delivers lightweight, moveable outdoor storage for casual needs. I appreciate its adaptability; reconfiguring the geometry takes minutes, not hours.
2. Wooden 3-Kayak Rack, The Weekend Project
Sourcing lumber from local hardware stores, I’ve built this wall/freestanding storage hybrid with dedicated paddle nooks. The joinery demands Saturday attention, but the result anchors three vessels securely.
3. Pool Noodle Ground Protection, The Temporary Measure
Slipping pool noodles beneath hulls offers portable, under-$50 protection for brief stints. I caution against long-term reliance; compression degrades support, leaving kayaks vulnerable to moisture and warping.
Fence-Mounted and Under-Deck Outdoor Storage
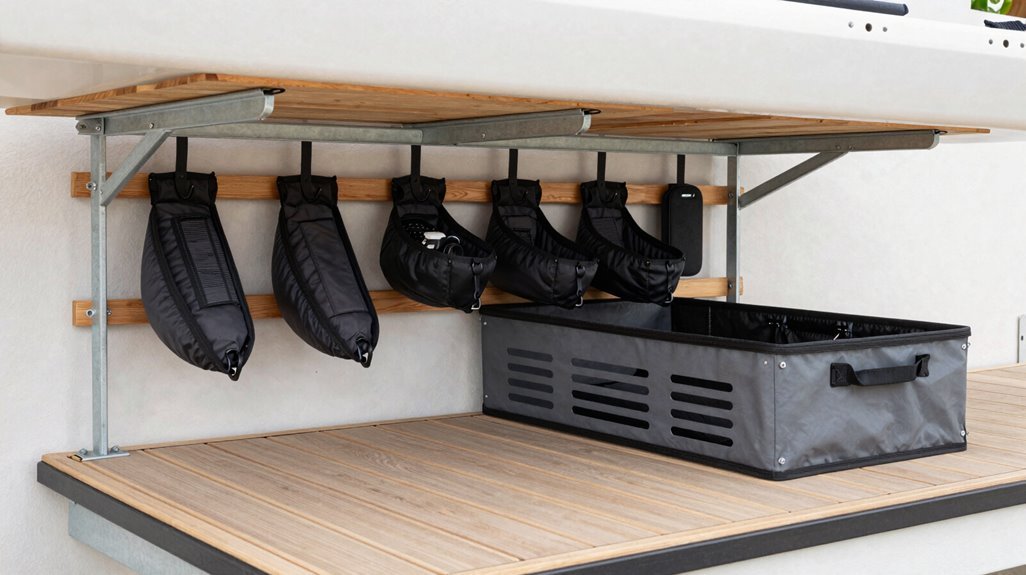
I’ve found that fence-mounted bracket systems and under-deck rack installations transform overlooked structural elements into sleek, space-efficient storage solutions, maximizing your property’s vertical footprint while keeping hulls elevated above moisture and debris. By anchoring heavy-duty brackets to reinforced fence posts or suspending racks beneath raised deck joists, you’re creating protected microclimates that shield kayaks from direct UV exposure and precipitation without sacrificing yard aesthetics.
Both approaches demand weatherproof hardware, strategic ground clearance, and security-minded placement: whether that’s a lockable cable threading through scupper holes or a semi-concealed under-deck position that deters opportunistic theft.
Fence-Mounted Bracket Systems
Why let a sturdy fence sit idle when it could anchor your kayaks in sleek, space-saving suspension? I discovered fence-mounted outdoor storage transforms vertical real estate into functional architecture; no sprawling racks required.
1. Selecting Robust Brackets
I choose marine-grade brackets rated for 150+ pounds, so my kayaks rest securely against wind shear. Weatherproof hardware, stainless bolts and galvanized lag screws, prevents corrosion where fence posts meet bracket arms.
2. Strategic Mounting
I mount at waist height, angling brackets 15 degrees upward, creating a cradle that prevents sliding. Proper spacing, 36 inches between craft, allows padded contact without hull compression.
3. Environmental Shielding
I drape fitted tarps over suspended kayaks, blocking UV degradation and pooling moisture while maintaining airflow.
This elevated system liberates my patio, integrates with existing structures, and positions me within a community of space-conscious paddlers who value intelligent design.
Under-Deck Rack Installations
Fence-mounted systems exploit vertical planes, while under-deck storage excavates horizontal voids: those neglected cavities beneath raised platforms that most homeowners barely register. I’ve turned these overlooked interstitial spaces into sophisticated weatherproof storage solutions that protect my fleet while preserving precious yard aesthetics.
When installing under-deck kayak racks, I prioritize elevated cradles with generous hull padding—closed-cell foam strips preventing pressure-point damage during extended storage. Adjustable brackets accommodate varying beam widths, from slender sea kayaks to recreational sit-on-tops. Corrosion-resistant fasteners penetrate concrete or treated lumber surrounds without weakening structural integrity.
Ventilation matters; I position my setup to catch prevailing breezes, preventing mold accumulation in humid climates. For maximum protection, I drape breathable covers over the vessels, creating a microclimate that shields gel coats from UV degradation.
This approach invites us—space-constrained paddlers—into a community making the most of every cubic foot.
Outdoor Kayak Storage Covers, Locks, and Protection
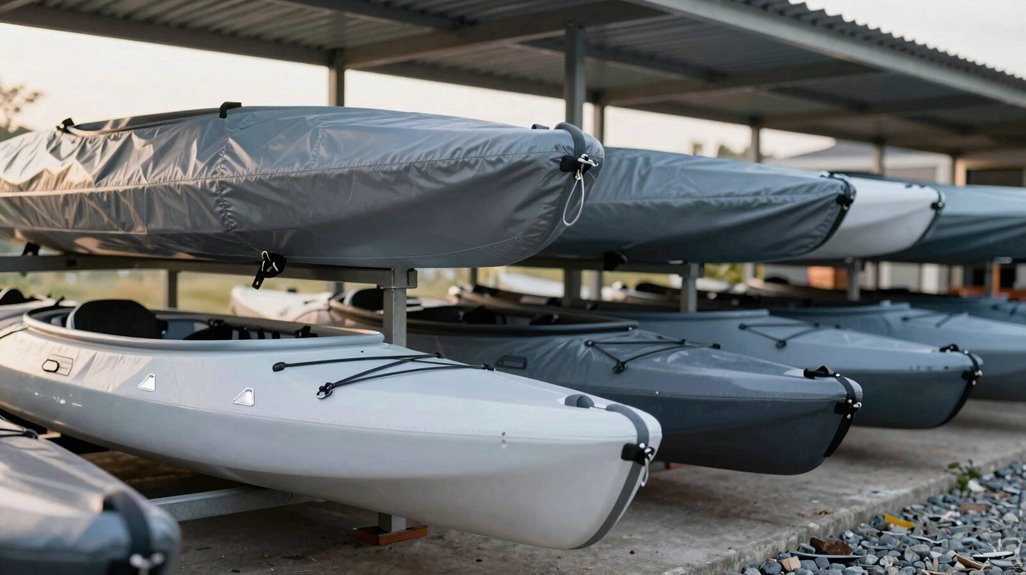
Wherever I’ve stashed my kayak between expeditions, whether against a weathered cedar fence or beneath the eaves of a garage, I’ve learned that exposure demands more than hope. It demands outdoor storage covers with real UV protection, shielding polyethylene hulls from the photochemical degradation that turns vibrant reds to dusty pinks across a single Appalachian summer.
I’ve mounted elevated racks, typically 18 inches clear of grade, using weatherproof hardware: marine-grade stainless bolts, aluminum brackets with anodized finishes, galvanized lag screws driven into pressure-treated posts. This elevation interrupts capillary moisture transfer, preventing the osmotic blistering I’ve witnessed on ground-contact hulls.
For security, I thread locking devices through scupper holes or grab loops, cable locks with hardened shackle bodies, anchored to permanent landscape features. In coastal Carolina, where I’ve left boats for weeks, this layered protection, cover, elevation, lock, preserves both craft and peace of mind.





