
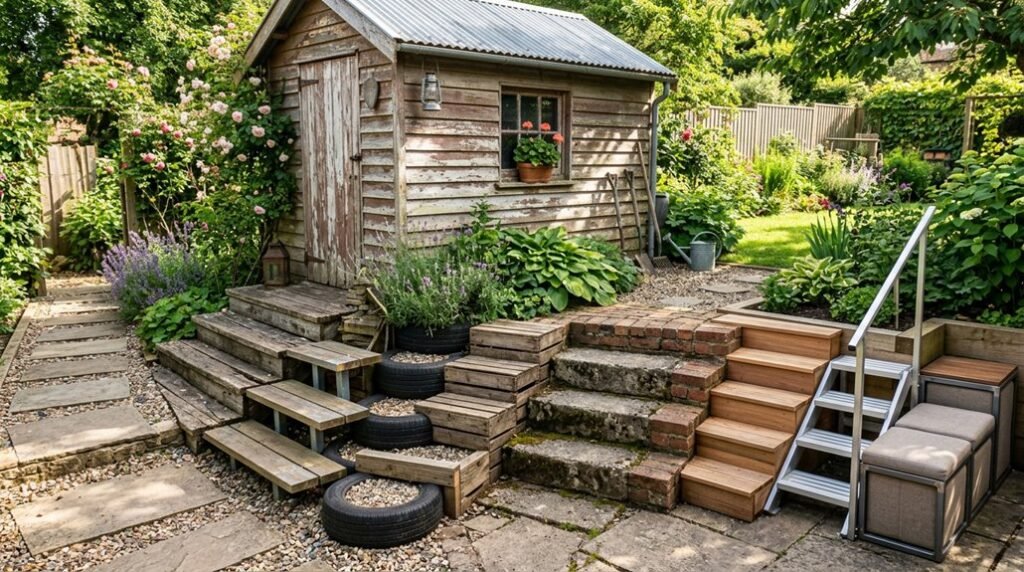
Your shed entrance is the threshold between the chaos of daily life and the sanctuary of your backyard workspace, yet too often, it’s an afterthought, a muddy scramble or a rickety structure threatening to twist an ankle. I’ve spent years watching homeowners pour energy into pristine shed interiors while neglecting the very first impression their structure makes, and I’m convinced the right steps change not just access, but how you feel approaching your space.
Whether you’re hauling potting soil, wheeling out the mower, or slipping out for midnight stargazing, these ten approaches, ranging from utilitarian ramps to hand-laid stone, offer solutions for every slope, budget, and architectural style.
Decide: Ramp or Steps for Your Shed Access
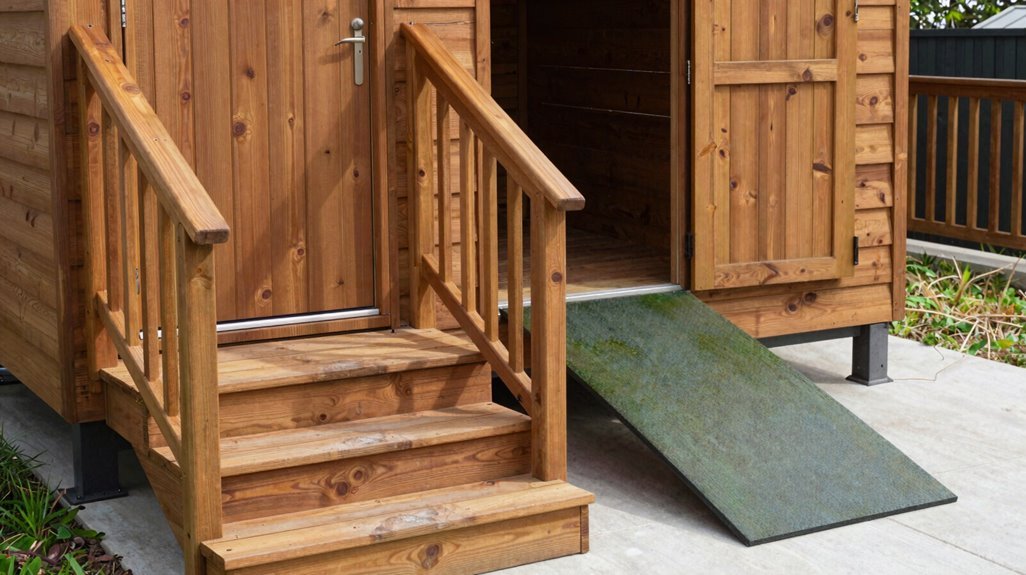
When I’m standing at my shed door, muddy boots in hand, I ask myself: what’s going to serve this space best, a gradual ramp or defined steps? I’ve learned this decision shapes everything that follows.
1. Measure Your Slope and Space
Start with the rise from yard to shed floor. I’ve found anything over 8 inches practically demands steps for safety. Ramps need gentle grades (1:12 ratio minimum), eating precious ground.
2. Assess Your Equipment Needs
Pushing a mower? A 4-foot ramp with five 2×6 stringers, ledger-mounted to floor joists, clears most decks. Steps win for wheelbarrows and hand carts; each tread a natural brake.
3. Choose Your Material Aesthetic
Stone steps whisper permanence; 18-inch slab steps with strategic gaps feel contemporary. I favor wood steps, pressure-treated boards I can paint to match my porch, creating visual continuity between house and shed.
4. Plan for Weather
Concrete blocks set level, Tapcon-secured spacers between stringers: I’ve built these ramps to survive freeze-thaw cycles without warping.
Your shed deserves intentional access.
Install Pre-Cut Stringers for Same-Day Shed Steps
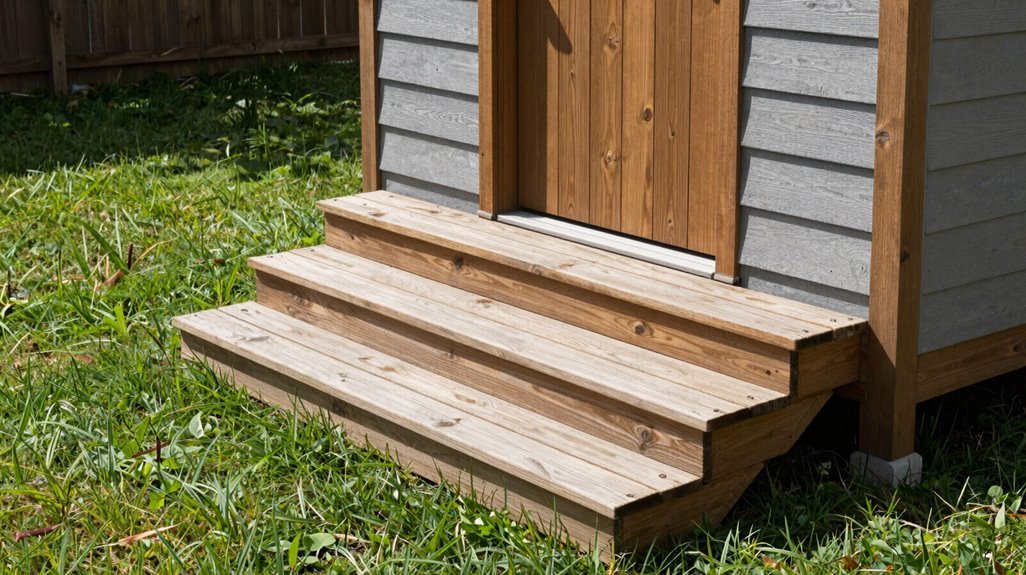
When I’m selecting pre-cut stringers for a same-day build, I measure the total rise from my shed floor to ground level, then grab three matching stringers from the home center, skipping the complex math of traditional layout.
For assembly, I secure joist hangers to the shed’s floor joists, drop the stringers into place, and span them with trimmed 2×4 treads spaced for comfortable footing; no specialized tools, no overnight curing. By afternoon, I’ve got sturdy steps anchored to concrete block piers set just below grade, with 2×4 spacers locking everything square using Tapcon screws.
Stringer Selection Tips
Why wrestle with complex carpentry when pre-cut stringers can transform your shed access in a single afternoon? I’ve learned that smart stringer selection separates weekend warriors from frustrated DIYers, and I’m here to share what works.
1. Measure First, Buy Once
I always measure from shed floor to ground before heading to Home Depot. Getting three matching stringers ensures uniform rise across your DIY shed steps—no wobbly surprises.
2. Trust Pre-Cut Precision
Those factory-notched stringers eliminate guesswork. I’ve watched neighbors struggle with homemade jigs while I secure joist hangers to floor joists, creating rock-solid attachment points.
3. Foundation Matters
Burying concrete blocks slightly below grade—stabilizing with 2×4 spacers and Tapcon screws—gives your structure integrity. This base preparation, often overlooked, determines longevity.
Your backyard upgrade awaits.
Fast Assembly Method
With your stringers selected and foundation prepped, I’m ready to walk you through the assembly that’ll have you walking up finished steps before sunset.
- Foundation First. I set concrete blocks slightly below grade, creating a frost-resistant base, then bridge them with 2×4 spacers, securing everything with Tapcon screws. This anchors your shed steps against shifting soils.
- Stringer Placement. I position three pre-cut stringers from Home Depot, measuring shed floor-to-ground height first to ensure proper rise. Joist hangers screwed into floor joists create that solid, professional attachment we’re after.
- Tread Installation. I lay trimmed 2x4s lengthwise across stringers, spacing them evenly, for cost-effective, grippy treads.
This fast assembly method delivers same-day results without sacrificing structural integrity. You’ll join the ranks of weekend warriors who’ve transformed backyard access before Monday calls.
Build Boardwalk-Style Steps With 2 X 4s
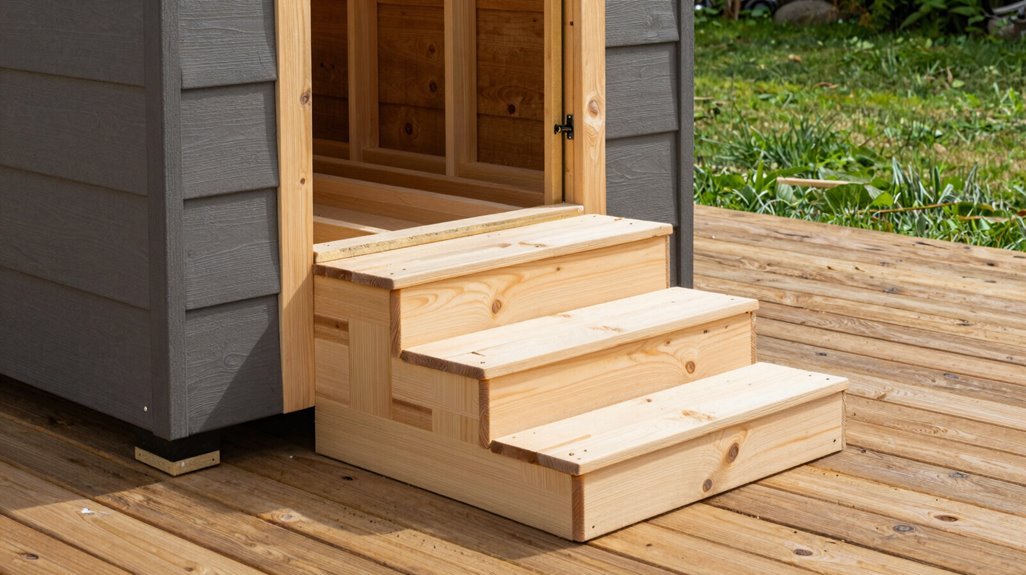
I’m building these boardwalk-style steps by selecting pressure-treated 2 x 12s for stringers, ensuring they’re knot-free and dense-grained, then assembling the treads from ripped 2 x 4s laid flat and butted tight. Connecting the stringers to the shed’s floor joists with galvanized joist hangers creates that rigid, integrated structure you’d expect in permanent timber framing.
I’ll cover the rough front edges with thin plywood skins before staining everything to match the shed’s aesthetic: clean lines, no visible hardware, just warm wood and solid footing.
Stringer Selection Tips
Selecting the right stringers sets the foundation for steps that feel both purposeful and polished, an architectural detail that transforms utilitarian access into deliberate design. When I’m planning stringer installation, I measure the maximum height from shed floor to ground, making certain my stringer length accommodates the precise rise and run for comfortable, code-compliant ascent.
I grab three pre-cut step stringers from Home Depot, saving hours of cutting time while maintaining structural integrity. Here’s how I approach the selection:
- Measure total vertical drop first, accounting for any slope variations across the approach
- Select pressure-treated lumber rated for ground contact, resisting moisture and decay
- Verify pre-cut stringers match my tread depth preferences, typically 10 to 11 inches
- Confirm hanger compatibility, as joist hangers must align with floor joist spacing
With stringers chosen, I’m ready to establish the foundation.
Wood Assembly Method
Building boardwalk-style steps transforms ordinary access into a rhythmic procession of timber, each 2×4 laid lengthwise like planks on a weathered pier, creating visual texture that complements both modern sheds and rustic outbuildings. I chose pre-cut stringers from Home Depot, measuring floor-to-ground height to match the rise, and secured them with joist hangers screwed into floor joists; this woodworking technique ensures lasting stability.
1. Foundation Preparation: I set concrete blocks slightly below grade, inserting 2×4 spacers between stringers, fastening everything with Tapcon screws for a frost-resistant base.
2. Board Layout: I trimmed 2x4s to length, maintaining consistent spacing as I laid each board; this rhythmic spacing defines the boardwalk aesthetic.
3. Finishing Details: I covered step fronts with thin plywood, then applied deck stain, protecting these steps through seasons of backyard gatherings.
Anchor Shed Steps to Prevent Shifting and Settling
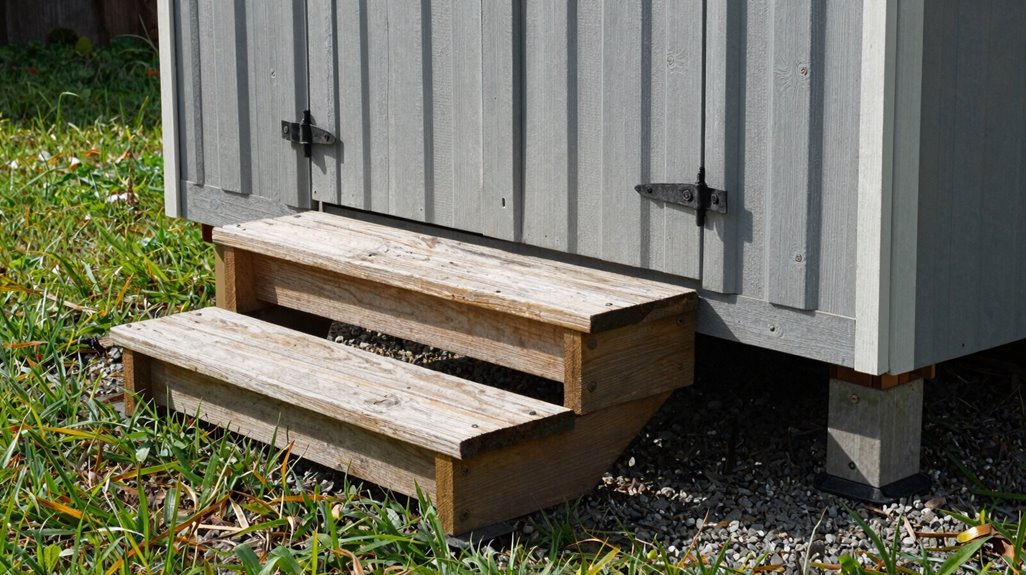
Few backyard upgrades prove as frustrating as steps that shift beneath your feet after the first hard freeze. I’ve learned that to truly anchor steps worth standing on, you need a foundation that refuses to yield: concrete blocks set slightly below grade, creating a level plane that laughs at frost heave.
- Subterranean Blocks — Bury concrete blocks below ground level, establishing a frost-resistant footing that prevents vertical displacement during seasonal thaw cycles.
- Mechanical Fastening — Secure 2×4 spacers between stringers and blocks using Tapcon screws, creating tension that resists lateral drift.
- Ledger Integration — Attach stringers directly to shed floor joists with TimberLok screws, eliminating independent movement.
- Surface Protection — Top with ¾-inch pressure-treated plywood, then seal with deck stain; preserving your investment against moisture intrusion and UV degradation.
Choose Stone Slabs for Cottage-Style Shed Access
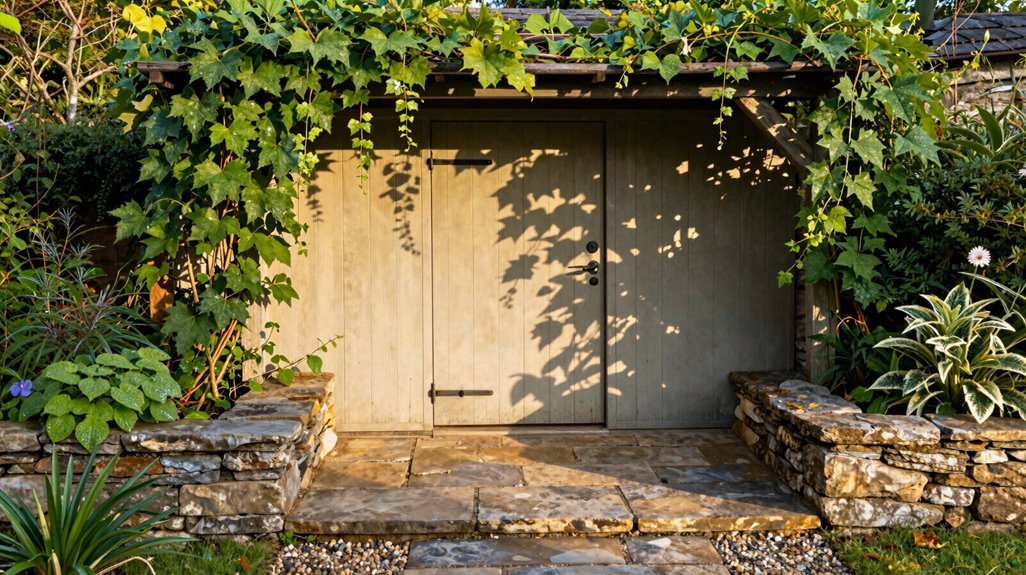
Why settle for utilitarian when your shed approach can evoke a centuries-old cottage garden? I’m choosing stone steps for my cottage-style shed access because they whisper permanence, weathered surfaces that belong here, rooted in place like the garden itself.
| Stone Type | Best For |
|---|---|
| Bluestone | Formal cottage borders, cool undertones |
| Limestone | Soft, aged patina; traditional English gardens |
| Fieldstone | Irregular shapes; rustic, gathered-over-time feel |
I’ve leveled my approach already, so I’m laying 18-square slabs with slender gaps between, permeable, walkable, breathing with the ground. Unlike painted wood or poured concrete, these stone steps resist trends. They gather moss, darken with rain, become yours. Joyce Coyle Casey understood this: stone endures, and so does the belonging it creates.
Install Gap-Spaced 18-Inch Slabs for Easy Walking
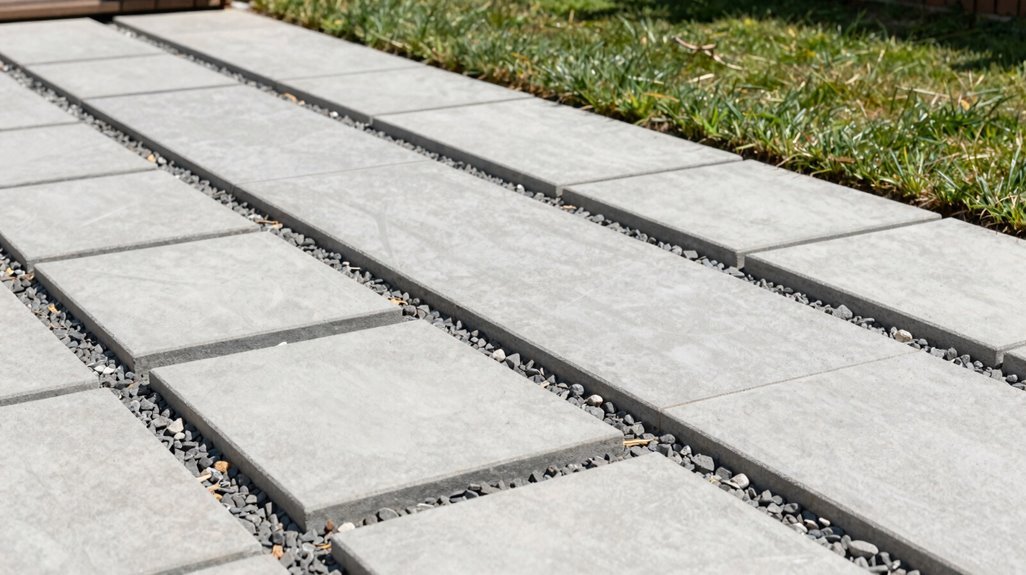
With 18-inch concrete or stone squares set 1/8–1/4 inch apart, you’ll achieve drainage and dimension simultaneously. I stagger mine slightly, avoiding rigid procession for something more accommodating to foot traffic and visual rest.
Consider these material and layout considerations:
- Concrete slabs offer affordability with clean, modern edges that weather into softer character over seasons
- Natural stone provides irreplaceable variation; each piece carries unique veining and patina
- Staggered alignment permits organic pacing, accommodating different stride lengths gracefully
- Precise gap spacing ensures stability underfoot while allowing rainwater passage
I find this slab step approach particularly suited to transitional spaces, that threshold between cultivated lawn and working shed, where function and aesthetic must negotiate equally.
Build Porch-Style Steps With Unified Paint or Stain
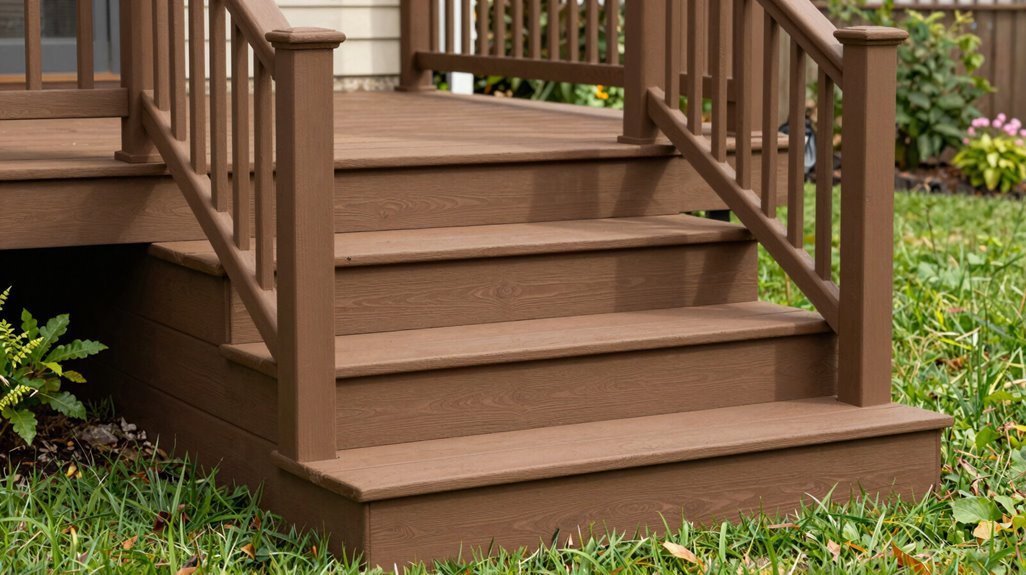
I’ll build porch-style steps that echo your shed’s architectural character through unified finishing techniques, creating that coveted indoor-outdoor flow. Starting with pressure-treated 2×4 framing or pre-cut stringers anchored directly to floor joists using ledger screws, I’ll establish structural integrity before cladding treads in deck boards finished with matching stain or paint.
I’ll cap the riser fronts with thin plywood for a solid, traditional porch aesthetic. I’ll space treads narrowly to preserve walkability while selecting deck-grade sealants that withstand freeze-thaw cycles and UV degradation.
Porch-Style Construction Basics
How do you transform a simple shed entrance into something that feels intentional and polished? I start with porch-style construction, building shed steps that mirror the refined look of traditional porches through careful material selection and assembly.
- Frame with purpose: I use front- and back-banded boards to replicate porch flooring, creating visual continuity between structure and landscape.
- Anchor properly: I bury concrete blocks slightly below grade, establishing a level foundation that prevents settling and wobbling over seasons.
- Space with precision: I install framed stringers with measured spacers, making sure each tread receives adequate support without visible hardware cluttering the underside.
- Veneer for polish: I apply thin plywood facing to step fronts, achieving that seamless, continuous porch aesthetic that improves the entire backyard composition.
Unified Finish Options
Once the framing and plywood facing are in place, I’m ready to pull the whole composition together through finish work, transforming separate lumber pieces into what reads as a single, intentional structure. A unified finish elevates your shed design from utilitarian to architectural, creating that polished entry you’ve been envisioning.
1. Match Your Shed’s Exterior
I select deck stain or exterior paint that mirrors my shed’s existing colorway, extending the visual language from wall to tread for seamless continuity.
2. Conceal Varied Textures
Different boards mean different grains; one consistent coat unifies these discrepancies, masking the patchwork beneath a cohesive surface.
3. Integrate Rail and Tread
Running identical stain across rail caps, balusters, and step faces eliminates visual fragmentation; every element belongs to the same composition.
4. Porch-Style Refinement
For elevated aesthetics, I face risers with painted plywood matching shed trim, achieving that welcoming, residential character.
Material Durability Considerations
Why settle for steps that merely function when they can endure? When I’m building porch-style shed steps, material durability isn’t just practical; it’s personal. These structures welcome us home, bearing our weight through seasons of gathering and solitude alike.
I choose materials that honor this role:
- Stone foundations; anchoring below grade with concrete blocks, creating load-bearing permanence against frost heave and settling
- Slab construction; employing 18-square modular units with calculated gaps, permitting drainage while preventing moisture degradation
- Treated stringers; securing level risers through galvanized hardware, resisting shear stress and dimensional warping
- Protective finishes; applying penetrating deck stain post-assembly, sealing end grain against UV degradation and rot
Through deliberate material selection, my shed steps become legacy, weathering decades of backyard moments without surrendering their unified, porch-worthy aesthetic.
Match Step Finish to Shed Trim and Color
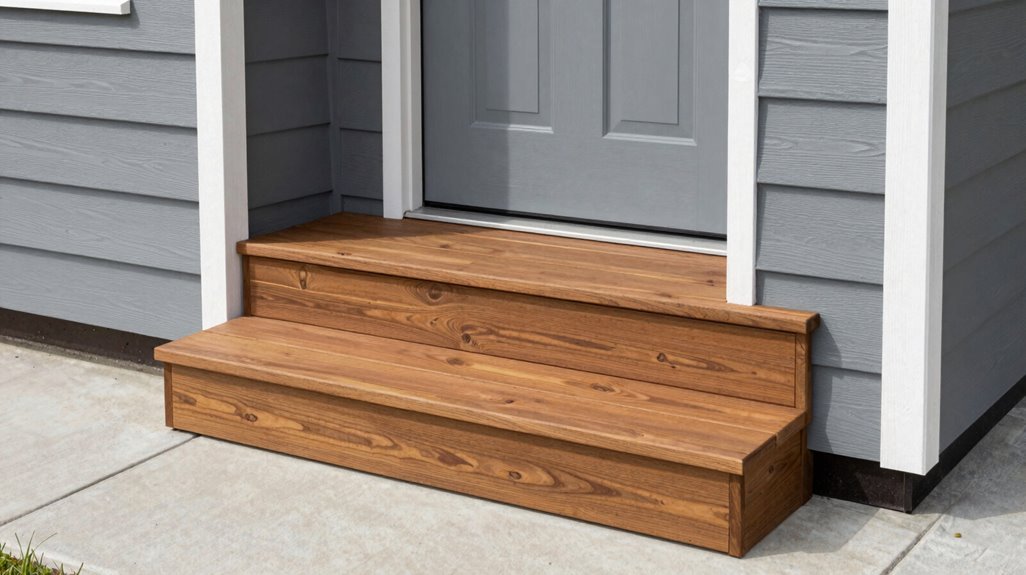
A unified exterior begins where your feet meet the ground. Painting or staining wooden steps to match your shed’s trim doesn’t just protect against weathering, it creates a cohesive design statement from separate elements.
When I’m reviewing shed plans for a backyard restoration, I always emphasize this visual continuity. Wood steps resembling porch flooring, stained to blend with your shed’s color scheme, create that seamless transition we all crave. Your outdoor space finally feels complete and intentional, like you’ve joined the ranks of homeowners who understand thoughtful design.
For those drawn to contrast, stone steps offer that old-world aesthetic Joyce Coyle Casey favored: textural tension against smooth siding, yet still harmonious through careful tone selection. Whether you choose 18-inch slab-style steps or traditional runners, finishing them to echo your trim color unifies the composition, making your shed feel less like an afterthought and more like an integrated architectural feature.
Protect Wood Steps With Deck Stain or Paint
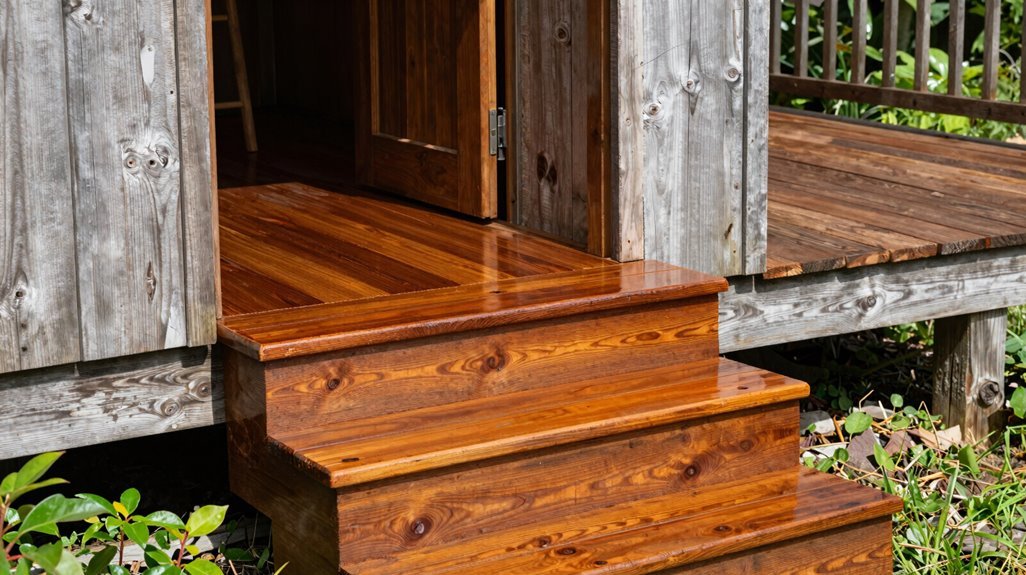
The elements don’t negotiate, and neither should you. I’ve watched too many handsome cedar treads crack and gray before their time because someone skipped this step. Applying deck stain or exterior paint shields your investment from weathering, moisture intrusion, and UV degradation, extending lifespan considerably.
The elements don’t negotiate—protect your investment before weathering claims it.
- Prep thoroughly: Pre-clean and dry steps completely, removing loose fibers and sanding rough areas before application. Adhesion depends on it.
- Choose wisely: Select pigments formulated for exterior use, compatible with pressure-treated lumber or cedar substrates common in shed construction.
- Decide your finish: Apply semi-solid deck stain for natural grain visibility with UV protection, or exterior paint with primer for uniform, opaque coverage.
- Maintain vigilantly: Recoat every 2–3 years (stain) or 5–7 years (paint) per manufacturer guidelines, preserving both protection and appearance.
Complete Shed Steps Under $150
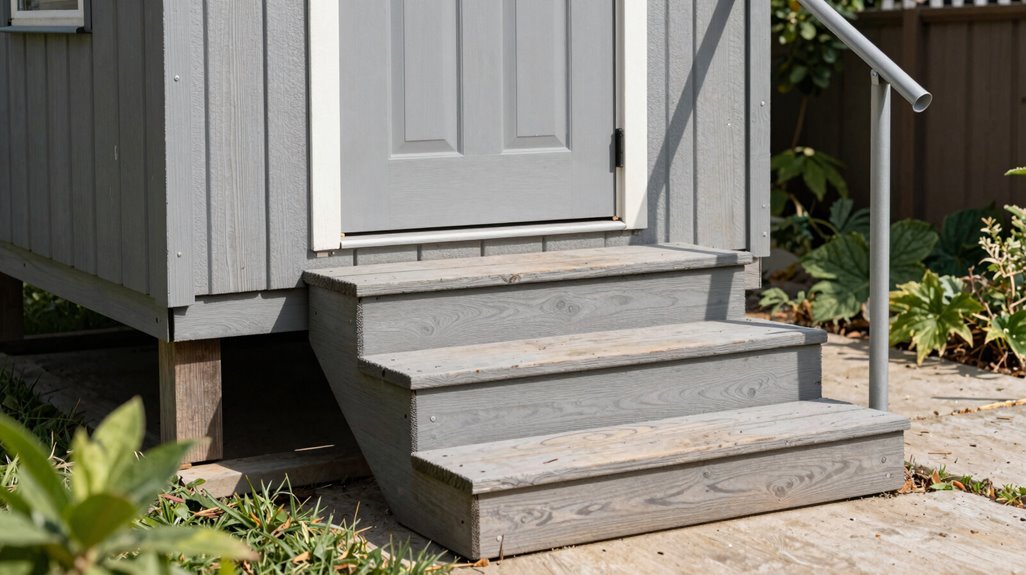
How does a sub-$150 transformation sound for your backyard egress? I’ve built shed steps on a budget under $150, and you can join this community of resourceful DIYers.
1. Select Pre-Cut Stringers
I grabbed three pre-cut step stringers from Home Depot, measuring my shed floor’s maximum height to ground level to make sure of proper fit, saving hours of cutting.
2. Frame the Structure
Trimming 2x4s lengthwise with calculated spacing, I assembled the treads; joist hangers screwed into floor joists anchored stringers securely to the shed.
3. Pour the Foundation
Setting concrete blocks slightly below grade, using 2×4 spacers between stringers fastened with Tapcon screws, I created load-bearing stability against ground shift.
4. Surface and Seal
¾” pressure-treated plywood sheets formed the ramp and steps; deck stain applied afterward protected the investment, completing functional, weather-resistant shed steps without exceeding $150.





