
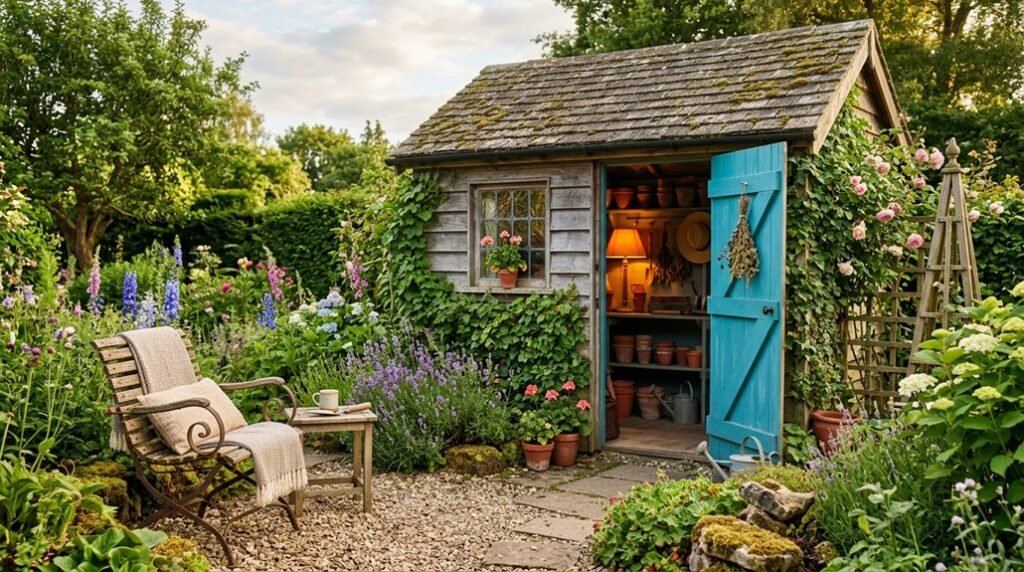
Like Thoreau’s cabin at Walden, reimagined for modern life, I’ve watched she sheds evolve from backyard afterthoughts into deliberate architecture: compact structures, typically 80 to 120 square feet, that carve out autonomy from domestic obligation.
They’re sheds no longer, but studios, sanctuaries, offices; each one a negotiation between aspiration and zoning code, between Pinterest boards and permit applications.
What Is a She Shed and Why Build One?
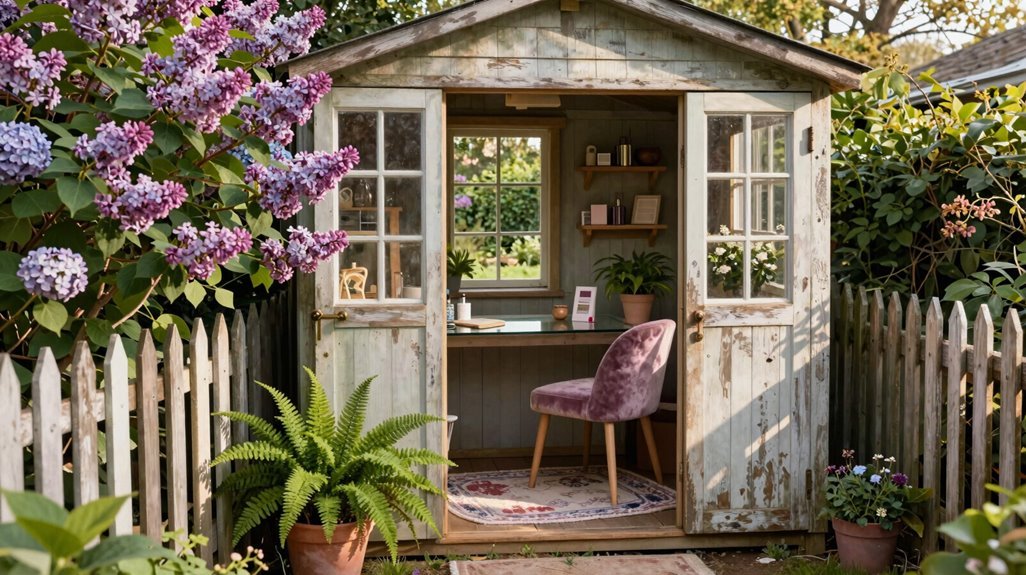
Where exactly does one go when the walls of home feel too familiar, yet the bustle of coffee shops offers no refuge? I’ve found my answer in a backyard retreat, a she shed, a private space carved from forgotten corners of your property.
A she shed is whatever you need it to be: converted shed, prefab structure, or fully DIY build. It’s your third space, neither office nor living room, designed for unwinding, creating, or simply belonging to yourself. I’ve seen them become meditation sanctuaries, reading nooks, and launchpads for enterprises born in solitude.
The benefits extend beyond tranquility. You’re crafting architectural identity through customized lighting, materials, and spatial flow. Whether cedar cladding in Portland or corrugated metal in Austin, each structure enhances wellbeing while potentially increasing property value, an investment in both landscape and self.
Popular Ways to Use Your She Shed: Office, Studio, or Retreat
Why limit yourself to a single purpose when your she shed can evolve with your ambitions? I’ve discovered three approaches that resonate with women seeking sanctuary and productivity.
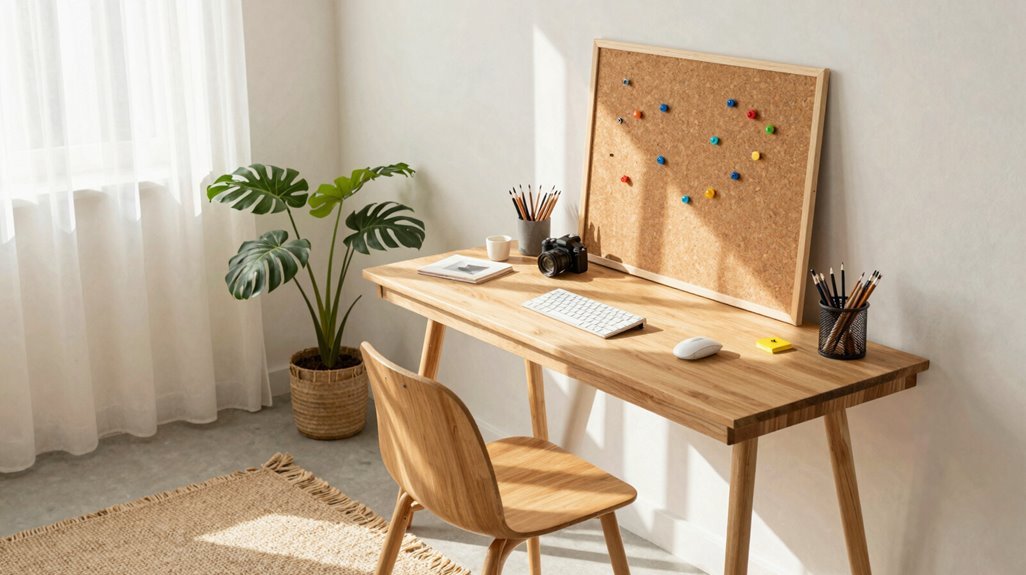
- The Private Office: Installing reliable internet and ergonomic furnishings creates a professional workspace where privacy shields you from household interruptions, transforming deadlines into achievements without the commute.
- The Creative Studio: With ample natural lighting and easy-to-clean surfaces, I’ve seen artists flourish. Pegboards and adjustable tables maximize storage for supplies, keeping brushes, pigments, and tools within arm’s reach across North America.
- The Personal Retreat: Soft lighting and calming decor cultivate tranquility. Modular furniture allows seamless shifts between reading, meditation, and reflection, creating belonging through intentional solitude.
Match Your Purpose to the Right Size and Layout

Every she shed I’ve designed begins with one question: what will you actually do inside? Your answer determines everything; portable buildings come in standard sizes, but the real value emerges when you match dimensions to purpose.
- Cozy retreat (10×10): Perfect for reading nooks with a single chair and soft light filtering through.
- Craft studio (10×12 or 10×14): Wall-mounted work tables and vertical storage space keep supplies accessible without sacrificing floor area.
- Multi-zone sanctuary (12×16): Separate making and lounging zones with year-round insulation and dedicated circuits for genuine comfort.
I always start layouts with the relax zone near the best view, add the making zone with outlets, and finish with a calm transition at the door. Open floor space around anchor furniture keeps things adaptable.
She Shed Cost Comparison: DIY vs. Prefab vs. Finishing Out
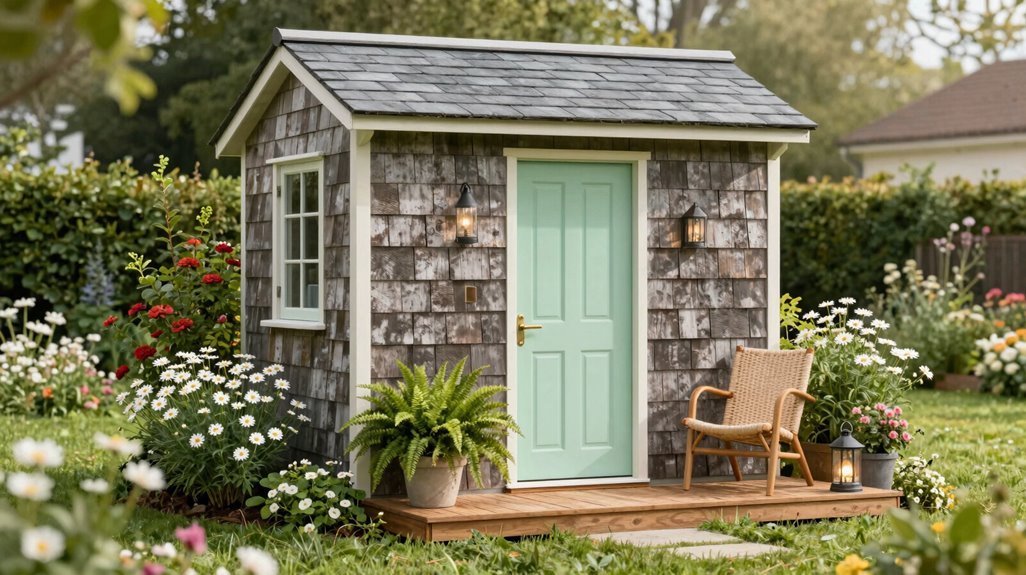
How much you’ll spend depends entirely on which path you take. I’ve watched clients transform bare structures into sanctuaries through three distinct approaches, each with its own calculus of money, time, and sweat equity.
| Approach | What You’re Really Trading | The Feeling You’ll Get |
|---|---|---|
| DIY Build | Your weekends, sore muscles, total creative control | Pride that lingers every time you step inside |
| Prefab/Portable | Higher upfront cost, instant gratification, less customization | Relief—someone else handled the hard parts |
| Finishing Out Existing | Hidden repairs, insulation puzzles, solitary labor | Resourcefulness rewarded; your space, reborn |
Interior finishes typically double your investment. Wiring, drywall, climate control add up fast. Yet I’ve seen rent-to-own prefab options ease the burden, and strategic timing (end-of-season sales, flexible designs) keeps your sanctuary within reach.
Check Permits and Site Requirements Before You Build
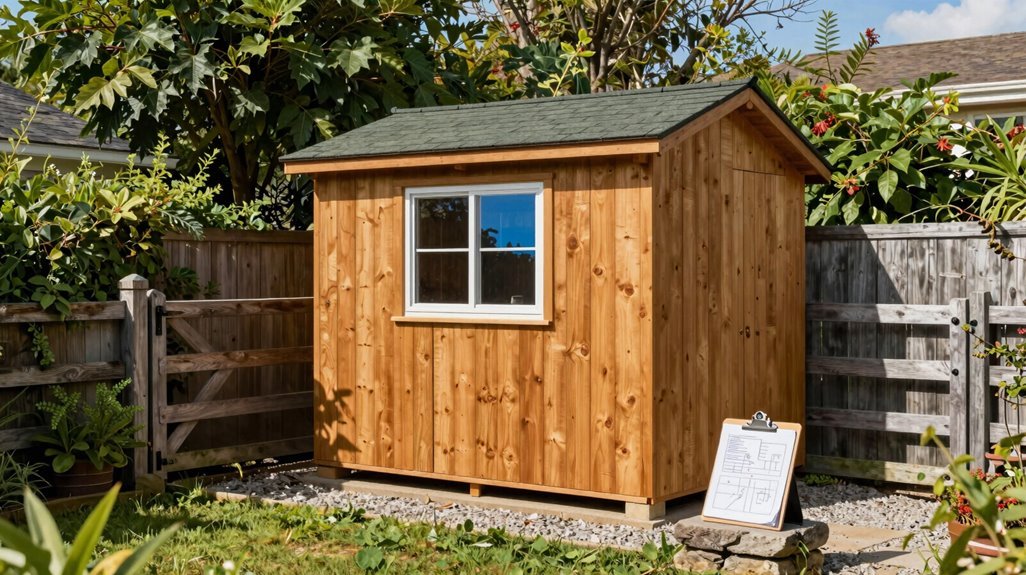
Before I lift a hammer or sign a prefab contract, I’m checking my municipality’s zoning ordinances and building codes, because nothing derails a she shed faster than a red tag from the inspector. I’ve learned the hard way that setback distances (typically 5–10 feet from property lines), easement restrictions, and utility access requirements aren’t suggestions; they’re legally binding parameters that dictate where I can actually build.
Once I confirm whether my jurisdiction requires permits for structures under 120 square feet, I’ll map out electrical runs and HVAC rough-ins, knowing that skipping this groundwork turns my sanctuary into an expensive headache.
Zoning and Codes
Though I might dream of weathered cedar siding and a cup of tea in my future retreat, I won’t lift a single shingle until I’ve mapped the bureaucratic terrain, because nothing deflates a she-shed vision faster than a stop-work order from the city.
Before breaking ground, I’m checking zoning and permitting requirements that govern my property. Local codes determine what’s possible, and I’d rather navigate paperwork now than dismantle my sanctuary later.
Verify your zoning classification: residential districts often restrict accessory structures by square footage, height, and intended use; confirming my parcel’s designation saves costly redesigns.
Secure proper permitting: electrical work, permanent foundations, and structures exceeding 120 square feet typically trigger formal applications with stamped drawings.
Consult building officials early: walking into my municipal office with preliminary sketches builds rapport and reveals site-specific requirements I might’ve missed.
Understanding these codes protects my investment, and my peace of mind.
Setback Rules
Setback rules dictate my structure’s distance from property lines, typically 3 to 10 feet, and I’m checking permits before breaking ground. Most jurisdictions require permits for sheds exceeding 120–200 square feet or those with electrical systems. Some ban front-yard placement entirely; others restrict height, shaping my roofline decisions.
| Requirement | Common Standard | My Action Item |
|---|---|---|
| Side setback | 3–5 feet | Measure from survey stakes |
| Rear setback | 5–10 feet | Verify with zoning office |
| Maximum height | 12–15 feet | Compare to home ridge line |
| Foundation | Level, drained | Site inspection required |
I’m also confirming HOA covenants and avoiding easements, because belonging to this community means building responsibly within it.
Utility Access
Where exactly does power reach my property line, and will the trenching compromise my mature oak’s root system? These questions dominate my pre-build checklist. I know navigating permits and codes feels overwhelming, but I’ve learned it’s essential for creating my retreat without headaches down the road.
I always double-check these utility access priorities:
- Electrical routing — I locate my meter box, calculating trench depth and conduit requirements to avoid root zones and existing lines
- Water and drainage — I verify sewer tap locations, testing soil percolation rates before committing to foundation placement
- Overhead clearances — I measure minimum heights for service drops, ensuring my shed’s roofline won’t interfere with utility easements
Understanding permits and codes early means I’m building something lasting: my personal haven, fully connected and completely compliant.
Choose Your Build Path: DIY, Prefab, or Convert an Existing Shed
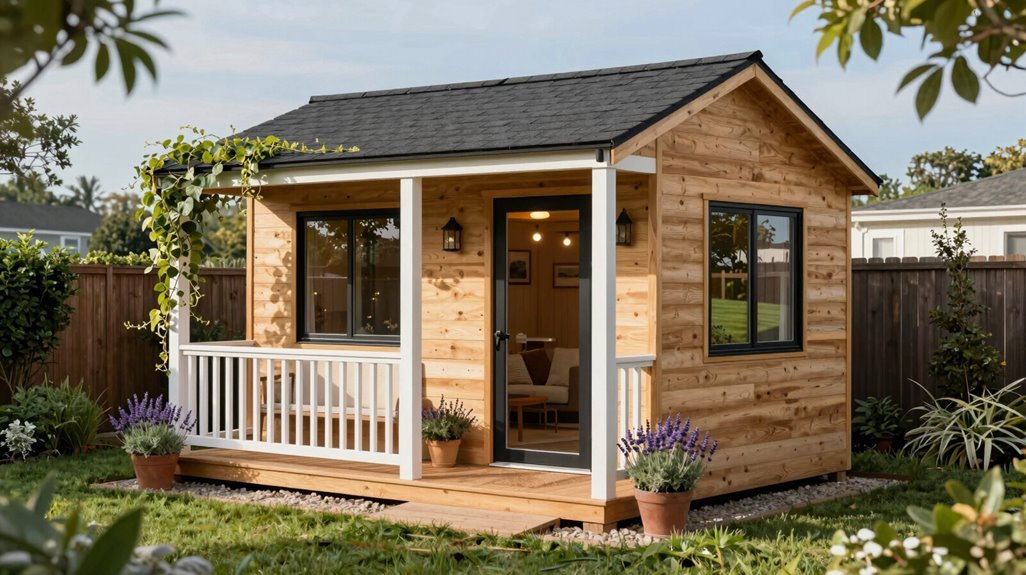
So you’re ready to create your she shed, now comes the pivotal decision of how you’ll bring it to life.
1. DIY Construction: Building from scratch offers unmatched customization and the lowest material costs, though you’ll invest substantial sweat equity. I recommend this path if you enjoy hands-on craftsmanship and have weekends to spare. Check local permit requirements first; regulations vary dramatically by municipality.
2. Prefabricated Units: These arrive partially assembled with optional insulation and wiring packages, reducing on-site labor significantly. You’ll pay more upfront for convenience, but gain immediate structural integrity, often including engineered floor systems and weatherproofed wall panels.
3. Existing Shed Conversion: Repurposing what’s already standing proves most economical long-term. Expect to seal gaps, add vapor barriers, and insulate for year-round occupancy, work manageable solo across a few dedicated weekends.
Pick a Roof Style for Function and Curb Appeal

I’ll craft a three-sentence paragraph that opens this roof style discussion while meeting all your specifications.
When I’m selecting a roof for my she shed, I weigh three distinct silhouettes, each shaping how the space feels and functions. Standard gable roofs bring that storybook cottage symmetry I love, with their triangular peaks echoing my home’s exterior; lofted barn styles give me vertical breathing room, sometimes carving out a cozy upper nook for stashing books or seasonal décor; and single-slope designs lean into contemporary minimalism, those angled planes inviting banks of clerestory glass to flood my workspace with daylight. The roof I choose isn’t just about looks; it’s framing how I’ll actually live inside these walls.
Standard Gable Charm
I lean toward the Standard Gable when I want my she shed to feel like a storybook cottage without overcomplicating the build. Its two sloping sides meeting at a central ridge deliver that nostalgic symmetry we crave, turning any storage building into a personal retreat that belongs in your backyard.
- Abundant Natural Light: Those generous exterior wall surfaces accommodate windows exactly where you need them, flooding your workspace with sunshine for crafting, reading, or simply daydreaming.
- Year-Round Comfort: With straightforward insulation details and proper finishing, this envelope maintains cozy temperatures through every season.
- Design Versatility: The balanced silhouette, whether painted sage green or crisp white, complements traditional gardens and contemporary landscapes alike, making your she shed feel unmistakably yours.
Lofted Barn Height
Nostalgia takes on vertical ambition when I choose the Lofted Barn roof for my she shed, its gambrel silhouette rising in two distinct slopes to create that unmistakable barn profile I’ve admired on rural highways and in historic districts.
- Vertical Volume Without Footprint Expansion. My lofted barn design grants generous headroom below and a secluded upper retreat above, perfect for meditation or storage, doubling my usable space without expanding outward.
- Rustic Curb Appeal. The distinctive gambrel shape connects my structure to agricultural heritage, signaling permanence and belonging within rural and historic contexts.
- Enhanced Privacy. Elevating my sanctuary’s living area above ground level creates natural seclusion; neighbors see only charming rooflines while I enjoy undisturbed solitude.
- Light Maximization. Tall wall surfaces accommodate generous windows, flooding both levels with daylight.
- Year-Round Comfort. Proper insulation and weatherproofing keep my lofted space cozy through seasonal extremes.
Modern Single-Slope Style
Clean lines and forward momentum draw my eye toward the Modern Single-Slope roof, its unbroken plane tilting skyward like an architectural promise: one continuous surface that sheds tradition in favor of something sleeker, more deliberate. I’m choosing this style when I want my she shed to feel less like an outbuilding and more like an extension of my sensibility.
- Tall windows or clerestory glass, I maximize natural lighting without sacrificing the modern aesthetic that makes this space unmistakably mine
- Versatile interior height, I’m gaining open layouts or lofted storage, the single slope giving me cathedral-like volume on one side
- Streamlined climate control, I’m simplifying insulation and ventilation, the lean-to form proving that thoughtful design belongs in every detail of my retreat
This roof invites me in.
She Shed Windows and Doors for Maximum Natural Light
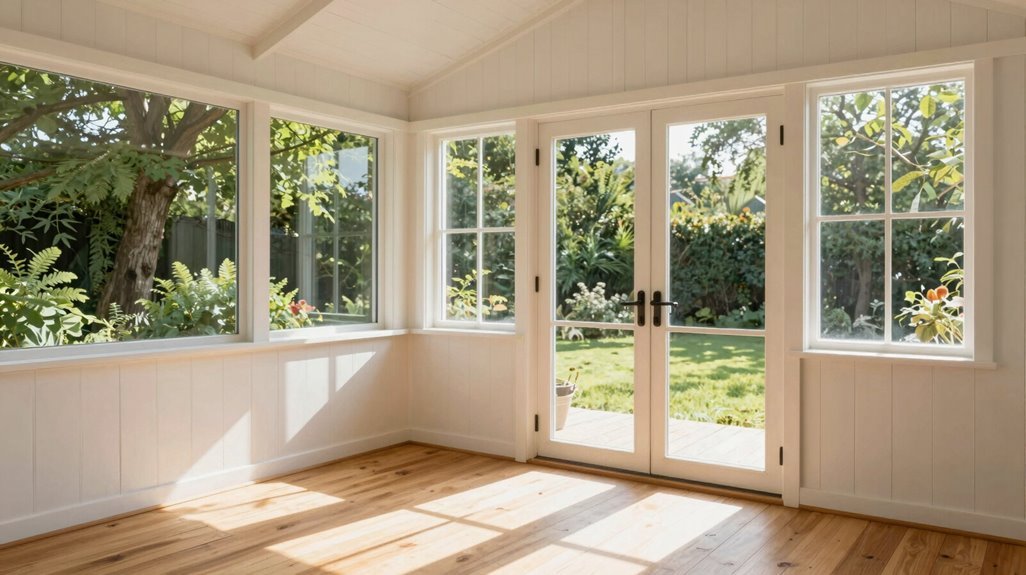
Why let a dim interior drain your creative energy when strategic glazing can flood your she shed with sunshine? I always prioritize large, well-placed windows to maximize natural light and craft that bright, inviting workspace we all crave.
| Window Type | Best Placement | Key Benefit |
|---|---|---|
| Casements | East-facing walls | Excellent ventilation plus morning light |
| Sliders | South side | Easy operation, unobstructed views |
| Clerestories | High, above eye level | Privacy maintained, light flow preserved |
| Picture windows | North exposure | Consistent, glare-free illumination |
I mix these styles to balance light with privacy and energy efficiency. I place windows to capture key views, orienting them to enhance daylight while minimizing glare on work surfaces.
I use light, reflective interior finishes and privacy shades to control brightness without blocking light. I add flower boxes and shutters to complement windows while maintaining unobstructed light flow.
Select Exterior Colors and Custom Details That Pop
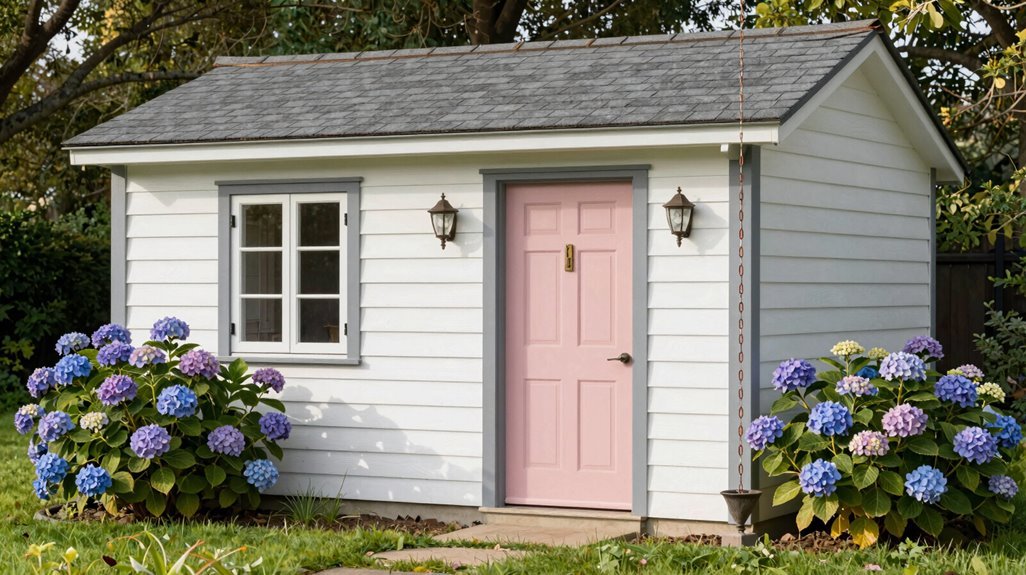
How do you want your she shed to feel when someone spots it from across the yard, like a whispered secret or a bold declaration? I’ve learned that exterior color options and customization features turn a simple structure into your personal sanctuary.
- Paint with purpose: Choose custom paint or stain, soft sage for rustic charm, or jet black for modern edge, to either blend with your home’s siding or stand alone as architectural punctuation.
- Accent with intention: Add flower boxes, shutters, and welcome signs that establish visual appeal and signal belonging to anyone passing through.
- Layer the atmosphere: String twinkle lights, arrange porch furniture, and verify inventory availability before committing, because your retreat deserves coherence from first sketch to final detail.
Interior Wall Finishes and Flooring Options
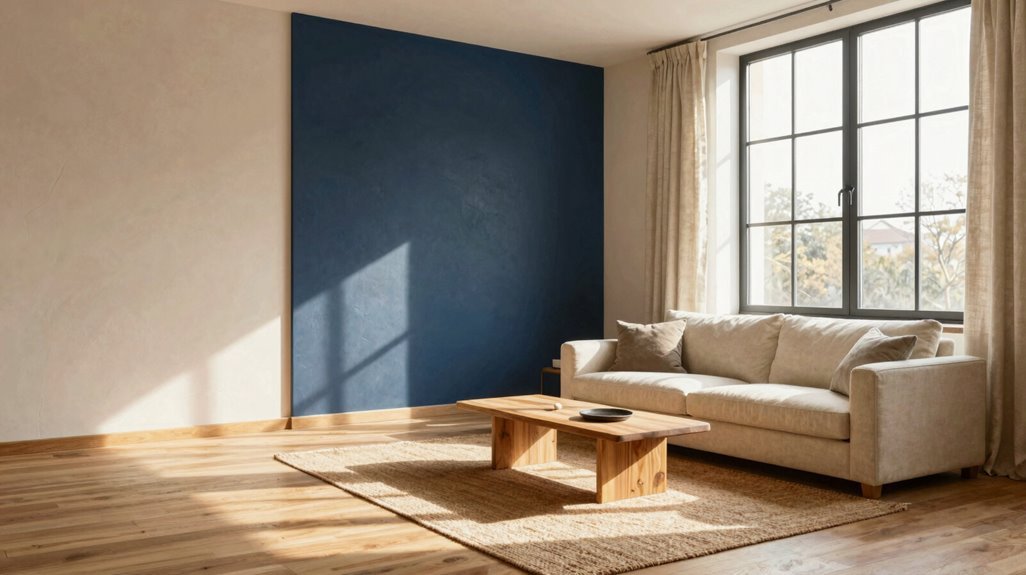
Once I’m inside my she shed, the walls and floors become the canvas that changes a weatherproof shell into a space where I’ll actually want to spend my mornings. Insulated shells with finished interior wall panels give me year-round comfort and a clean surface ready for my personal touch.
1. Wall Finishes That Work
Painted drywall or shiplap creates that cozy, pulled-together feel I’m after, easy to wipe clean when my projects get messy. I choose soft, warm tones for relaxation zones, brighter hues where I’ll focus.
2. Flooring Foundations
Vinyl plank or sealed concrete handles spills and foot traffic without fuss. In damp climates, consider the Pacific Northwest, I prioritize moisture barriers beneath.
3. Light and Privacy Balance
Window placement dictates my interior wall finishes; south-facing glass means glare-control shades, letting me position my desk without squinting through afternoon sun.
Fit More In: Shelving and Storage for Tight Spaces
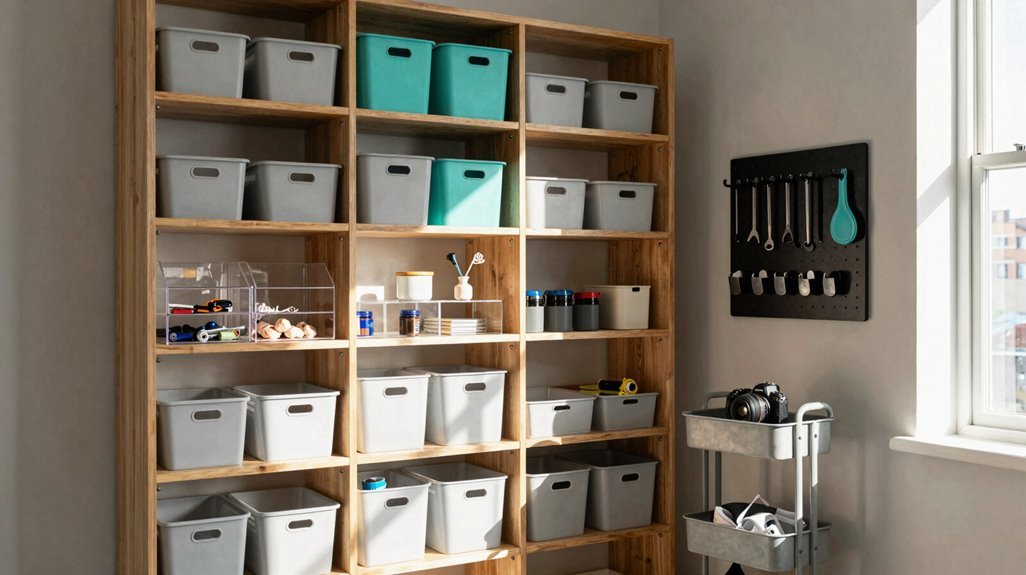
I wanted to show you how vertical space solutions and compact storage systems can transform even the tiniest she shed into an organized retreat. Wall-mounted shelving and pegboard installations reclaim precious floor area, while labeled bins and under-seat compartments keep supplies visible yet contained.
Vertical Space Solutions
Why let precious square footage go to waste when your walls offer untapped potential? I’ve discovered that vertical storage turns cramped she-sheds into efficient sanctuaries where every inch serves a purpose.
- Wall-mounted shelving systems: floating shelves, slim cabinets, labeled bins optimize organization without crowding your 10×10 footprint, keeping essentials visible yet orderly
- Pegboard installations place frequently used tools within arm’s reach, preserving precious floor space for movement and creative flow
- Window seat with concealed storage; under-seat compartments provide dual-purpose seating while hiding supplies, boosting spatial efficiency through integrated design
Compact Storage Systems
The right storage system transforms even the tiniest she shed into a workspace that breathes. I’ve discovered that smart storage organization isn’t about having more space; it’s about seeing possibility in every vertical surface.
- Wall-Mounted Foundations. Shelving Add-On and Pegboard Add-On systems reclaim wall territory, keeping craft supplies, tools, and decor suspended above floor level, creating that coveted sense of spaciousness we all crave in our personal retreats.
- Vertical Storage Integration. Hanging baskets, slim cabinets, and labeled bins organize threads, beads, and office essentials without consuming precious square footage.
- Strategic Placement. Positioning larger storage at room ends maintains clear circulation paths, while window-seat storage offers accessible havens for frequently used materials, proving compact layouts can feel generously appointed.
Insulation, Wiring, and Climate Control for Year-Round Comfort
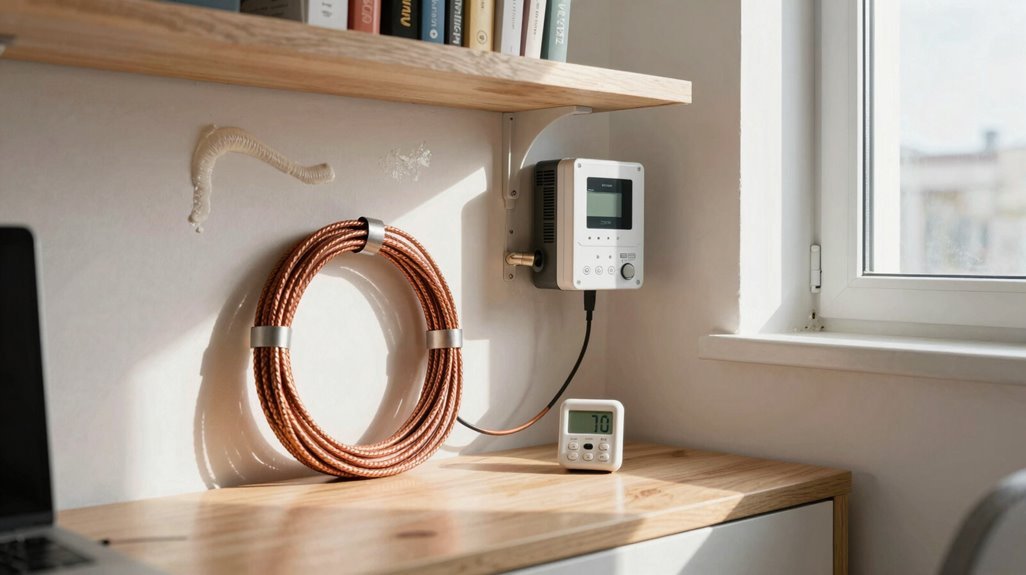
- Insulate completely, walls, ceiling, and floor, using rigid foam or batt insulation before installing finished interior panels; this eliminates drafts and creates thermal mass that moderates temperature swings throughout the day.
- Wire strategically, run a dedicated 20-amp circuit with outlets every six feet along walls, positioning them at desk height for laptops and near corners for supplemental heating units.
- Heat smartly, install a ductless mini-split or select a quiet oil-filled electric heater with thermostat control, maintaining 68°F comfort without the noise that disrupts creative focus.
Finishing those interior walls early, before you move in that velvet chair, locks in efficiency and gives you a proper canvas for curtains, rugs, and everything that makes this space unmistakably yours.
Layer Your Lighting: Overhead, Task, and Accent Options
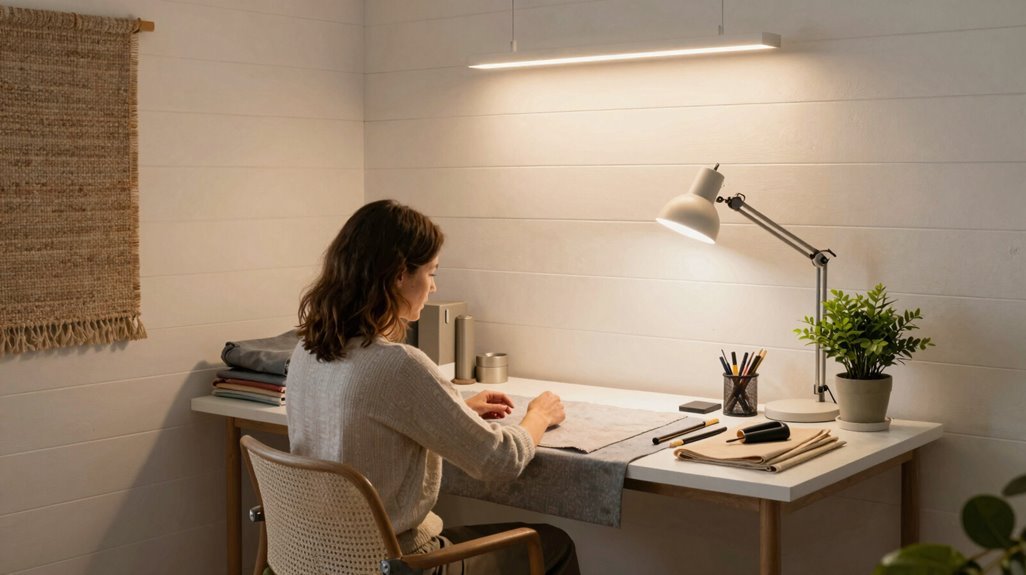
I’ll layer your she shed’s lighting scheme by balancing three essential functions: overhead ambient fixtures that wash the space in even, adjustable illumination, task-focused solutions like articulated desk lamps or under-cabinet LEDs that eliminate shadows at your work surface, and accent elements, perhaps pendant sconces or warm-toned string lights, that sculpt intimate zones for evening unwinding.
Overhead Ambient Lighting
How do you transform a simple shed into a sanctuary that feels both spacious and intimate? I start with overhead lighting, the foundation of ambient illumination that wraps your space in welcoming brightness.
Ceiling-mounted fixtures or recessed lights distribute even, shadow-free glow across your entire she shed, eliminating dark corners that shrink the room. Dimmable LED chandeliers around 3000K–4000K let me shift from energizing white light for morning creativity to softer warmth for evening unwinding. Energy-efficient LED overhead systems reduce heat buildup while maintaining consistent, layered illumination that protects your retreat’s comfort.
Task-Focused Fixtures
Once you’ve established your ambient foundation, I turn my attention to task-focused fixtures, the precision instruments that illuminate your actual work. Task lighting demands strategic placement at work surfaces, eliminating shadows that strain your eyes during detailed crafts or reading sessions.
I position adjustable desk lamps or sleek under-shelf LED strips directly above sewing stations and drafting tables, making sure 500-700 lumens reach your fingertips without glare bouncing off screens.
| Task Lighting Solution | Ideal Application |
|---|---|
| Adjustable Swing-Arm Desk Lamp | Detailed crafts, reading nooks |
| Under-Shelf LED Strips | Workbenches, potting stations |
| Magnifying Task Light | Needlework, miniature assembly |
| Clamp-On Architect Lamp | Drafting, writing surfaces |
I wire dedicated circuits for each zone; your lighting should flex with your day’s rhythm, not fight against it.
Accent Atmosphere Details
Where does your she shed become something more? For me, it’s when layered lighting changes the space from functional to magical: combining overhead ambient glow with task precision and that final, essential touch of warmth.
Accent lighting, I’ve found, is what makes your retreat unmistakably *yours*. I always recommend planning your electrical layout early; dedicated circuits near work surfaces, seating nooks, and reading corners let you control each layer independently.
Consider these elements for your sanctuary:
- Overhead fixtures, providing foundational ambient illumination throughout the space
- Task luminaries, targeting desks and craft tables with focused, precise beams
- Accent lighting, string lights or sconces highlighting textures, architectural details, and cherished decor
I specify warm bulbs at 2700K–3000K; this color temperature fosters the coziness we crave during softer evenings: creating belonging, one gentle glow at a time.
Decorate by Purpose: Fitness, Craft, or Garden Sanctuary
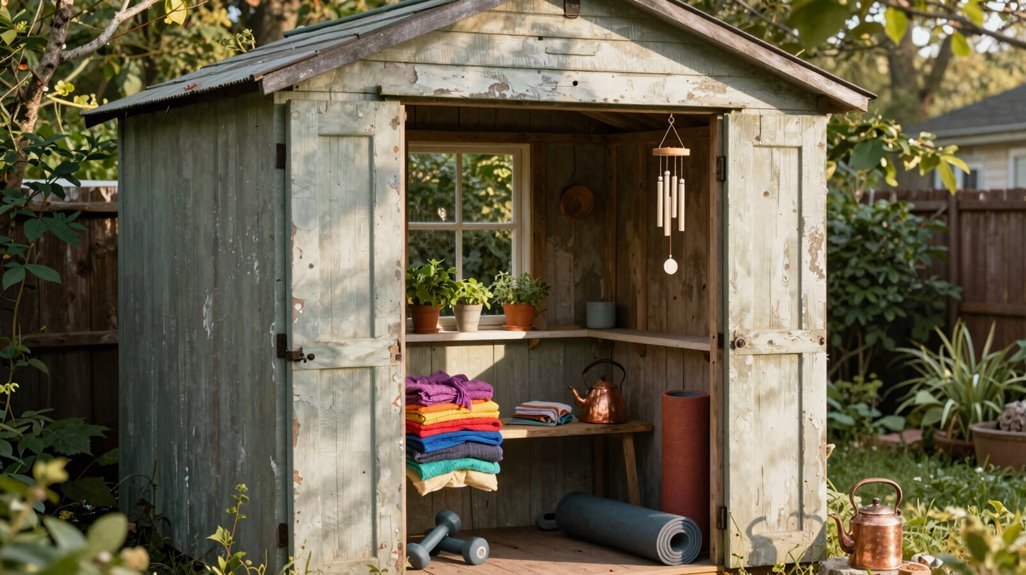
Why settle for a one-size-fits-all retreat when your she shed can mirror your passions with precision? I’ve found that designing a private space around your specific purpose turns these structures from simple outbuildings into deeply personal sanctuaries, places where you truly belong.
Fitness Haven. I recommend installing a sturdy work table for equipment, laying down a thin area rug, and keeping walls clear. This customization option ensures unobstructed movement during yoga flows or HIIT sessions, creating a dedicated wellness zone.
Craft Studio. Vertical storage turns tight quarters into functional workspace: pegboards, wall-mounted shelves, and an adjustable central table accommodate sprawling fabric projects while preserving workflow efficiency.
Garden Sanctuary. Prioritize abundant natural light, comfortable seating, plant-friendly textures, and string lights, extending evening usability through soft illumination.
Across all three, I specify calm palettes, ample lighting, and strategically placed outlets, leaving open floor space around anchor furniture for future reconfiguration flexibility.
Start Building: Find a She Shed That Fits Your Vision
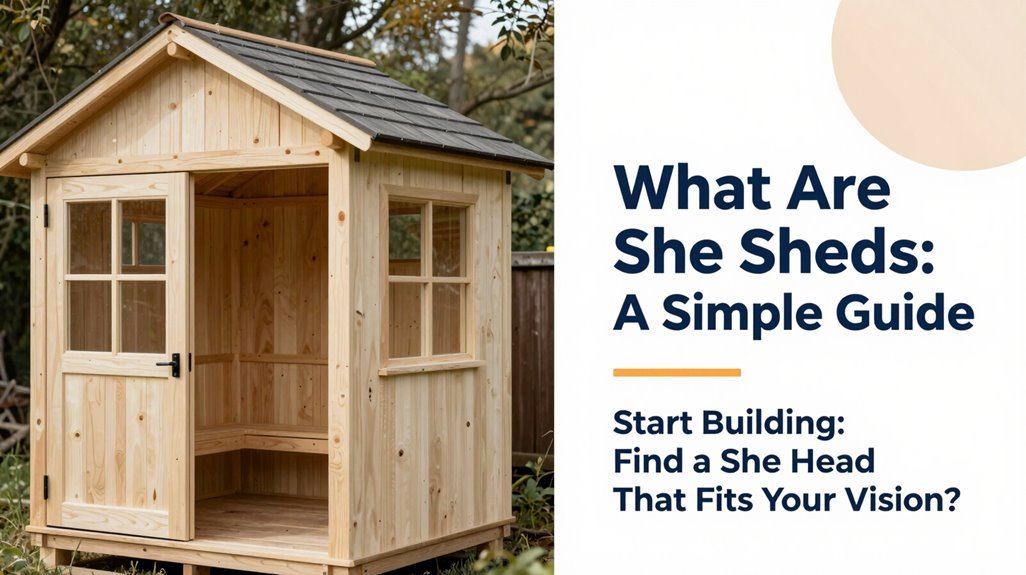
Your purpose now defined, fitness studio, craft haven, or garden retreat, it’s time to match that vision with the right structure. I’m starting with dimensions: 10×10 for an intimate reading nook, or 12×16 when combining making space with lounging. Privacy matters here: positioning your shed, selecting window placement, and choosing opaque or clerestory glass all create that secluded atmosphere you’re craving.
Match your vision with the right structure—whether a cozy 10×10 nook or a versatile 12×16 retreat, privacy and purpose guide every choice.
- Choose your envelope wisely: I prioritize insulation and year-round climate control. Mini-splits run quietly, extending usability through every season.
- Zone with intention: I’m carving distinct areas. Seating for restoration, wall-mounted work surfaces for crafting, concealed storage maintaining visual calm.
- Personalize deliberately: From rustic shutters to bold colorways, I’m ensuring exterior coherence with my home while expressing individual character through flower boxes and custom millwork.





