
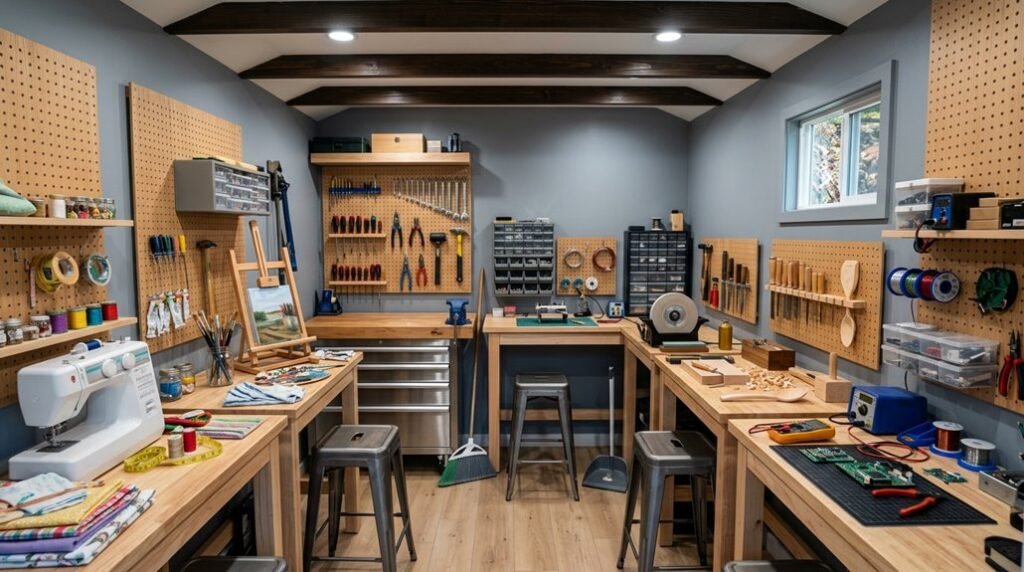
A shed workbench is the spine of any maker’s sanctuary, compact, deliberate, unyielding.
I’ve wrestled with cramped corners and shifting priorities, learning that every square inch demands intention.
These seven approaches turn constraint into capability.
Decide Between Fixed, Fold-Down, or Mobile Garage Workbench
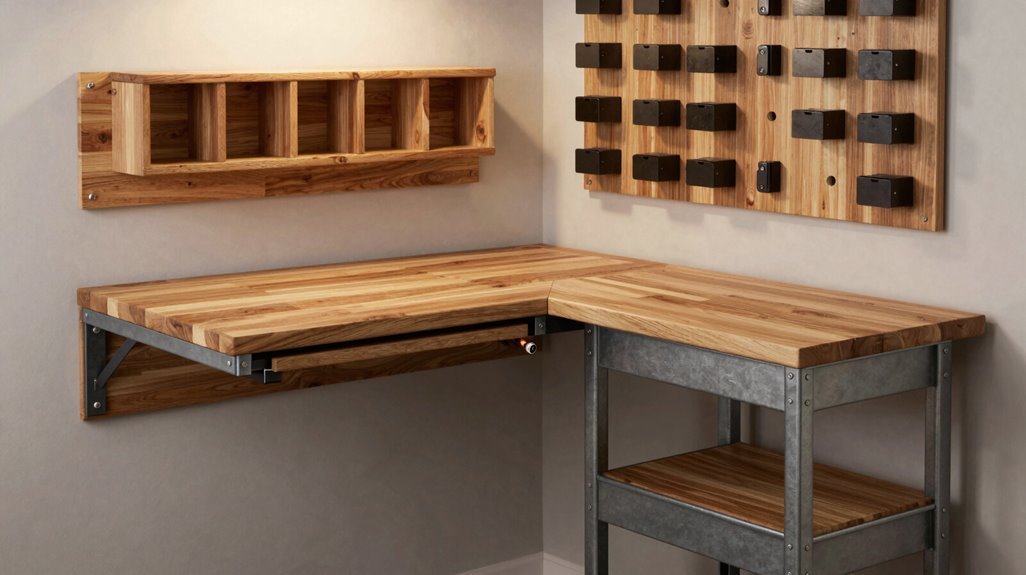
When you’re staring at bare studs and limited square footage, where do you even begin? I’ve found that choosing the right workbench type turns cramped sheds into functional workshops.
1. Fixed Benches: The Anchor
A 4 x 2-foot fixed bench along your back wall creates stability for heavy tasks: planing, assembly, anything demanding zero movement. It’s your permanent workstation, the heart of your space.
2. Fold-Down Benches: The Space-Saver
Fold-down benches collapse against studs when projects finish. I recommend solid-core doors mounted with heavy-duty brackets; these withstand real use without sagging. Deploy them only when needed; reclaim your floor immediately after.
3. Mobile Benches: The Shape-Shifter
Mobile benches with lockable casters reconfigure your workflow instantly. Roll them aside for vehicle clearance, then lock wheels for secure operation. In tight Midwest garages and coastal sheds alike, this adaptability proves essential.
Mix approaches: one fixed anchor, plus folding or mobile surfaces for flexibility.
Build a Wall-Mounted Workbench With Clamp-Ready Overhang
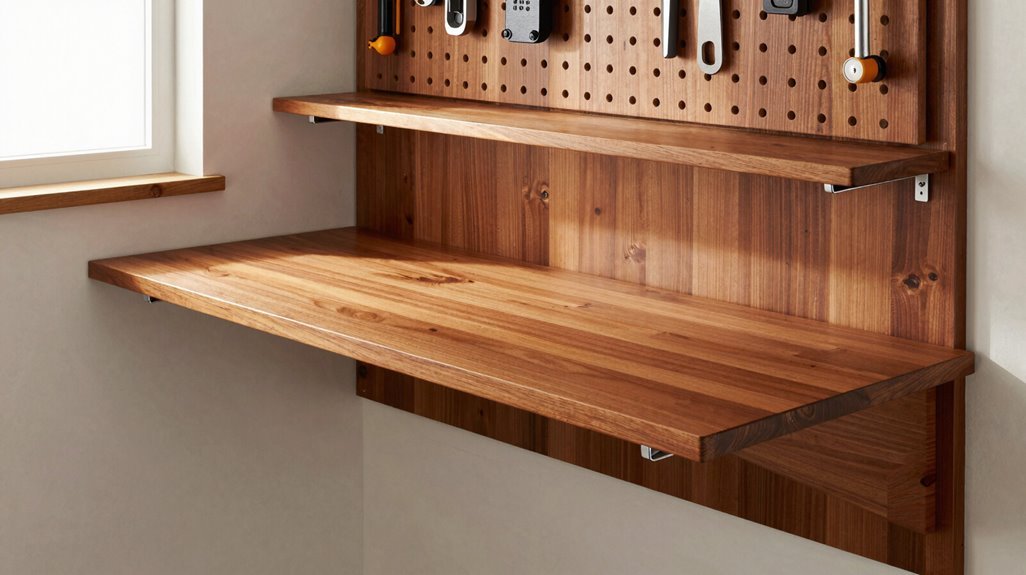
Where exactly do you secure a workpiece when every inch of bench space matters? I’ve found the answer in a wall-mounted workbench with clamp-ready overhang, a design that transforms dead wall space into serious workholding capability.
Wall-mounted workbench with clamp-ready overhang: dead wall space becomes serious workholding capability.
Here’s how this setup earns its place in your shed:
- Overhang Engineering — I extend my benchtop 3-6 inches beyond the support frame, creating clamping real estate without widening my footprint; crucial in my 12×24 layout where square footage commands premium value.
- Vertical Anchoring — My wall-mounted structure bolts directly to studs, eliminating legs that consume floor space, meaning I gain mobility for larger projects and tool carts circulating below.
- Integrated Systems — I pair the overhang with quick-release clamps docked underneath, streamlining transitions between planing, routing, and assembly without repositioning my entire station.
This configuration respects your shed’s constraints while refusing compromise on functionality.
Add a Fold-Down Section to Expand Your Work Area
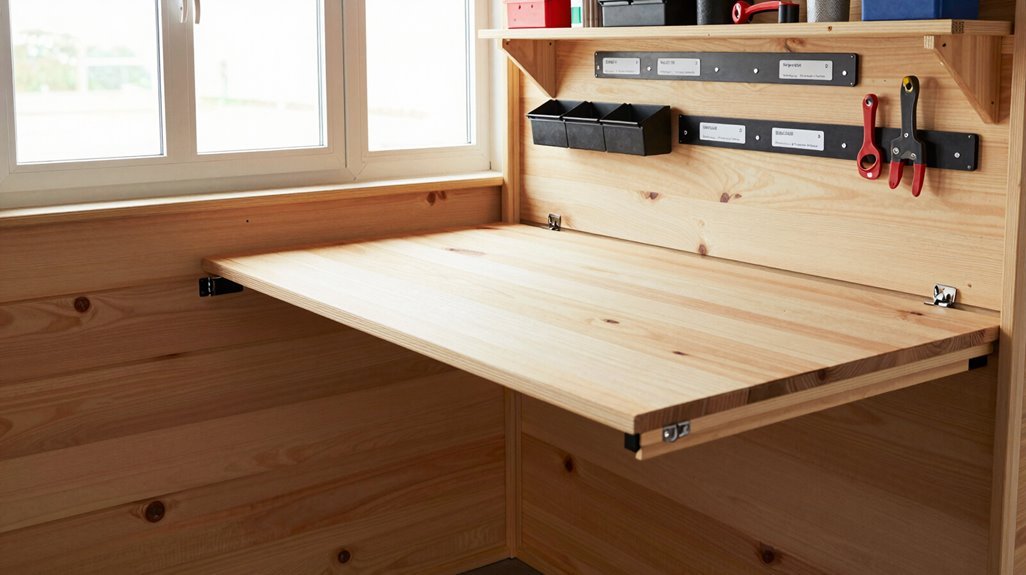
A wall-mounted bench with fixed dimensions can’t always accommodate sprawling projects: sheet goods, door frames, or assemblies that demand lateral space. That’s why I’m adding a fold-down section to my setup.
- Select Robust Hardware. I install heavy-duty folding brackets rated for substantial loads; they’re what make this extension viable, not precarious.
- Repurpose Quality Materials. A solid core door becomes my fold-down surface; its mass and flatness rival purpose-built benches at fraction of cost.
- Design for Dual Function. My 6-ft by 18-in fold-down bench along the side wall expands my work area during projects, then disappears; restoring clearance for vehicle storage.
- Integrate Strategically. I pair this fold-down element with my fixed bench, creating modular workspace that maximizes space without permanent sacrifice.
This approach lets me scale my shop’s capabilities to match each project’s ambition.
Choose the Right Height: 30 Inches for Vise Work, 36 for General Use
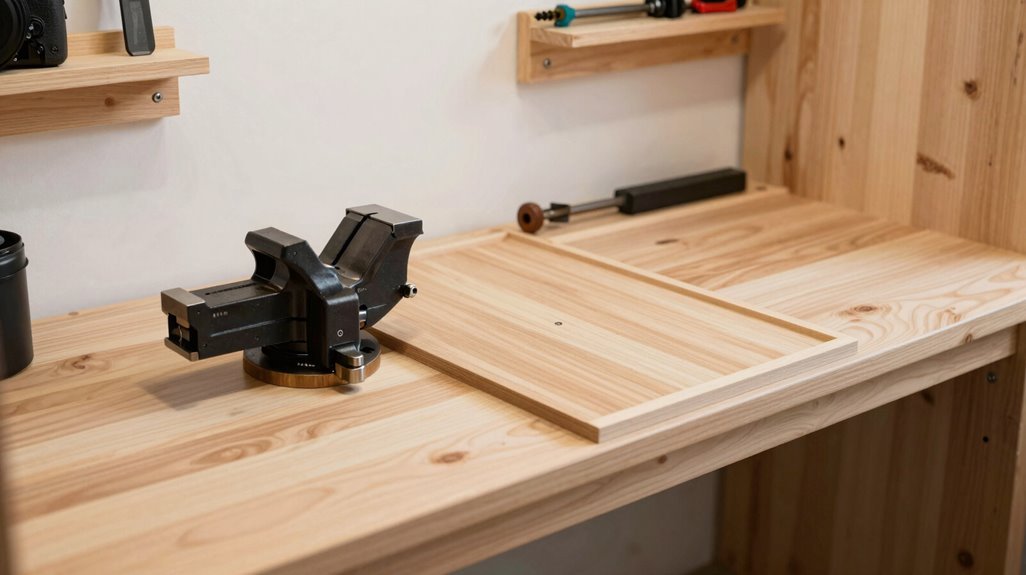
How does a single inch transform hours of tedious labor into fluid craftsmanship? I’ve learned that bench height isn’t arbitrary: it’s the foundation of every cut, clamp, and carve in your shed sanctuary.
Finding your ideal measurement means honoring both your body and your craft:
Honor your body, honor your craft: the perfect bench height meets you where you stand.
- Measure Against Your Frame — Stand with arms relaxed; your palm should rest flat on the surface. I’m 5’10”, so 36 inches keeps my shoulders level during long sessions.
- Match Height to Task — For vise work, I drop to 30 inches, gaining mechanical advantage when torquing stubborn stock. General assembly flows better at standard height.
- Consider Your Primary Work — Dominant hand-planing demands lower benches; electronics repair needs elevation. Let your most frequent operations dictate your bench height compromise.
Build for the maker you’ll become, not merely the one you are today.
Source Cheap Materials: Solid Core Doors and Cut-Down Shelving
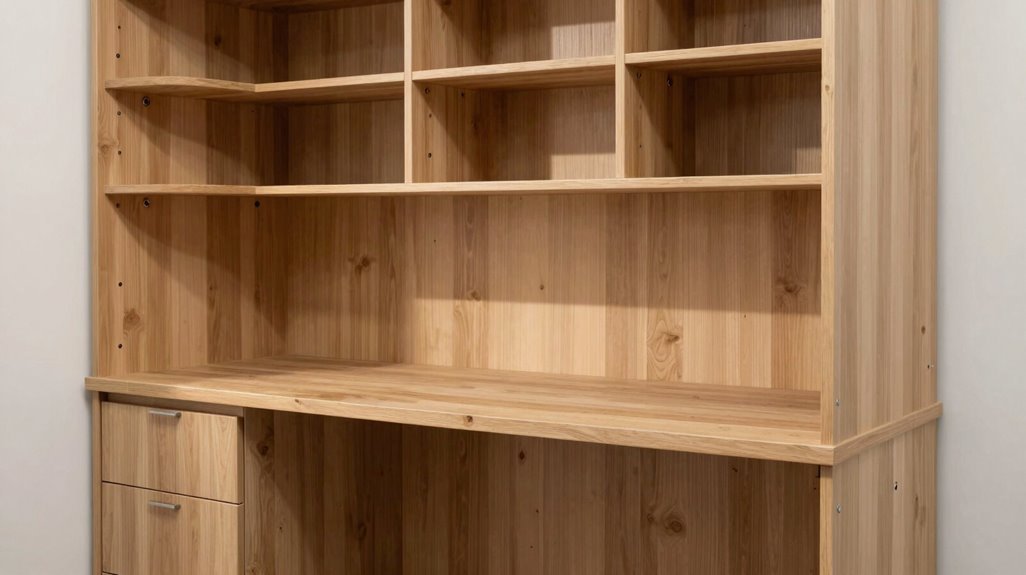
Once you’ve settled on your bench height, the question becomes what you’ll actually build it from, and I’ve found that the best solutions often hide in plain sight, waiting to be reclaimed from renovation debris or thrift store backrooms.
1. Hunt for Solid Core Doors
These dense, fiber-filled slabs, often discarded during home renovations, deliver exceptional rigidity without the premium price of hardwood. I’ve mounted them as fold-down surfaces, their laminated construction resisting warp and denting through years of abuse.
2. Slice Existing Shelving
Standard wire or laminate shelving, cut to custom lengths, becomes compact bench supports. By sectioning units to match your clearance constraints, whether 30 inches for vise work or 36 for standing tasks, you reclaim vertical storage while preserving floor area.
3. Pair Systems Strategically
Combining wall-mounted solid core door surfaces with cut-down shelving brackets creates collapsible workstations, maintaining circulation paths in cramped outbuildings.
Build Your Workbench Top for Light Yet Strong Rigidity
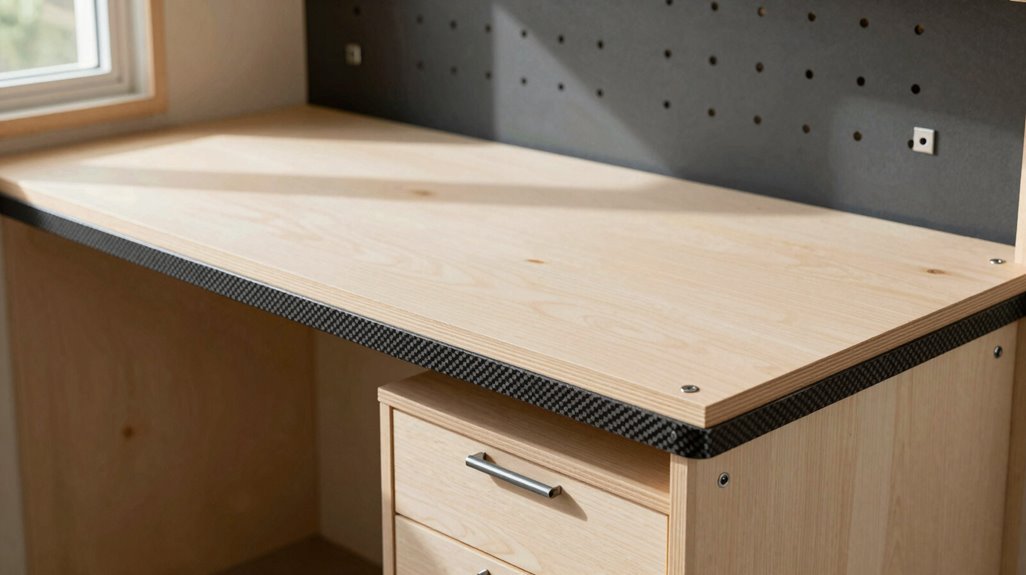
Three principles guide my approach to workbench tops in tight quarters: strategic overhang, calculated material selection, and geometry that multiplies function without expanding footprint.
Three principles for tight quarters: overhang for clamping, smart materials for rigidity, and geometry that multiplies function without stealing space.
Here’s how I build rigidity without weight:
- Overhang the edges deliberately: extending your top 3–4 inches past the frame creates instant clamping zones. I’ve secured everything from drawer fronts to dowels this way, no extra hardware required.
- Layer torsion-box construction: a skin of ½-inch plywood over a grid of pine strips delivers remarkable stiffness at half the weight of solid timber. You’ll thank yourself when repositioning the bench.
- Design for future workholding: leaving material for dog holes or a vise mount means your clamping strategy evolves with your projects, not against your square footage.
This geometry respects your shed’s limits while expanding what’s possible within them.
Store Bulky Tools Above Your Bench to Maximize Floor Space
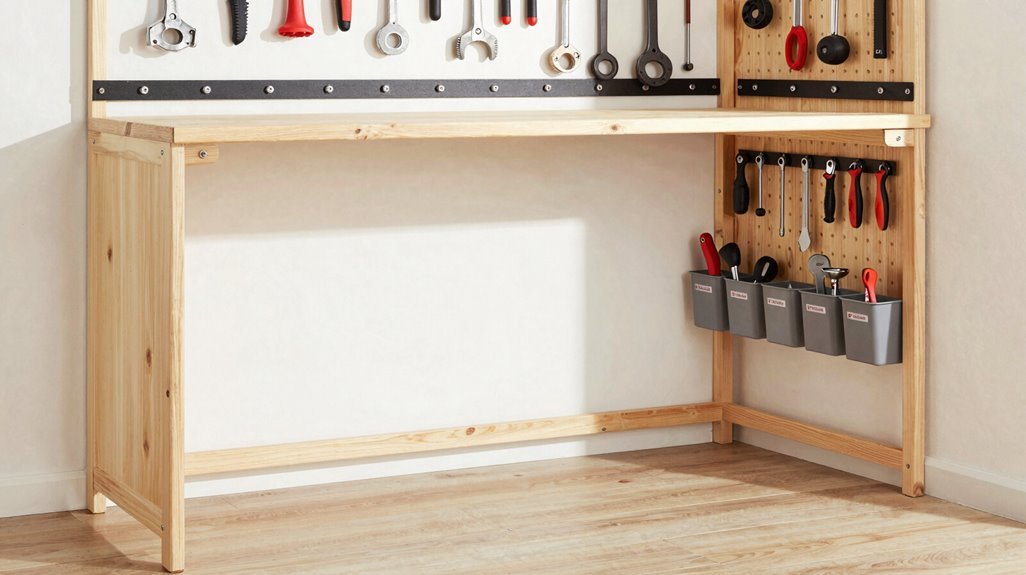
With your benchtop engineered for rigidity without bulk, the real estate beneath and around it demands equal intention. I look upward.
1. Overhead Storage Spans
Installing parallel racks above your bench on both sides transforms dead air into functional storage, keeping bulky tools suspended, not scattered across your 20×12 footprint.
2. Vertical Cabinet Towers
Running cabinets floor-to-ceiling exploits every inch of wall space, housing seasonal gear and oversized equipment while your bench breathes below.
3. Loft Integration
A storage loft above captures long items, hoses, and rarely used machinery, maintaining visual and physical clearance for active projects underneath.
4. Hybrid Wall Systems
Pairing pegboard with tall cabinetry organizes essentials at eye level while maximizing wall real estate through layered, accessible storage.
5. Enclosed Protection
Dust-suppressing cabinet doors shield bulky contents, reducing visual clutter and preserving tool integrity in compact workshop conditions.





