
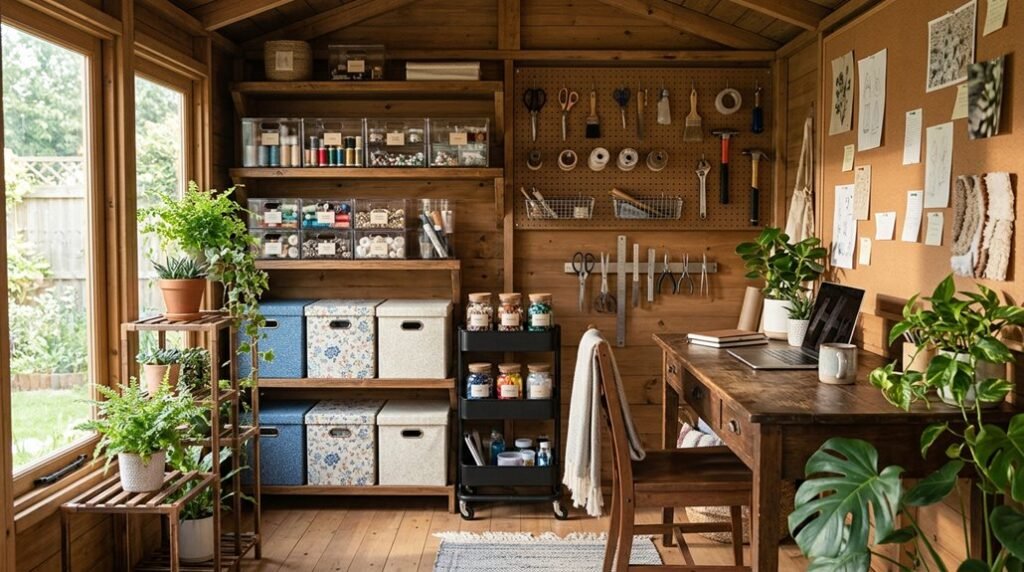
I’ve spent years refining compact workspaces, and my she shed taught me that organization isn’t about more storage, it’s about intentional flow.
When every tool has a designated anchor point and surfaces collapse against walls, the architecture itself breathes. These seven strategies changed my 120-square-foot retreat from cluttered afterthought to purposeful sanctuary.
Organize Your She Shed Around Your Primary Activity
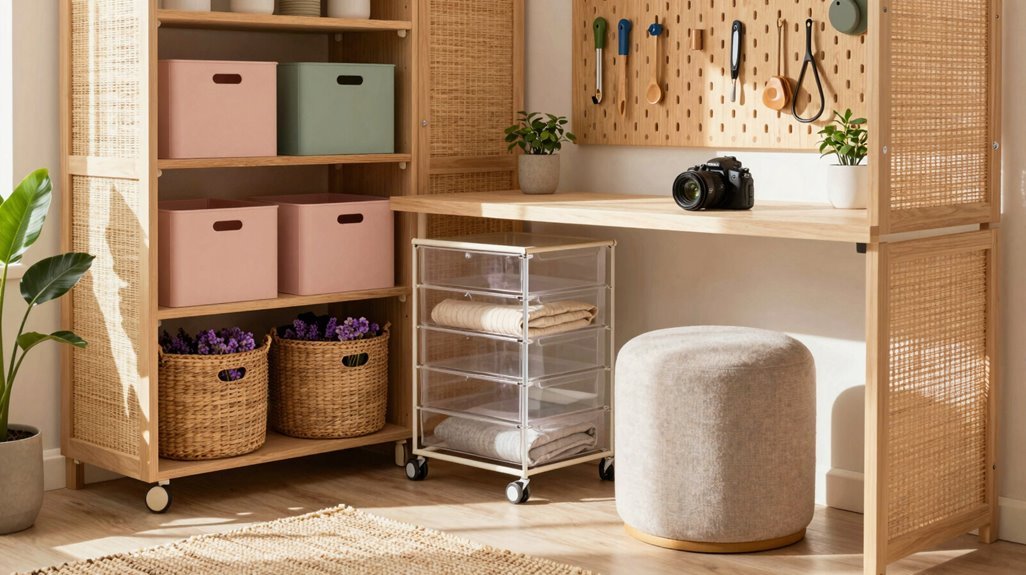
Why let your she shed become a catchall when it can become a sanctuary? I’ve learned that organizing around your primary activity changes chaos into creative flow.
1. Establish Your Dedicated Workspace
A collapsible workbench anchors my DIY zone, folding flat against the wall when inspiration pauses. Its lower shelf cradles essential gear.
2. Implement Vertical Tool Organization
Three 24-inch pegboard panels create accessible homes for hand tools. Above them, sanding blocks rest where I can grab them instinctively. Painting the pegboard Hale Navy elevates the utilitarian into something personal.
3. Corral Supplies in Transparent Storage Bins
Twelve-gallon clear bins reveal contents immediately: tiling here, plumbing there. This eliminates frantic searching mid-project.
4. Designate Zones for Materials
My potting bench doubles as project staging, while vertical 2×4 cubbies manage scrap wood storage, keeping reclaimed lumber visible and ready for transformation.
Choose Work Surfaces That Fold Away When You Need Floor Space
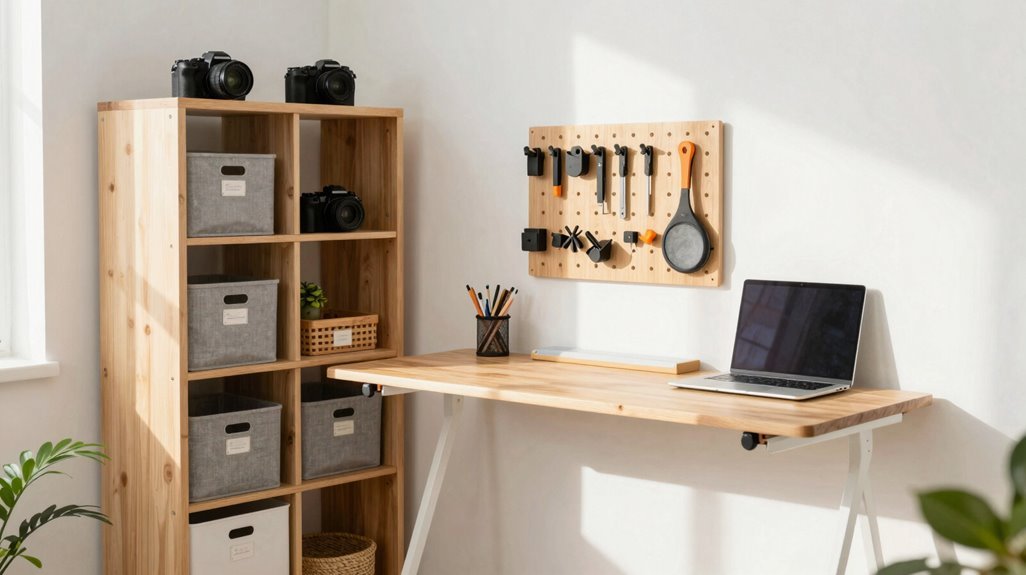
How do you reclaim square footage when your project ends but your shed doesn’t expand? I’ve found the answer lies in collapsible surfaces that transform your space on demand.
1. Install a Folding Workbench
Mount a wall-hinged bench, typically 24″ deep, that drops flat against studs when released. I’ve watched my own portable workspace disappear in seconds, leaving floor space for yoga or entertaining.
2. Embrace Modular Layout Principles
Design around mobility. My space-saving approach uses caster-mounted components I reconfigure weekly; no permanent anchors, no regrets.
3. Prioritize Clutter-Free Transitions
With collapsible surfaces, cleanup becomes ritual, not chore. Tools retreat to designated zones; surfaces vanish.
This DIY organization strategy honors what we crave: belonging in spaces that adapt to us, not the reverse.
Store Supplies in Clear Bins for Instant Visibility

Where do misplaced tools vanish when momentum matters? In my DIY workspace, I’ve learned that visibility beats rummaging every time. That’s why I’ve built my shed storage around 12-gallon clear bins, no more guessing what’s inside.
My storage organization follows project categories: tiling supplies in one bin, plumbing and irrigation in another, painting gear in a third. When I’m mid-project, this tool containment system keeps me flowing. I grab the bin I need, work, return it, no clutter colonizing my surfaces.
This approach prioritizes functional clarity over curated aesthetics. Each bin slides onto modular shelving, creating an efficient workflow architecture. You’re not just organizing; you’re building a system that respects your creative rhythm. Welcome to a space where everything has its place, and you always belong.
Mount Tools to Metal Walls With Magnets or Pegboards
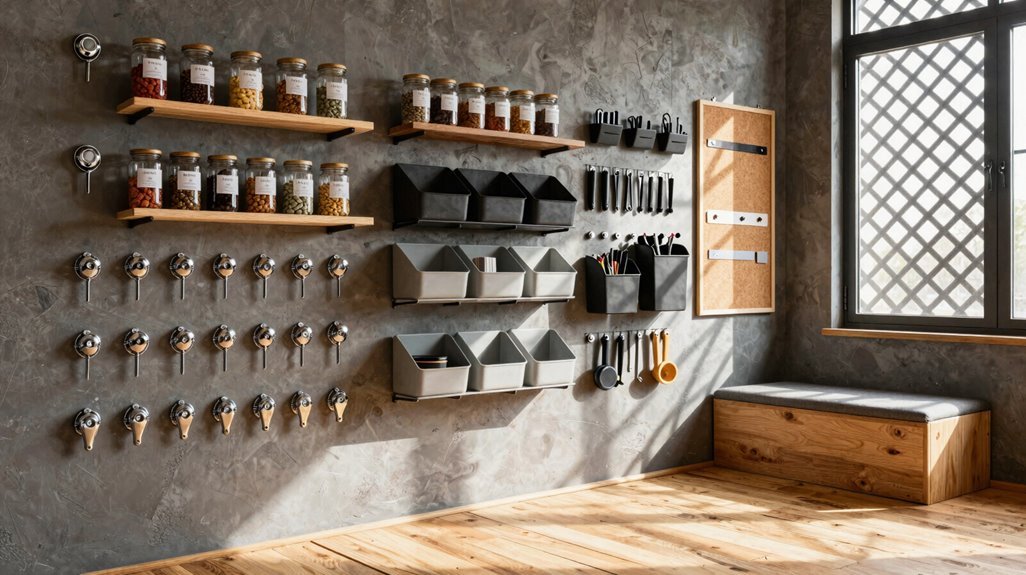
I’ve found that vertical storage transforms a she shed’s utility, freeing precious floor space while keeping essentials visible. Magnetic strips anchor heavy tools to metal walls with surprising force; no drilling required. Pegboard systems, secured to studs at standardized 16-inch centers, adapt endlessly with hooks and bins.
Together, these methods create an architectural rhythm of order: metal’s raw strength meeting the pegboard’s democratic flexibility, each surface a deliberate choice in service of craft.
Magnetic Tool Storage
Why let your most-used implements disappear into drawer chaos when vertical metal surfaces offer instant accessibility? I’m transforming my she shed with magnetic tool storage, mounting steel plates directly to metal walls for instant, satisfying attachment. This wall-mounted storage system delivers quick visual identification; I spot my Phillips head instantly without rummaging.
- Heavy-Duty Magnetic Strips — I install 24-inch neodymium bars along structural studs, supporting up to 50 pounds per inch; my wrench collection hangs securely, mid-wall, within arm’s reach.
- Modular Pegboards — I customize pegboards with galvanized hooks, arranging hammers and pliers in ergonomic rows; the perforated steel backing ensures shed durability through humid seasons.
- Hybrid Configurations — I combine magnetic zones with pegboard sections, maximizing vertical real estate while maintaining tool organization that feels both professional and personally curated.
Pegboard Organization Systems
When I’m arranging my workspace for maximum efficiency, pegboard organization systems become the architectural backbone of my she shed’s vertical storage strategy. I mount three 24-inch simple panels to studs, creating wall-mounted storage that transforms cluttered surfaces into curated visual display. My hammers, wrenches, and screwdrivers hang on pegboard hooks from existing packs, while sanding blocks and wood filler rest on the shelf above, practical shed organization that welcomes fellow makers.
| Component | Function | Customization |
|---|---|---|
| Pegboard panels | Small tools placement | Paint any color |
| Hooks and clips | Secure tool storage | Rearrange freely |
| Top shelf | Un-hangables storage | Add baskets |
| Window molding | Framed edges | Decorative finish |
For my garage shed retrofit, I’m painting mine Hale Navy by Benjamin Moore, proving pegboard organization elevates both metal sheds and creative sanctuaries.
Build Vertical Storage With Shelves and Hooks
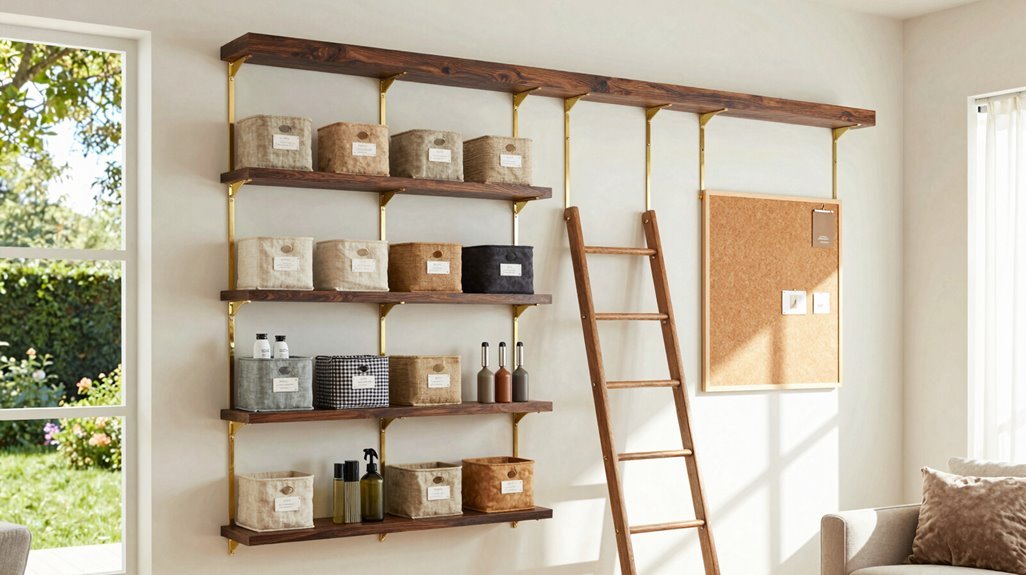
Where does everything go when square footage is scarce? I maximize vertical storage, transforming bare wall space into functional architecture.
Vertical storage transforms bare wall space into functional architecture when square footage is scarce.
Here’s how I build upward:
- Heavy-Duty Shelving — I construct shelves from 2x4s and plywood, anchoring them to studs for load-bearing capacity; these platforms suspend planters, power tools, and reference materials above my workspace, creating breathing room below.
- Pegboard Systems — Mounting pegboards with hooks and clips, I arrange small implements in visible grids; this modular surface adapts as my projects evolve, keeping essentials at arm’s reach without countertop clutter.
- Hardware Organizers — Installing wall-mounted containers, slide-out, tip-out, portable units, I corral fasteners at eye level; labeled mason jars with painted lids nestle among hardware organizers, delivering nostalgic order to my sanctuary.
Contain Messy Materials in a Zone That Doesn’t Spread
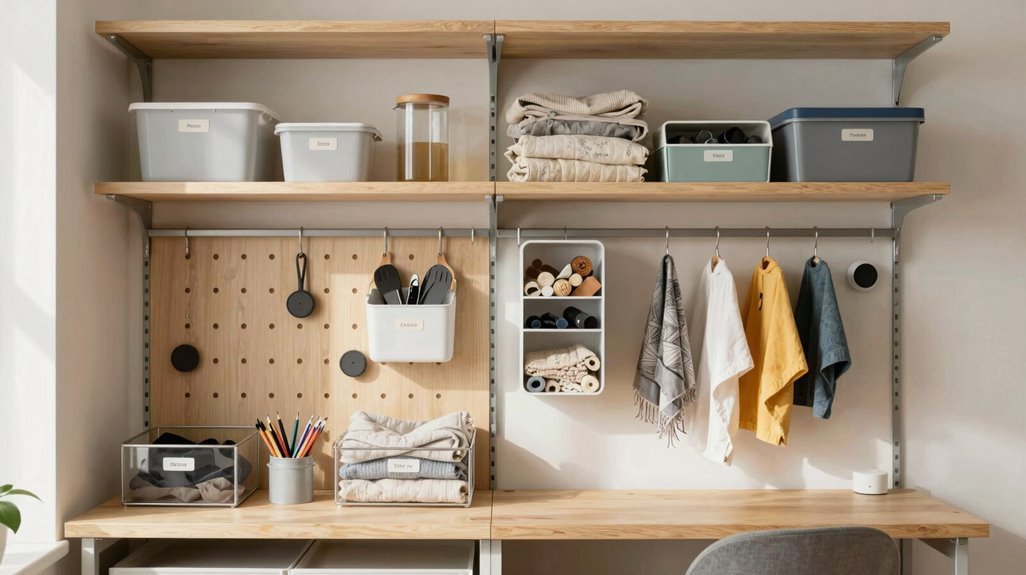
How do I keep sawdust from colonizing every surface? I’ve learned that containment starts with boundaries.
1. Establish a Dedicated Workspace
I installed a collapsible workbench as my project zone, complete with a lower shelf for tools. This creates a single point of origin for mess, keeping my back yard shed’s living areas pristine.
2. Corral Supplies in Transparent Systems
My shed organization relies on 12-gallon storage bins, sorted by project type: tiling, plumbing, painting. Visibility eliminates rummaging; no labels needed.
3. Mount Vertical Storage
Three 24-inch pegboard panels, painted Hale Navy with window molding, hang above my bench. Sanding blocks and wood filler live here, off surfaces.
4. Isolate Scrap Wood
I built a 2×4 rack with vertical sections for long boards, a low cubby for panels, and flexible end storage, containing offcuts before they spread.
Label Systems That Others (or Future You) Must Navigate
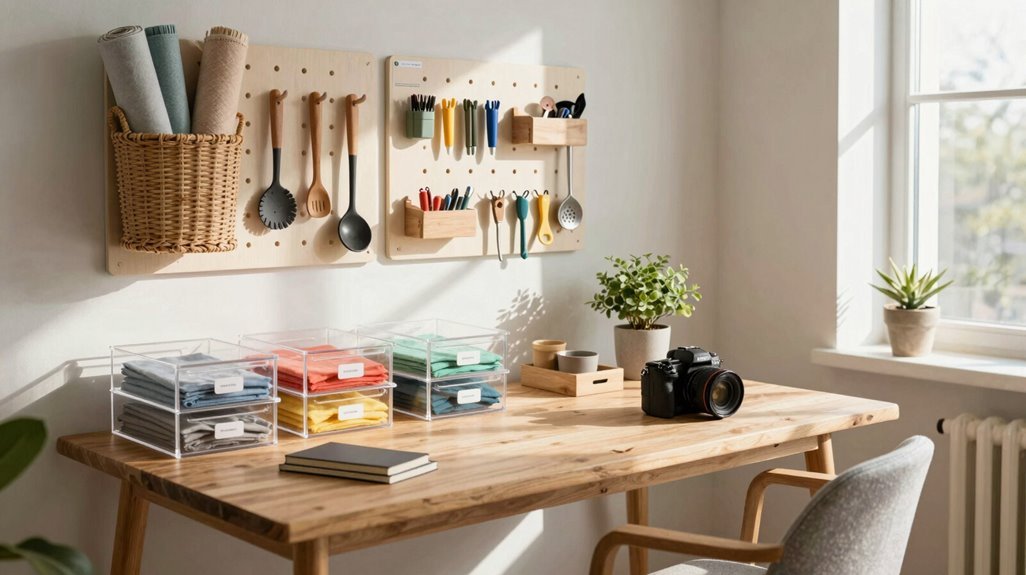
I’ve learned that even the most beautifully curated she shed falls apart without a labeling system that anyone, my sister borrowing tools or my future self on a rushed Sunday, can interpret at a glance. By anchoring clear zone markers to color-coded categories (think crimson for painting supplies, slate for plumbing), I’m building a visual language that transcends memory.
It’s this future-friendly precision, date stamps on adhesives and revision tags on patterns, that changes my retreat from a personal hideaway into a functional, shareable space.
Clear Zone Markers
Why let confusion creep into your sanctuary when deliberate boundaries can preserve both function and flow? I’ve found that clear zone markers transform chaotic sheds into cohesive retreats where every square foot earns its keep.
Through intentional organization, I establish designated zones that streamline shed workflow, separating potting benches from power tool stations, creating safety zones around hazardous equipment, and carving out quiet corners for reflection. Color-coding these divisions (distinct from categorical labeling systems) enables instant spatial recognition, even when I’m stepping through at dusk.
- Floor Tape Boundaries — I apply durable vinyl strips to demarcate activity zones, ensuring 36-inch clearances around machinery while maintaining visual continuity across concrete or wood substrates.
- Hanging Signage — Suspended acrylic panels, positioned at sightline height, announce zone functions without consuming wall space needed for storage planning.
- Threshold Transitions — I install contrasting floor materials, cork beneath seating areas, sealed concrete near workbenches, creating tactile, subconscious cues that reinforce spatial hierarchy.
Color-Coded Categories
Once spatial boundaries anchor your shed’s layout, the next layer of clarity emerges from how you classify what lives within them. I build my organization system around color-coded bins—red for gardening, blue for hardware, green for tools—creating instant tool identification without second-guessing. This labeled storage extends to wall-mounted organizers and multitier storage, where visual routing guides every return trip.
You’ll find cohesion matters: matching pegboard borders to bin lids reinforces the scheme. When others enter your space, or when months pass between projects, your future self thanks you. The system respects both autonomy and shared purpose, inviting anyone to participate without orientation. Color-coding changes searching into knowing, keeping your sanctuary functional and welcoming.
Future-Friendly Labels
When I’m standing in my she shed three years from now, dust motes catching the afternoon light through the clerestory window, I want to know exactly what’s inside that galvanized bin without lifting the lid. That’s why I’m investing in future-friendly labels that transform my shed storage into a legacy-worthy organization system.
- Choose durable materials, weatherproof vinyl or engraved metal withstand humidity and UV exposure, preserving legibility where paper fails.
- Layer color-coding with hierarchy, matching my previous category system, I’m assigning specific hues to project types while maintaining consistent typography for instant item identification.
- Create backup documentation, keeping digital photos and printed reference sheets helps my labeling system survive even if physical tags degrade.
This approach minimizes re-labeling, reduces search time, and welcomes collaborators into my creative sanctuary with clarity.





