
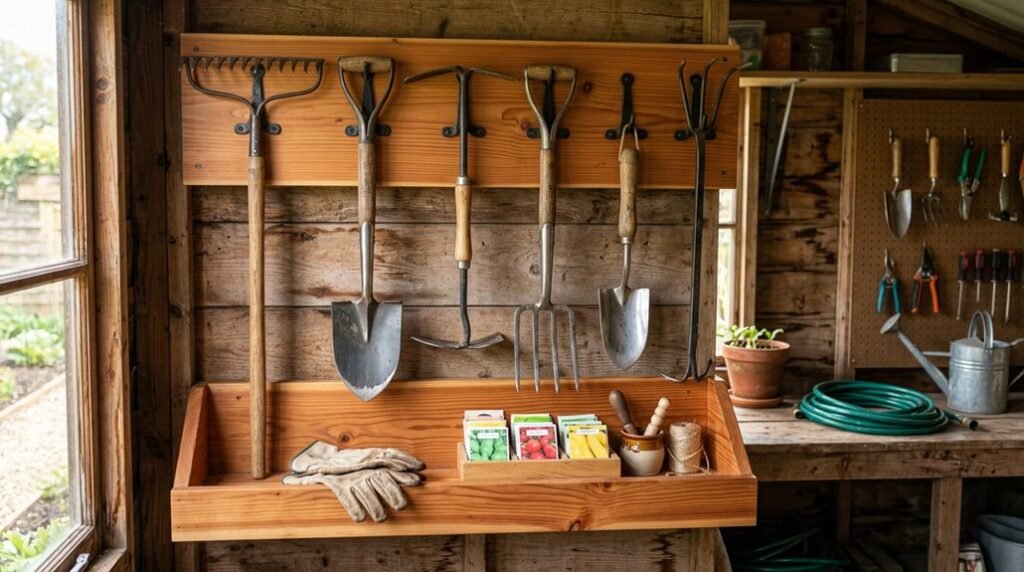
I sketch the frame, I mark the centers, I cut the bevels, each step builds toward something sturdier than storage. A garden tool rack isn’t mere organization; it’s vertical architecture for your shed, transforming clutter into accessible, ergonomic design.
Seven pegs at 150 mm intervals, 28-degree bevels, spar varnish against the weather: these details matter. You’ll want to see how the mortises meet the dowels, how the frame squares against the wall. Start with the right materials, I’ll show you where.
Pick the Right Rack Style for Your Tools
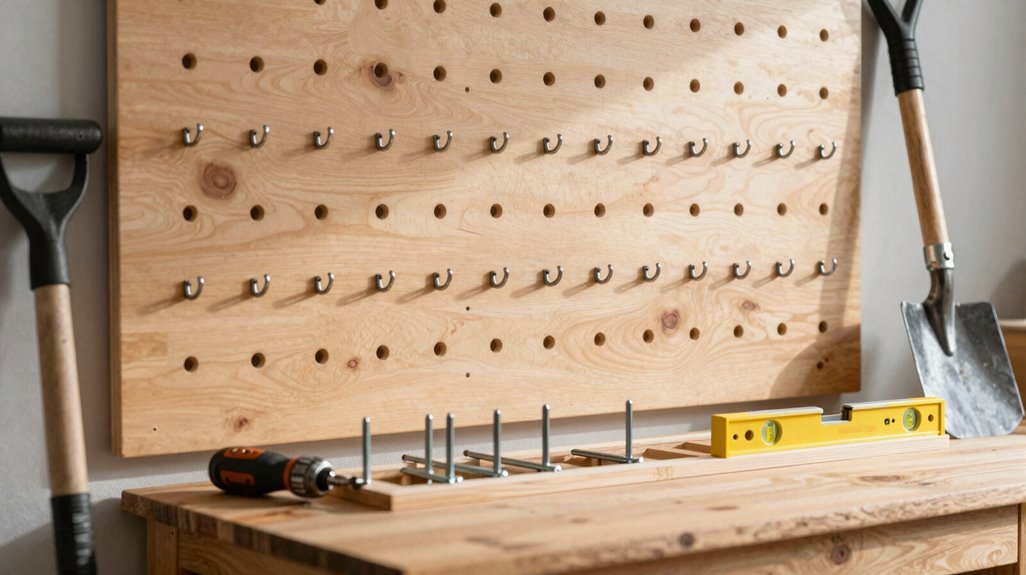
Where do I even begin when my shed’s become a labyrinth of tangled handles and toppling shovels? I’ve learned that reclaiming this chaos starts with choosing the right foundation, a wall-mounted rack that lifts everything off the floor.
This gives me one-handed access to shovels, rakes, and brushcutters while preserving precious square footage.
Two proven designs emerge from my research. First, vertical uprights with dowels anchored to a sturdy backer panel, scrap plywood works beautifully, create individual berths for each tool. I secure hangers with pocket hole screws, 1 1/4 inch, making sure structural integrity holds against seasonal humidity swings.
Alternatively, horizontal recesses routed into paired boards cradle handles securely, maximizing linear storage.
Spacing demands precision: I allow 5 cm from panel edges, spacing standard tools 7 cm center-to-center, while hedge trimmers require 14 cm. When wall area fragments, I use multiple backer pieces or rotate to horizontal layouts, adaptable architecture for every shed’s idiosyncrasies.
Measure Your Tools and Map Your Layout
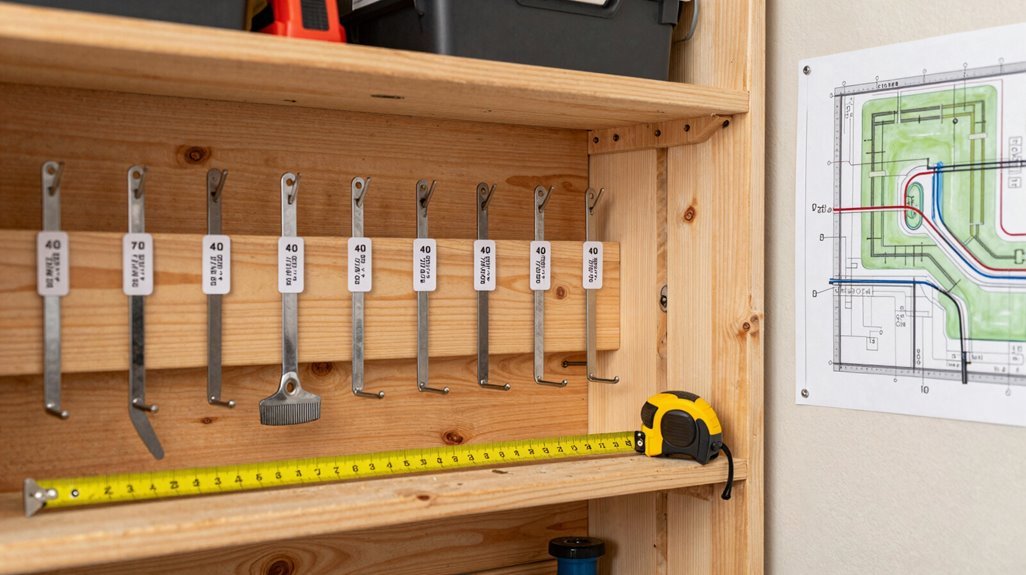
With my rack style settled, I’m ready to translate paper plans into physical reality, starting with the tools themselves spread across my workbench like a disassembled orchestra.
- Arrange and Assess — I lay out every rake, shovel, and hoe, spacing them deliberately to prevent crowding; this visual inventory reveals exactly how my backer panel must accommodate the collection.
- Size the Foundation — Selecting dimensions around 12 inches tall by 48 inches wide, I make sure the panel fits my wall while leaving room for expansion.
- Mark with Precision — At 150 mm centers (roughly 6 inches), I punch alignment guides for drilling, creating a rhythmic grid across the surface.
- Prepare the Hardware — Cutting hangers from scrap plywood, I bore pocket holes for 1¼-inch screws, securing each arm to the panel before the final wall mounting.
Get Your Materials and Tools Ready
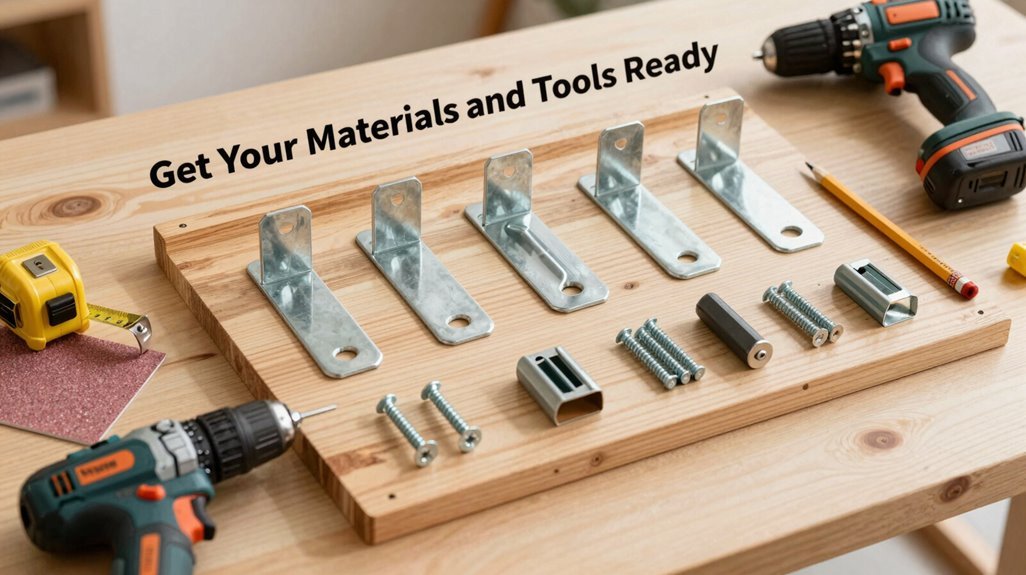
I’ll gather scrap ¾ plywood or 1x boards for the backer and hangers, along with pocket hole screws and a 32mm spade bit, measuring roughly 12 by 48 inches for the backer and 2 ½ inches for the hanger braces. I’ll need my drill/driver, stud finder, and center punch for marking 150 mm spacing between tool centers, making sure each hole aligns precisely with the structural rhythm of the rack.
Finally, I’ll set aside sandpaper and my chosen stain, applying a light coat once cutting and drilling are complete to protect the timber and improve the finished piece.
Essential Timber Selection
Why settle for a cluttered shed when you can craft something both functional and visually striking together? I’ll walk you through the essential timber selection, starting with what we’ve got on hand.
1) Reclaimed Studs as Primary Stock
I source scrap wood from previous builds. Common 38mm x 63mm wall studs work beautifully for the structural frame; their dimensional stability is proven in countless homes across North America.
2) Plywood Backing Panels
I cut ¾-inch plywood to roughly 12-by-48 inches. This establishes the rack’s vertical footprint while accommodating varied tool lengths.
3) Premium Hardwood Accents
For pegs and hangers, I select beech dowels: dense, wear-resistant, lending refined contrast against utilitarian studwood.
4) Protective Finishing
I’ll sand thoroughly before applying stain, perhaps that striking blue, to seal the timber against moisture and time.
Cutting and Marking Tools
Before we commit saw to timber, let’s gather the instruments that’ll transform raw stock into precise joinery, each tool selected for its capacity to render clean geometry from reclaimed material.
1. The Marking Arsenal
I reach for my engineer’s square, centre punch, and sharp pencil, laying out marking lines with architectural precision. Each of the seven tool positions, spaced 150mm on centre, gets punched to guide the drill bit true.
2. The Cutting Suite
My mitre saw awaits, set to 28 degrees for those subtle angled terminations that elevate utility into craft. Post-cut, I’ll sand every arris smooth, preparing surfaces for what comes after, not yet finishing, merely refining.
3. The Boring Rig
A 32mm spade bit in the pillar drill creates clean mortises, drilling 90% through, flipping, completing from the far side to eliminate breakout. This is how we build: methodically, together, each tool an extension of shared intent.
Finishing Materials Needed
With the joinery complete and every mortise bored true, I’m turning my attention to what comes after, the surface treatments that’ll transform this assembly of reclaimed timber into a finished piece worthy of display.
1. Abrasives
You’ll need sandpaper ranging from 80 to 220 grit, starting coarse to knock down saw marks, finishing fine for that hand-rubbed silkiness the back panel deserves.
2. Protective Coatings
I’m reaching for penetrating oil stain, perhaps that weathered gray that’s in style from Portland to Brooklyn, followed by marine-grade spar varnish, three coats minimum, for a sacrificial barrier against shed humidity.
3. Application Tools
Quality natural-bristle brushes, lint-free rags, and blue painter’s tape for masking those crisp lines where back panel meets frame.
These finishing materials don’t merely decorate; they seal the deal, literally, protecting your labor while revealing grain patterns you’d otherwise miss.
Cut Your Timber to Exact Sizes
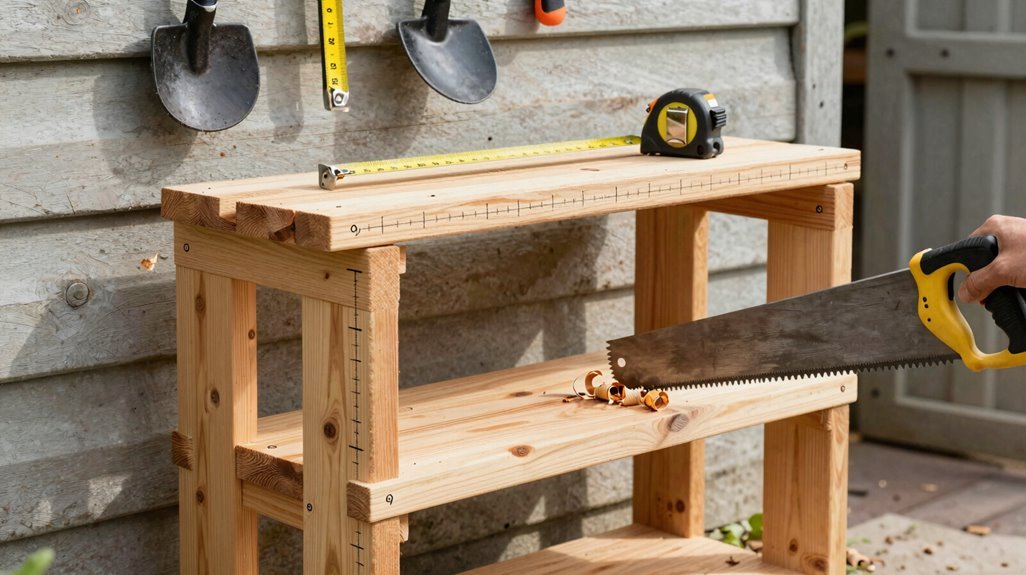
Precision in measurement transforms raw timber into the backbone of a well-organized garden space. I’ll walk you through cutting each component to its exact specification, so your tool rack achieves both structural integrity and visual harmony.
1. Prepare Your Cut List
I always start with a comprehensive cut list, mapping every piece before touching my saw. For the backer panels, I measure 12 by 48 inches, adjusting slightly for your wall space. This becomes the foundation we’re building together.
2. Cut the Hangers and Dowels
From scrap plywood, I rip hangers roughly 2 ½ inches wide, perfect for gripping rakes and shovels. Then I crosscut 18 beech dowels to 110 mm, each one promising robust support for years of use.
3. Prepare the Upright Structure
I mill the spruce board to 22 x 220 x 2040 mm, adding two 25 cm wooden wedges for precise mounting, details that elevate our craft.
Drill Clean Holes and Cuts for Dowels or Slots
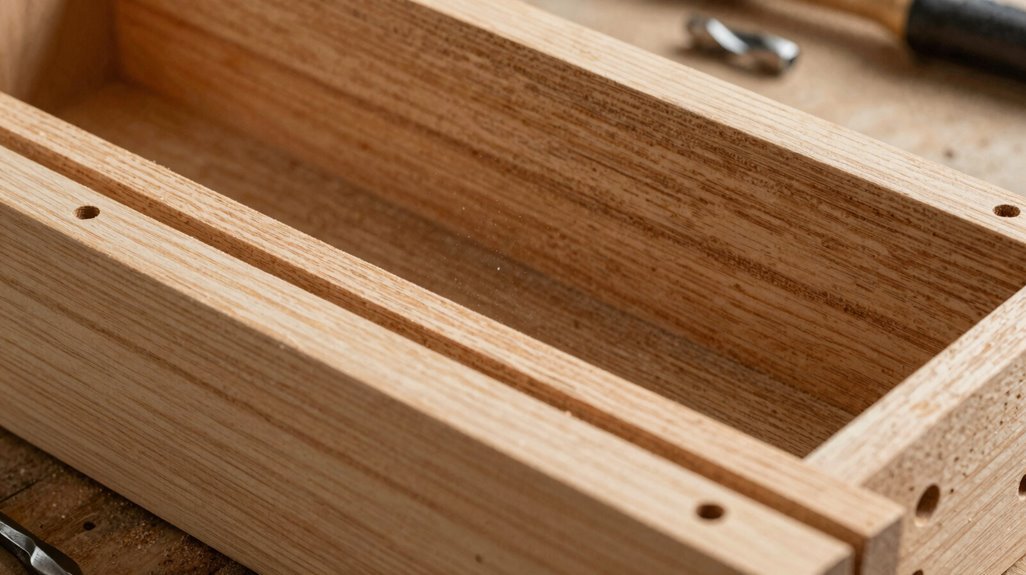
How do we transform solid timber into a vessel worthy of our most trusted implements? We drill holes with surgical precision, honoring both craft and function.
| Technique | Purpose |
|---|---|
| Spade bit, 32mm | Clean through-holes without breakout |
| Center punch alignment | Precise starting points for accuracy |
| Opposite-side drilling | Eliminates splintering on exit faces |
| Post-drill sanding | Smooth surfaces for seamless assembly |
For our dowels—eighteen beech pieces, each 110mm—I drill holes to exact depths, testing fit without glue, letting friction bind us. The pocket hole jig awaits its moment, creating mortises for 1¼ inch screws that’ll secure hangers and braces. We’re building more than storage; we’re forging sanctuary.
Assemble Your Garden Tool Rack Frame
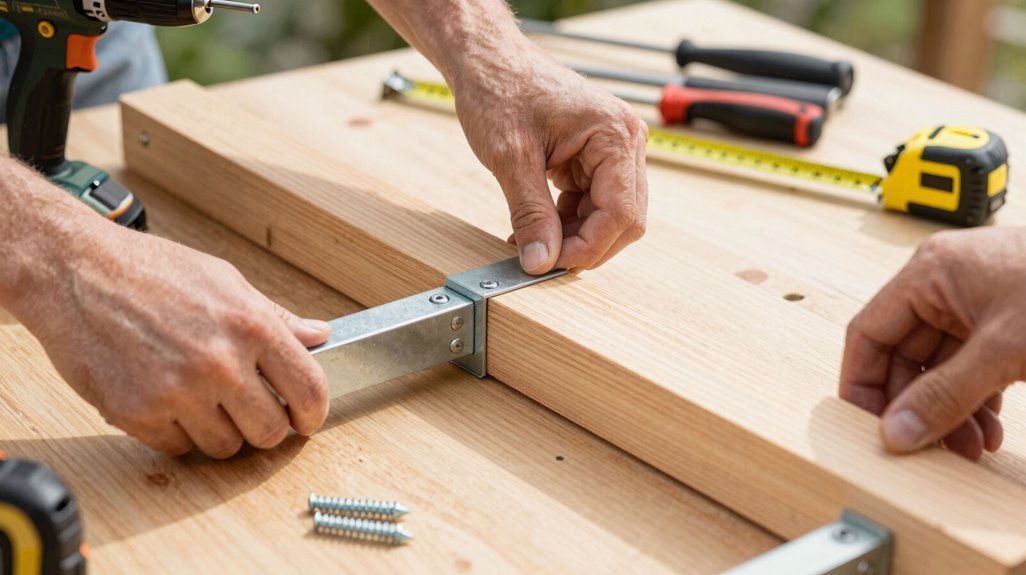
- 1. Cutting Frame Components: I start by rough-cutting my 38mm x 63mm timber offcuts to length, measuring twice against the backer panel, knowing precise joinery at this stage guarantees the finished rack hangs plumb against the shed wall.
- 2. Attaching Frame Pieces: I secure the horizontal rails to the vertical stiles with countersunk screws, checking for square as I work; this simple post-and-beam structure, built from what I had in the scrap pile, will carry the load without fuss. With the frame assembled, I’m ready to mount it, level, solid, and waiting for tools.
Cutting Frame Components
Where exactly do we begin transforming raw timber into something that’ll organize our garden shed for years to come? I’m starting with 38mm x 63mm timber offcuts, the backbone of our frame’s structural integrity.
1. Mark Your Layout
I measure seven tool centers at 150mm intervals, ensuring every rake and spade finds its home. Balance matters here: I position three slots toward the bottom, four toward the top, creating visual rhythm and practical weight distribution.
2. Drill Precision Holes
With my 32mm spade bit, I drill nearly through from each face, flipping the piece to prevent breakout. Clean entry and exit points signal craftsmanship worth admiring.
3. Angle Cuts and Finish
I set the mitre saw to 28 degrees for beveled ends, then sand all edges smooth. The stain comes last, protecting wood that’ll serve our shared growing seasons.
Attaching Frame Pieces
The backbone of our rack awaits its final form: those seven slotted uprights, now stained and beveled, demand connection to a horizontal spine that’ll carry the load of seasons spent turning soil.
- Square and Align. I position each upright plumb against the backer, checking corners with a carpenter’s square; precision here prevents the wobble that betrays amateur work.
- Secure the Joints. Driving pocket hole screws through the frame joints, I use 1¼-inch fasteners for unyielding attachment; standard wood screws suffice where Kreg joints won’t reach.
- Prevent Splitting. I drill pilot holes at every junction, letting the bit guide through grain without tearing fibers; 32 mm spade work where countersinking demands it.
- Mount with Confidence. Anchoring into studs, I level the assembly, verifying true horizontal before this framework welcomes its garden companions.
Seal and Finish Your Rack for Outdoor Durability
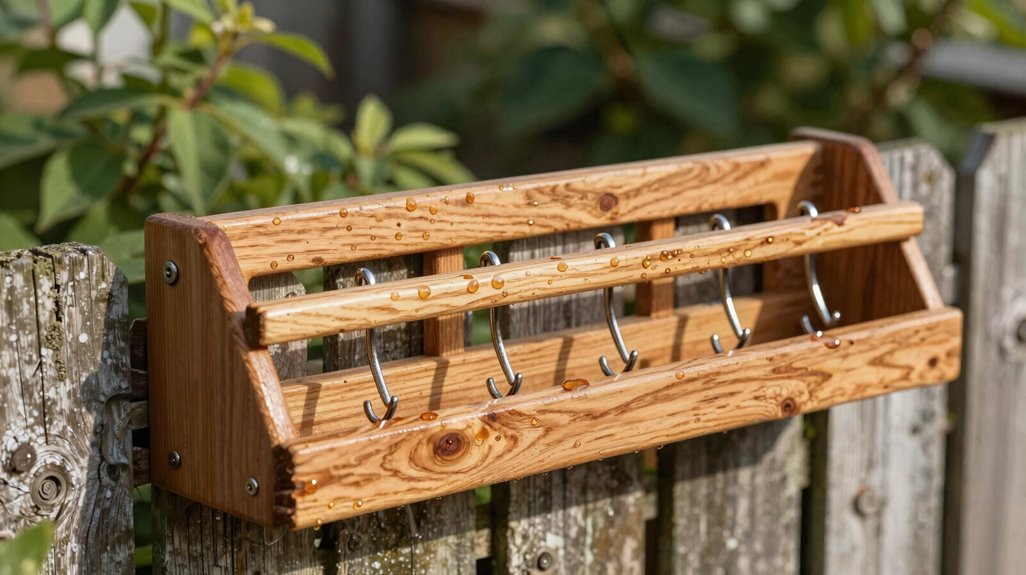
Why let months of careful joinery succumb to rot and sun-bleaching when a proper finish can preserve your rack’s integrity for years? I’ve learned that outdoor durability demands more than good lumber; it requires a weather-resistant finish applied with patience and precision.
- Select Your Shield. I choose exterior wood stain or spar varnish with UV protection; this prevents the graying and cracking I’ve seen on untreated garden structures from Vermont to Oregon.
- Sand and Seal. After final sanding, I apply the first coat liberally, working it into end grain and joints. Lightly sanding between coats with 120-grit paper ensures adhesion.
- Maintain Ritually. I inspect exposed edges annually, re-coating after harsh seasons. A quick wash with mild soap precedes every refresh; preserving what we’ve built together, season after season.
Mount Your Garden Tool Rack to Wall Studs
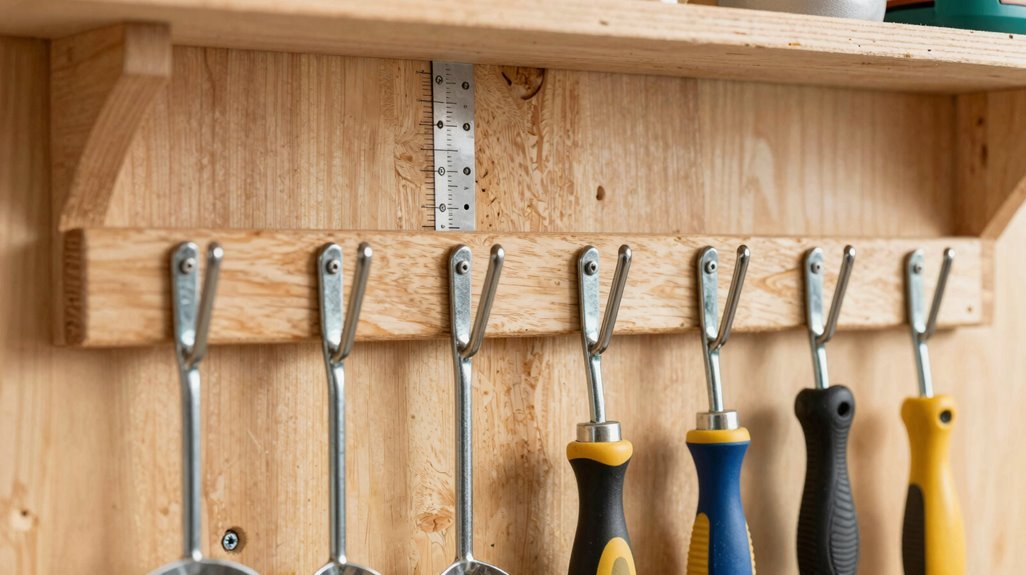
How do we transform a well-crafted rack into a permanent fixture that’ll bear the weight of seasons without fail? We anchor it to the structural heart of our walls, the studs.
| Phase | Action | Outcome |
|---|---|---|
| Locating | Sweep stud finder vertically | Find solid wood behind drywall |
| Marking | Align rack’s pre-drilled holes | Create precise mounting points |
| Securing | Drive screws through studs | Achieve load-bearing attachment |
| Verifying | Confirm level, test stability | Ensure lasting, tilt-free storage |
I grab my stud finder first, scanning until that reassuring beep confirms vertical framing members. Without exposed studs, I’ll deploy heavy-duty wall anchors rated for serious load. My mounting screws must penetrate deep, past sheathing, into solid heartwood.
I check level twice; a skewed rack betrays our craftsmanship. This isn’t mere installation, it’s claiming our space, building permanence together.
Load Your Tools and Organize for Easy Access
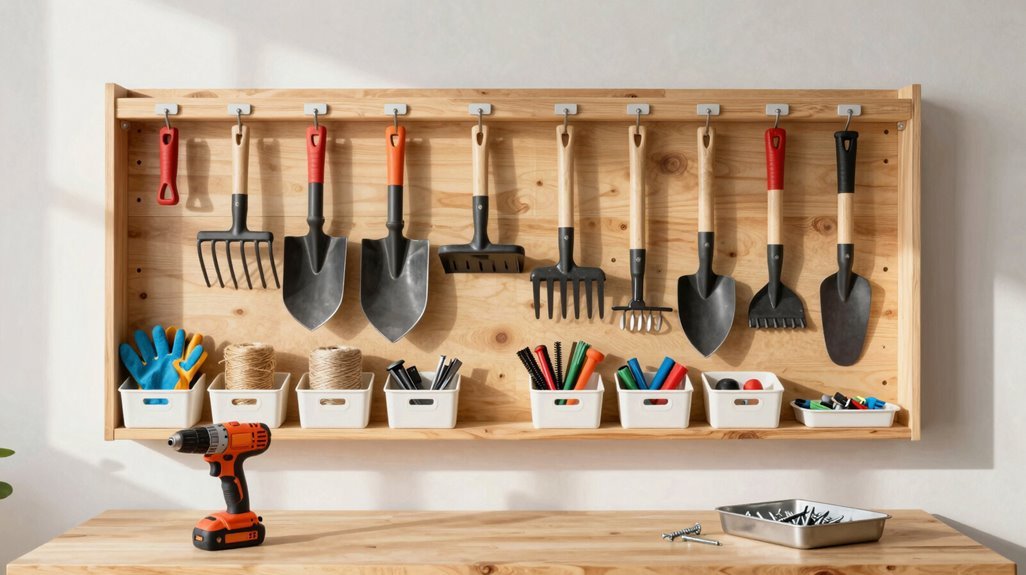
With the rack now anchored firmly to the wall’s skeletal framework, I turn my attention to the satisfying work of populating it, transforming empty timber into an orchestrated system of readiness.
1. Assess Your Arsenal
I gather my implements, laying them across the workbench like specimens awaiting cataloguing. Each tool finds its station at 150 mm centers, spaced with mathematical precision that prevents the tangled chaos of my former shed floor.
2. Establish Your Hierarchy
I position frequently used items, my faithful spade, the indispensable hand fork, at ergonomic heights between shoulder and waist. Lesser-used implements occupy the periphery, creating intuitive organization that anticipates my movements through the growing season.
3. Refine the Arrangement
Stepping back, I verify clearances: handles parallel, heads suspended without contact. This tool rack, born from scrap timber and studwork, now embodies functional elegance, my personal command center where every implement awaits its calling.





