
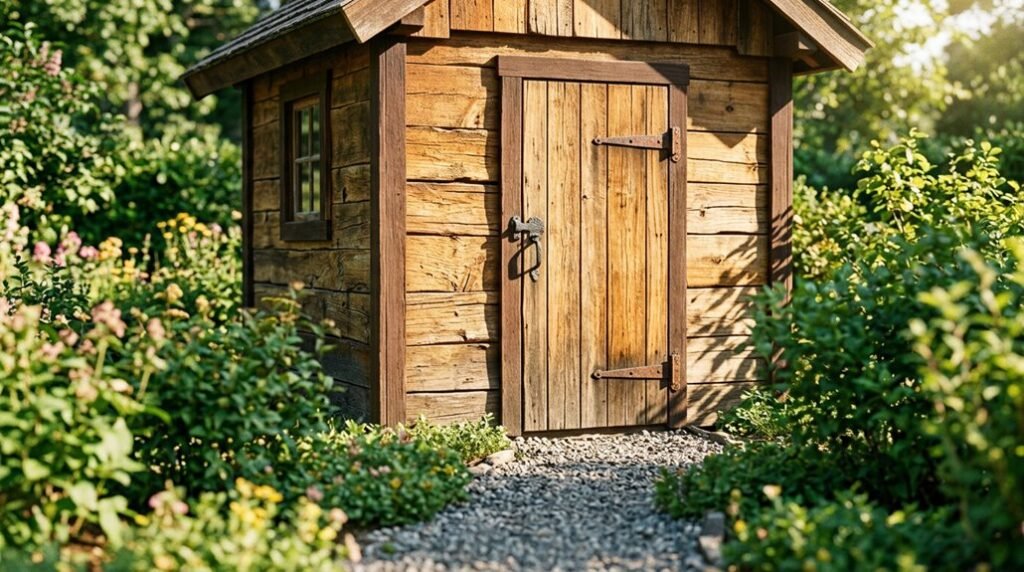
Like a blueprint waiting for its foundation, I’ve learned that choosing a shed isn’t about picking the prettiest structure, it’s about building intention into every square foot. I’ll walk you through five decisions that separate functional storage from architectural regret.
Start With What You’ll Actually Use Your Shed For
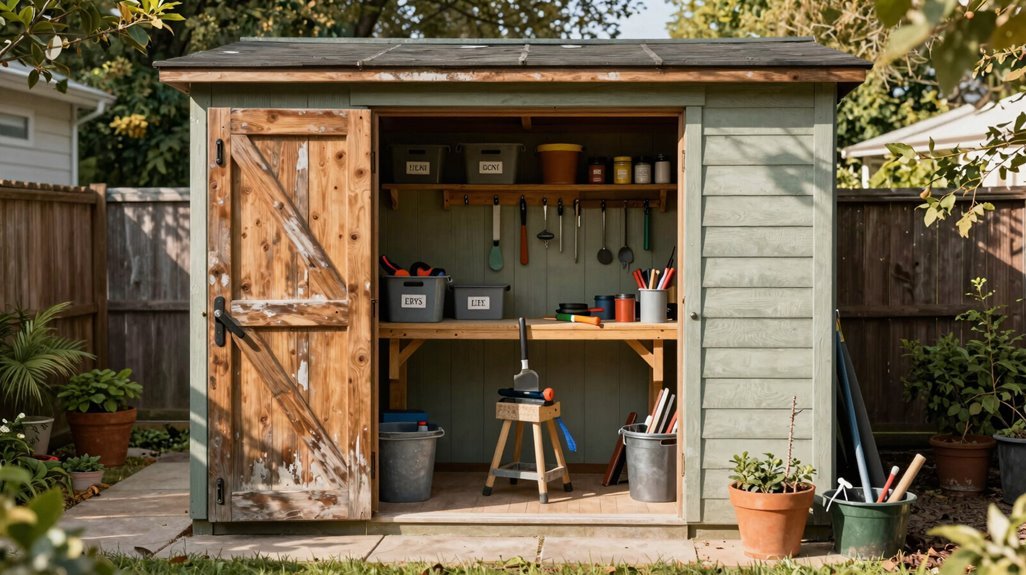
Why start with aesthetics when function should lead the way? I always tell fellow homeowners that your garden shed’s purpose shapes everything else: storage for tools and equipment, a workshop for hobbies, or perhaps a hybrid space demanding clever organization.
1. Define Your Core Usage
Pinpoint whether you need basic storage or an active work area. I’ve seen gardeners cram riding mowers into sheds meant for hand tools; accessibility suffers, frustration builds.
2. Inventory Your Belongings
List every item: lawn equipment, bikes, seasonal décor, power tools. Your future self will thank you for anticipating expansion.
3. Match Purpose to Scale
Pure storage needs differ from workshop requirements; workbenches demand clearance, vertical storage needs headroom. Without this clarity, even beautiful sheds disappoint.
Calculate the Right Shed Size for Current and Future Needs
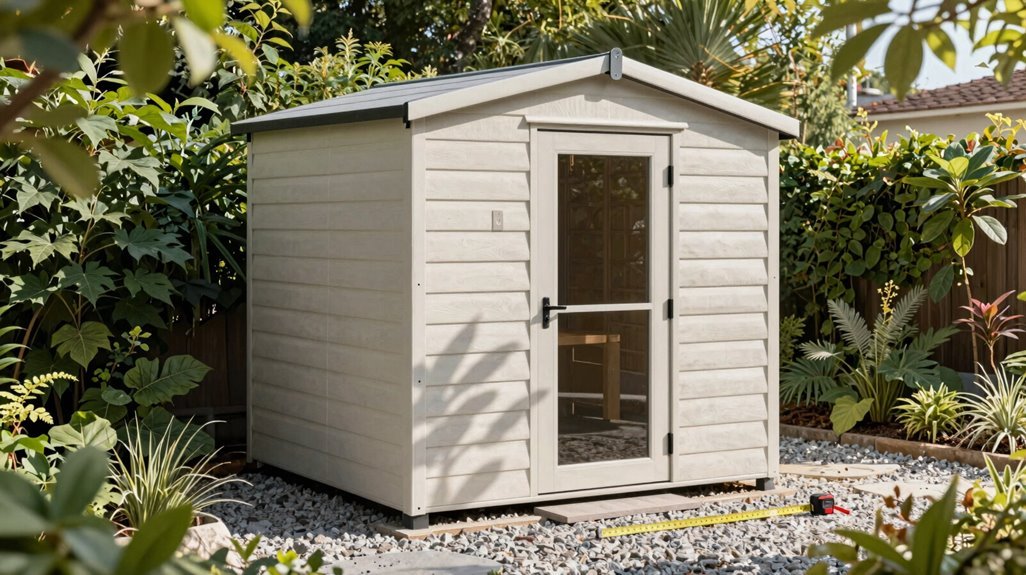
How do you avoid the regret of a shed that feels cramped six months after installation? I start by mapping my storage needs, tools, bikes, seasonal decor, then layer in future expansion plans like a workshop or hobby space.
- Measure Your Reality. Taking precise measurements of my yard space, I add walkways on all sides for access ease and maintenance. Nothing worse than squeezing past overgrown shrubs.
- Match Size to Purpose. Small sheds (4×3–6×4) suit basic storage needs, medium (6×6–8×8) handle more equipment, while large (10×8+) accommodate multi-use setups.
- Plan for Growth. When zoning considerations allow, I size up, balancing capacity against visual impact.
- Visualize Before Buying. Using a 3D shed builder, I test interior layout options, making sure doors and walking space feel right before committing.
Find the Best Spot in Your Yard for Your Shed
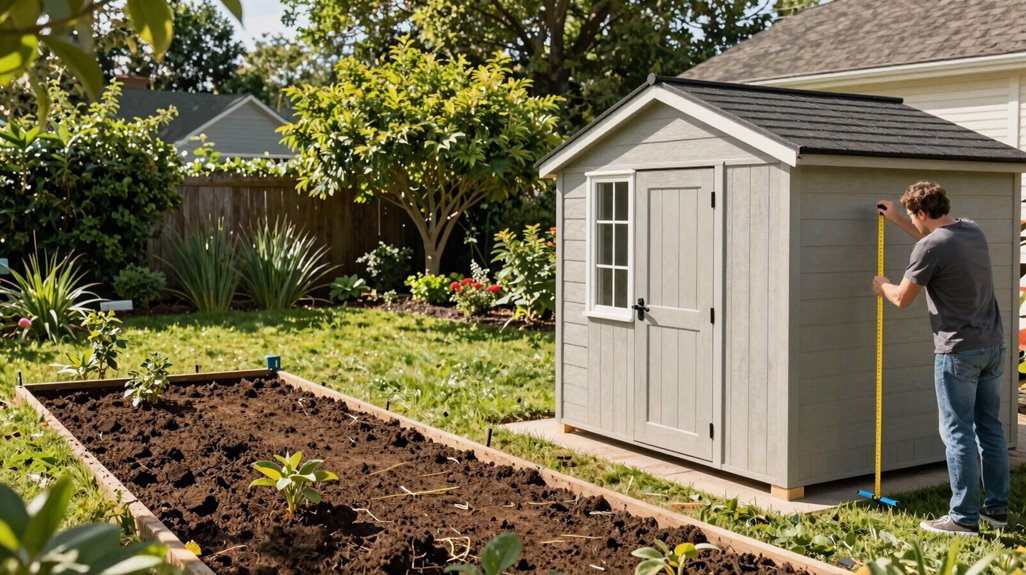
Where exactly should your new garden shed live?
- Scout your terrain. I’m looking for a sunny corner or flat space, somewhere that feels like it belongs in my yard’s rhythm, not fighting against it.
- Measure twice. Yard placement demands precision; I’m leaving breathing room around all sides, making sure my shed location serves the garden beds without overwhelming them.
- Check the rules. Before I’ve committed, I’m verifying zoning laws and property lines; knowing my boundaries means belonging here without conflict.
- Mind the distances. I’m calculating distance from house and fence lines, balancing accessibility with privacy, sunlight with shade.
- Mark your territory. Using stakes and string, I’m marking boundaries clearly, spotting sprinklers and uneven ground now to prevent installation problems later.
Choose Shed Materials Based on Maintenance and Climate
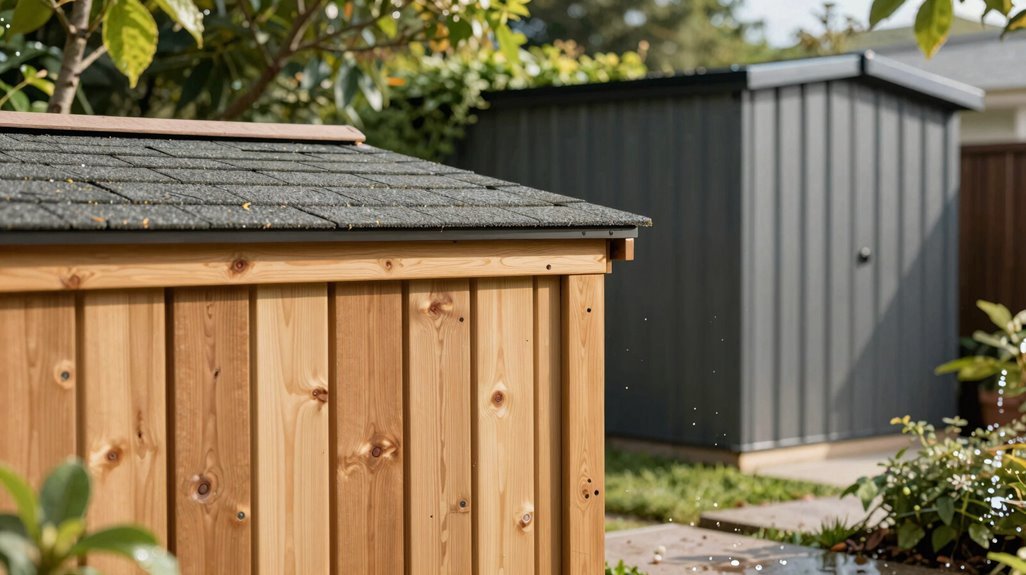
The material I select will shape not just my shed’s lifespan, but my weekends for years to come, so I’m weighing maintenance burdens against climate realities before committing to timber, steel, or resin.
When comparing wood vs metal, I recognize each demands distinct upkeep commitments. Wood requires vigilant rot prevention through regular sealing and pest protection, while metal risks corrosion despite being among durable materials.
For my humid climate, I’m drawn to resin sheds offering superior weather resistance without the headaches. Resin sheds deliver nearly upkeep-free living: no painting, no rust anxiety, no warping in heavy humidity. Their set-and-forget nature liberates my schedule for actual gardening rather than shed maintenance. In wet regions especially, this synthetic solution outperforms traditional options, mimicking wood’s warmth while eliminating its vulnerabilities.
Verify Permits, Costs, and Foundation Requirements Before Buying
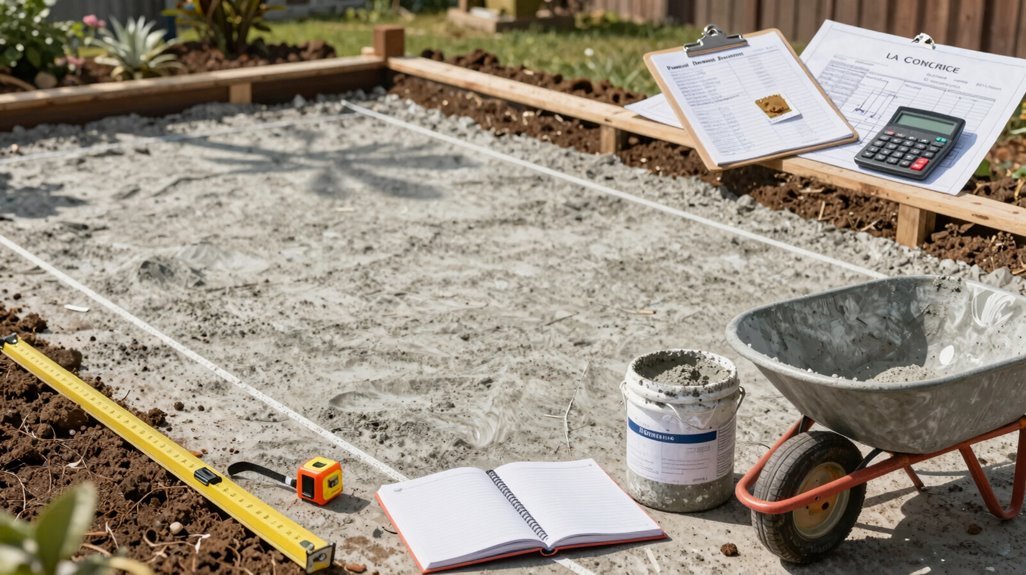
Before I commit to resin’s weatherproof promise, I’ve learned the hard way that material selection means little if my shed violates municipal codes or collapses into unlevel ground. I always check permits, zoning restrictions, and HOA guidelines first; skipping this step risks fines or forced removal.
Foundation preparation determines longevity: gravel pad suits smaller structures with superior drainage, while concrete pad anchors heavier buildings against shifting soils. Uneven terrain demands grading, sometimes requiring a contractor, which elevates costs significantly. My budget must encompass siding upgrades, customization, and installation method; DIY saves money but professional work ensures code compliance.
| Consideration | Impact on Project |
|---|---|
| Permits/Zoning | Legal compliance, avoiding penalties |
| HOA Rules | Design restrictions, placement limits |
| Foundation Type | Gravel pad vs. concrete pad durability |
| Site Preparation | Grading needs, contractor requirements |
| Installation Choice | DIY savings vs. professional assurance |





