
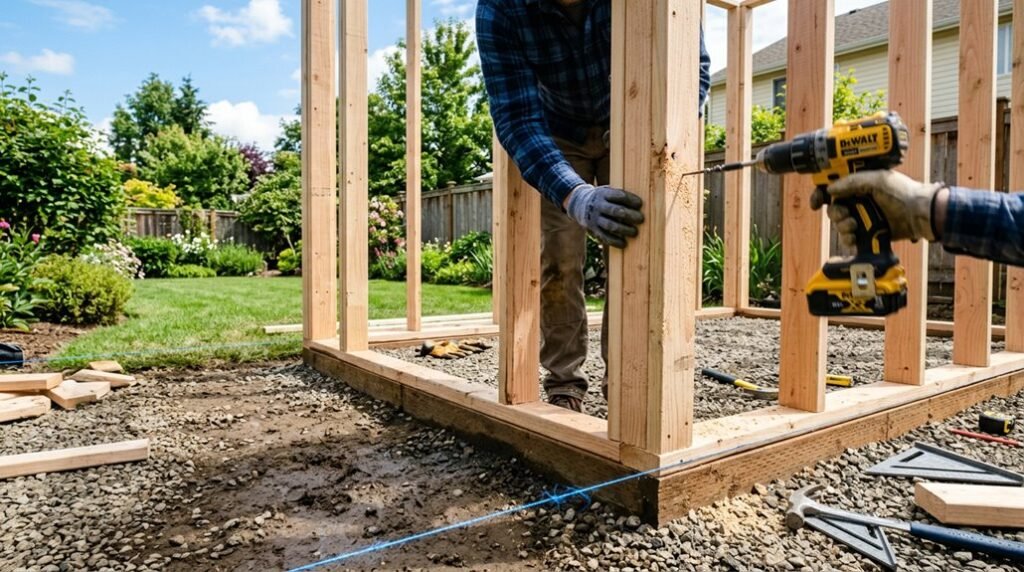
Even if you’ve never swung a hammer, building a shed isn’t beyond reach. I’ll show you how to avoid the pitfalls that doom most first-timers, from permit headaches to foundations that rot from trapped moisture. Our five-step framework moves from paperwork to weatherproofing, with each stage built on the last: plans that satisfy code enforcement, ground prep that sheds rainwater, a floor frame that stays square, walls that plumb true, and a roof that won’t leak before the shingles curl. I’ve designed this for weekenders without crews. Measure twice, and you’ll see…
Plan Your Backyard Shed Design and Confirm Permit Rules
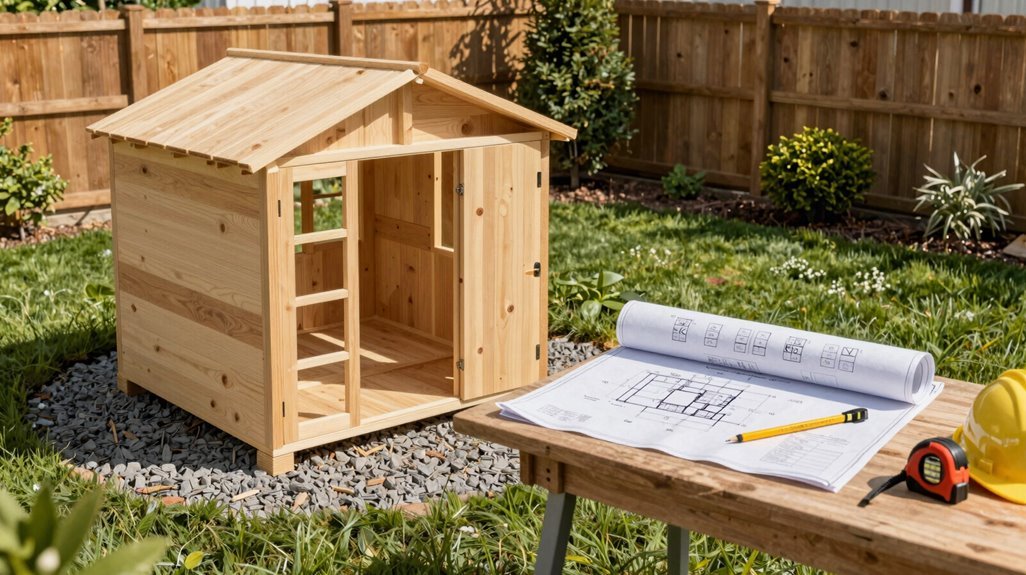
Before you break ground on your backyard retreat, you’ll need to navigate the practical maze of permits, property lines, and power lines, because nothing derails a weekend project faster than a stop-work order from the city or a severed gas line.
1. Decode Local Permitting Requirements
Check your municipality’s accessory structure rules. Some jurisdictions exempt 8×8×8-foot sheds, while others trigger permits based on footprint, height, or electrical plans. Call your planning department; they’re mapping your compliance path.
2. Mark Underground Utilities
Dialing 811 connects you to free line-locating services, mandatory before excavation, protecting you from costly infrastructure strikes.
3. Optimize Dimensions for Efficiency
Aligning your design with standard lumber lengths minimizes waste and streamlines procurement.
4. Budget Realistically
Anticipate $1,000–$1,200, accounting for slope challenges and material upgrades.
5. Prioritize Durability Early
Solid flooring, strategic door placement, and roof storage capacity prevent expensive mid-build revisions.
Level the Site and Set Foundation Blocks for Drainage
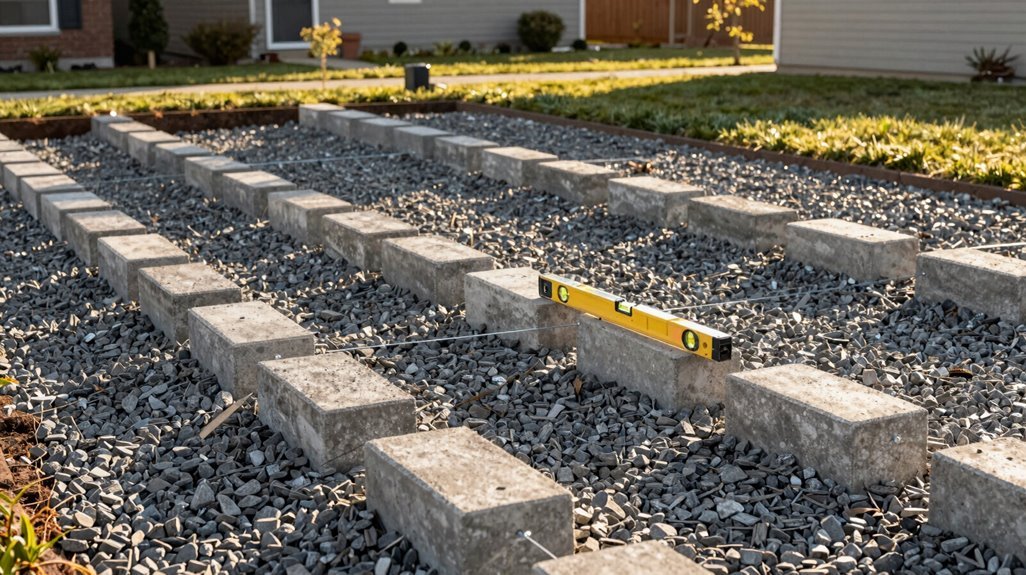
Where exactly does your shed meet the earth? Right here, at the foundation blocks I’m leveling for you now.
1. Prepare Your Base Points
I lay concrete pavers or landscaping blocks at corners and midpoints, creating firm contact points that cradle your shed’s weight. On flat sites, I measure corner-to-corner first, verifying squareness before setting anything permanent.
2. Tackle Slopes with Elevated Risers
For uneven terrain, I’m combining ground blocks with risers bolted to concrete pier blocks, maintaining that level base despite the grade. I build a temporary frame as my placement guide, keeping accuracy locked in during construction.
3. Compact and Verify
Every block sits on compacted material, preventing future settling. I’m checking each one against its neighbors, making certain they’re precisely located and level with each other, because your shed deserves drainage that works, and a foundation you can trust.
Build the Shed Floor Frame and Verify Square and Level
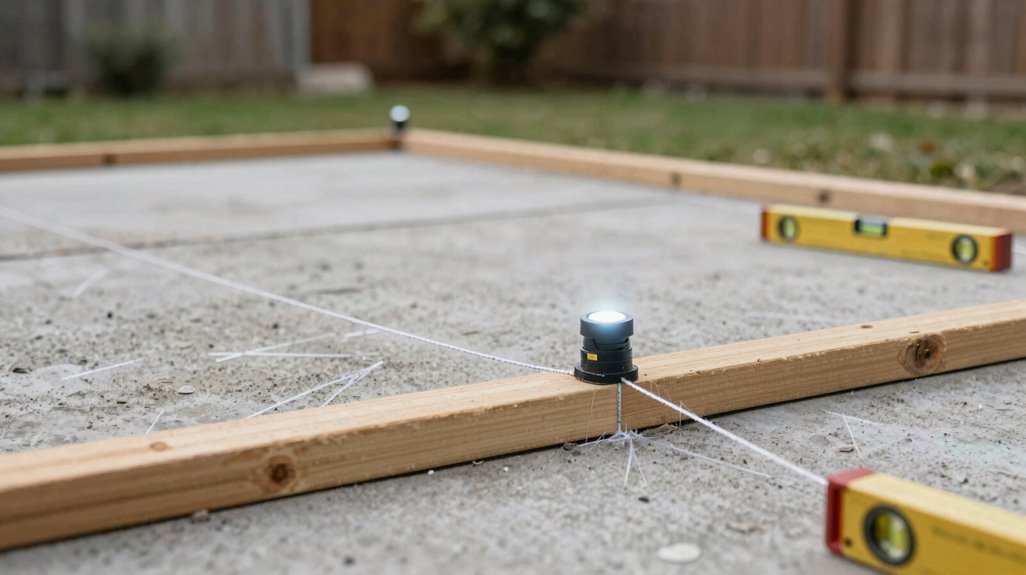
Your foundation blocks are set, level, and square, now I’m framing the floor that’ll carry everything you store inside.
- Assemble the perimeter frame. Using pressure-treated 8-foot 2×6 boards, I double the outer joists for structural integrity. This rim joist assembly withstands lateral loads and creates a solid nailing surface for wall plates later.
- Secure with heavy-duty fasteners. I fasten corners with 3 galvanized 5/16″ lag bolts, pre-drilling and counterboring holes to prevent splitting around the bolt heads. This is critical for maintaining joint integrity through seasonal movement.
- Install interior joists. Space them 16 inches on center, spanning between rim boards; this standard spacing supports typical storage loads without excessive deflection.
- Verify squareness before proceeding. I measure diagonally corner-to-corner, these measurements must match exactly. Adjust until they do; an out-of-square floor compounds errors throughout wall framing.
Double-check leveling across all bearing points now; the floor frame must sit uniformly before you attach decking.
Frame the Walls, Add Siding Panels, and Stand Them Up
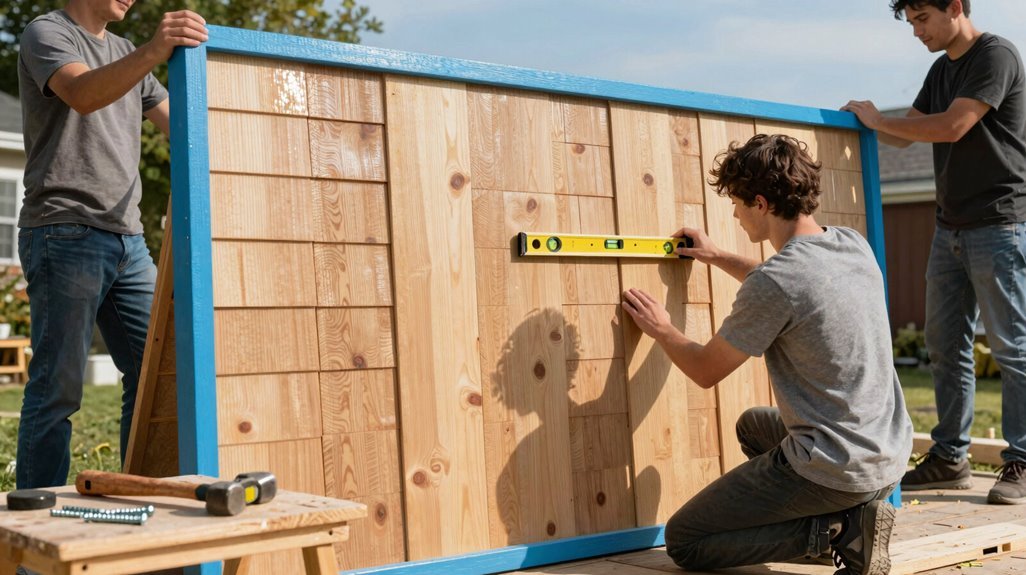
The walls are where your shed transforms from a platform into an enclosed space, so I’m building them flat on the deck, far easier to frame, sheath, and square before the heavy lifting begins.
1. Frame End Walls to Exact Height
I’m cutting 2×4 studs 24 inches on center, not 16 like the floor, and framing to 8 feet exterior height, letting panels extend past the bottom to cover deck sides. For rough openings, I’m using my reciprocating saw to notch or trim as needed, especially around that Habitat ReStore window I’ve fitted into the side wall.
2. Sheathe Before Standing
I’m screwing exterior panels to frames while they’re horizontal, then driving screws through floor boards into treated lumber underneath for rigidity.
3. Raise in Sequence
I’m standing the back wall first, bracing it. Then side walls, corner-screwing frames together. Finally the front wall, completing my enclosed structure.
Install Trusses and Shingles, Build the Door, and Seal Openings
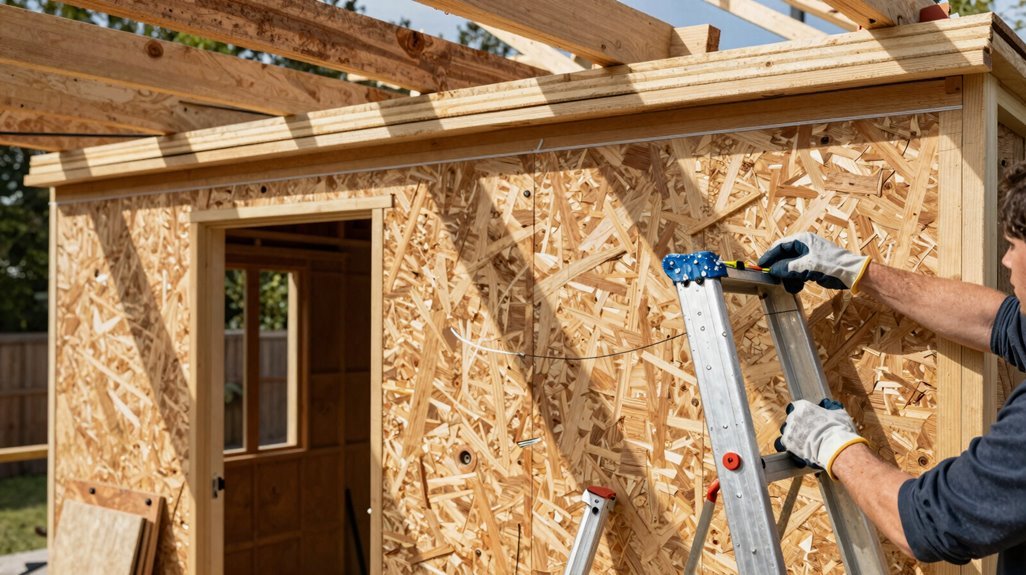
How does a structure finally become shelter? I secure roof trusses to wall frames, aligning them with studs, permitting a stable load path from ridge to foundation. Over these, I fasten OSB sheets, reinforcing lower edges with 7-inch strips for structural integrity.
- Roof Assembly. I layer architectural shingles to match my house, adding drip edges for controlled water runoff, protection against the elements.
- Door Construction. I build the frame separately, then secure it with predrilled screws, ensuring a snug fit that resists warping.
- Weather Sealing. I apply putty and caulk around openings after paneling, creating barriers against moisture intrusion.
Each step changes raw materials into refuge, my contribution to something lasting, something mine.





