
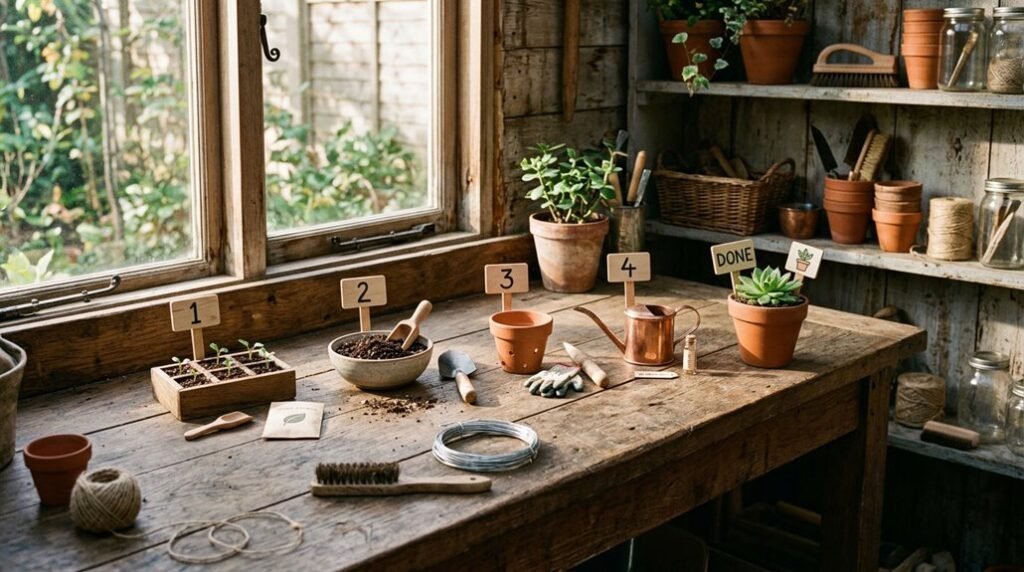
I’ve built dozens of potting tables from reclaimed pallets, and the process distills to five precise stages, each balancing structural integrity with the rustic aesthetic that defines vernacular garden furniture. You’ll source IPPC-stamped lumber, execute selective demolition, fabricate dimensional components, assemble the carcass with lower shelf, and apply protective finishes.
The difference between a wobbly failure and a generational piece lies in details I’ll unpack next, starting with treatment codes most builders overlook.
Find Free Wood Pallets and Check Treatment Labels
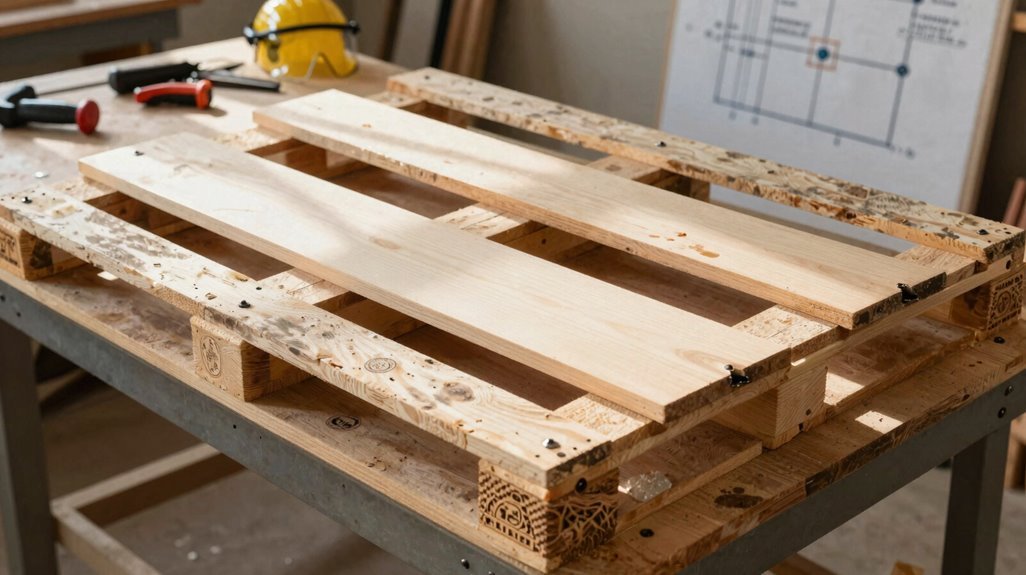
Because every well-built potting table begins with its materials, I’ve learned that sourcing the right pallets demands equal parts patience and discernment: scanning industrial estates, approaching local businesses, or querying tradespeople about their discarded shipping platforms. When building through upcycling, I always hunt for wood pallets with uniform back planks and matching block spacers; this consistency streamlines later construction.
I prioritize pallets bearing the IPPC stamp; this international certification guarantees standardized phytosanitary treatment protocols, ensuring safer handling during recycling.
I immediately reject pallets marked MB (Methyl Bromide) or SF (Sulphuryl fluoride); these chemical treatments leave toxic residues incompatible with gardening applications.
Selecting intact, similarly constructed platforms; these yield cleaner joinery, superior rustic aesthetics, and meaningful cost savings through sustainable practice.
Remove Back Planks Without Damaging the Spacers
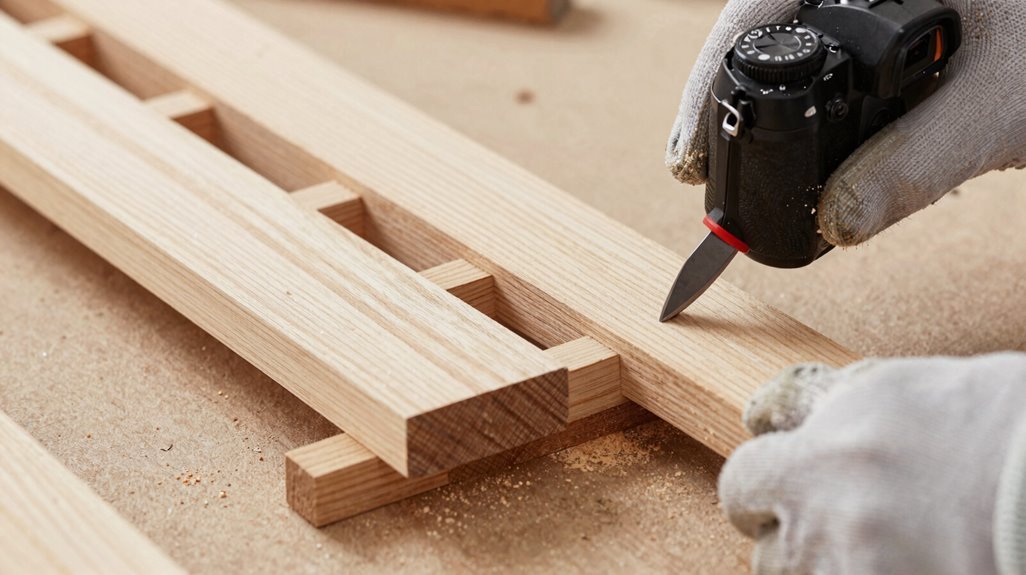
How does one transform a weathered pallet into the foundation of a functional potting station? I inspect my find, locating the back planks and the essential pallet spacers beneath, those horizontal blocks that’ll soon cradle my potting table’s legs.
| Step | Action |
|---|---|
| 1 | Confirm pallet spacers are present behind back planks |
| 2 | Position crowbar between back planks and spacers |
| 3 | Pry gently, pressure evenly distributed, to remove |
| 4 | Work slowly, keeping spacers intact for structural integrity |
| 5 | Fasten edges by hammering down protruding fasteners |
Using my mallet and splitting wedge, I coax the planks free without splintering the spacers. Each blow measured, deliberate.
Once cleared, I survey my work, securing loose nails, ensuring a flush plane. The framework holds; we’re ready for the next transformation.
Cut Legs From Planks and Prepare the Work Surfaces
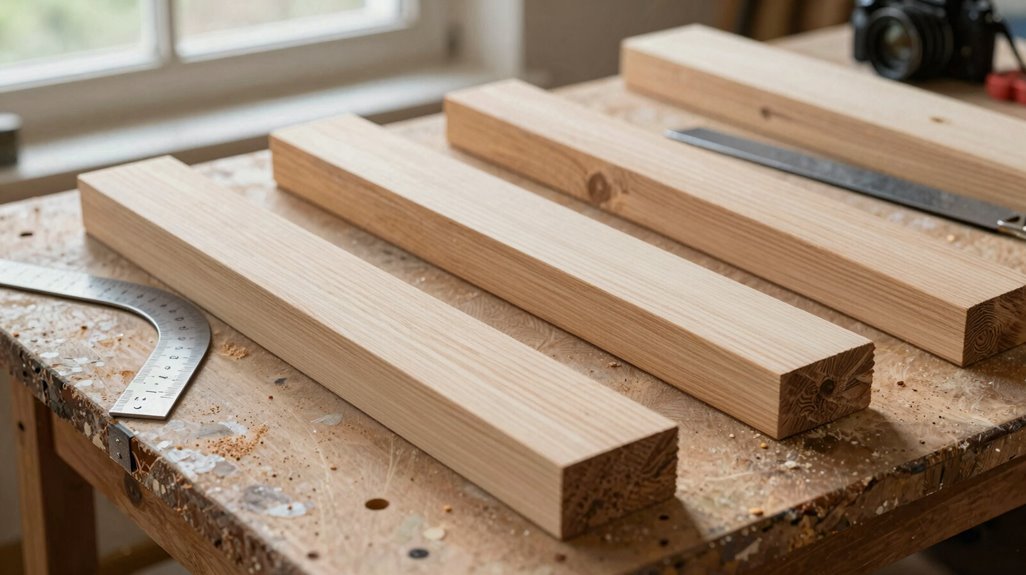
With the back planks cleared and spacers preserved, I turn my attention to shaping the vertical bones of my potting station.
1. Dimension the Vertical Supports
I cut four planks from the removed pallet into 35.4-inch lengths; these will become my wooden legs. I’m careful to maintain equal spacing between pallet wood spacers on all four legs, ensuring uniform stability for my potting table.
2. Prepare the Horizontal Planes
From the second pallet, I measure the width and cut a middle section into two pieces. I leave one side with a 2-inch overhang; this front projection will cradle my tools during planting season.
3. Stage the Frame Assembly
I place two legs on my work surface, aligning the shorter cut with spacers toward the middle. This positioning readies the lower surface attachment, completing the foundational geometry before final frame assembly begins.
Assemble the Frame, Lower Shelf, and Top Surface
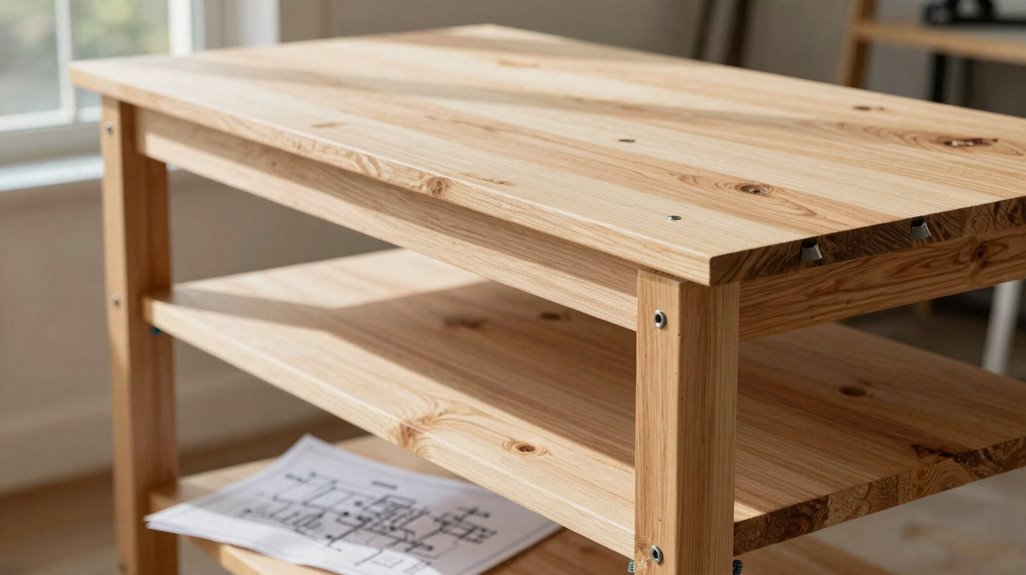
Where better to anchor a potting table than in its skeletal framework? I begin by assembling the frame using four legs, each cut to 35.4 inches from the pallet, spacing the spacers equally for balanced structural integrity. Then, I attach the shorter piece from a second pallet between the front legs, creating that essential front overhang before adding the remaining two legs to complete the frame’s orthogonal structure.
Next, I position two legs on my work surface, aligning the shorter cuts and spacers toward the middle, fastening the lower shelf to form a base flush with the legs; no side overhang here. Standing the potting bench upright, I adjust spacer spacing for optimal stability. Finally, I countersink every nail and screw, ensuring smooth, snag-free surfaces that’ll withstand seasons of use.
Add Hooks, Labels, and a Protective Wood Finish
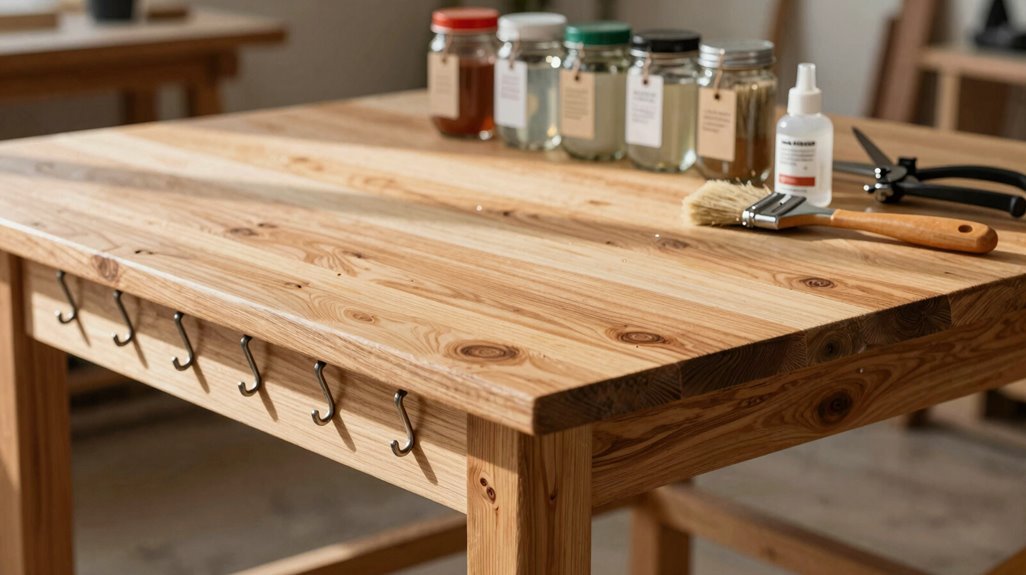
Why settle for a mere work surface when functional elegance awaits? I’ve designed my potting bench to serve as both command center and sanctuary, where every tool finds its purpose.
A potting bench should command your garden and cradle your spirit—where every tool finds its purpose.
Along the apron and side rails, I install sturdy hooks, positioned at 6-inch intervals, to cradle trowels, pruners, and gloves within arm’s reach. For the storage zones, durable labels transform chaos into clarity: chalkboard tags identify seed varieties and soil amendments, creating a system that welcomes collaboration.
The final layer matters most. I apply an exterior-grade protective finish, water-based, low-VOC, brushing two coats across all cedar surfaces. This durable wood finish repels moisture while honoring environmental conscience. Between coats, I wait: patience keeps potting soil from sticking to tacky resin.
- Transform your bench into a personalized sanctuary that reflects your unique growing season rituals
- Create visible order that invites fellow gardeners to share cuttings and stories without hesitation
- Protect your craftsmanship through seasons of rain, establishing permanence in transient garden life





