
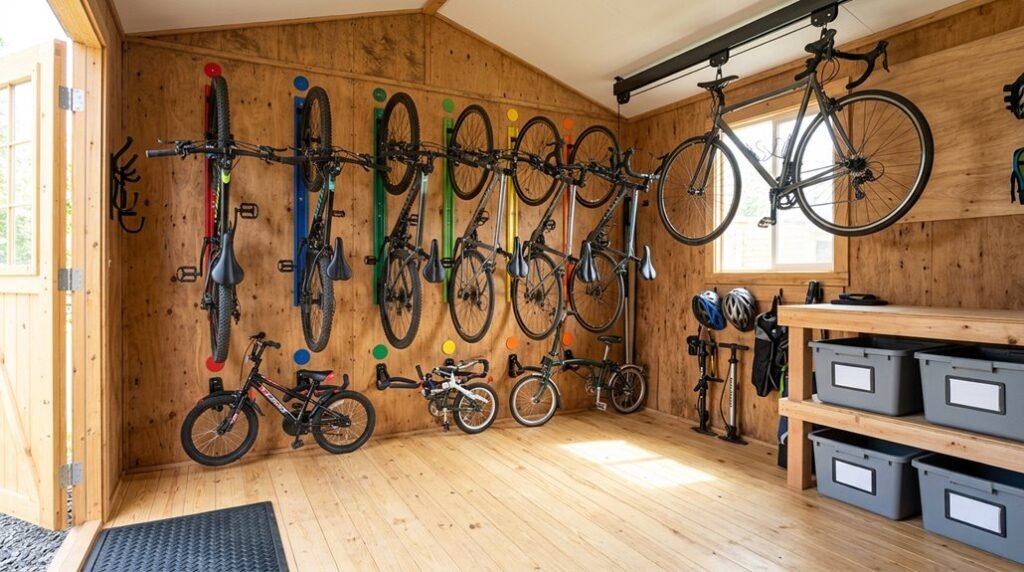
Most cyclists lose 30% of usable shed volume to poor sight lines and awkward corner dead zones; architects call this “spatial leakage,” and I’ve spent years fixing it. I’ll walk you through seven storage interventions that reclaim that lost capacity.
Audit Your Bike Storage Space and Clear Clutter
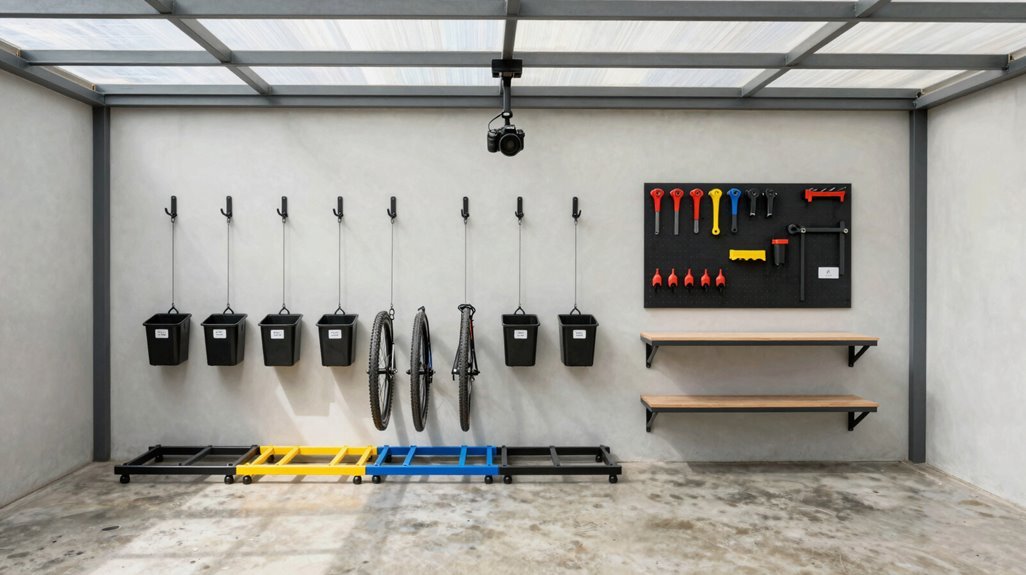
Before committing to any storage solution, I begin by surveying my shed’s architectural envelope, measuring floor area, ceiling height, and door clearance to establish a baseline capacity of 6 x 2 feet per bicycle. This floor plan becomes my blueprint for effective bike storage.
Surveying the shed’s architectural envelope first—measuring floor area, ceiling height, and door clearance—establishes the blueprint for effective bike storage.
- Measure Entry Paths — I trace anticipated bike trajectories, ensuring future vertical storage won’t choke circulation. Wall mounts demand precise positioning.
- Establish Zones — I designate a maintenance zone for pumps and tools, separating active repair from passive storage. This decluttering strategy prevents entanglement.
- Inventory Existing Clutter — I catalog helmets, tires, and spare parts, identifying what deserves real estate. Shed organization succeeds through ruthless prioritization.
- Map Modular Possibilities — I sketch stacking configurations, corner shelves, and freestanding alternatives, each preserving my calculated clearances while accommodating growth.
Mount Wall Hooks for Vertical Bike Storage
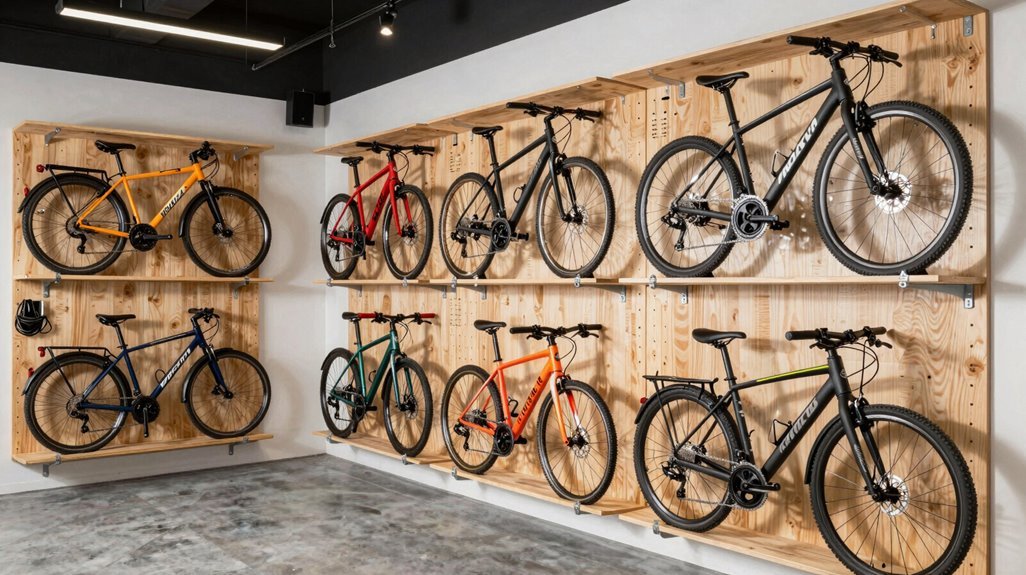
Where does a bicycle belong when floor space evaporates? I’ve found vertical bike storage transforms walls into functional, almost sculptural, architectural elements, reclaiming square footage while creating visual rhythm through shed organization.
- Steadyrack Classic: This front-wheel cradle lets wheels nestle in padded arcs, pivoting bikes flush against drywall when idle; ideal for mounting studs spaced sixteen inches on center, though tire width compatibility demands measurement.
- Velo Wall Rack 2D: Securing to single mounting studs beneath the top tube, I adjust its brackets accommodating dropped bars or step-through frames; particularly versatile for mixed cycling disciplines.
- Topeak Dual Touch: A tension-based bicycle storage alternative requiring zero penetrations, though I’ve witnessed ceiling drywall compromise when calibration errs.
Choosing wall-mounted hooks means committing to structural backing; whether behind gypsum, plywood, or masonry, ensuring your bike rack becomes permanent infrastructure rather than temporary fixture.
Stagger Racks to Maximize Bike Storage Floor Space
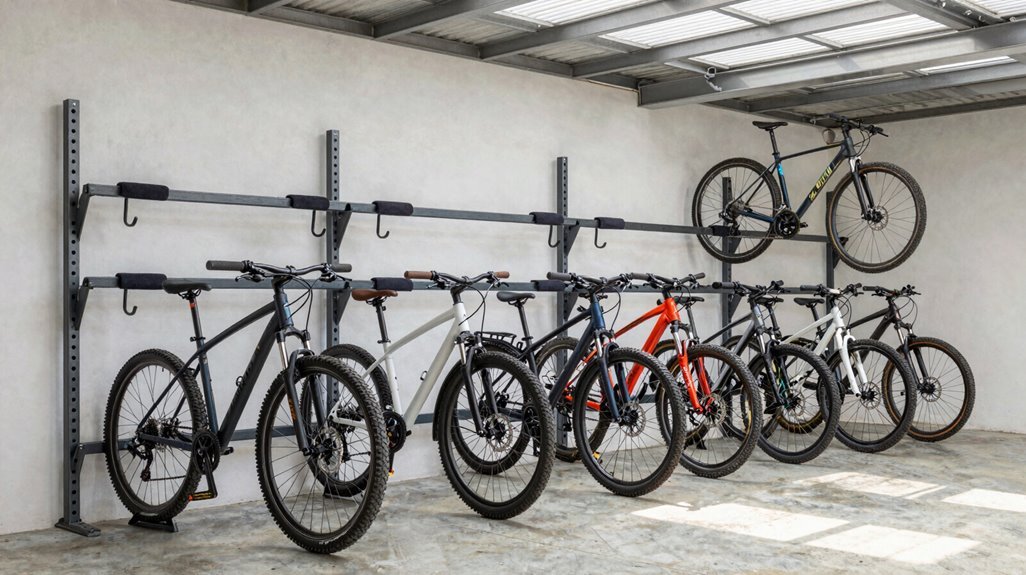
Floor space demands choreography, not compromise. I’ve learned that staggering rack positions transforms a shed’s footprint into layered infrastructure, accommodating more bicycles than linear arrangements ever permit.
- Steadyrack Classic Configuration — Mount these vertical storage units in alternating heights along your bike shed walls, cradling front wheels at staggered elevations. I’ve found this creates interlocking negative space between handlebars and seats, effectively doubling capacity in narrow floor space zones.
- Topeak Dual-Touch Deployment — Position this tension-based system in corners where floor-to-ceiling pressure creates stacked vertical storage without drilling. The resulting staggered racks occupy minimal shed organization real estate while supporting multiple frames.
- Velo Wall Rack 2D Arrangement — Install these adjustable mounts at offset heights, accommodating diverse top-tube geometries. When planning your bike storage layout, verify wheelbase and tire-width compatibility. Shorter, narrower configurations interlock more efficiently, maximizing your storage potential through intentional spatial layering.
Add Weatherproof Shelving for Seasonal Bike Gear
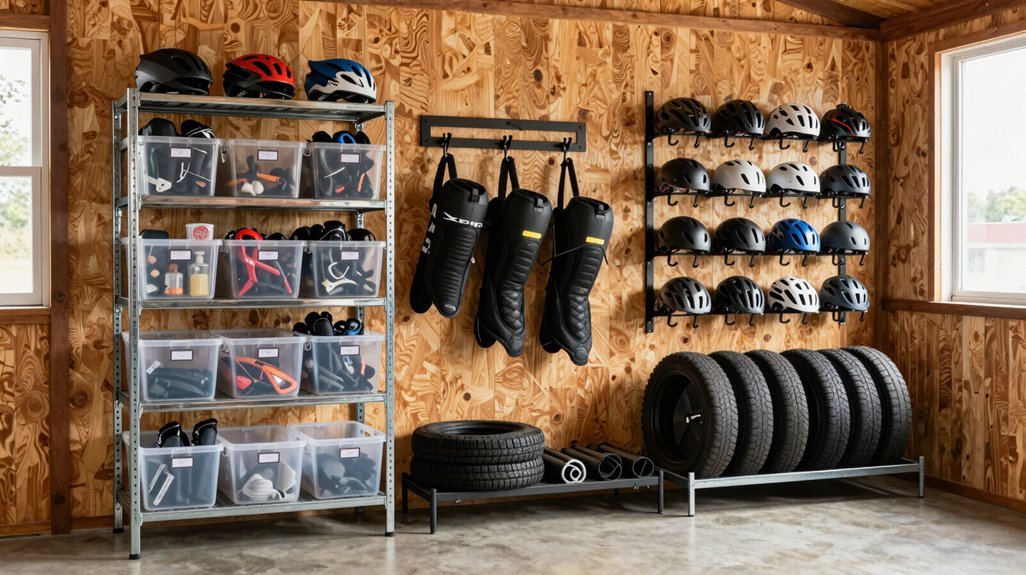
When I’m organizing my bike shed, I’ve learned that choosing the right shelving material, whether powder-coated steel, marine-grade plywood, or UV-stabilized resin, helps keep seasonal gear pristine through freeze-thaw cycles and summer humidity.
Beyond material selection, I’m strategic about layout: positioning shelves along peripheral walls maintains clear circulation corridors, while tiered arrangements exploit vertical volume without encroaching on the central bay where I perform drivetrain maintenance. The result is a spatially efficient envelope, part storage armature, part workshop, that protects my investment while supporting the ritual of seasonal preparation.
Shelving Material Options
How do we keep our seasonal gear from succumbing to the damp, cyclical assault of shed life? I match weatherproof shelving to my shed material: metal racks for metal sheds, marine-grade plywood for timber structures, polymer resin for plastic outbuildings, minimizing corrosion at fastening points.
My adjustable shelves reconfigure vertically when I’m storing pumps, spare tires, and helmets alongside two-to-four bikes. I’ve learned load-bearing capacity matters: 150 pounds per shelf prevents the sagging that ruins organized storage solutions.
Ventilation gaps between back panels and walls promote airflow, reducing moisture accumulation around my bike gear storage. Integrated flooring elevates everything above ground-level dampness.
For our community of riders, choosing compatible materials isn’t merely practical; it’s how we protect the equipment that carries us through seasons, keeping our sheds functional sanctuaries rather than deteriorating storage voids.
Storage Layout Tips
Where do we position our gear so retrieval feels intuitive rather than archaeological? I’ve learned that smart bike shed organization begins with strategic storage layout, layering shelving at graduated elevations, from 18 inches for floor bins to eye-level for daily essentials.
- Vertical Zoning. I install weatherproof shelving in cascading tiers: lower platforms housing pumps and spare treads, mid-level brackets cradling helmets within arm’s reach. This visibility eliminates rummaging.
- Moisture Defense. I pair my shelving with sloped flooring and perimeter drainage channels, preventing ground dampness from compromising component integrity during seasonal transitions.
- Material Resilience. I specify corrosion-resistant brackets and treated lumber, durability tested through years of bike maintenance rituals, resisting shed humidity and temperature swings.
- Circulation Planning. I reserve upper shelves for off-season gear, keeping my work zone uncluttered: every item positioned where my hands naturally find it.
Label Bins for Helmets, Locks, and Small Accessories
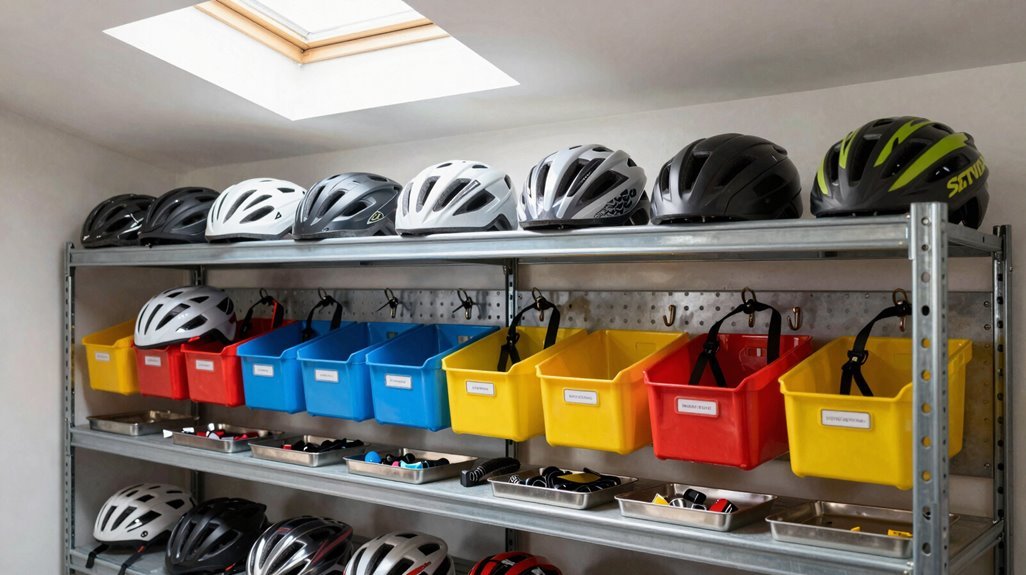
I organize my shed by corralling helmets, locks, and small accessories into clearly labeled bins, each category assigned its own vented container, color-coded by function so I can grab what I need without rummaging. Using transparent storage with waterproof seals, I protect gear from moisture while maintaining sightlines to contents. I attach simple inventory checklists to lids for tracking wear and replacement schedules.
This system turns chaotic corners into an efficient, navigable space where every component has its designated architectural zone.
Clear Bin Labeling
Why let a chaotic jumble of helmets and locks sabotage your morning ride? I’ve transformed my bike storage shed into an organized sanctuary through strategic bin labeling, creating a system where every cyclist in my household feels instantly at home.
- Weatherproof Your Words. I apply weather-resistant labels to exterior bin fronts, ensuring my outdoor storage system withstands rain and UV exposure without fading into illegibility.
- Color Your Categories. My helmet bins feature bold color-coded labels, red for security essentials, blue for maintenance tools, enabling accessory grouping that eliminates frantic searching.
- Specify Your Contents. I’ve learned precision matters: labels reading “Helmets x2, U-Locks, Chain Lube” prevent the mix-ups that derail departure times.
This architectural approach to organization welcomes everyone, family, friends, fellow riders, into a space where belonging begins with finding exactly what you need.
Accessory Categorization
1. Storage Bins: The Foundation of Order
I use clear, weather-resistant storage bins with readable front labels, positioning security gear separate from maintenance supplies. This bike shed organization system eliminates rummaging.
2. Helmet Storage: Protective Architecture
My dedicated helmet storage bin sits at eye level, its contents visible through transparent walls; no cracked shells, no forgotten straps.
3. Repair Kit Organization: Mechanical Preparedness
For repair kit organization, I group tubes, patches, and levers together, each compartmentalized within modular trays.
4. Small Parts Bin: The Critical Detail
My small parts bin, valves, caps, adapters, prevents those maddening disappearances.
5. Inventory Labels: System Accountability
Attached inventory labels track contents, triggering restocks before emptiness strikes. We’re riders who respect our tools, our time, our tribe.
Build In a Compact Bike Repair Station
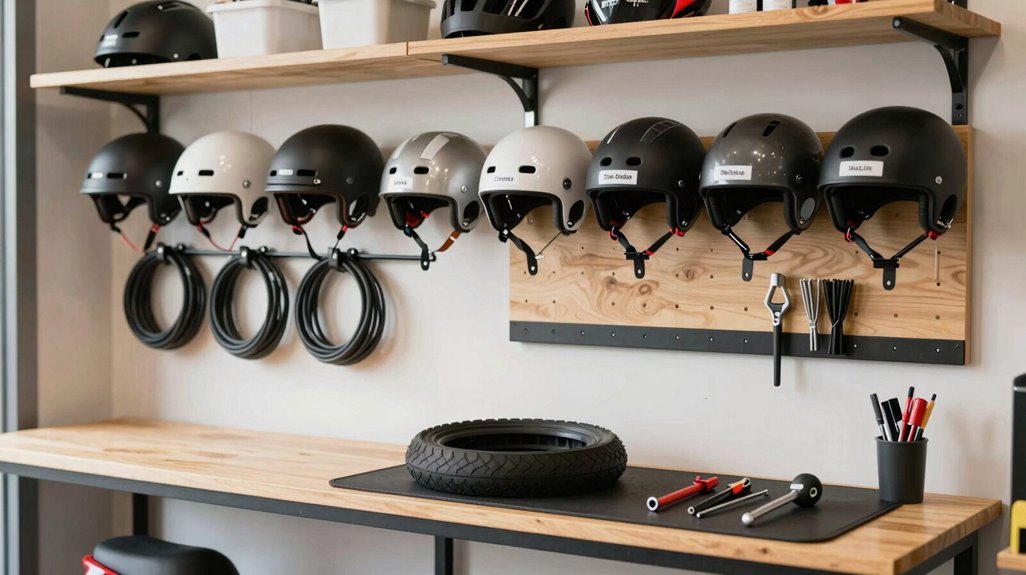
How often do you find yourself hauling bikes back to the house for a quick tire pump or derailleur adjustment? I’ve found that integrating a compact bike repair station into my shed organization strategy changes everything, transforming a passive storage zone into an active workshop where maintenance becomes ritual, not chore.
- Mount a wall-mounted bike rack, installing a Topeak Dual Touch or similar top-tube stand creates secure, hands-free positioning for precise adjustments without floor clutter.
- Carve out dedicated repair space, allowing 3-4 feet of clearance around each bike, I position my toolbox, floor pump, and spare tires within arm’s reach.
- Prioritize tool accessibility, modular pegboards and magnetic strips keep hex keys, chain breakers, and tire levers visible yet orderly.
- Invest in weatherproofing and secure anchoring, sealing gaps, adding task lighting, and bolting work surfaces ensure year-round functionality despite humidity and temperature swings.
Weatherproof and Secure Your Bike Storage Shed
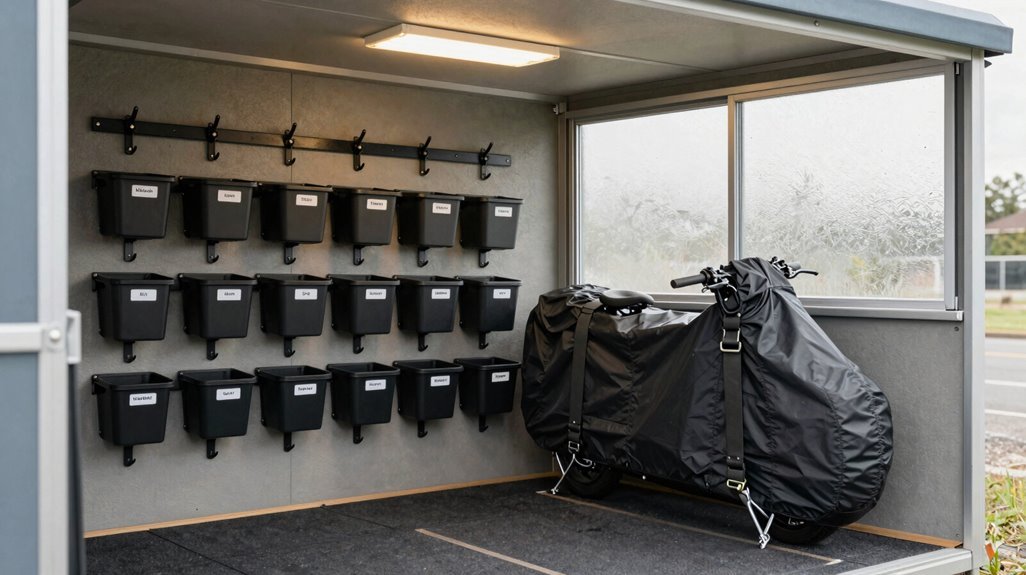
Wherever I’ve stored bikes outdoors, I’ve learned that weatherproofing and security aren’t afterthoughts, they’re the foundation of a shed that actually protects your investment.
1. Start with the Base
Installing your bike storage shed on a raised base, concrete or compacted gravel, prevents groundwater seepage, extending the lifespan of both structure and bicycles.
2. Demand Integrated Protection
I prioritize units with an integrated floor and robust perimeter seals; these elements create a continuous weatherproof barrier against driving rain and melting snow.
3. Invest in Certified Security
Seek insurance-approved locking systems and reinforced panels. These security features satisfy homeowner policies while deterring theft.
4. Specify Premium Construction
High-end metal sheds featuring gas-assisted lids and seamless welding offer superior weather resistance, essential for coastal or northern climates.
Your bikes deserve sanctuary. Build it right, and you’ll belong to the community of cyclists who never worry about their gear.





