
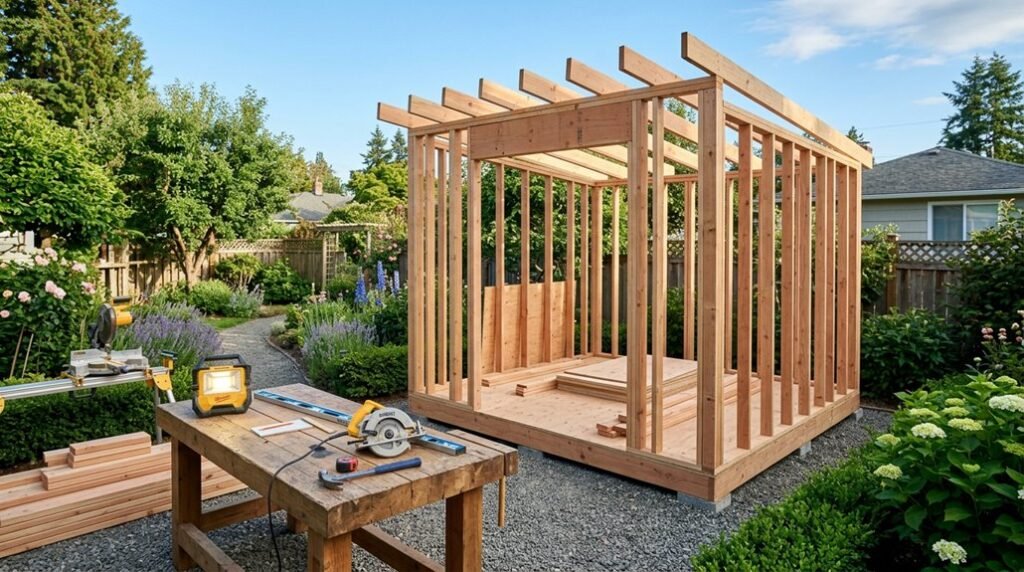
I built my first shed after realizing my garage couldn’t hold another lawnmower, and what started as a weekend project became a lesson in patience: measuring twice, cutting once, and learning that a 4-inch variance in foundation level means doors that won’t close.
Over seven stages, from permit checks to final caulk lines, you’ll move through structural decisions that balance code compliance with usable square footage. The process isn’t complicated, but sequence matters. Skip proper flashing above your door header, and you’ll discover rot where you least expect it.
Check Local Codes and Design Your Shed Layout
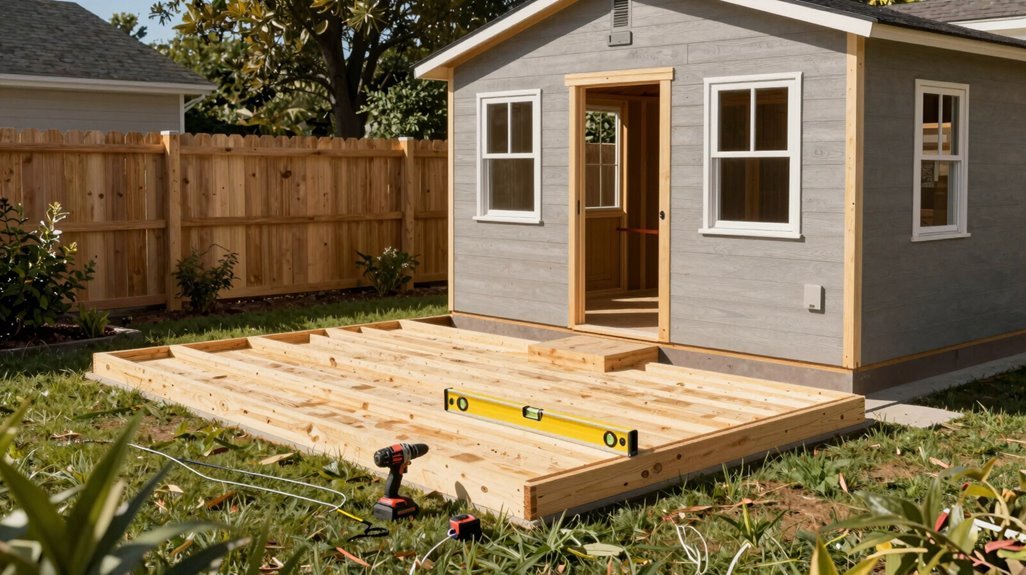
Where do you begin when a backyard shed shifts from daydream to blueprint? I start with permitting, because nothing unravels a project faster than code violations discovered mid-build.
- Research Local Requirements. I verify permit needs and inspection schedules with my municipality, noting that Ontario projects may require ESA approval. Regional authorities vary, so I never assume.
- Map Your Setback. I measure property lines carefully, confirming setback distances and height limits that dictate where my structure can legally sit.
- Craft Your Layout Design. I sketch spatial constraints: electrical runs, breaker panel access, potential attic storage. I compare against buildable references like Ana White plans while documenting adaptations for my specific footprint.
Through this groundwork, I’m not just building storage; I’m claiming my place in the neighborhood, responsibly.
Level the Ground and Lay Your Block Foundation
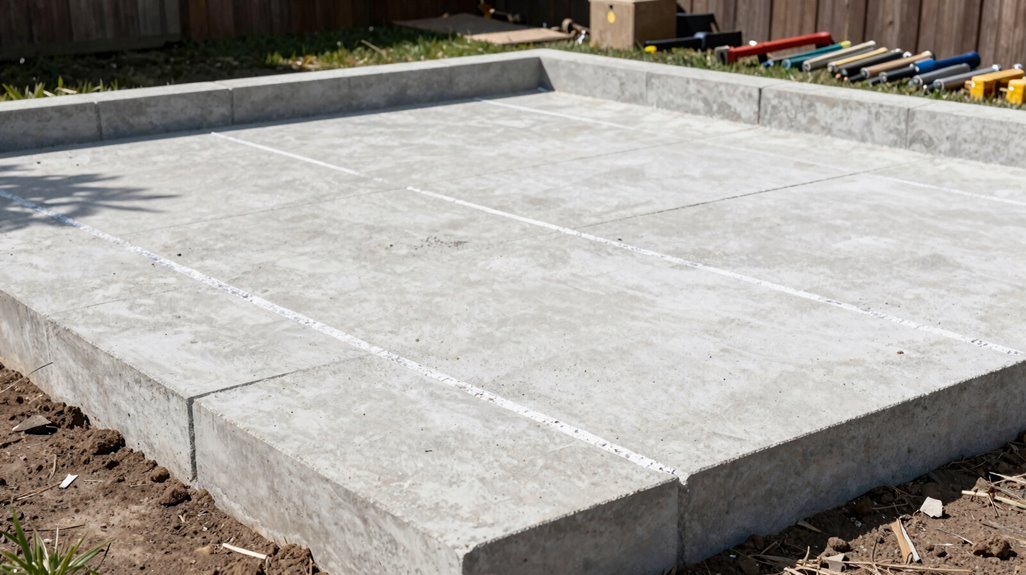
I’ll start by leveling the ground with a spade and pickaxe, carving channels for drainage and electrical lines, before tamping limestone screening into place for a stable subgrade. Next, I’ll mortar i-bolts into fifteen cinderblocks, supplementing with clay bricks and concrete pavers where the terrain demands, using four 2x8s to create a solid underpinning.
Finally, I’ll verify everything with a four-foot level, making certain the foundation sits square and true across its entire footprint.
Leveling the Ground
Why settle for a wobbly shed when you can build something that’ll last decades?
I’ve learned that leveling ground properly, removing sod, grading soil, and eliminating uneven patches, creates the essential first layer of our foundation story. Without this precision, your blocks will shift, your doors will jam, and your pride will diminish.
- Grade and Clear: I strip topsoil, dig out humps, and fill hollows until I’ve achieved uniform elevation, compacting native soil as my canvas.
- Channel and Screen: Carving parallel trenches where blocks will rest, I tamp limestone screening into firm, level beds; this granular substrate prevents settling.
- Verify and Refine: Using my four-foot level spanning multiple channels, I confirm evenness obsessively, because your shed deserves belonging on solid ground, not compromise.
Block Foundation Setup
How precisely must we anchor our ambitions to the earth? I position my concrete blocks slightly below grade, creating a solid, level base that’ll carry our shared vision of backyard order.
- Excavate with Purpose, I dig channels using spade and pickaxe, preparing homes for cinderblocks and electrical conduit protection. This groundwork transforms raw terrain into buildable space.
- Level with Precision, I wield my four-feet level, setting lower ramp foundation blocks until the surface evens perfectly. Each adjustment brings us closer to structural integrity.
- Square with Strings, I plant rebar posts at corners, stretching strings to keep walls straight and our block foundation square through every construction phase.
Together, we’re leveling more than ground, we’re building belonging, one measured block at a time.
Limestone Screening Base
With our block foundation’s skeletal frame now mapped and squared, we turn toward the bedrock of permanence, the limestone screening that’ll cradle every load-bearing decision above.
- Level and Lay. I begin by grading the ground to true, spreading limestone screening in prepared zones where my block foundation will rest. This compactable aggregate, crushed to precise gradation, interlocks under pressure, creating a monolithic plane that refuses settlement.
- Tamp to Density. Using a plate compactor, I vibrate the limestone screening until it achieves near-solid density; every void collapses, every grain locks with its neighbor. The surface must read level with a straightedge, no dips, no crowns.
- Channel for Drainage. Where water might gather, I carve trenches through the screening, seeing that my foundation sits above the hydraulic fray. This subterranean guttering protects what we’ll build together.
- Anchor and Align. Finally, I bed four 2x8s with i-bolts mortared into cinderblock cores, clay bricks reserved for grade and above, while limestone screening below arrests erosion, securing our shared structure against time’s quiet siege.
Frame the Floor and Lock It to Your Foundation
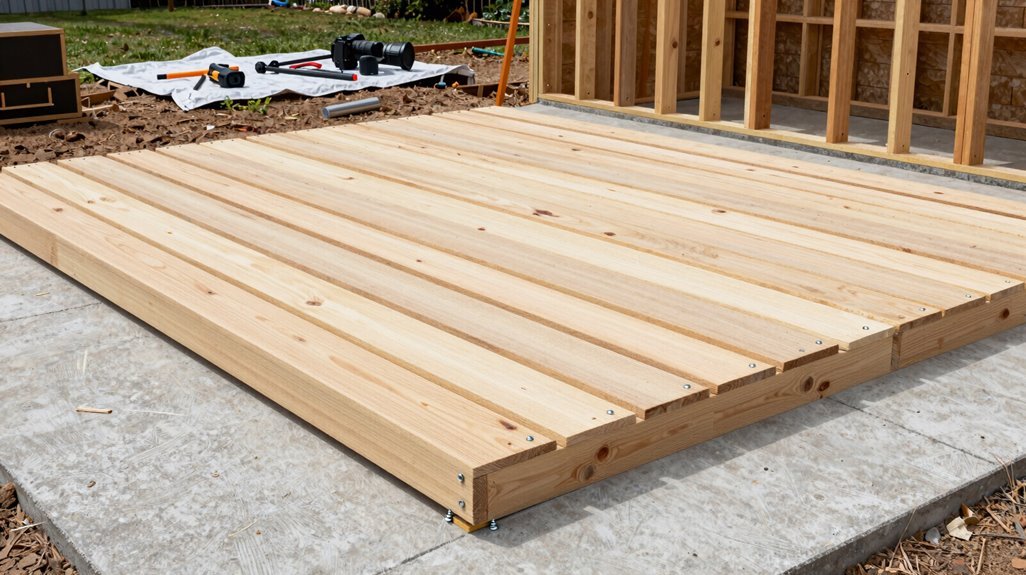
Where exactly does your shed begin to feel like a permanent structure rather than a weekend project? For me, it’s the moment I start floor framing, transforming raw lumber into something that’ll outlast the seasons.
Floor framing is where raw lumber becomes something that outlasts the seasons.
Here’s how I lock this foundation down:
- Lay the Groundwork — I set concrete blocks slightly below grade, spacing them with 2×4 stringers for a level base that won’t shift when frost heaves.
- Anchor with Intent — Using I-bolts mortared into cinderblock holes, I secure 2×8 joists to the foundation; this anchoring creates the rigidity that separates amateur builds from structures that endure.
- Frame for Tomorrow — I install joist plates with consistent overhang, leaving utility channels where needed, sometimes driving rebar through the floor framing for extra insurance against time.
This is where we build something that lasts.
Build, Square, and Raise Your Shed Walls

I built my five wall frames on the driveway, starting with the back wall closest to the house, and had them all standing within four hours, each one a 24-stud skeleton waiting for skin. Once squared, I anchored them to the concrete slab with powder-actuated nails, that sharp crack of the gun echoing across the yard as each wall locked into place.
The foundation attachment isn’t glamorous, but it’s what keeps your structure alive when the wind hits.
Wall Frame Assembly
Constructing shed walls demands precision from the ground up. I’ll walk you through building frames that stay true, lift cleanly, and lock into lasting geometry. I assemble wall frames on flat ground, checking squareness before raising anything vertical, following every detail in my framing notes so joints stay tight and edges align perfectly.
- Frame on Level Ground — I build each wall flat, measuring diagonals to confirm squareness; this prevents warping that haunts later steps, saving hours of frustration when walls meet at corners.
- Stage Your Assembly — Starting with the back wall, I work forward through five walls total; this sequencing respects house proximity constraints while preserving shed geometry throughout construction.
- Prepare for Weatherproofing — Using 24-stud rafters and 1x4s with consistent 15-degree top-edge angles, I’m readying structural support for cedar siding with half-inch overlap and clean dog-ear edges.
Foundation Attachment Method
How does a shed transform from scattered lumber into a weather-resistant structure? Through meticulous foundation attachment that anchors your creation to the earth itself.
I begin by setting cinderblocks slightly below grade, tamping limestone screening into channels, 2×4 spacers maintaining critical stability between stringers. With my four-foot level, I make certain every block sits true before the real work commences.
The ledger becomes my backbone: a substantial 2×10 fastened to floor joists, receiving stringers that rest upon its breadth. I-bolts thread through cinderblock voids, embedding in mortared footing to lock wall frames as unified assemblies against wind and time.
L brackets and TimberLok screws secure lateral connections, while waterproof overhangs protect what we’ve built together. When joists, supports, and fasteners coordinate perfectly, your shed stands square, belonging exactly where you’ve placed it.
Install Roof Trusses and Weatherproof Your Shed

What separates a mere backyard box from a structure that’ll stand against driving rain and curious raccoons? Proper roof trusses and weatherproofing, that’s what transforms your build into sanctuary.
I crafted my roof trusses using 24 studs and 1x4s, creating a rafters framework that carries the load with architectural integrity. Before sheathing, I layered cedar fence picket scraps as eaves, an essential barrier sealing the bottom roof areas against infiltration.
Here’s my weatherproofing sequence:
- Frame the skeleton: Install roof trusses with precise spacing, ensuring structural harmony before any surface work begins.
- Layer the shield: Apply cedar siding eaves, then OSB sheathing, felt paper, shingles, and flashing, each stratum defending against moisture intrusion.
- Seal the perimeter: Overlap cedar siding components with dog-ear removal and half-inch joints at the roof line, completing your weatherproofing fortress.
Install Siding, Doors, and Windows to Enclose Your Shed
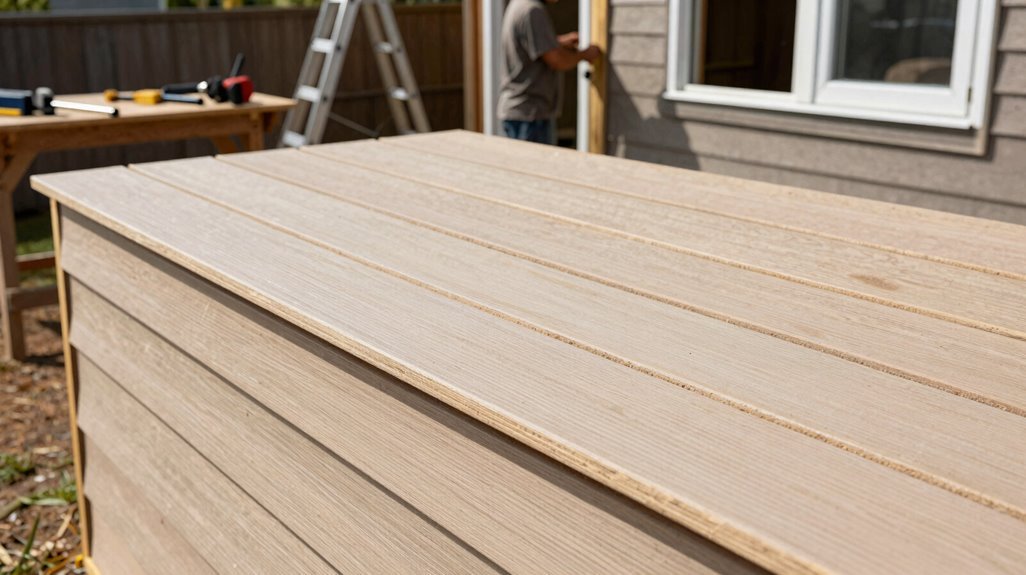
A shed without walls is just a roof waiting to collapse, so I turned my attention to enclosing the structure with cedar siding, custom doors, and plexiglass windows that’d transform this frame into a finished sanctuary.
I overlapped cedar boards 1/2 inch, removing dog-ears for a tight seal, then added white trim for accent. For the doors, I built multiple iterations—2×4 frames sandwiched with T1-11 siding—until achieving precise fit, reinforcing with heavy-duty hinges. Three doors total: one for steps, two for the ramp, with template-patterned trim ensuring consistency.
Windows came last—1/4 inch plexiglass set in white silicone after flashing and caulking.
| Component | Material/Method | Purpose |
|---|---|---|
| Siding | Cedar, 1/2″ overlap | Weatherproof seal |
| Doors | 2×4 frame, T1-11 | Custom access |
| Hinges | Heavy-duty | Structural support |
| Windows | 1/4″ plexiglass | Natural light |
| Trim | Template-patterned | Visual cohesion |
Priming and painting doors matched the shed’s aesthetic, completing this enclosure.
Paint, Seal, and Complete Your Shed Exterior
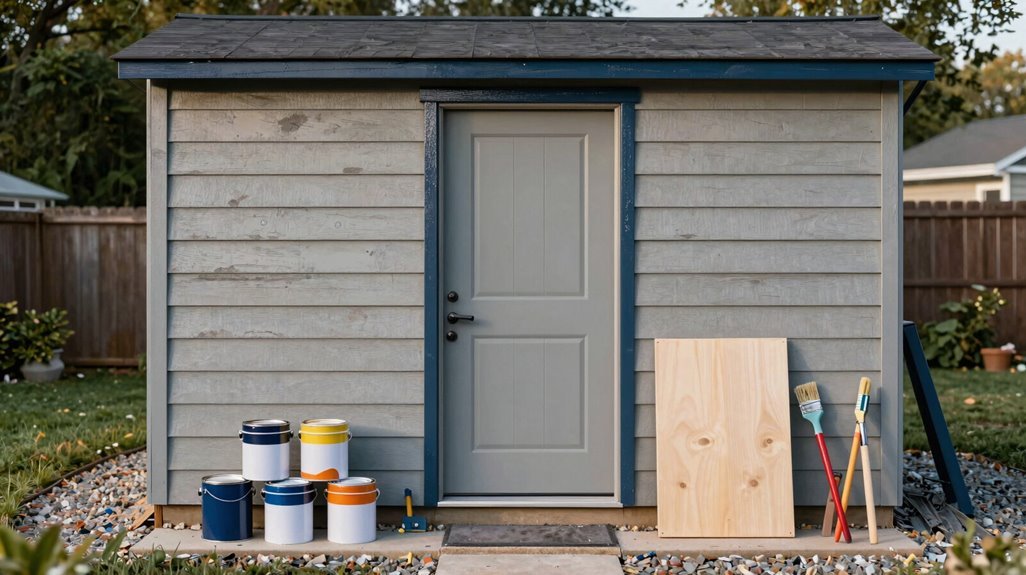
Why settle for raw lumber when a finished exterior changes your shed from utilitarian structure to backyard centerpiece? I’m completing my storage shed with deliberate attention to weatherproofing and aesthetic cohesion, because your backyard deserves craftsmanship that invites admiration.
Stain and Paint with Purpose — I apply light brown semi-transparent stain to preserve the wood grain, then brighten trim with crisp white paint, creating an exterior that harmonizes with residential architecture.
Layer Your Roof Defense — Installing 7/16 inch roof boards beneath brown asphalt shingles, I sequence flashing, felt paper, and shingles meticulously; weatherproofing that protects your storage investment through every season.
Seal Every Junction — With cedar siding overlapped 1/2 inch (dog-ears removed), I integrate flashing around windows and doors, completing a tight exterior envelope that neighbors will notice, and envy.





