
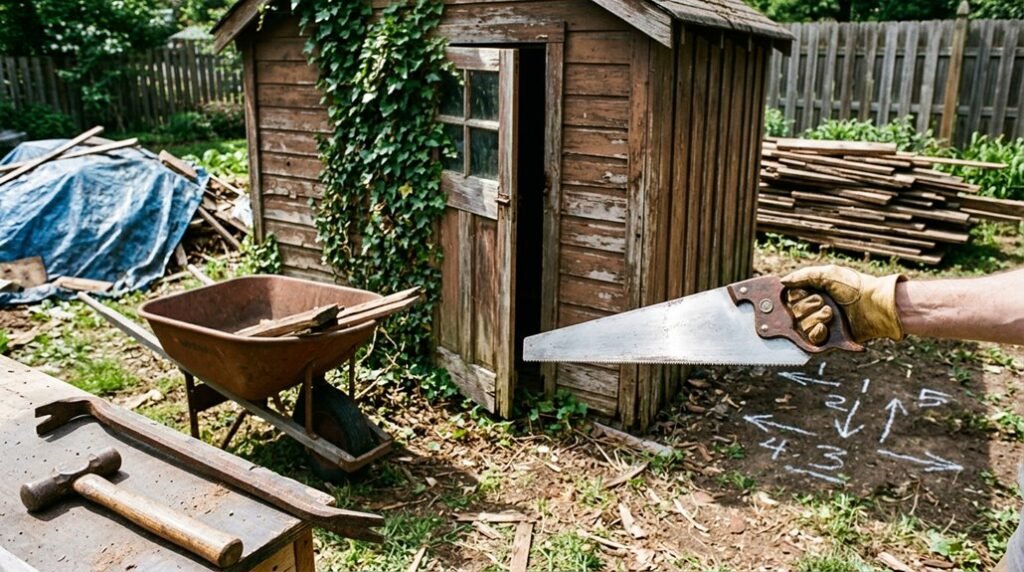
I’ve cleared three sheds from properties I’ve owned, each one taught me that speed without strategy creates costly mistakes. Whether you’re reclaiming a 10-by-12-foot footprint for a studio build or simply eliminating rot, these five steps balance structural safety with efficient demolition.
The process isn’t complicated, but sequence matters: permits first, then prep, then teardown, then debris management. I’ll walk you through what actually works, starting with the decision that shapes everything else.
Shed Removal Costs and Methods: Choose Your Path
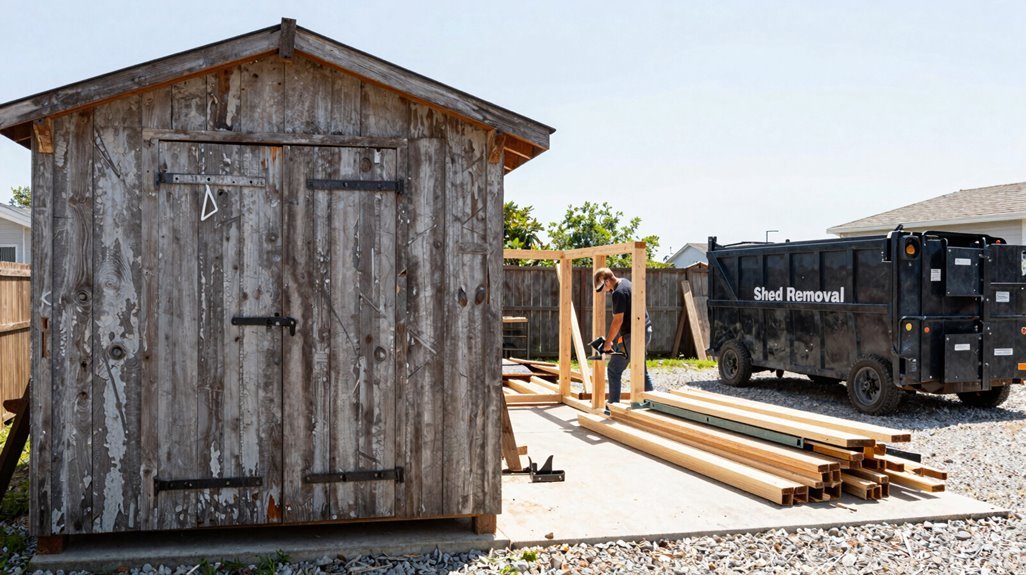
Wondering how much it actually costs to tear down that weather-beaten structure? I’ve found shed removal typically runs $200–$2,000, with removal costs hinging on accessibility, foundation type, and your location’s market rates.
Shed removal typically runs $200–$2,000, with costs hinging on accessibility, foundation type, and your location’s market rates.
You’ve got paths forward. DIY demolition saves money but demands heavy lifting, tool rental, and coordinating dumpster rental for debris. Professional removal, think 1-800-GOT-JUNK?, handles the teardown and junk hauling, though availability varies by franchise territory.
Before committing, I’m checking whether my shed’s footprint requires a permit to demolish; regulations differ municipality to municipality. Some areas bundle content disposal with structural removal, while others separate these services.
Requesting in-person estimates reveals upfront pricing without obligation. Whether you’re salvaging materials for reuse or pursuing full-service demolition, understanding these variables helps you choose wisely, not just cheaply.
Check Permit Requirements Before You Start

Where exactly does your shed stand, geographically and bureaucratically, before you swing that first sledgehammer?
1. Verify Your Permit Status
Contact your city or county Building Department to confirm permit requirements for your shed demolition. In larger municipalities, you’ll likely need official approval; skipping this step invites fines and delays.
2. Understand Local Constraints
Zoning rules and disposal restrictions vary dramatically by region, affecting where debris travels and what methods pass inspection. Your demolition plan must accommodate these parameters.
3. Assess Hidden Systems
Electrical wiring or plumbing connections complicate permit eligibility; I’ve seen homeowners stalled mid-project because they overlooked utility inspections. Check these elements early with local authorities.
4. Secure Professional Guidance
Request an in-person estimate from licensed contractors; they’ll navigate compliance nuances while establishing upfront costs, so your project proceeds without bureaucratic surprises.
Prep Your Shed: Clear, Disconnect, and Stabilize
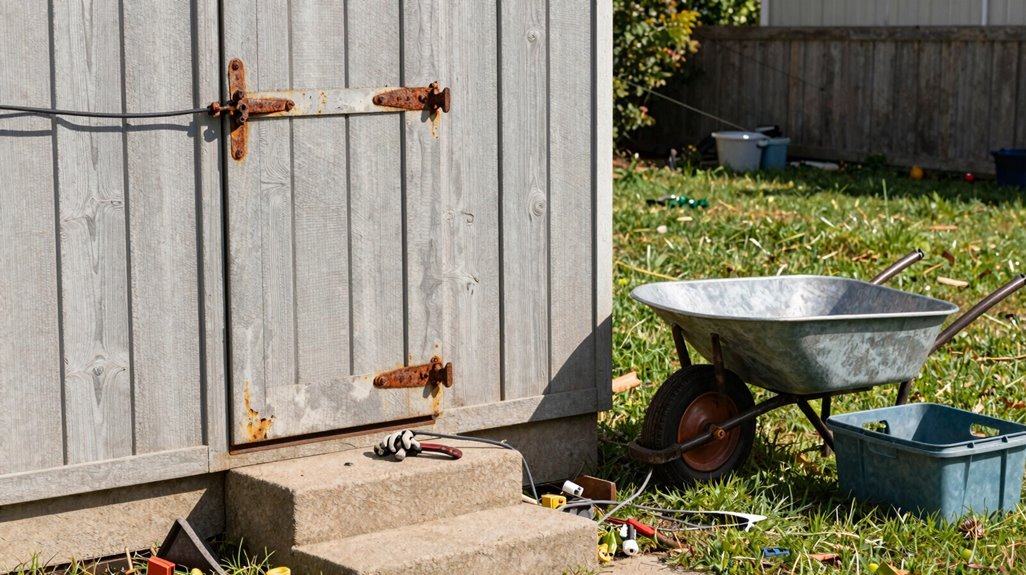
A demolition site demands respect before the first board comes loose.
For successful shed removal, I start with proper prep. First, I clear every item, sorting for donation, reuse, or disposal. Nothing stays behind.
Next, I disconnect all utilities. I shut off electricity at the main source, capping wires to eliminate hazards. Safety isn’t negotiable.
Then I stabilize the structure. Removing doors comes first, reducing weight and improving access. I label each component for efficient disposal later.
With the shell prepped, I’m positioned for controlled demolition. The roof awaits systematic removal, but that follows proper stabilization.
This methodical approach transforms chaotic teardown into manageable phases. I’ve learned that rushing the prep creates costly mistakes. We deserve clean starts; this groundwork guarantees exactly that.
Tear Down Your Shed With the Top-to-Bottom Method

How do you dismantle decades of accumulated structure without chaos overtaking your yard? I’ve learned that systematic roof removal keeps you in control: no surprises, no collapse.
1. Expose the Structure
I climb my ladder, sliding a pry bar beneath asphalt shingles to loosen them from underlying sheathing. Working methodically across planes, I strip layers until drywall/wood panels emerge: raw bones awaiting disassembly.
2. Remove Openings
Before walls weaken, I detach windows, doors, trim: each element carefully pried away, preserving what neighbors might reuse.
3. Dismantle Framing
With crowbars and reciprocating saw, I attack vertical studs, cutting beams into manageable sections. Debris piles stay separated: metal here, lumber there.
4. Break the Floor
I sawzall through joists, loading everything onto my trailer: nails bent flat, to haul away efficiently, leaving only flat earth behind.
Dispose of Debris and Transform Your Yard
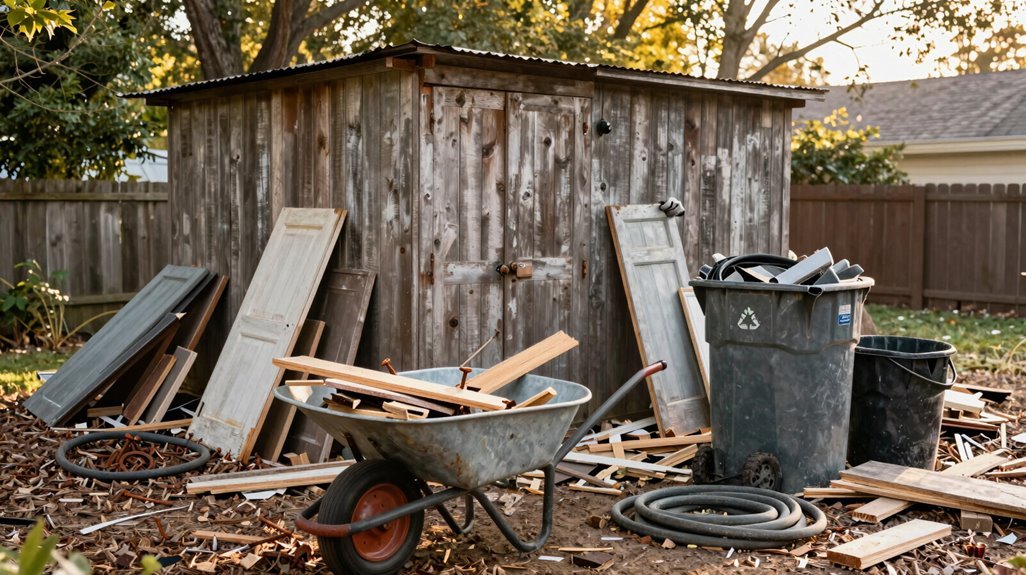
Why let demolition debris linger when transformation awaits? I’ve cleared my share of post-demo sites, and proper shed disposal brings immediate relief.
| Method | Best For |
|---|---|
| DIY landfill trips | Budget-conscious homeowners with trailers |
| Junk removal service | Heavy lifting and eco-friendly debris disposal |
| Dumpster rental | Organized debris cleanup (10-yard runs ~$522/week) |
After completing my demolition steps, I sort materials for recycling donation versus disposal. Whether I’m hauling nails and roofing or booking professionals, efficient debris disposal protects my property value.
Then comes the reward: leveling the ground, seeding for yard restoration, and reimagining that footprint, perhaps a pergola, native garden, or open lawn. Your changed space awaits.





