
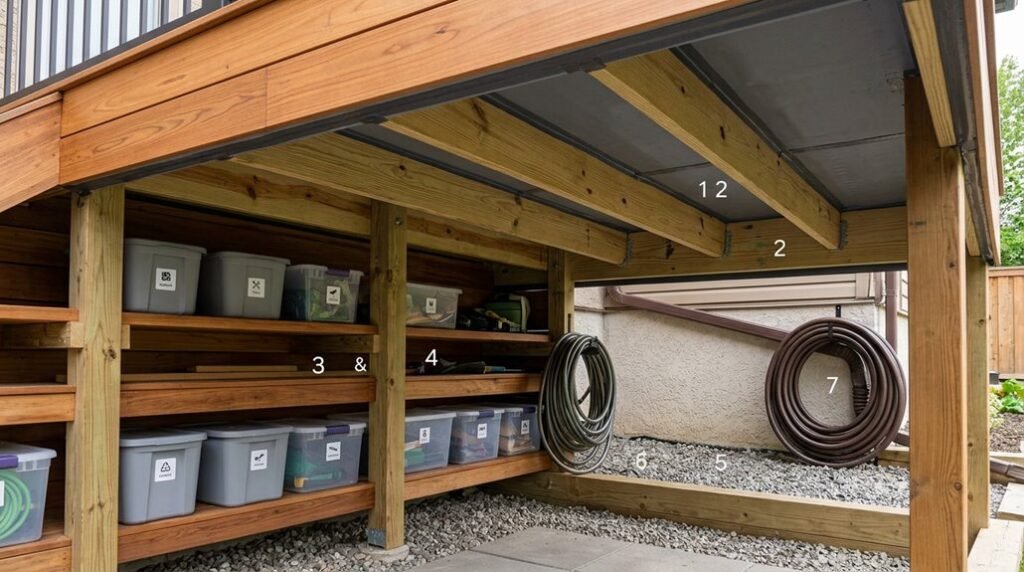
I’ve spent years watching homeowners lose patio furniture to rot, usually because they skipped the math on slope and drainage before sealing off that under-deck void.
When you’re converting 150 square feet of dead space into dry storage, the difference between a moldy mess and a weatherproof vault comes down to seven sequential decisions I’ll walk you through.
Check Your Deck Structure: Slope, Joists, and Headroom
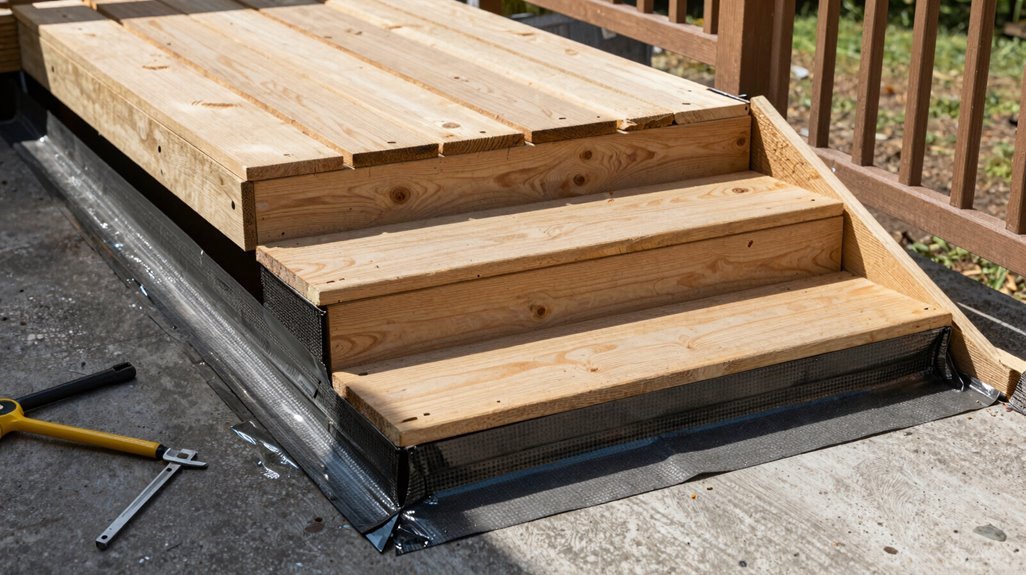
Before I commit to any waterproofing system, I need to step beneath my deck and assess what I’m actually working with, because the structure above determines every decision that follows.
1. Evaluate the Slope and Drainage Pitch
I’m checking whether my deck has a defined slope, since this under-deck pitch dictates how I’ll position storage and manage drainage flow. Without proper pitch, water pools, and I’m not building a storage space that becomes a breeding ground for rot.
2. Inspect Joist Spacing and Condition
I’m measuring between joists to plan my barrier layout, flashing placement, and any purlin supports my panels will need. Spacing matters: too wide, and I’m adding structure; too narrow, and I’m wasting materials.
3. Verify Vertical Clearance
I’m confirming headroom for shelving, doors, and container access, because cramped storage defeats the purpose.
4. Map Existing Water Patterns
I’m watching where water currently travels, so my drainage strategy works with nature, not against it.
Size Your Storage Project: Space, Budget, and Timeline
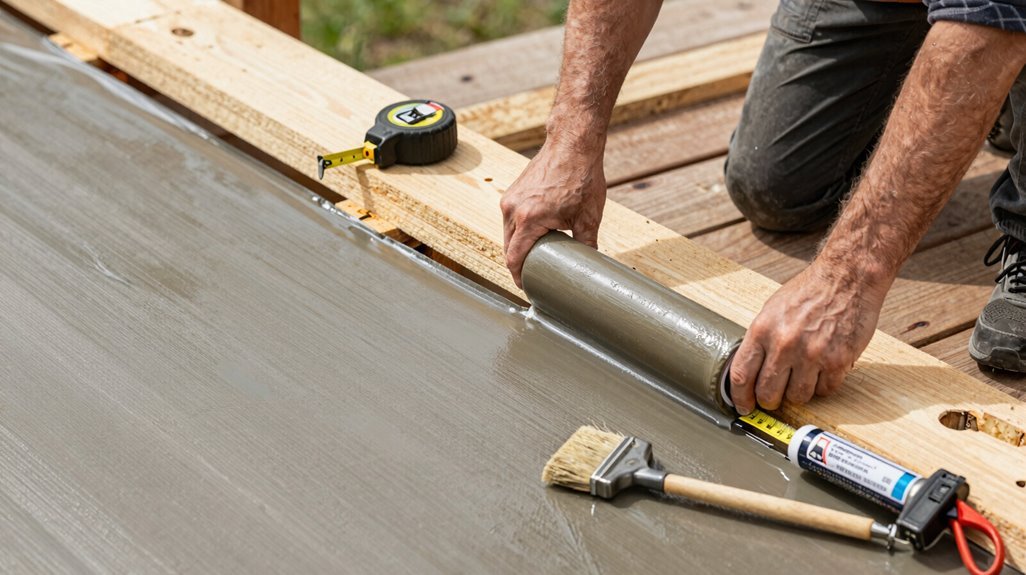
I start by measuring my deck’s footprint: length, width, and headroom, to map usable cubic footage while accounting for joist bays, drainage slopes, and clearance for operable doors. With dimensions in hand, I build a line-item budget spanning vapor barriers, pressure-treated framing, composite flooring, and hardware, then layer in 15–20% contingency for the inevitable surprise (rot, insect damage, or a shifted beam).
Finally, I block out a phased timeline: design, procurement, dry-weather installation windows, that respects cure times for sealants and keeps my project on track through seasonal shifts.
Measuring Available Space
Where do you begin when transforming that idle void beneath your deck into purposeful storage? I start with a tape measure and a clear eye, mapping every inch of your Under Deck domain before committing to plans.
- Measure length and width of the available footprint, noting post locations and joist spacing that intrude upon your Storage envelope
- Record headroom from grade to deck underside; six feet minimum for comfortable access, less demands creative door placement
- Mark slope gradients affecting drainage planes and barrier installation sequences
- Document existing utilities, downspouts, or structural anchors limiting enclosure geometry
- Sketch cross-sections showing clearance arcs for door swing and human movement
With these dimensions anchored, you’ll possess the spatial intelligence to specify materials confidently, transforming raw measurements into a watertight reality beneath your feet.
Budget Planning Essentials
The transformation from idle void to weatherproof sanctuary demands more than vision; it requires a ledger. I’ll walk you through the numbers that make under-deck storage achievable for our community.
1. Measure Your Canvas
I’m calculating total footprint from your deck’s dimensions, accounting for joist spacing and overhangs. These measurements dictate material quantities and structural modifications.
2. Build Your Budget
I’m working with $551–$1,299 for waterproofing membranes, plus $0.75–$4.00 per square foot for labor and materials. Labor consumes 50–75% of total costs; something I’m negotiating carefully.
3. Plan for Longevity
I’m budgeting ongoing maintenance: gutters, sealants, and membrane inspections. Proper deck drainage with 1-inch drop per 10 feet prevents costly repairs later.
4. Account for Headroom
I’m making sure there’s adequate clearance for accessibility, integrating slope requirements into my financial planning without sacrificing usable space.
Timeline and Scheduling
How does a weekend vision become a weatherproof reality? I’ve learned that proper scheduling transforms ambitious plans into finished spaces; we’re building something lasting here.
Measure everything first, including deck area, headroom, and slope, so your deck drainage system fits perfectly without costly mid-project adjustments.
Sequence the work: assessment, then barriers, framing, flooring, doors; each milestone building toward completion.
Order materials early. I add 10-15% for waste and tricky angles, especially with custom flashing requirements.
Build in buffer time. Sealants need curing, contractors have lead times, and weather windows aren’t guaranteed.
Phase your approach, whether weeks or months, depending on complexity, permits, and your own availability.
Together, we’ll create storage that protects what matters.
Pick Your Waterproofing: Panels, Membrane, or Hybrid System
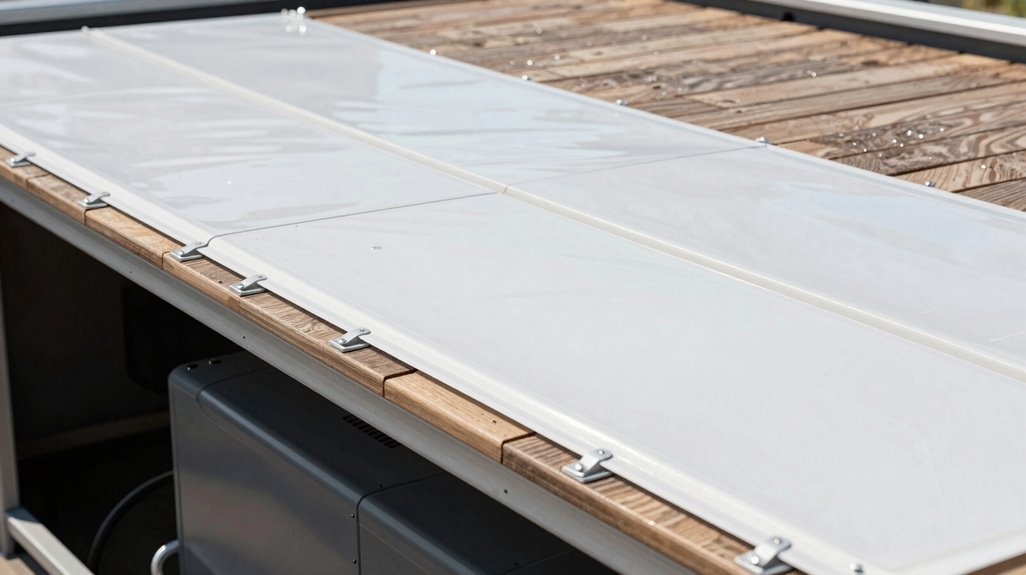
I’ve worked through enough under-deck projects to know that choosing your waterproofing method, whether drainage panels, continuous membranes, or a hybrid combining both, shapes everything from installation complexity to long-term performance. Each system carries distinct trade-offs in labor, material cost, and maintenance access that you’ll want to weigh against your specific deck configuration and climate demands.
Let me walk you through the three approaches I’ve seen succeed in the field, starting with how panel systems handle water redirection through interlocking channels and sealed joints.
Panel Systems Overview
Precision in waterproofing begins with understanding your options: panels, membranes, or hybrid systems each offer distinct advantages for transforming the void beneath your deck into usable, dry storage. Under-deck panels create a finished ceiling while channeling water away, offering a polished aesthetic that integrates seamlessly with your home’s architecture.
Consider these essentials when evaluating panel systems:
- PVC drainage panels, routing precipitation through integrated channels toward designated discharge points
- Fiberglass construction, 26-inch widths spanning 12-foot lengths, fastened to purlins with strategically placed screws
- Two-person installation protocol, managing flexibility and length while preventing material bunching during placement
- Exterior-grade sealants, applied at joints, complemented by gutters and end caps for controlled water management
- Manufactured solutions, DeckRite, Trex RainEscape, and TimberTech DrySpace featuring removable access sections for maintenance
Your selection establishes the foundation for protected, functional storage beneath your outdoor living space.
Membrane Solutions Explained
Often overlooked in favor of flashier alternatives, membrane waterproofing rewards the meticulous homeowner with seamless protection that panels alone can’t always deliver.
I’ve found that rolled membranes, think Balconyguard or Polyguard, create that continuous moisture barrier we’re all chasing. Unlike drainage panels, which catch and channel water below the joists, membranes form an unbroken shield across your entire under-deck surface.
Here’s what I’ve learned matters most:
1. Surface Preparation
Prime everything properly; skipping this step invites failure. The membrane bonds only where the substrate welcomes it.
2. Detailing Discipline
Flash every joint, every penetration, every corner boot. Water finds gaps you’d swear weren’t there.
3. System Compatibility
Pair Polyguard LM-85 SSL with its matching components. Mixing manufacturers courts disaster; cohesive performance demands cohesive products.
Membranes demand patience, but deliver that seamless, architectural-grade finish our projects deserve.
Hybrid Approach Benefits
While membranes deliver that seamless architectural finish, I’ve learned that real-world deck geometry rarely cooperates with pure solutions; slopes shift, joists interrupt, and water finds its way. That’s why I’ve embraced the hybrid approach, combining drainage panels with membrane waterproofing for systems that actually perform.
- Dual-layer protection: Panels channel water away while membranes seal joints and prevent seepage, creating redundancy where it counts
- Installation flexibility: Position panels above or below joists, screwing at every other ridge to maintain run-off without sacrificing drainage
- Cost-conscious customization: Deploy panels for economical drainage, adding membrane protection at critical joints and terminations
- System integration: Products like Polyguard coordinate with flashing, corner boots, and detailing tapes for continuous waterproofing
- Compatibility assurance: Overlap panels properly, apply exterior sealant to joints, and align with balcony guard components for cohesive drainage
This approach lets us build belonging; spaces that actually stay dry.
Install Sloped Supports to Drain Water Away
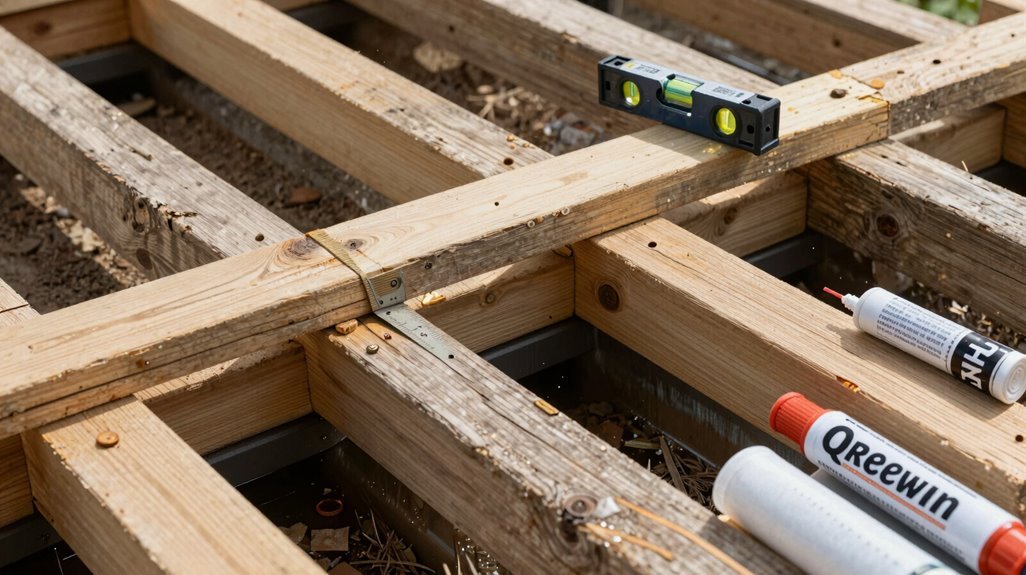
How do we transform a flat under-deck cavity into a functional, dry storage space? We build it with intention, starting with the bones that carry water away.
1. Layer the blocking for pitch. I install pressure-treated blocking under joists in graduated thicknesses: 1 inch, 1.5 inches, 2 inches, 2.5 inches, creating a continuous slope that drains toward the exterior. Each 24-inch piece forms a solid ceiling plane while maintaining that critical angle.
2. Anchor vertical supports. At panel locations, I attach 2x4s to joists, future mounting points that preserve alignment as the slope does its work.
3. Seal angled joints. Panel seams get heavy exterior sealant, preventing infiltration where the slope changes direction.
4. Capture at the edge. A gutter with ½-inch pitch per 10 feet channels runoff to downspouts, completing the drainage architecture.
Seal Every Gap Where Water Sneaks In
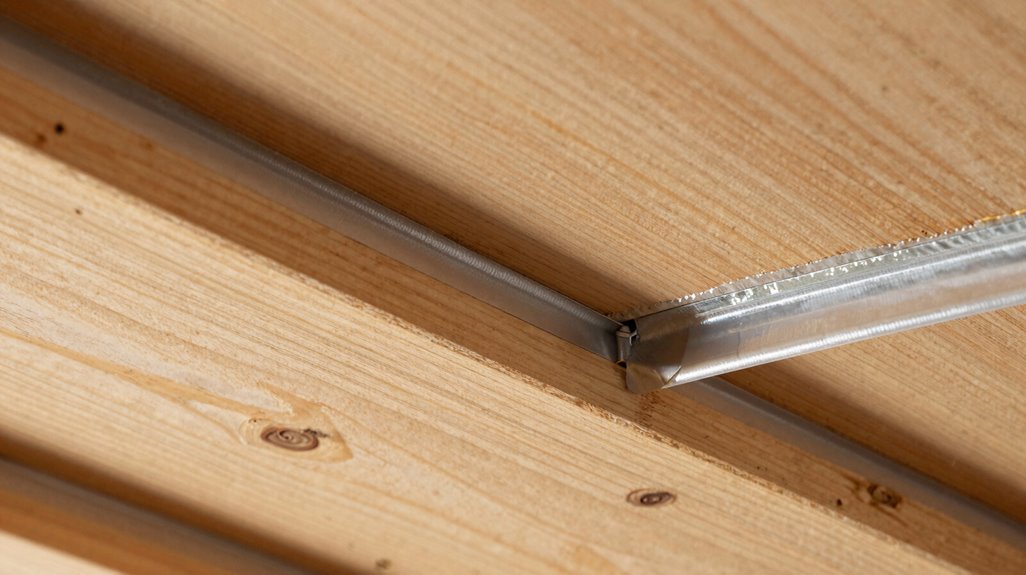
With the skeletal drainage framework in place, those angled supports and gutter systems working in concert, I’ve learned that water respects no architectural intention unless every potential breach gets addressed. Waterproofing demands obsessive attention to junctions where materials meet, shift, and settle.
Sealing transforms vulnerable intersections into impenetrable boundaries. I run rubberized membranes beneath deck boards, sloping them away from the structure’s core. Every seam demands verification.
- Membrane Deployment: I stretch rubberized barriers with deliberate pitch, directing runoff toward designated drainage; never allowing stagnation near foundations.
- Slope Integrity: I maintain consistent angle away from the house, so gravitational assistance prevents pooling at critical structural points.
- Mechanical Fastening: I anchor barriers without puncturing waterproof surfaces, preserving continuous protection across the entire envelope.
- Joint Compensation: I apply flexible caulking putty at each joist intersection, accommodating thermal movement while maintaining seal integrity.
- Verification Protocol: I test every penetration point, confirming watertight performance before permanent enclosure.
Build a Storage Floor That Channels Water Away
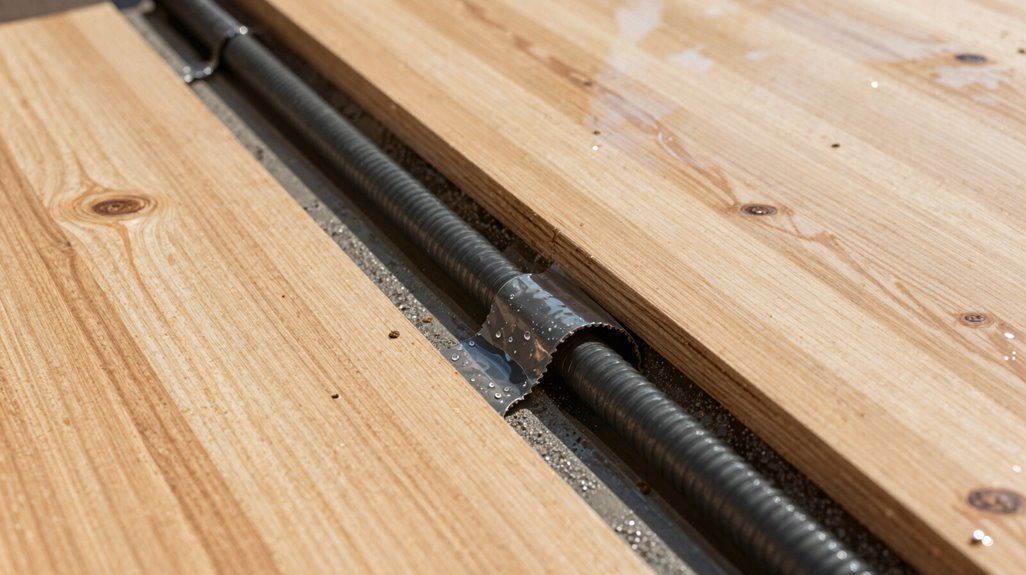
Where does all that water go once it breaches the deck above? I’ve learned it doesn’t just disappear; it needs a path out. That’s why I build my storage floors with purpose, creating drainage that protects everything below.
| Element | Purpose |
|---|---|
| Sloped subfloor (1″ per 10′) | Channels water away from foundation |
| Rubberized membrane | Creates waterproofing barrier beneath deck boards |
| Sealed joist junctions | Prevents leaks at critical connection points |
I start with pressure-treated framing, crowning the surface slightly so moisture can’t pool. Beneath the deck boards, I install a rubberized membrane; think of it as a protective umbrella catching every drop.
Joist rails support my ceiling panels while maintaining that smooth, continuous surface water needs to travel. At every junction, I seal with exterior-grade caulk. Together, we’re building something that lasts.
Add Gutters, Vents, and Weatherproof Doors
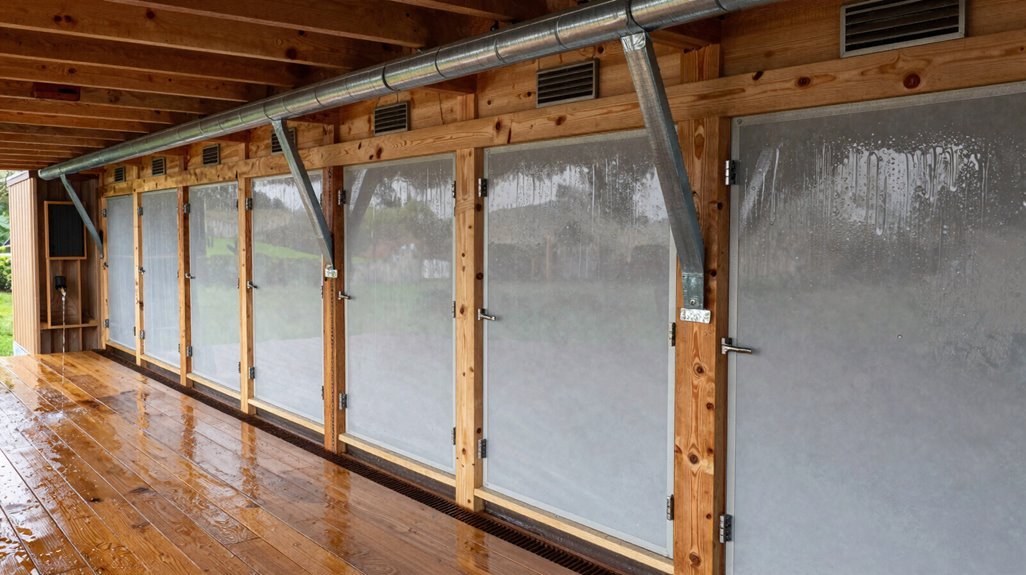
Once the subfloor is crowned and sealed, I’m ready to capture the water we’ve so carefully channeled. I install a 5-inch gutter system, pitched ½ inch per 10 feet, at the panel ends, securing it with vertical supports and hangers fastened to the end edge beam. This drainage infrastructure withstands heavy Midwest rain while channeling runoff away from your storage sanctuary.
- Gutter Integration: I attach 5-inch gutters with precise pitch, ½ inch per 10 feet, making certain water flows efficiently toward designated drains, protecting your belongings from moisture intrusion.
- Structural Anchoring: I secure vertical supports and gutter hangers to the end edge beam, creating resilient drainage that endures seasonal weather extremes across the heartland.
- Panel Fastening: I place screws every other ridge on fiberglass panels, maintaining consistent water runoff while preventing material bunching during thermal expansion.
- Ventilation Architecture: I install vents at top and bottom elevations, establishing cross-ventilation that eliminates stagnant air, preventing mold and mildew colonization behind waterproof barriers.
- Weatherproof Entry: I select doors with premium weatherstripping, sealing all perimeters to maintain your dry, aspirational storage environment.
Together, we’ve built something lasting, functional craftsmanship that welcomes you home.





