
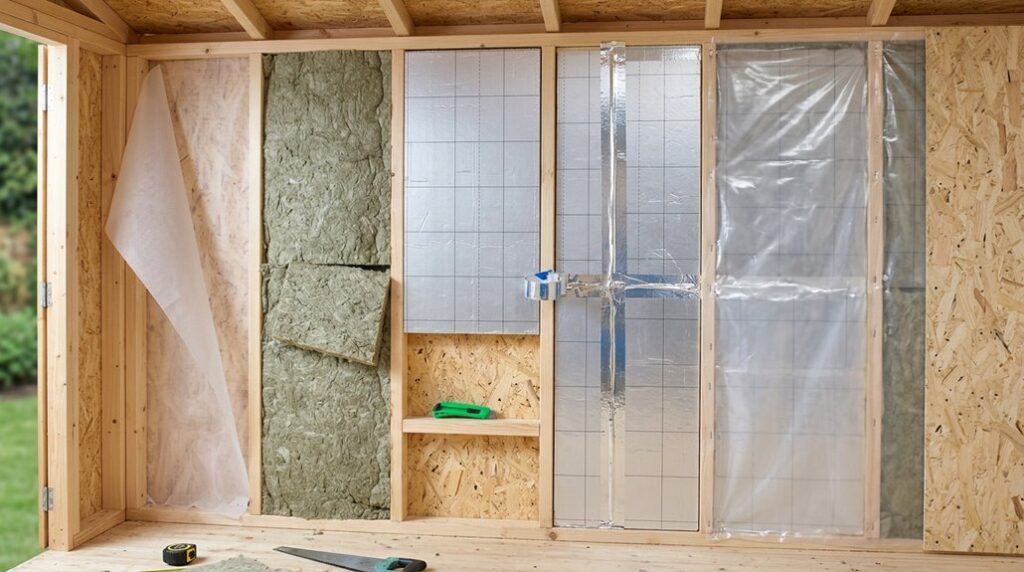
I transformed my drafty garden shed into a year-round workspace last autumn, discovering that proper insulation isn’t just about comfort, but protecting tools and creating usable square footage.
Whether you’re storing equipment, pursuing hobbies, or simply extending your home’s footprint, these six methodical steps will guide you through material selection, air sealing, and installation without overwhelming your weekend.
The difference between a sweltering metal box and a climate-stable outbuilding? It starts with understanding your envelope.
Choose the Best Shed Insulation Material
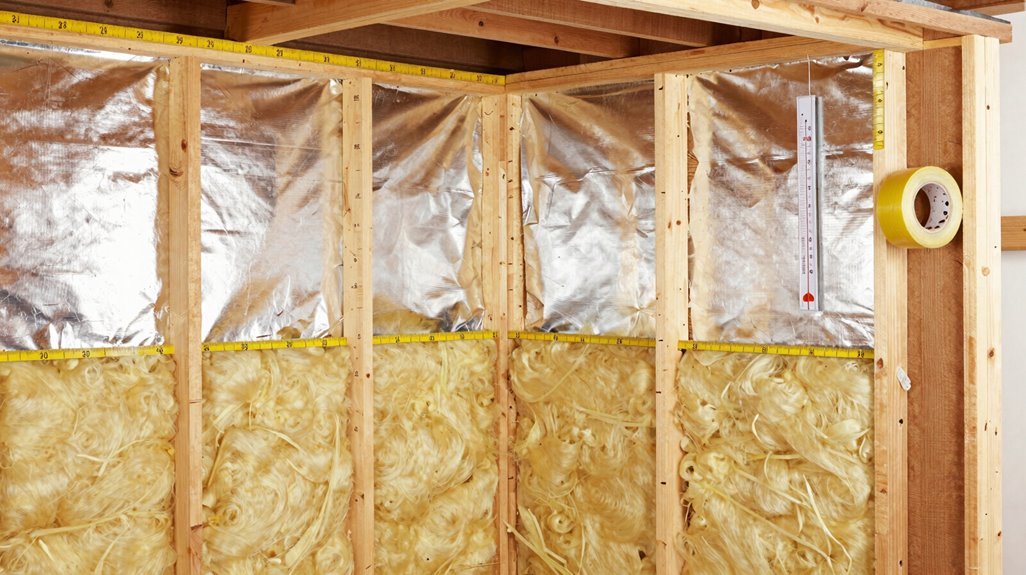
Why settle for a sweltering summer workspace or a frigid winter storage zone? I’ve transformed my shed into a year-round haven, and you can too, starting with the right insulation material.
- Fiberglass Batt Insulation — Budget-friendly and widely available, ranging R-13 to R-21. I wear gloves and long sleeves handling it; those glass fibers irritate skin mercilessly. A solid choice for dry, wooden structures in temperate zones like the Pacific Northwest.
- Foam Board — Higher R-value per inch, plus it acts as its own moisture barrier. I recommend this for damp environments, think coastal Carolina or anywhere humidity creeps in.
- Spray Foam — Premium performance, exceptional air sealing. I’ll budget extra; professional application runs costly but delivers unmatched thermal efficiency.
Gather Tools to Insulate Your Shed
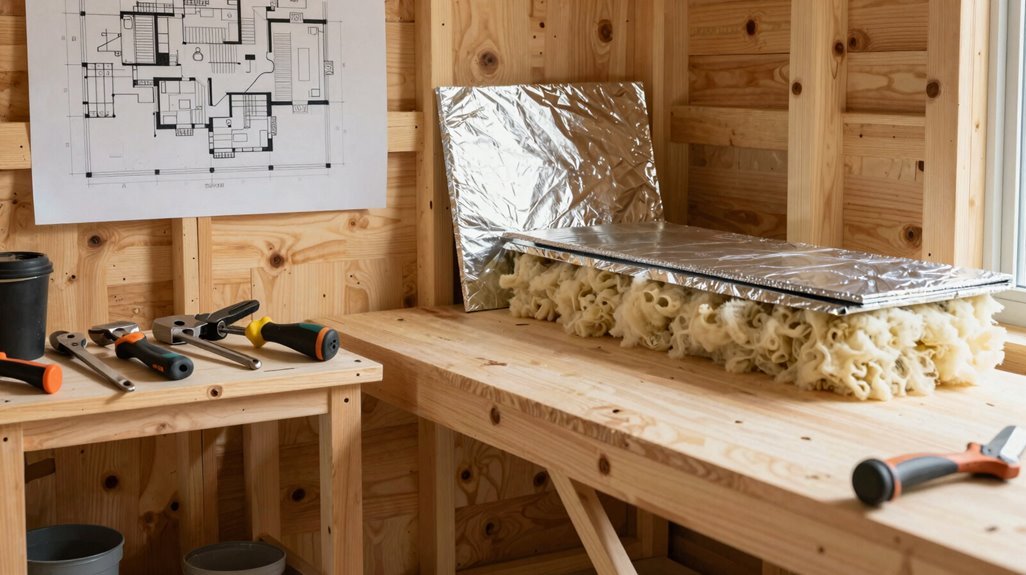
What separates a weekend warrior from a shed-insulating virtuoso? Preparation, knowing exactly what you’ll need before you step inside that structure.
- Cutting and Measuring Tools. I grab my measuring tape and straight edge first; without accurate cuts, your insulation gaps and thermal bridges form. The measuring tape determines precise lengths between studs, rafters, and joists.
- Fastening Equipment. My staple gun becomes indispensable for securing batts; I load it with rust-resistant staples suited to my chosen insulation type.
- Sealing Supplies. I keep weatherproof caulk and a quality caulk gun ready; sealing perimeter gaps before installation prevents air infiltration that undermines R-value.
- Safety Gear. I never compromise here: gloves, safety glasses, respirator, long sleeves, pants, and closed-toe shoes protect against fiberglass irritation and particulate exposure.
Gather these now, and you’re already halfway to mastery.
Prep Your Shed and Seal Air Leaks
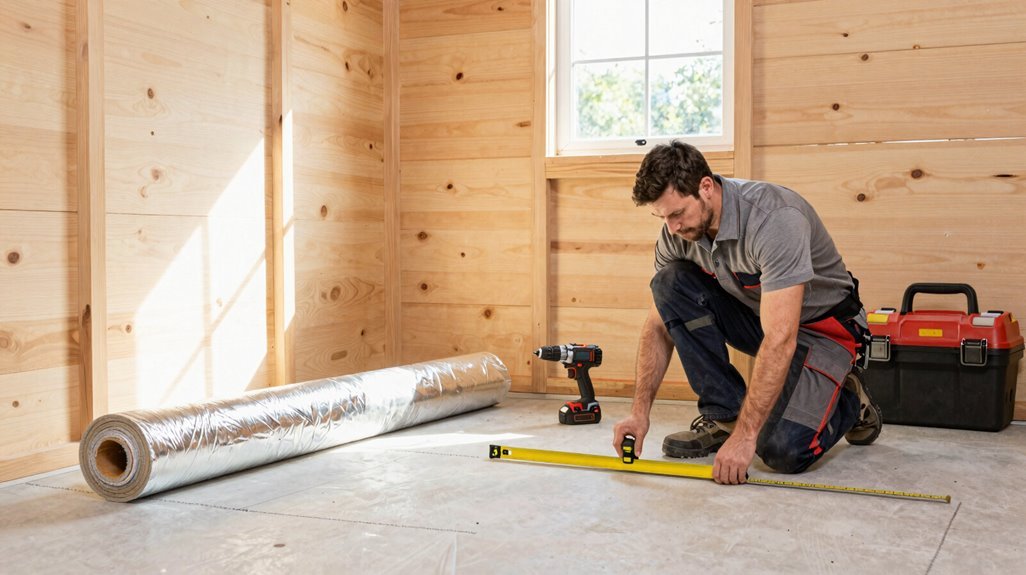
Before I cut a single piece of insulation, I transform my shed into a sealed envelope, because even the highest R-value batt becomes worthless when warm air escapes through gaps I failed to address.
I hunt for air leaks around windows, doors, vents, and eave gaps, sealing them with weatherproof caulk to craft an airtight shell. For cracks exceeding 1/8 inch, I deploy expanding foam or backer rod paired with caulk, stopping warm indoor air from fleeing. I repair roof and wall moisture damage, drying surfaces completely so insulation won’t trap dampness.
I clear stored items, vacuum thoroughly, and verify clean, dry conditions for maximum adhesion. I mark outlets, switches, and chimneys, planning around electrical and ventilation needs.
| Gap Size | Sealing Method |
|---|---|
| Under 1/4 inch | Weatherproof caulk alone |
| 1/4 to 1/2 inch | Backer rod plus caulk |
| 1/2 to 1 inch | Low-expansion foam |
| Over 1 inch | Backer rod and expanding foam |
Together, we’re building something that lasts.
Insulate Your Shed Walls Step by Step
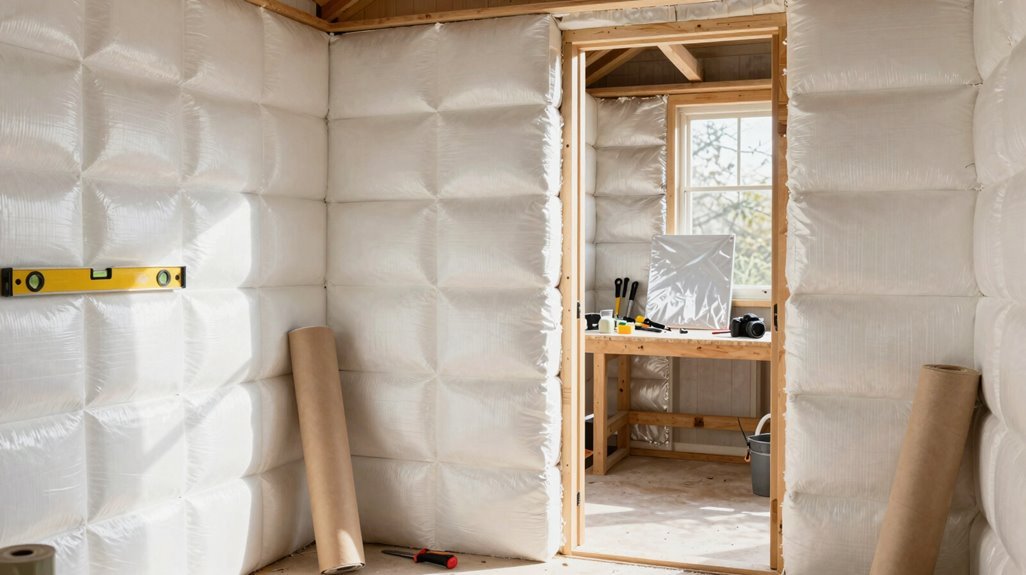
With my shed now sealed against infiltration, I’m ready to tackle the walls, the largest surface area where heat escapes and where my choice of insulation matters most for year-round usability.
1. Inspect and Prepare the Framing
I examine every stud bay for gaps, applying weatherproofing caulk around penetrations: electrical boxes, window jambs, ensuring my shed walls present a sealed substrate before insulation arrives.
2. Select Your Insulation Strategy
I weigh three paths: fiberglass batts for budget-conscious projects, foam board for damp climates demanding moisture resistance, or spray foam where maximum R-value per inch matters. My regional humidity guides this decision.
3. Measure, Cut, and Install
Working from bottom plate to top plate, I measure each cavity precisely, cutting insulation slightly oversized for friction fit. I staple fiberglass without compression, preserving its thermal integrity; for foam board, I use washers and screws, maintaining that critical air gap.
4. Detail Around Obstacles
I notch carefully around outlets, keeping insulation continuous; thermal bridges sabotage performance.
Insulate the Roof, Ceiling, and Floor
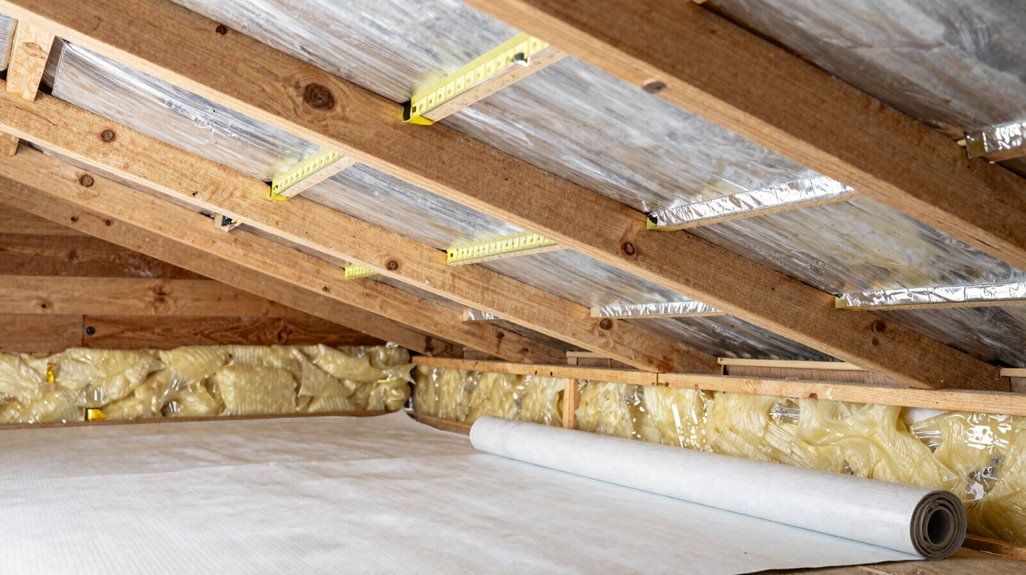
Where does a garden shed lose the most heat when winter arrives? Through the roof: rising warm air escapes upward, making roof insulation your first priority. Here’s how I tackle this critical zone.
Heat escapes upward—roof insulation isn’t optional, it’s your first line of winter defense.
Seal Before You Insulate. I always caulk gaps and cracks first; air leakage undermines everything that follows, transforming your thermal envelope from sieve to fortress.
Roof Insulation Without Compression. Cutting batts to fit between rafters, I press edges firmly—never squeezing—maintaining loft for maximum R-value while corners seal tight against thermal bridging.
Ceiling Insulation with Airflow. Installing ceiling insulation, I incorporate air gap/baffles where rafter depth allows; ventilation prevents moisture accumulation, stopping mold before it starts. Warm air must circulate above, not bypass, your thermal barrier.
Floor Insulation Below. Between joists, I secure dry floor insulation with fasteners; sagging creates drafts, defeating your efforts where cold ground meets structure.
Cover Your Walls and Maintain Your Insulation
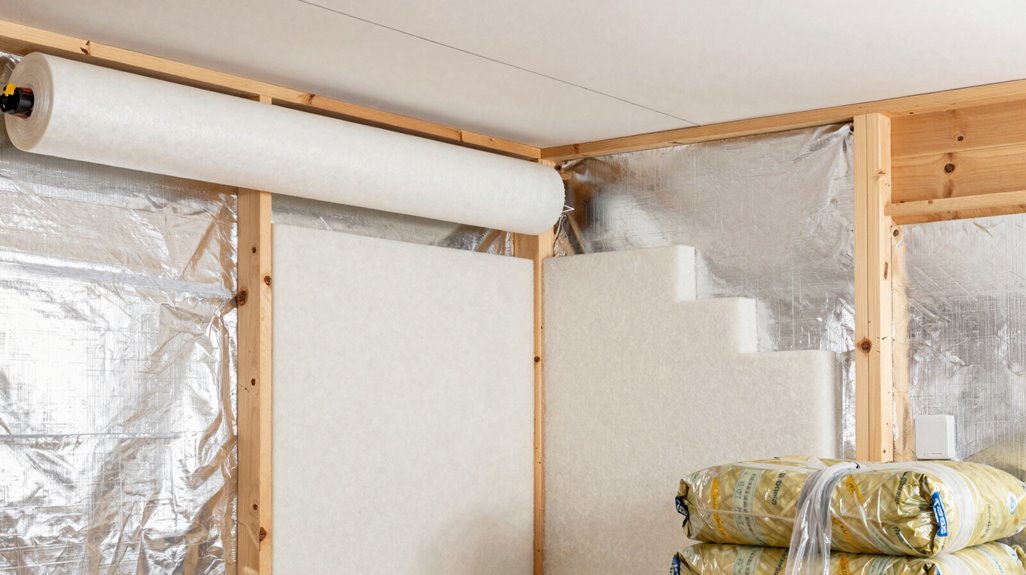
Why let warmth seep through your walls when you’ve already fortified the roof? I’m tackling this next phase with precision, knowing our shared goal of a sanctuary that truly holds heat.
- Measure and Cut Without Crushing. I slice insulation to fit between studs, snug, never compressed, preserving that precious R-value fiberglass needs to perform.
- Consider Foam Board. I’m weighing moisture-resistant vapor barrier properties against trickier installation and cost; sometimes, I splurge for superior protection.
- Secure and Seal. I grab my staple gun, anchoring layers tight, then trace every gap with weatherproof caulk, outlets, corners, seams, mastering air sealing against drafts.
- Plan Your Finish. I’m leaving room for drywall or plywood, ensuring fire-conscious interiors that breathe through integrated vents, preventing mold behind my walls.





