
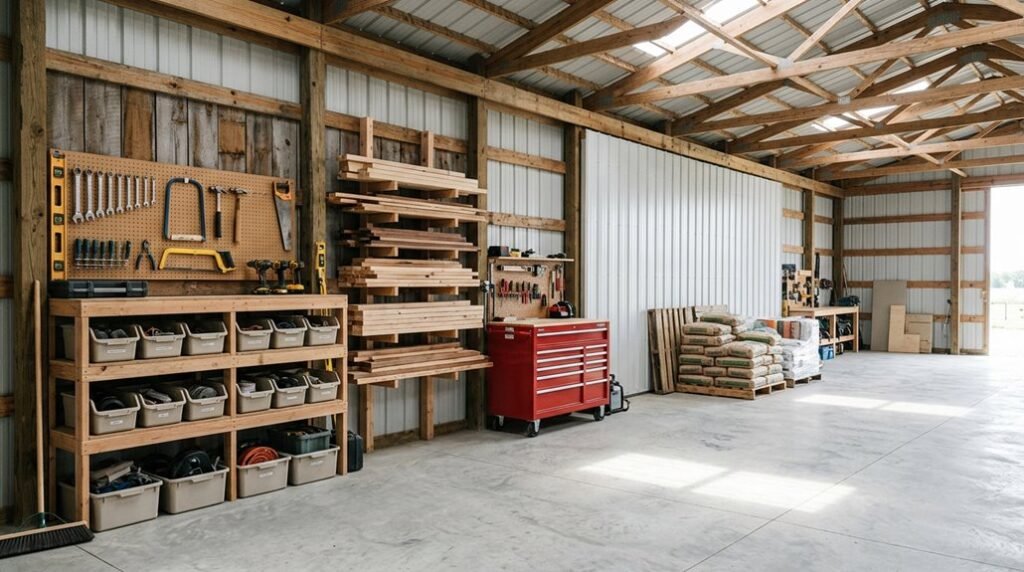
I’ve wrestled with cramped garages, fought condensation on steel, and measured doorways that almost fit.
Pole sheds solve what traditional framing cannot: spanning wide, rising high, adapting later.
Here are five approaches that turn raw post-frame space into storage that actually works.
Pole Shed Storage Layouts: Why Post-Frame Construction Wins
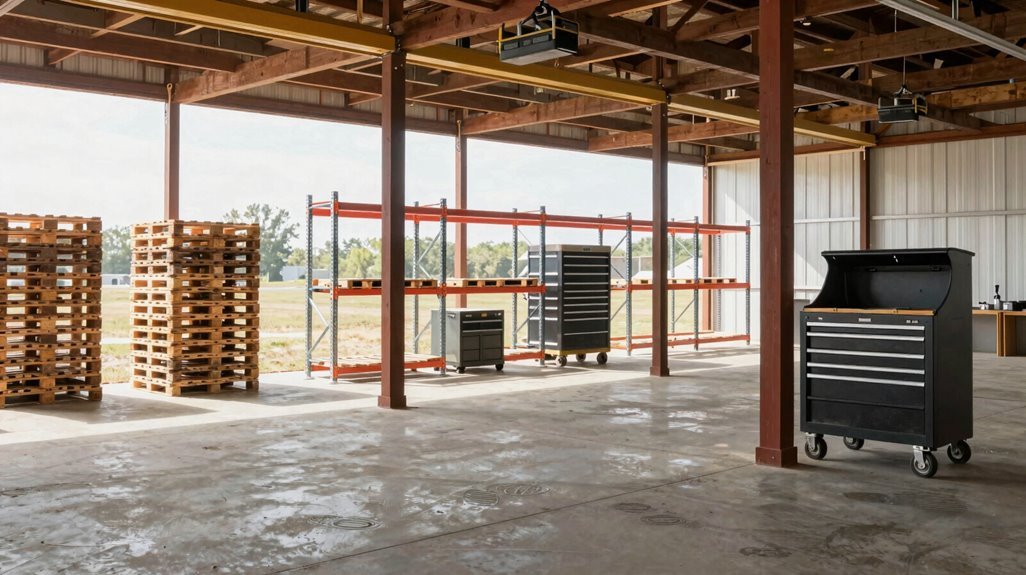
When I’m planning a storage space that actually works for my equipment, I don’t want walls getting in the way; post-frame construction delivers exactly that freedom. I’m talking about wide, unobstructed interiors where every square foot counts.
Here’s why this approach wins for people like us:
- Open floor plan flexibility. Post-frame buildings use exterior columns for support, eliminating load-bearing interior walls. I’m maximizing my usable storage space without fighting around structural obstructions; whether I’m housing tractors, ATVs, or workshop gear.
- Drive-through convenience. With multiple door placements, I’m designing drive-through access that streamlines my workflow. No more three-point turns in tight quarters.
- Adaptable wall space. My interior layout evolves as needs change; adding lofts, workstations, or living areas without compromising structural integrity.
From 24’x24′ hobby shops to 70’x200′ commercial facilities, I’m building exactly what fits my life.
Ceiling Height and Floor Space for Tractors, RVs, and Equipment
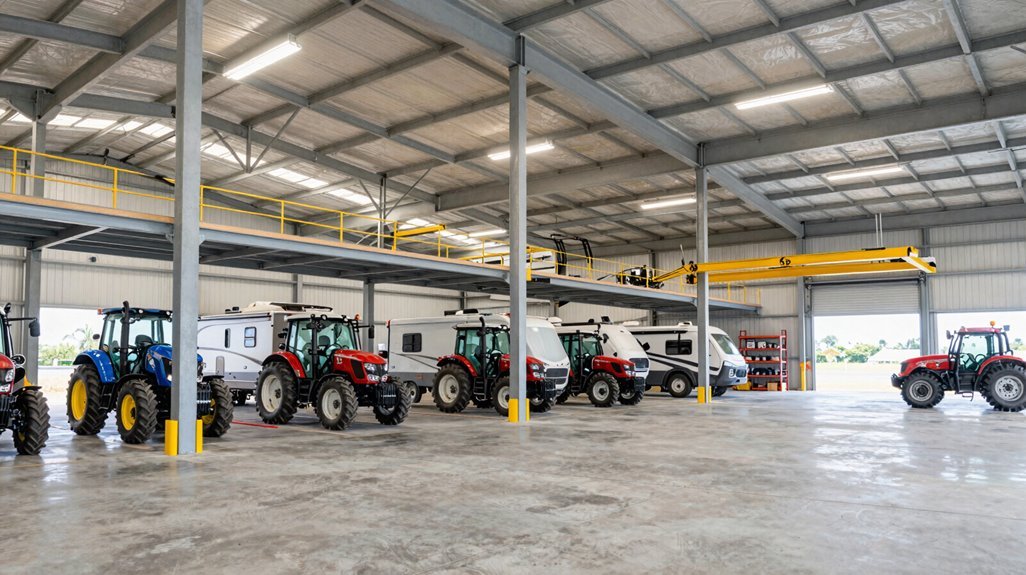
How do I fit a 14-foot combine without scraping the rafters? I asked myself this before building my pole barn, and post-frame construction gave me the answer: open interior spans that eliminate load-bearing walls and maximize ceiling height.
Here’s what I’ve learned about optimizing vertical and horizontal space:
- Scale Your Clearance — Post-frame engineering lets me specify ceiling heights from 24 feet upward, accommodating my tallest equipment with room to spare. My 16-foot walls handle everything from combines to motorhomes.
- Preserve Floor Space — Without interior columns, I’ve got unobstructed floor space for maneuvering tractors and implements. No three-point turns between posts.
- Add Vertical Storage — With adequate headroom, I installed a storage mezzanine above my work bay, keeping seasonal tools accessible yet out of the way.
- Plan for Large Doors — Tall ceilings pair naturally with oversized openings, letting me drive equipment through without folding mirrors or deflating tires.
- Consider Truss Design — Vaulted trusses add aesthetic appeal while creating functional headroom for maintenance tasks overhead.
My Indiana pole barn proves that vertical thinking changes storage capacity.
Door Placement and Driveway Access for Straight-Line Loading
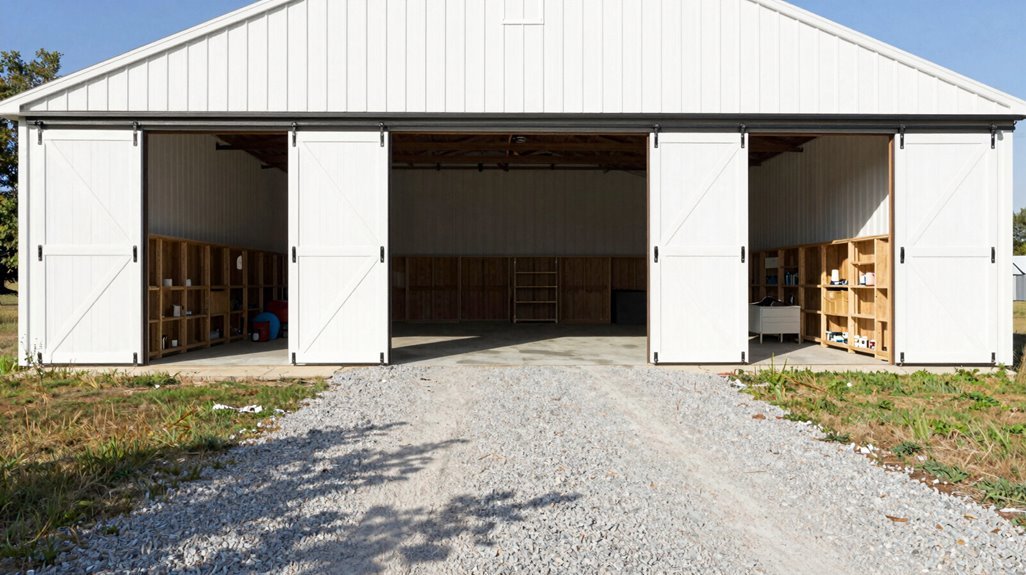
Once I’d locked in my 16-foot walls and open floor plan, I turned my attention to how equipment actually moves through the space, because even the tallest door won’t help if you’re fighting the approach.
| Door Position | Function |
|---|---|
| Driveway-aligned main entry | Enables straight-line loading from truck to storage rack |
| Opposite-side service door | Creates direct path through building, no reversing |
| 14-foot clearance zone | Accommodates full-size trailers, zero maneuvering stress |
| Threshold-grade match | Smooth wheeled cart transitions, no gravel drag |
| Work-area proximity | Primary tools within arm’s reach of unloading |
I positioned my pole barn design’s main service door facing the driveway; this single decision reshaped daily workflow. Pole storage efficiency depends on driveway access that eliminates turning. Multiple entry points, opposite each other, let me drive straight through. That’s the power of intentional door placement.
Insulation and Moisture Control for Protecting Stored Gear
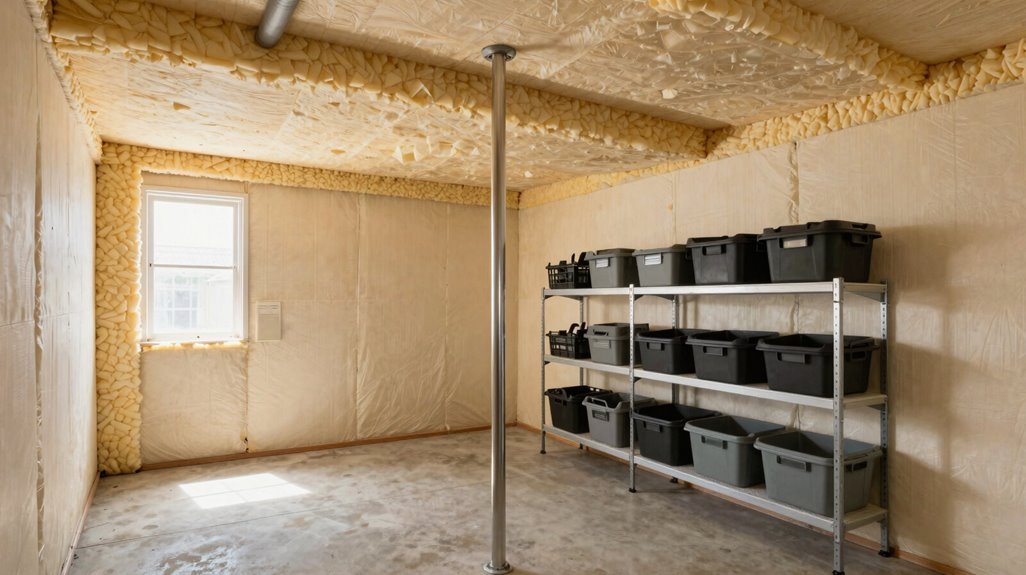
Why gamble with rust on gear I’ve invested thousands in? I don’t, and you shouldn’t either. Here’s how I protect my investment:
- Insulation That Works: I’m targeting R-13 to R-30 for walls, R-30 to R-60 for ceilings in cold climates. This isn’t overkill; it’s temperature stability that stops condensation before it starts.
- Vapor Barrier Defense: I seal concrete floors with membranes, creating a vapor barrier that blocks ground moisture. Without this, I’m fighting a losing battle.
- Weatherproofing the Envelope: I caulk every joint, gap, penetration; around doors, where utilities enter. Warm, humid air stays out; my gear stays dry.
- Active Moisture Control: I run dehumidification, maintain ventilation, and use desiccant containers on storage shelves. My moisture control plan isn’t optional; it’s essential protection.
Roughing In Utilities and Expansion Room Before Walls Go Up
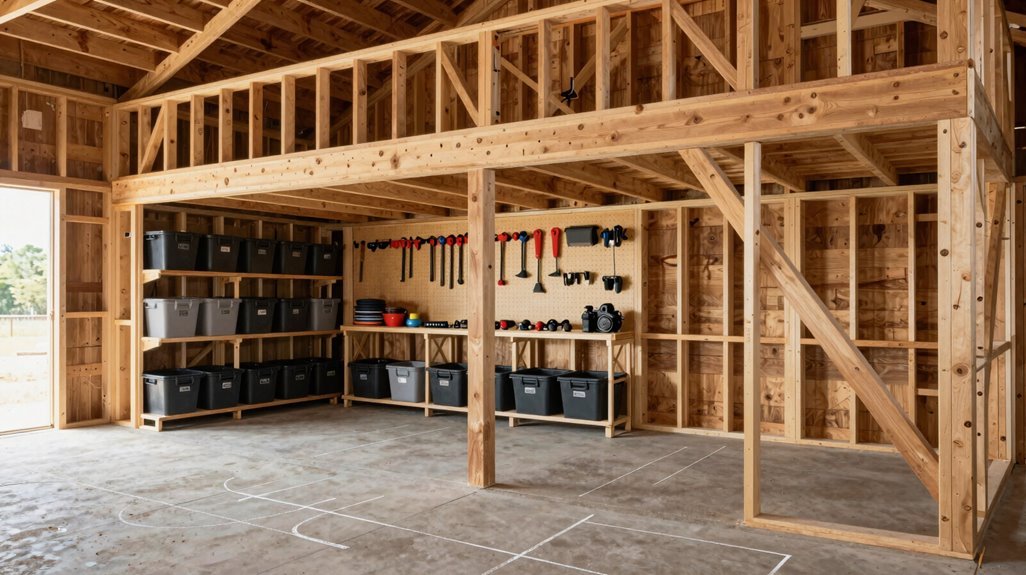
Where’s the real pain in adding a bathroom five years after I’ve poured the slab and hung the drywall? It’s jackhammering concrete, tearing out open shelving, and praying I don’t hit a wire I forgot about. That’s why I’m roughing in utilities now, while my barn’s bones are still exposed.
Here’s what I’m doing before walls go up in my pole barn storage:
- Subpanel & Pathways — Installing a 100 amp subpanel with wiring chases, ensuring my storage building can handle welders, lifts, and whatever gear I acquire next.
- Bathroom Rough-In — Running plumbing and venting to a designated corner, preserving expansion room without sacrificing floor space for machinery.
- 220V & Conduit — Placing heavy-duty outlets and empty conduit runs in accessible cavities for vehicle work.
- Junction Boxes — Mounting boxes along walls for future gas, electrical, and data additions; no redecorating required.





