
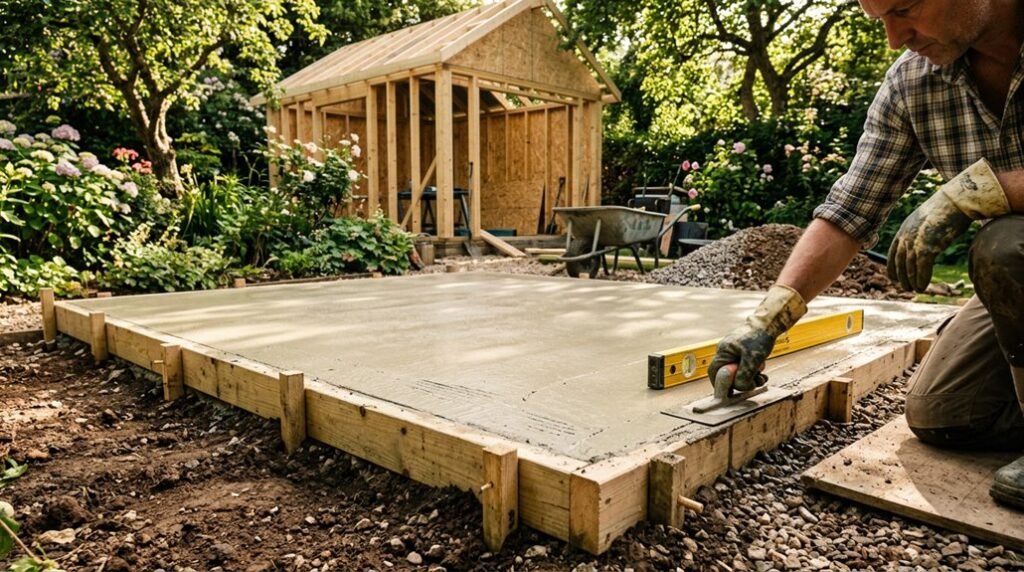
I built my first shed slab three years ago, 4 inches thick, compacted gravel base, steel mesh reinforcement, and watched it crack within months because I skimped on the frost footing. Your concrete foundation isn’t just a floor; it’s the structural diaphragm that transfers every load from your shed walls into the ground below.
Whether you’re storing hand tools in Portland or parking a zero-turn mower in Minneapolis, the specs change everything: drainage gradients, rebar spacing, cure times. Most DIYers fail here, at the intersection of ambition and engineering reality. I’ll show you exactly where.
Start Here: Concrete Slab Specs for Sheds

How do you make certain your garden shed stands the test of time? I start with the right concrete slab specs—because getting your shed foundation right means joining a community of builders who value craftsmanship over shortcuts.
- Thickness matters. I pour 4 inches for light garden tools, 5–6 inches for heavier equipment like mowers, and 6 inches with reinforced edges if I’m storing vehicles or building a workshop, each layer calibrated to load-bearing demands.
- Build from the ground up. I lay 4 inches of compacted gravel beneath the slab, sometimes adding 8-inch perimeter footings for extra stability in frost-prone regions, drainage and support working in tandem.
- Reinforce strategically. I position rebar grids or welded wire mesh on chairs within the lower-middle section, making certain of proper embedment for tensile strength.
- Cure with patience. I keep the surface moist for 5–7 days, avoiding heavy loads for a week, full strength develops near 28 days.
Check Codes and Site Conditions for Your Concrete Slab
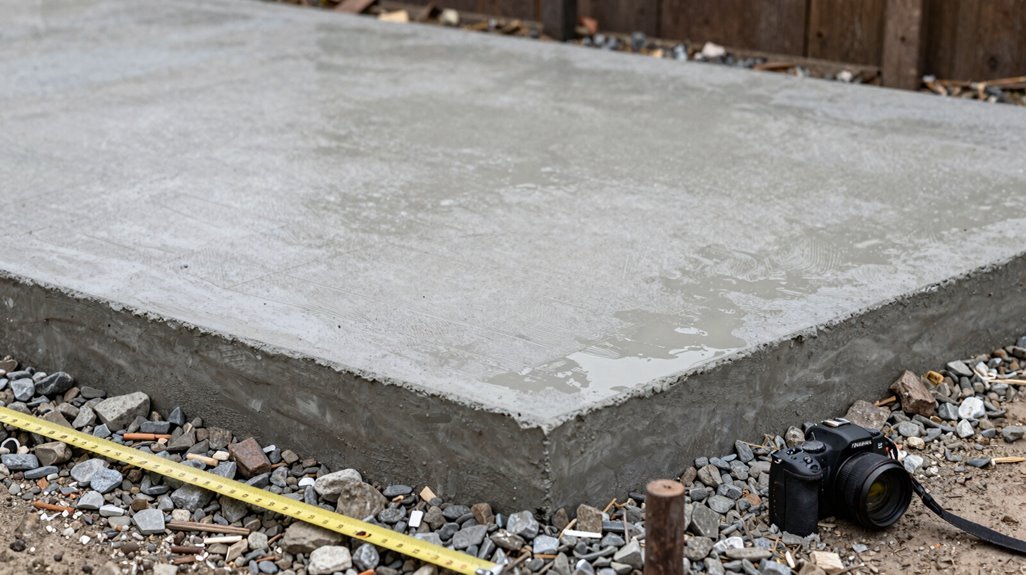
Before breaking ground, I always verify whether my local jurisdiction demands a permit for a shed slab; neglecting this step invites fines or forced demolition. I then determine the frost line depth in my region, typically 30–48 inches in northern climates, because footings must extend below this line to prevent heaving during freeze-thaw cycles.
These two checks—regulatory compliance and geotechnical reality—form the bedrock of every successful foundation I pour.
Permit Requirements
Before breaking ground, I’m confirming my permit requirements with local officials. Many areas mandate a building permit for shed slabs exceeding size thresholds, and skipping this step risks costly corrections. I’m checking setback rules, ensuring my slab sits proper distances from property lines and utilities.
My region’s frost line dictates foundation depth, influencing how I’ll reinforce against heave. Drainage matters too: codes require positive slope away from structures, with soil conditions meeting bearing capacity standards. I’m documenting everything, including soil tests, engineered plans, and utility clearances. Connecting with my building department early, sharing my project scope and asking about inspection checkpoints, keeps me compliant, confident, and part of a community building responsibly.
Frost Line Depth
With permits squared away, I’m turning my attention downward, literally, to how deep my concrete needs to go. Frost line depth dictates everything. Pour too shallow, and winter’s freeze-thaw cycles will heave my slab skyward, cracking walls and twisting doors.
| Climate Zone | Typical Frost Depth |
|---|---|
| Southern U.S. | 12–18 inches |
| Midwest | 36–48 inches |
| Northern Plains | 48–60 inches |
| Mountain West | 24–60 inches (varies) |
I’m checking local frost depth maps, then confirming my footing depth with the building department. Clay soils hold moisture longer, demanding deeper protection than sandy loam.
For lasting frost protection, I’m weighing frost-proof designs: thickened-edge monolithic slabs, or stem-wall foundations with rigid insulation below grade. Site drainage matters too. Water pooling beneath my slab spells trouble when temperatures drop.
Tools and Mixing Equipment for Your Concrete Slab Pour
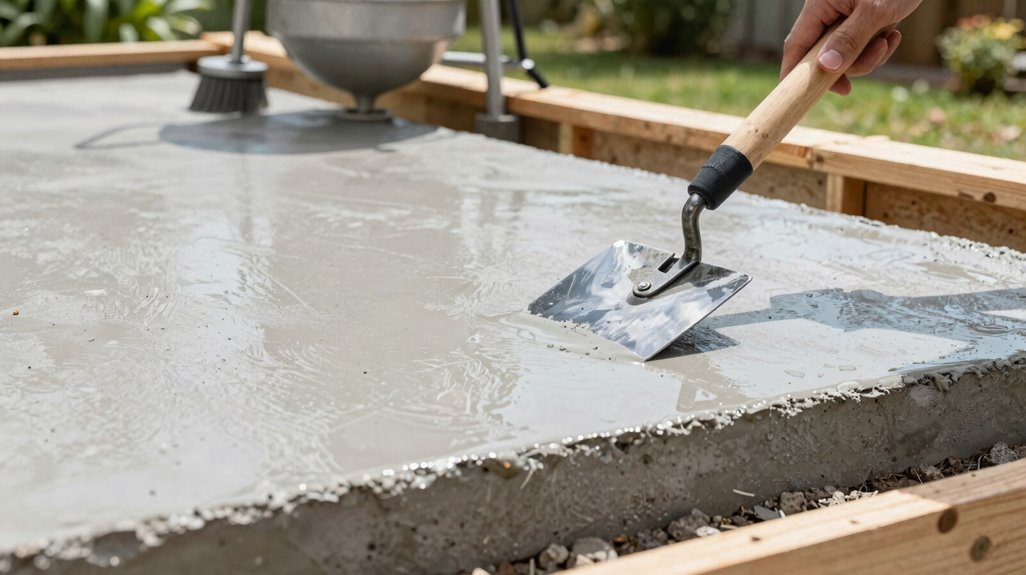
Before you break ground on your garden shed foundation, you’ll need to assemble the right arsenal: essential hand tools like screeds, levels, and edging irons for finishing work, plus reliable mixing equipment that won’t leave you wrestling with inconsistent batches when the truck arrives.
I’m particularly drawn to continuous mixers such as the MudMixer, which promises uniform consistency from your first cubic yard to your last and can be sourced through nationwide rental networks if purchase doesn’t suit your scope. With roughly 1.5 cubic yards required for a standard 10×12 slab, selecting efficient mixing technology isn’t merely convenient; it’s the difference between a monolithic pour and a compromised cure that undermines your structure’s integrity.
Essential Hand Tools
Gather your arsenal of hand tools before the truck arrives, because once that concrete hits the forms, there’s no pause button.
I’ve learned that building a proper concrete slab starts with these essential hand tools:
1. Layout and Leveling Tools
My tape measure and hammer establish precise corners, while stakes driven every 2–3 feet secure the form lumber; pressure-treated boards that’ll serve future projects.
2. Screeding and Floating
A straight screed board, spanning my form width, strikes excess concrete level with the top edge. The bull float follows, pressing aggregate down while bringing cream to the surface.
3. Finishing Details
My edging tool creates clean, rounded edges; professional touches that prevent chipping.
Before any of this matters, base preparation demands attention: four inches of compacted gravel, reinforced with mesh, helps your slab outlast the shed it supports.
Mixing Equipment Options
How do you transform a pile of dry mix and water into the foundation your shed deserves? I’ve learned that choosing the right mixing equipment makes or breaks your poured slab experience, especially when you’re tackling 1.5 cubic yards for a typical 10×12 shed.
1. The MudMixer Advantage
This continuous mixer changes how we approach concrete work: delivering consistent mix from first bag to last, whether you’re pouring mortar, stucco, or that critical 4-inch garden base. I’ve watched it eliminate the batch-to-batch variation that ruins structural integrity.
2. Traditional Alternatives
For smaller pours, a rented drum mixer works, though you’ll fight timing, temperature, and fatigue across multiple batches.
3. Hand-Mixing Reality
Wheelbarrow and hoe? Possible for patches, impractical for your slab. Your back, and your cure, deserve better mixing equipment.
Choose wisely. Your shed’s foundation depends on it.
Dig, Form, and Gravel: Prep Your Slab Base to Spec

Why settle for a wobbly, cracked slab when I can build something that’ll outlast the shed itself? Here’s how I prep my base to spec, join me in getting this right.
- Excavate and Square: Using the 3-4-5 method, I mark my 10×12 footprint precisely, then dig 8–10 inches down, creating room for what matters most.
- Gravel Base: I lay 4 inches of compacted gravel, making sure drainage and a stable, compressible layer beneath everything, this prevents frost heave and settling.
- Formwork: I build level, well-supported forms from pressure-treated lumber, staking every 2–3 feet, creating a true perimeter that’ll shape my pour.
- Reinforce: I place rebar or welded mesh on chairs, positioning it mid-slab for tensile strength.
- Plan for Curing: I schedule concrete curing during 50°–80°F weather, preparing to keep it moist 5–7 days, laying groundwork for 28 days of strength development.
Pour, Level, and Finish Your Concrete Slab

Where exactly does a flawless slab begin? With the pour itself, where preparation meets execution, and we transform raw material into permanence.
- Position Your Reinforcement. I place rebar grids or welded mesh on chairs, suspending them in the lower-middle of the concrete slab; this guarantees tensile strength where flexural stress concentrates.
- Pour and Spread. Working from the gravel base upward, I pour in manageable sections, raking concrete evenly across the forms.
- Screed for Leveling. Using a straightedge resting on form tops, I pull excess material away, creating that critical plane where structure meets precision.
- Float and Edge. I bull-float immediately, closing surface voids, then run an edging tool along perimeters; clean lines that resist chipping.
- Begin Moist Curing. I mist the surface, starting the hydration process that continues beneath.
Cure Your Concrete Slab: Timing, Thickness, and Care

Once the trowel marks fade and the surface sheen dulls, I’m standing at the threshold of concrete’s most misunderstood phase, where patience becomes structure, and where the slab I’ll walk across for decades earns its permanence.
For curing concrete slabs, temperature and thickness determine my timeline. I keep the surface between 50–80°F, spraying water or covering with plastic to moisture cure for 5–7 days, preventing cracks while hydration deepens. Thickness matters: 4″ handles light storage, 5–6″ supports machinery, 6″ with reinforced edges carries vehicles.
| Use Case | Thickness & Treatment |
|---|---|
| Light storage | 4″, 5–7 days moist cure |
| Heavy equipment | 5–6″, protect from rapid drying |
| Workshop/vehicles | 6″+ reinforced edges, 28-day full cure |
At 28 days, near full strength arrives, my reward for restraint during that first vulnerable week when heavy loads would fracture what patience preserves.





